This project is a manual equatorial mount that is enjoyable to use and helps to develop your knowledge of the night sky.
Using RA and dec. (Right Ascension and declination) coordinates, it is possible to locate a faint target that might otherwise be difficult to see in your viewfinder.
With an undriven mount, you are limited to relatively short exposures in astrophotography, but with a fast lens and high ISO setting, impressive night-sky images are certainly achievable.
The mount’s RA axis must be aligned with Earth’s axis of rotation, so you must adapt the downloadable plans at the link below to suit your latitude.
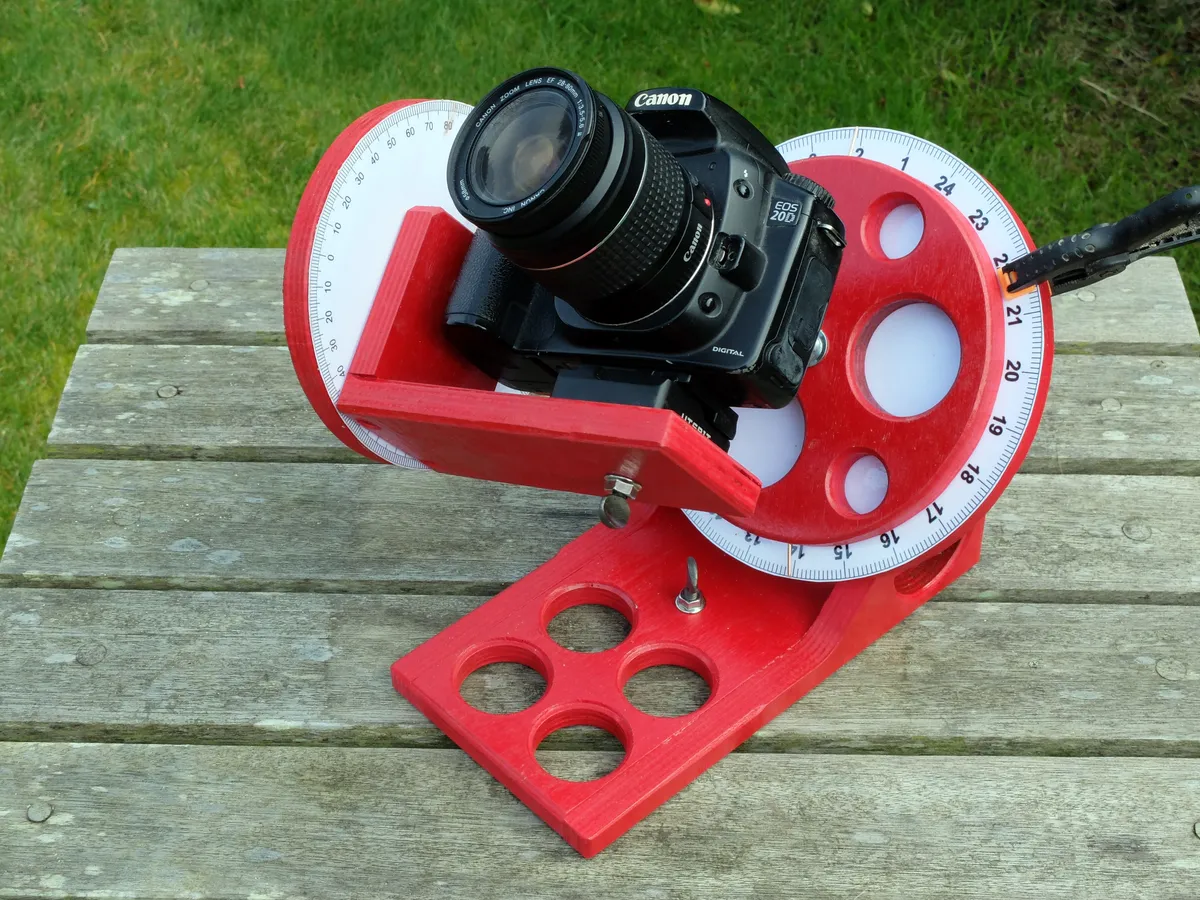
At the North or South Poles, the RA axis would point vertically upwards,
and at the equator it would be horizontal.
For most of us, the angle between the RA disc and the ground is somewhere in between (90° minus your latitude).
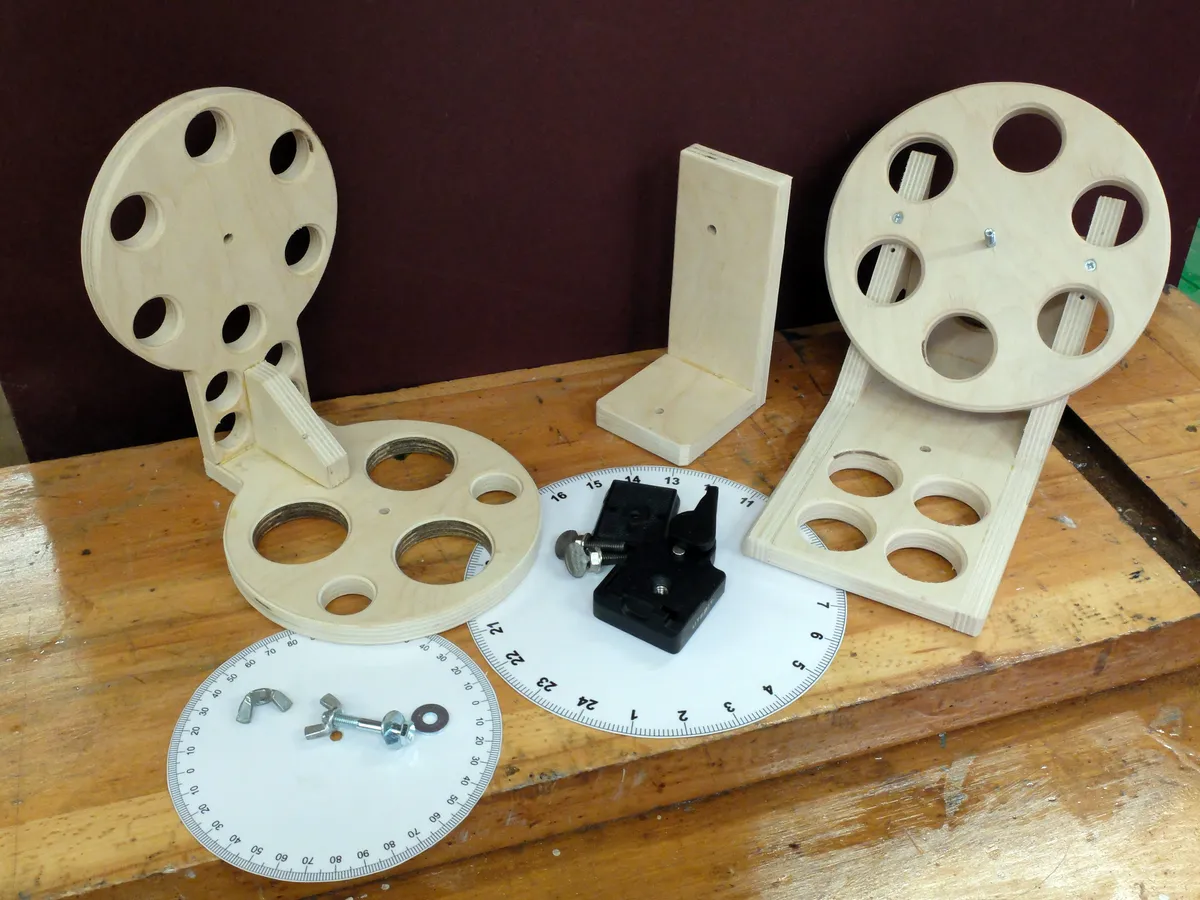
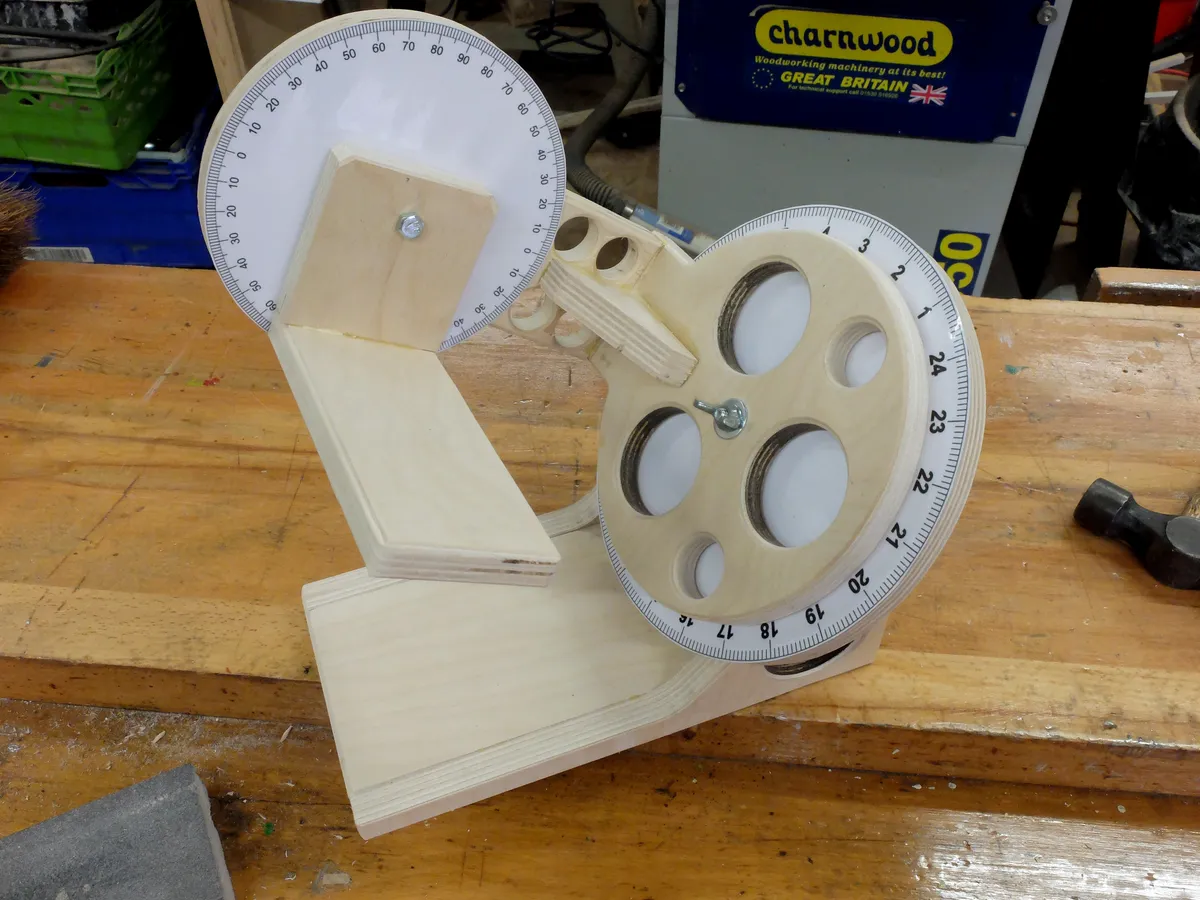
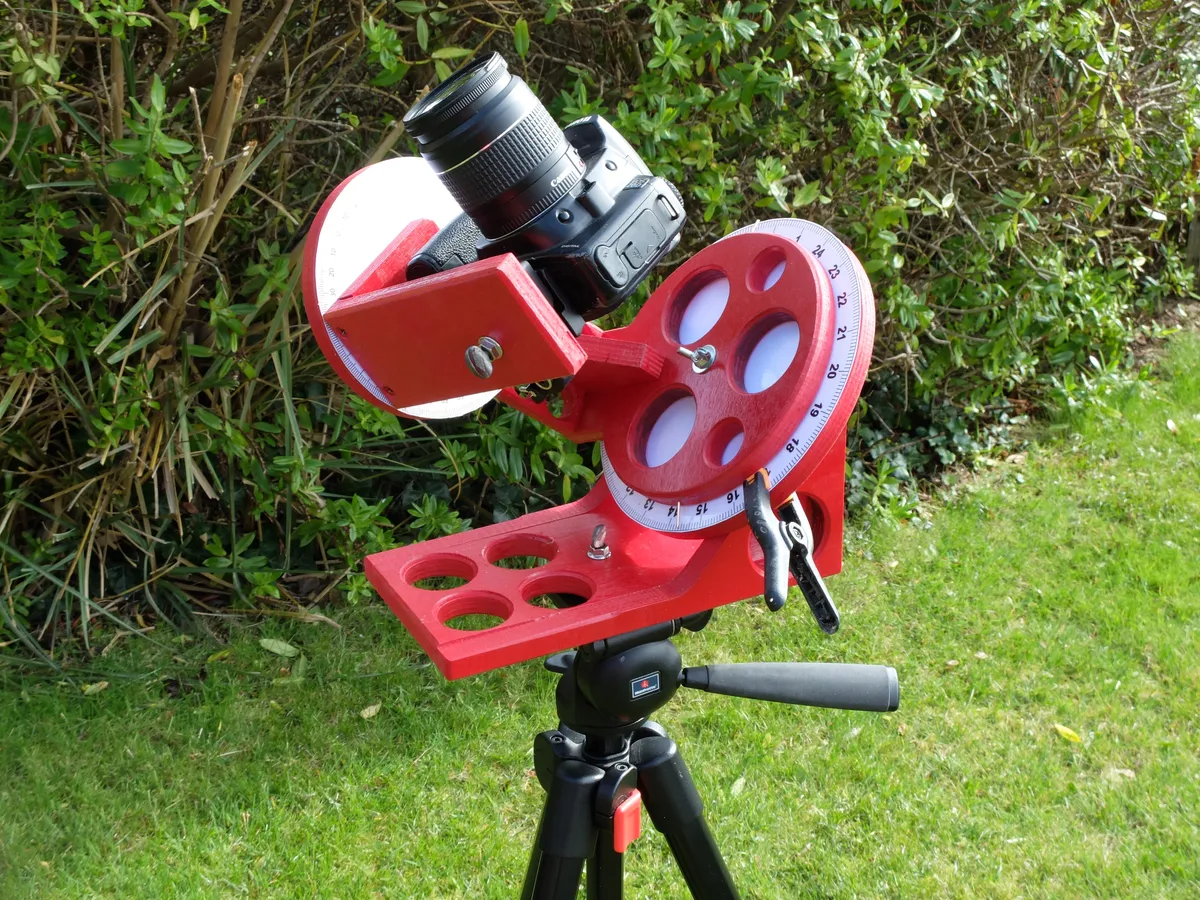
The dec. assembly pivots on the RA disc, but it is clampable with a wing nut when you’re ready to take a photo.
Similarly, the camera platform pivots on the dec. assembly, also with a clamp.
The dec. scale is glued so that it reads 90° when the camera is pointing directly at the Pole.
As the night sky appears to rotate, the RA scale must be free to turn, so you can adjust it.
A strong bulldog clip holds it still while you move the dec. assembly between targets.

How to use your EQ mount
To use the mount, it must firstly be polar aligned. Make sure the base is level, with the RA disc facing due north (in the Northern Hemisphere).
To fine-tune the alignment, you can place a smartphone (with a planetarium app - read our guide to the best stargazing and astronomy apps) on the RA disc and centre the displayed south celestial pole.
Next you need to move both axes so that the camera’s viewfinder is centred on a known bright star (we’ll use Vega as an example: RA 18h 37m, dec. +38.8°).
The dec. scale should automatically read very close to 39°.
Turn the RA scale so that it shows as close to 18 hours and 37 minutes as possible, then clamp it with the bulldog clip.
Now you are ready to find your next target.
Turn the camera (taking care not to dislodge the RA scale) to the coordinates of your new target and re-clamp the axes.
You can’t do anything to adjust the image frame’s orientation, but if your camera ends up awkwardly positioned, you can rotate both axes a full 180° to achieve a more acceptable setup (the dec. scale is repeated in both directions, and the RA disc has two pointers 180° apart).
Periodically you will need to adjust the RA scale to reflect Earth’s rotation, but if you dial in the coordinates for the object that you are currently aiming at, you will have plenty of time to move to the next.
Tools and materials
- Drill with bits: 6mm for the pivots, plus some larger ones to remove unnecessary plywood to save some weight
- Marking out tools, coping saw, scissors, craft knife, pencil, clamps
- 15mm good-quality plywood or similar (approximately 500 x 500mm)
- Two M6 x 40mm bolts (with wing nuts and washers)
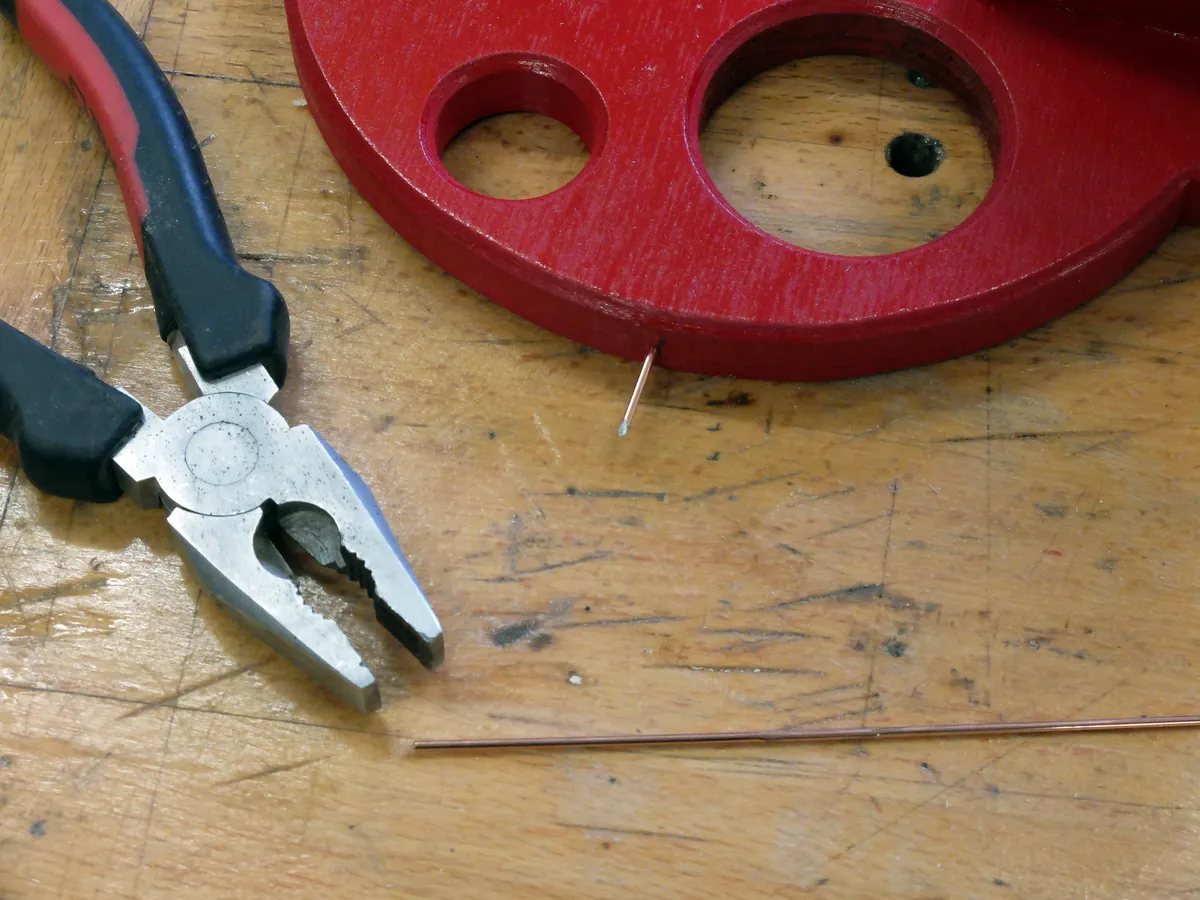
- Stiff wire for the pointers
- Inexpensive tripod mount and camera plate, or 1/4-20 threaded screws
- Large bulldog clip to hold the RA scale
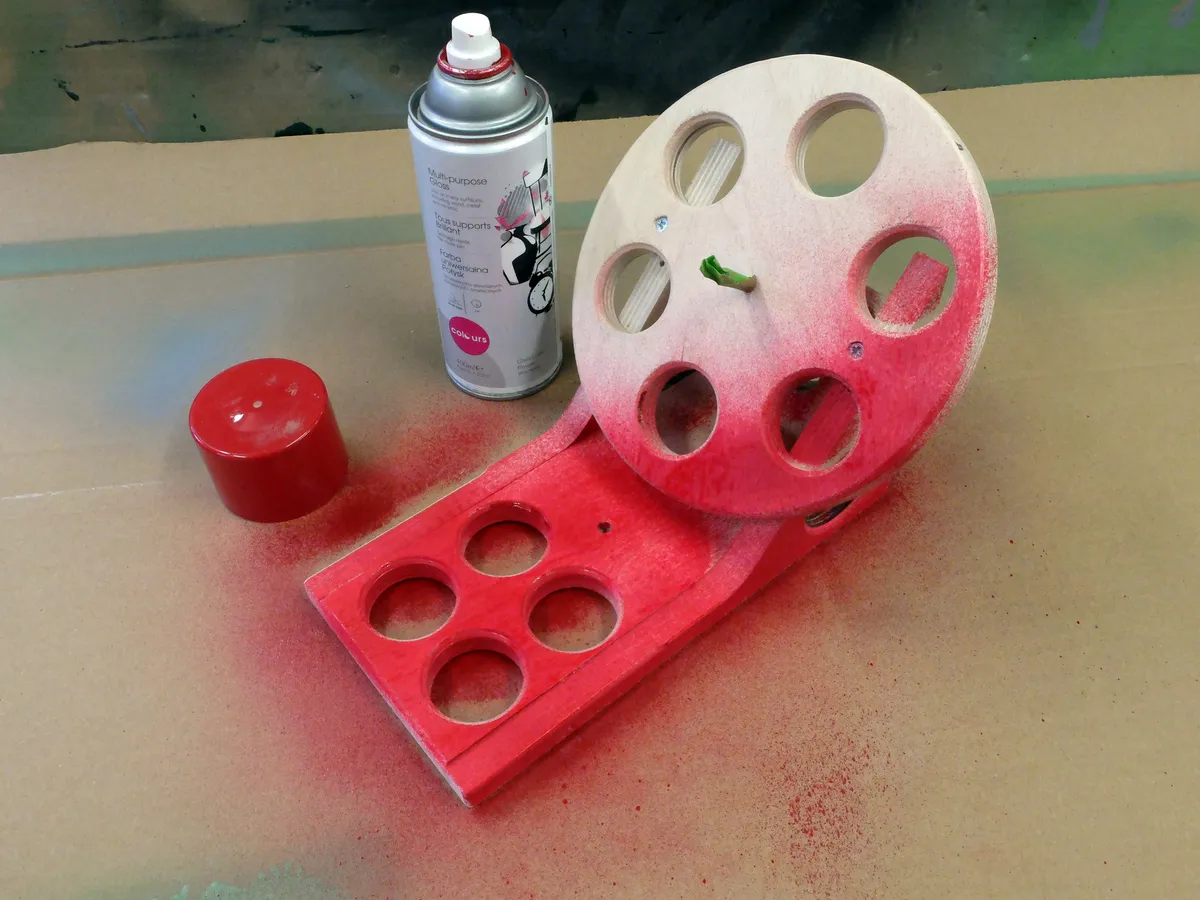
- Spray paint, wood glue
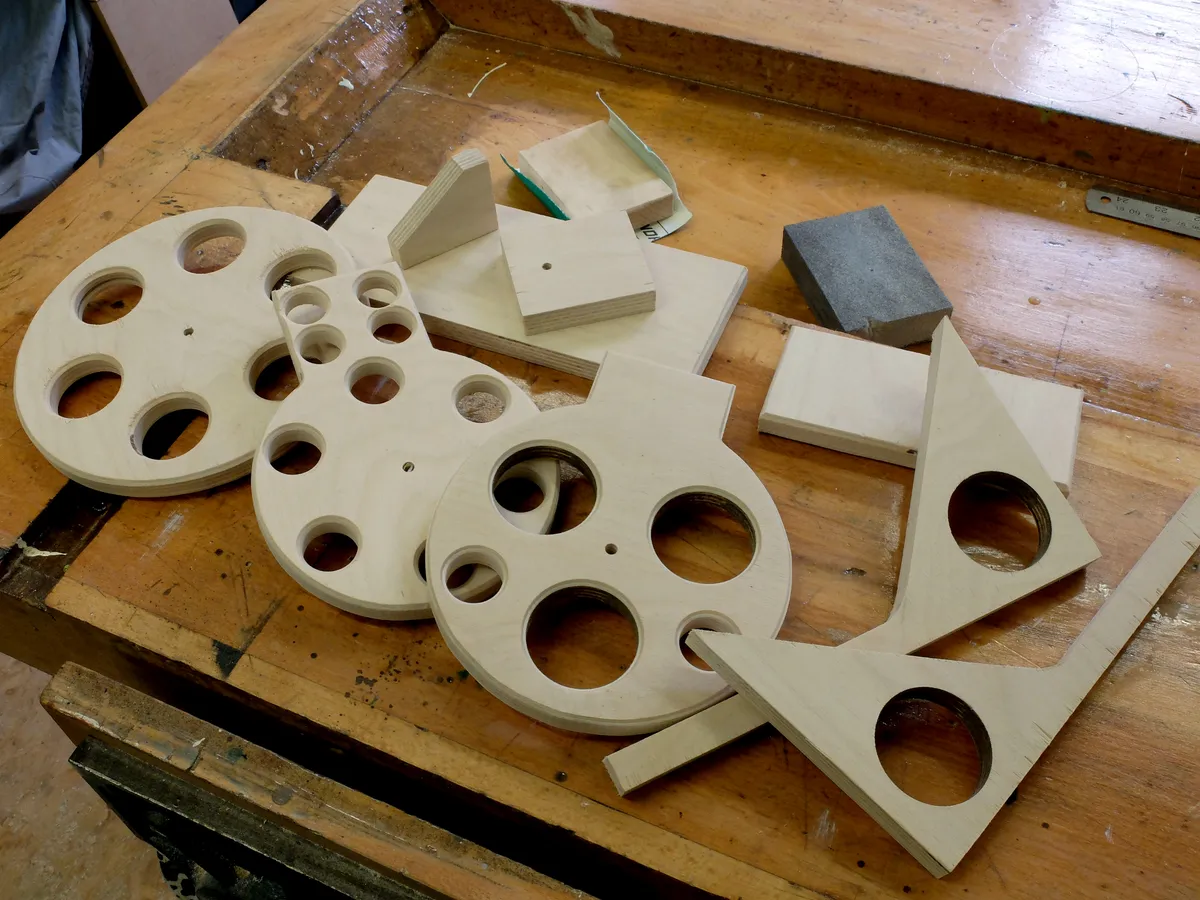
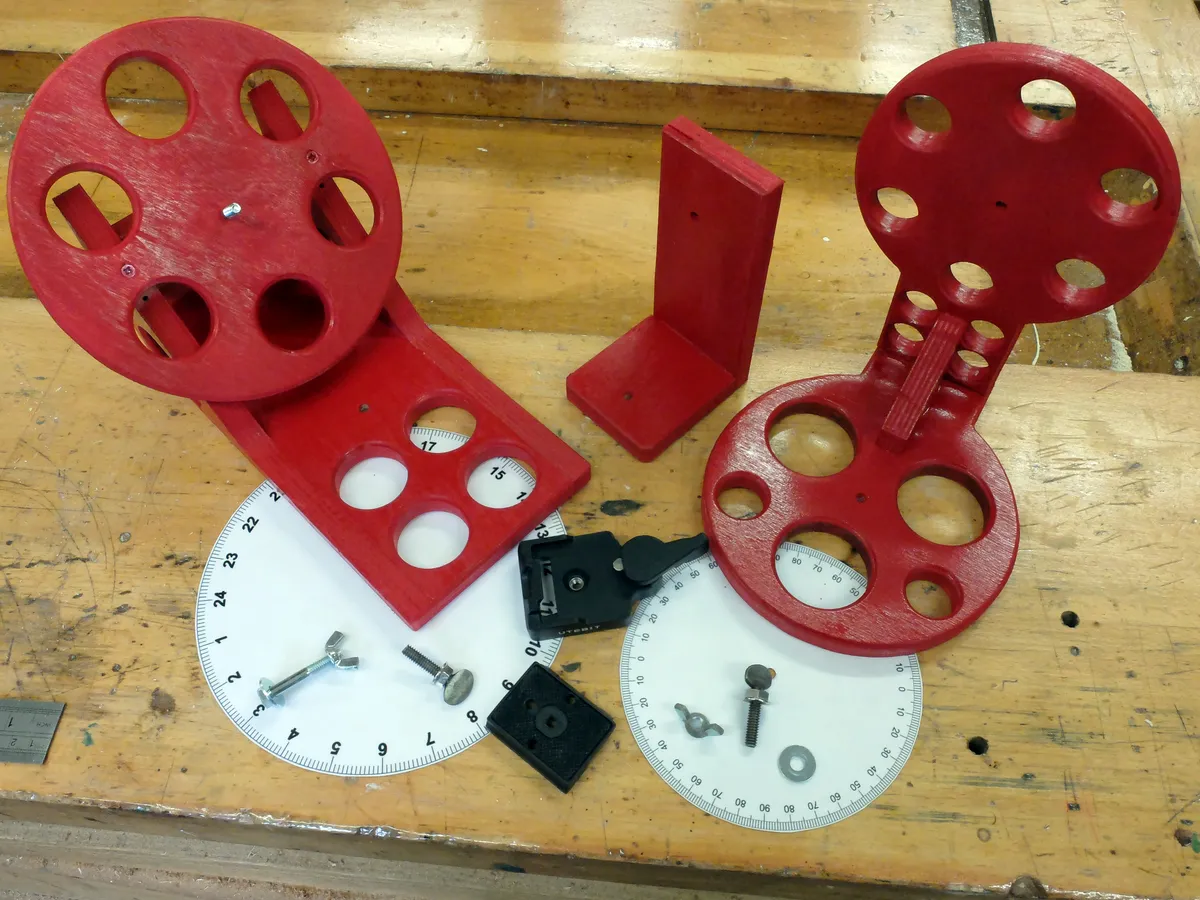
 Using the downloadable plans available at the link at the top of this article (adjusting them for your latitude), carefully mark out all the parts.


