To get an idea of just how much modern technology has influenced astronomical observing, take a look at Go-To telescope mounts.
A Go-To is an ordinary telescope, but added to its mount are motors and a digital map of the night sky containing tens of thousands of astronomical objects.
All this is stored in computer circuitry within the mount and it’s this, rather than the scope itself, that is really the ‘Go-To’ part of the system.
Read our beginner's guide to telescope mounts and discover our pick of the best telescope mounts
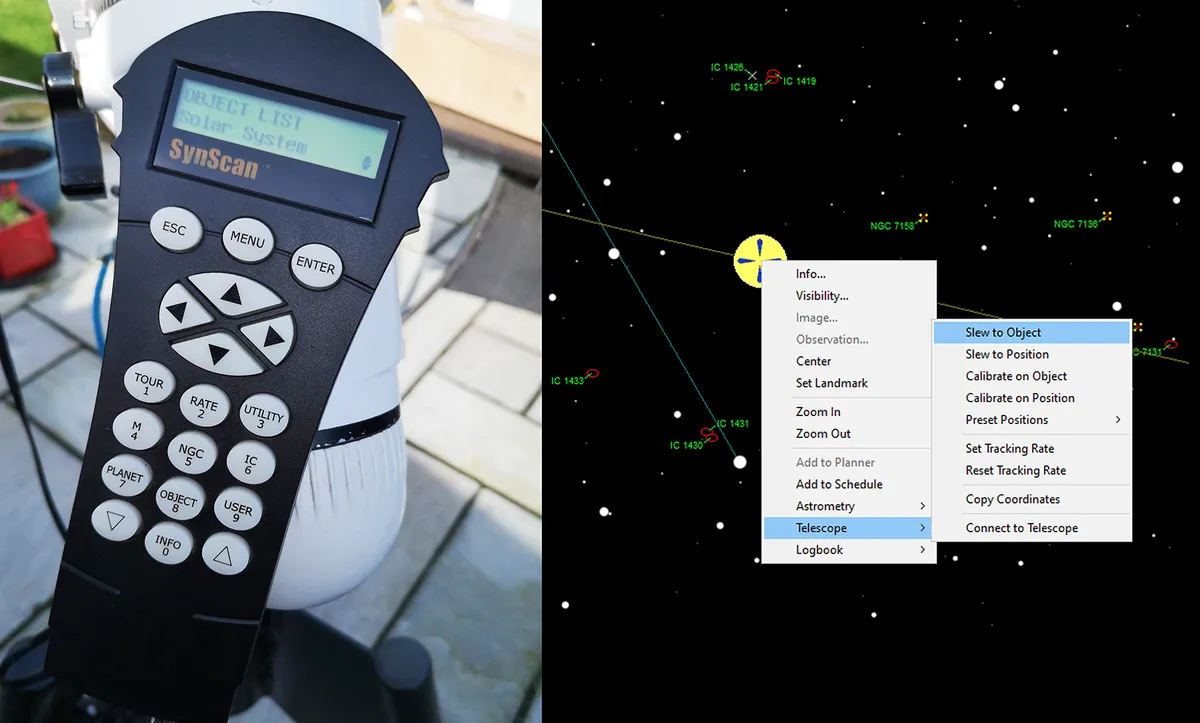
Once the Go-To has been correctly set up, you simply choose a celestial object that you want to view by using the buttons on the handset.
It’s at this point the motors kick in and the whole mechanism whirs and turns around, ‘going to’ the object you’ve chosen, which will eventually appear in the eyepiece.
Sounds pretty straightforward, don’t you think?
Certainly, but there’s a reason why Go-To telescopes come with such a substantial manual.
Before you can get to the impressive stage of being driven around the sky to objects you’ve selected, you first need to have your Go-To scope set up correctly.
Using a Go‑To is not the straight-out-of-the-box method of stargazing it might at first appear.
Go-To telescope key features
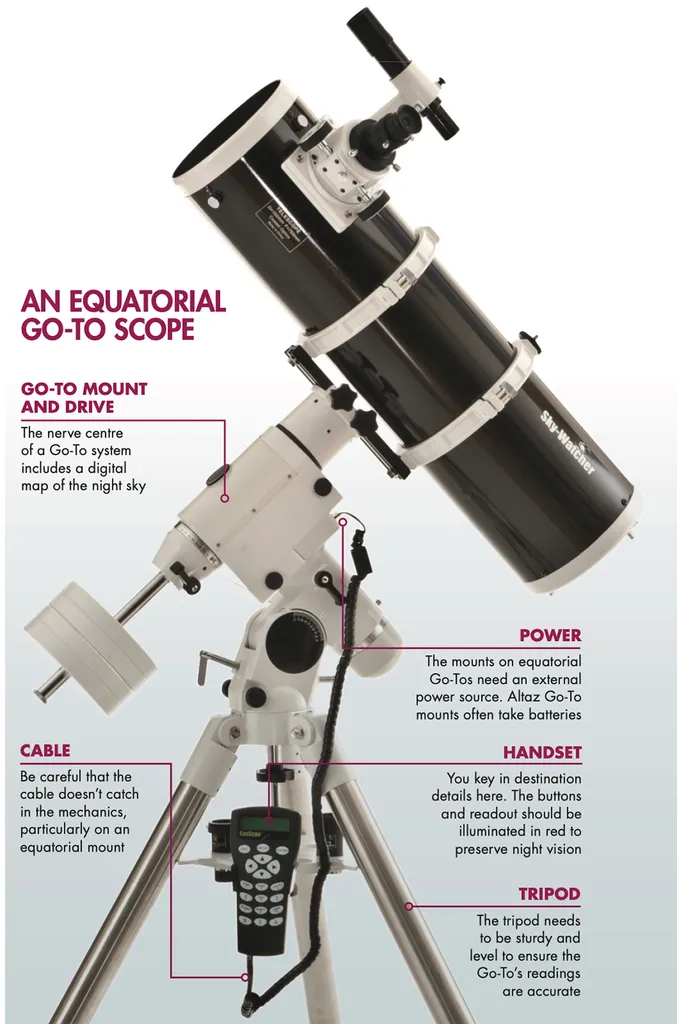
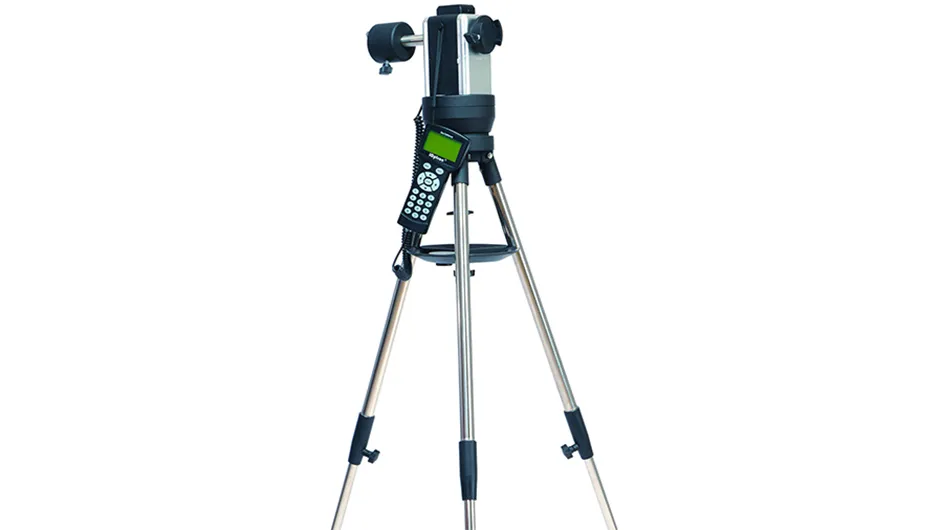
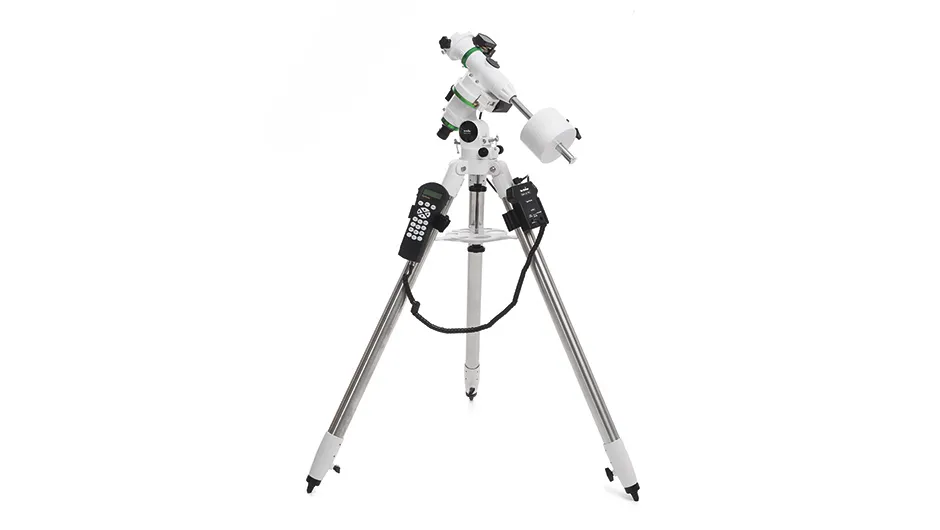
Go-To mount and drive
The nerve centre of a Go-To system includes a digital map of the night sky
Power
The mounts on equatorial Go-Tos need an external power source. Altaz Go-To mounts often take batteries
Handset
You key in destination details here. The buttons and readout should be illuminated in red to preserve night vision
Cable
Be careful that the cable doesn’t catch in the mechanics, particularly on an equatorial mount
Tripod
The tripod needs to be sturdy and level to ensure the Go-To’s readings are accurate
Setting up a Go-To mount
There are a few things you need to know in order to get a Go-To telescope or mount working.
Firstly, not every telescope has the same setup routine, nor are these routine all as easy to perform as each other.
When deciding on a telescope with a Go-To mount, you should do plenty of research to avoid buying one that you’ll never use because it’s too complicated.
There are three key bits of information the Go-To computer needs when you’re setting it up:
- Your location
- The date
- The time
With these details keyed in to the Go-To, the telescope can correctly orientate the star charts in its memory.
Read our guides on how to set up an equatorial mount and how to polar align your equatorial mount.
Some Go-To scopes come with a GPS receiver built-in that helps with this initialisation procedure.
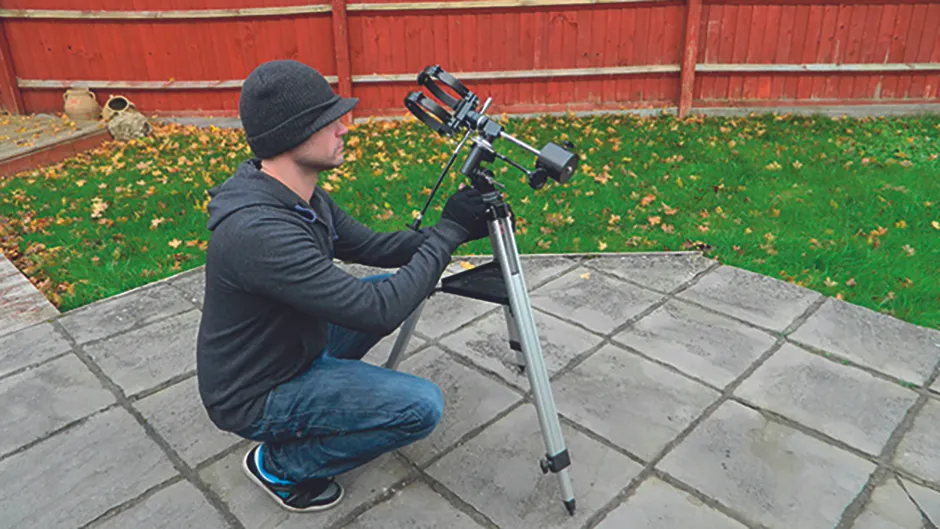
Now you’re ready for alignment. Firstly, make sure the tripod and telescope are level.
If there’s any sloping ground you haven’t compensated for, the scope will miss its target object. This is especially true for a Go-To on an equatorial mount.
With scopes like these, you should polar align the mount first.
The Go-To system will then ask you to centre several alignment stars in the eyepiece. When you’ve done this, you’re ready to go.
Altaz Go-To telescopes
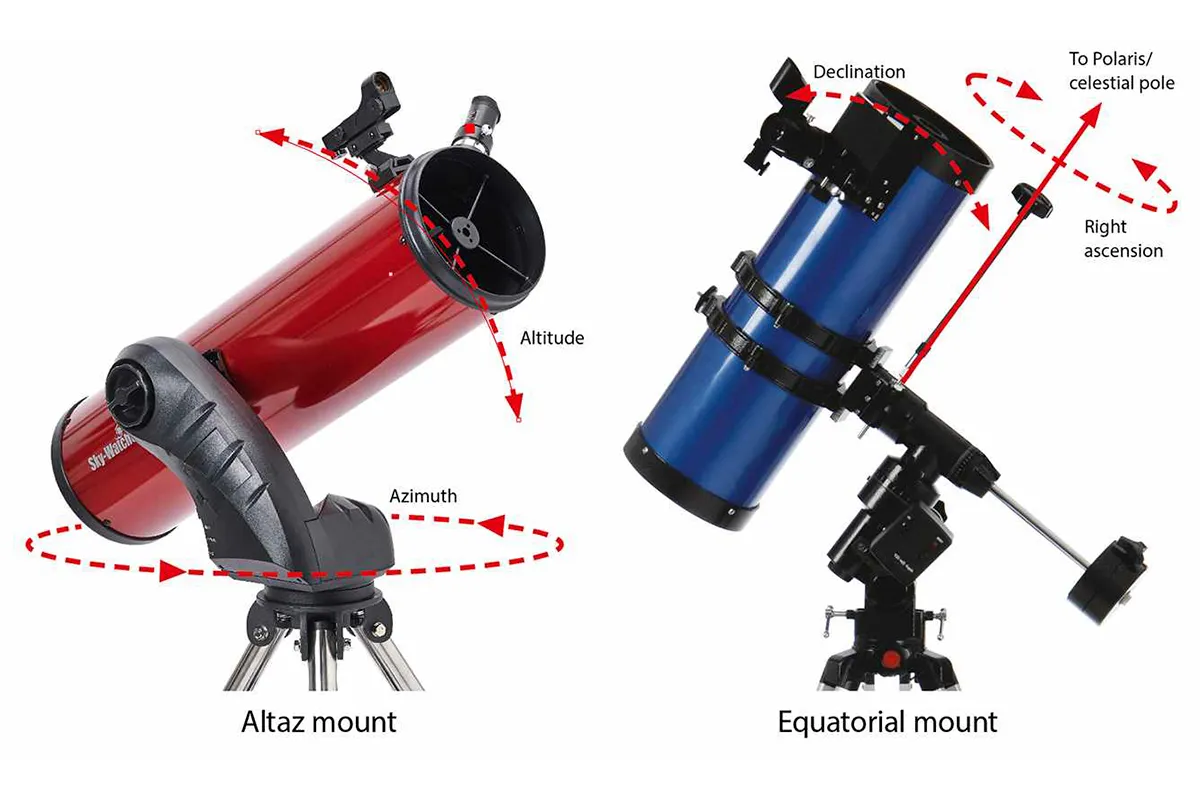
Other Go-To scopes are mounted on an altazimuth mount – either a single-arm or fork type.
Find out more about this in our guide to the difference between equatorial mounts and altaz mounts.
With an altaz mount, you will need to centre one or two alignment stars in the view.
With either equatorial or altaz Go-Tos, the more stars you align on, the more accurate the mount will be.
This is a consideration that becomes particularly important if you’re planning to do any astrophotography.
Finally, remember that there’s one essential link in this high-tech chain of technology – batteries.
Always carry spares, or consider buying a powerpack to ensure you don’t run out of power while observing.

Using latitude and longitude
If you live in a small town or a rural environment, the computer database in the Go-To handset may not have location details for your area.
In this case you’ll need to supply the co-ordinates of your latitude and longitude.
There are plenty of websites that make it easy to discover these location details.
They often feature a world map so you can zoom in and click on your location to find your co-ordinates.
You may need to convert the latitude and longitude of your location from the decimal version into hours, minutes and seconds.
A search online for ‘latitude longitude conversion’ will bring up myriad sites that will do this.
Only use the minus sign for latitude if you are south of the equator, as it means the southern hemisphere.
For longitude, minus means that the location is west of the Greenwich Meridian, pictured right, so this includes all of western Britain, North and South America.
Parts of Britain east of Greenwich, and all of Europe and Australia, have a positive longitude, but don’t need a plus sign.
Should you buy a Go-To mount?
Pros
In light-polluted skies, it’s easier to locate objects that you wouldn’t otherwise be able to find if you were manually star hopping when the stars might be washed out.
Go-Tos are good for taking photos that are free of star trails, as the scope will track the movement of the night sky.
If you’re planning to show friends several objects in the night sky, a Go-To is fast and efficient.
A Go-To database can be updated when new comets or supernovae are discovered, so you can find new objects quickly and easily.
Cons
The database may contain tens of thousands of objects, but how many you can see will also depend on the scope’s optics and seeing conditions.
You need to ensure the battery has enough charge for the observing session – once a Go-To scope has lost its power there is no way to use it manually.
By not manually scanning the heavens, and with the scope doing all the locating, you may miss chance encounters with intriguing objects.
You need to set up and align a Go-To correctly each time you head out to observe, in order for it to accurately locate objects. This takes time.