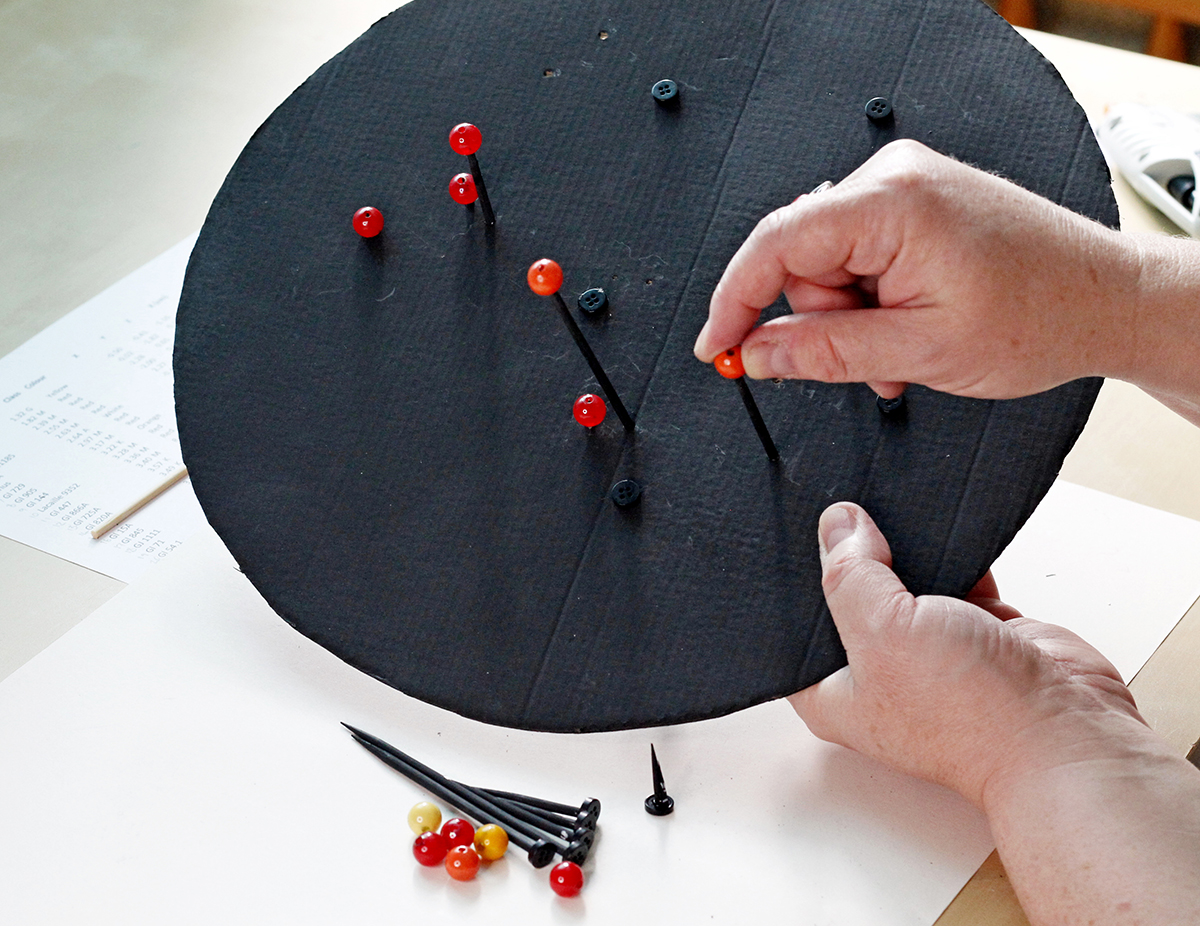
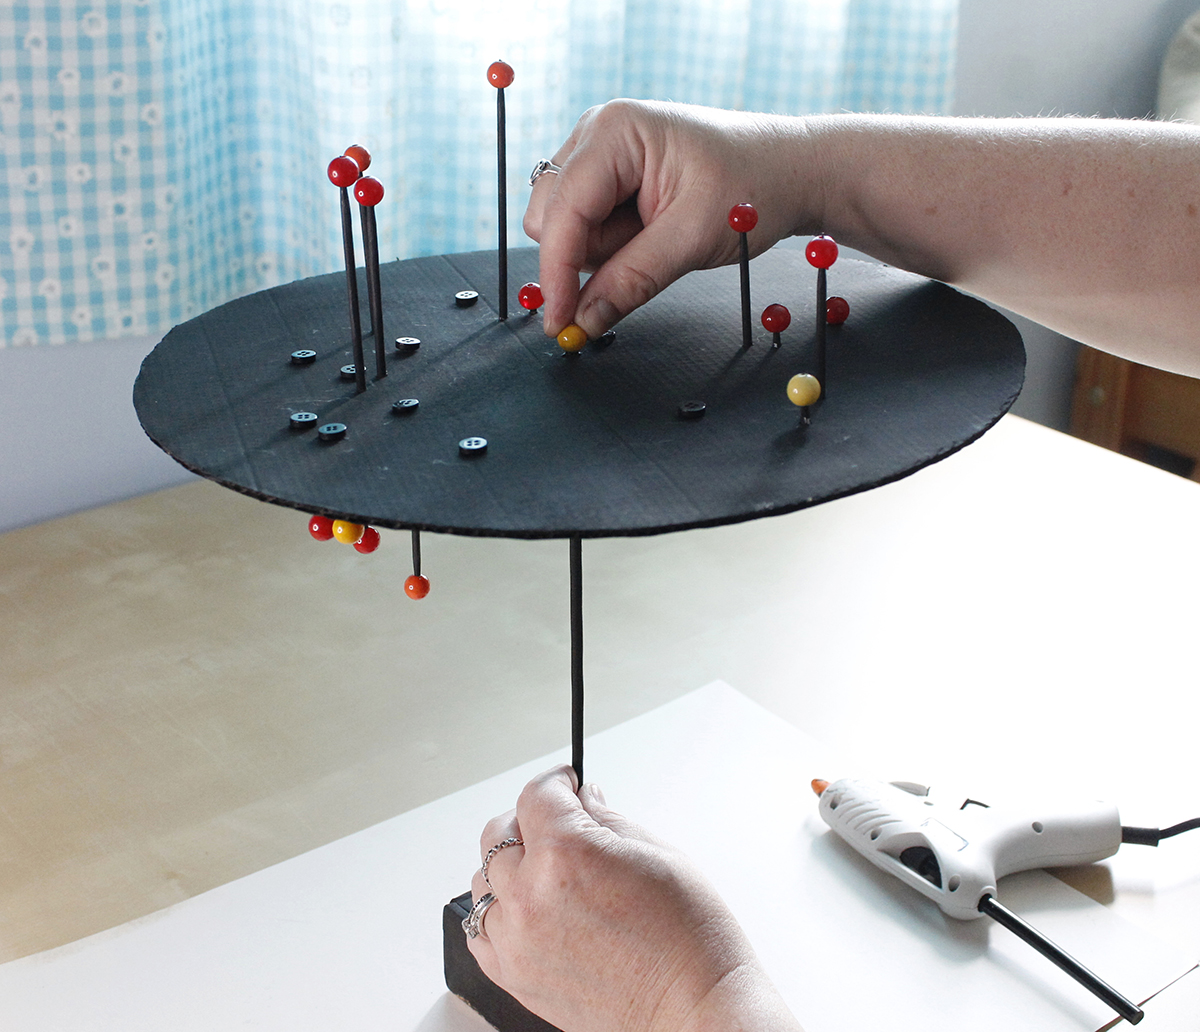
For this fun science project we create a three-dimensional model that shows where the nearest 20 stars to our Solar System are located.It places the Sun at its centre and gives you a unique perspective of our nearby stellar neighbourhood.
It doesn’t just consider the distances of the stars, but gives their real coordinates relative to the orbital plane of the Solar System, which allows you to see exactly where the nearby stars lie relative to our Sun.
More astronomy projects:
We achieve all this by using basic materials and the project is packed with learning opportunities for your family.
The stars are colour-coded depending on their spectral class, so you can discuss the differences between the classes and explain that although 76% of stars in our stellar neighbourhood are ‘M class’ (with a temperature up to 3,420˚C), most are too faint to be seen with the naked eye.
For more info on this, read our guide to stellar spectral classifications.
If you'd rather see our neighbouring stars sparkling from the walls of your bedroom, the take a look at our list of the best home planetariums and star projectors.
Where to place your stars
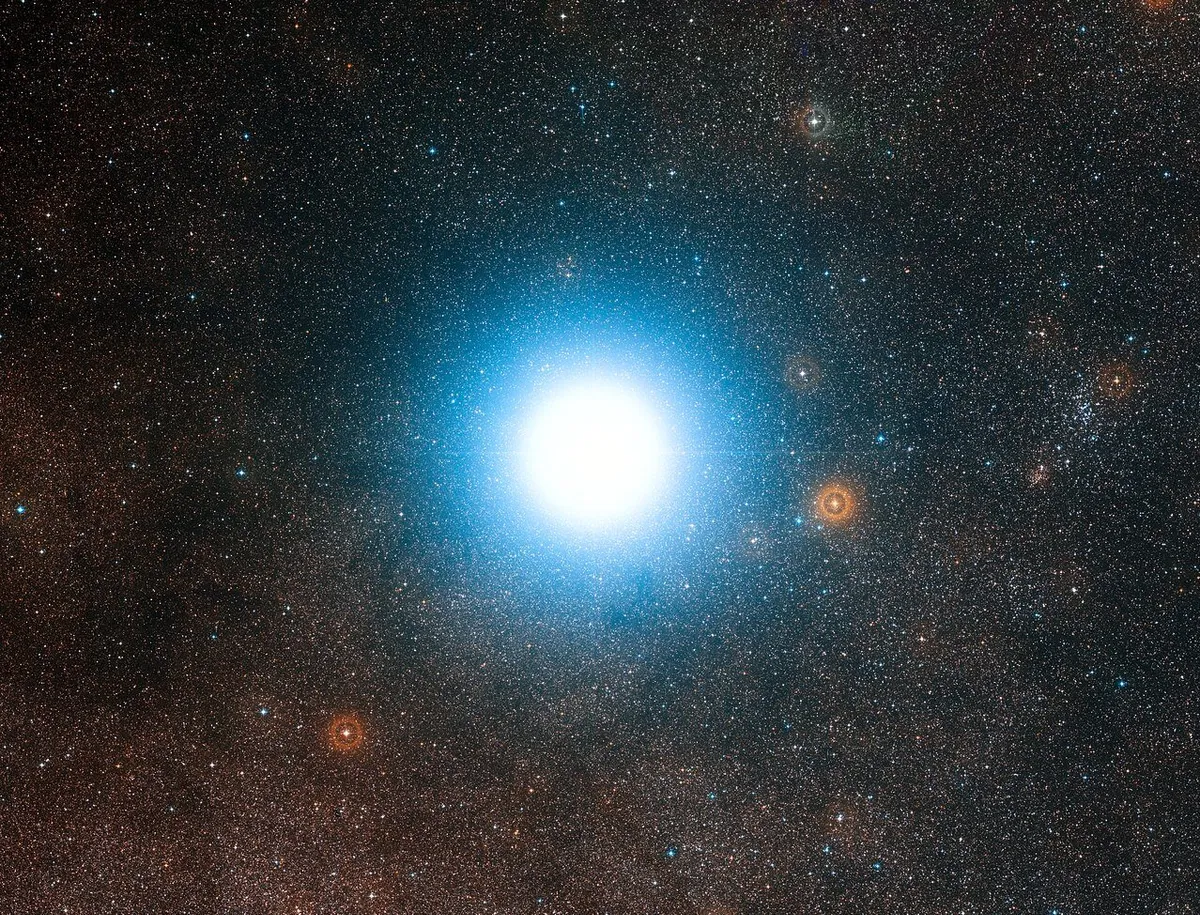
To work out the placement for the stars, we first downloaded the Astronomy Nexus star database. We imported it into Excel and sorted the stars by distance and then selected the nearest 20.
For the stars that are double or triple star systems, we represented the brightest star of that system.
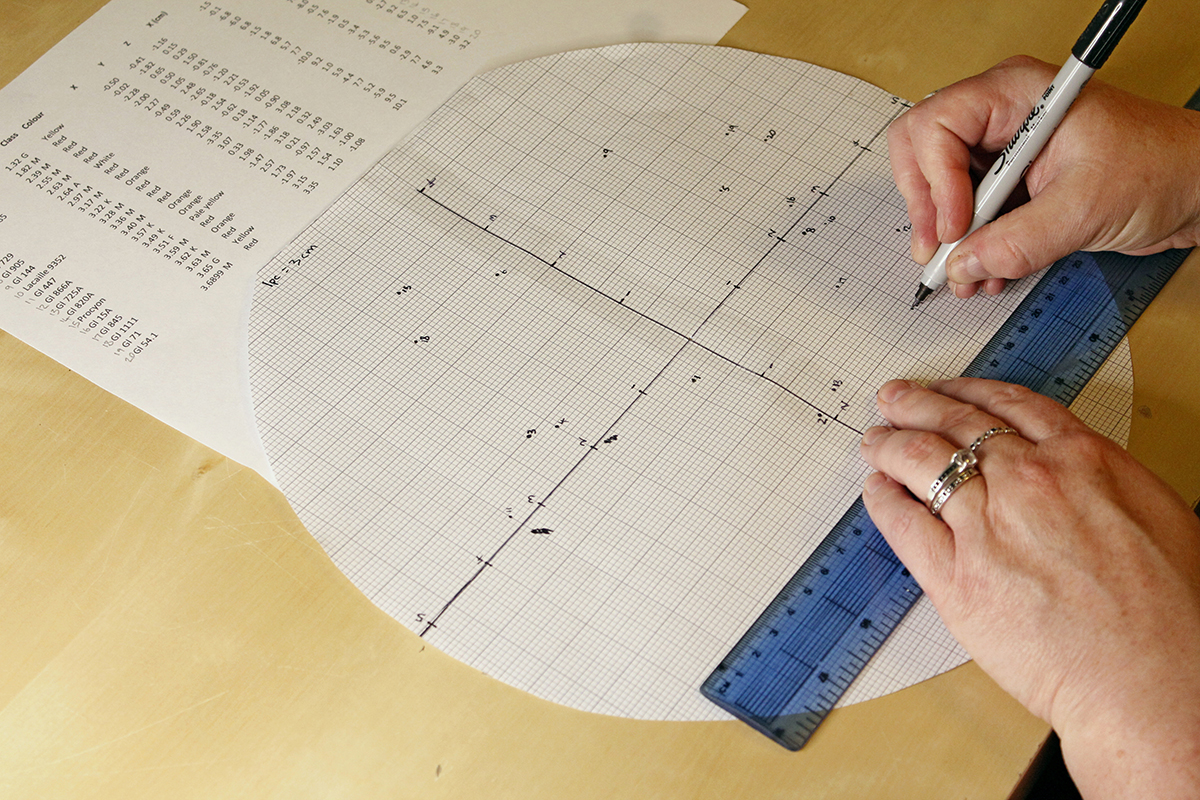
The database gives you x, y and z coordinates for each star as seen from Earth – the x-axis is horizontal and the y-axis is vertical, with the Sun’s location represented by the point at which the two axes intersect.
The z value represents each star’s distance above or below the plane of the Solar System.
These values are in parsecs, with 1 parsec = 3.26 lightyears. We multiplied each value by our scaling factor, 1 parsec = 3cm applied in all directions, so the model’s diameter covers 30 parsecs.
Don’t worry if this sounds complex; we’ve done the maths in a spreadsheet that you can download here.
The stars are numbererd 1 to 20 for ease of reference and the z values have had 4mm added to allow for the thickness of the cardboard disc.
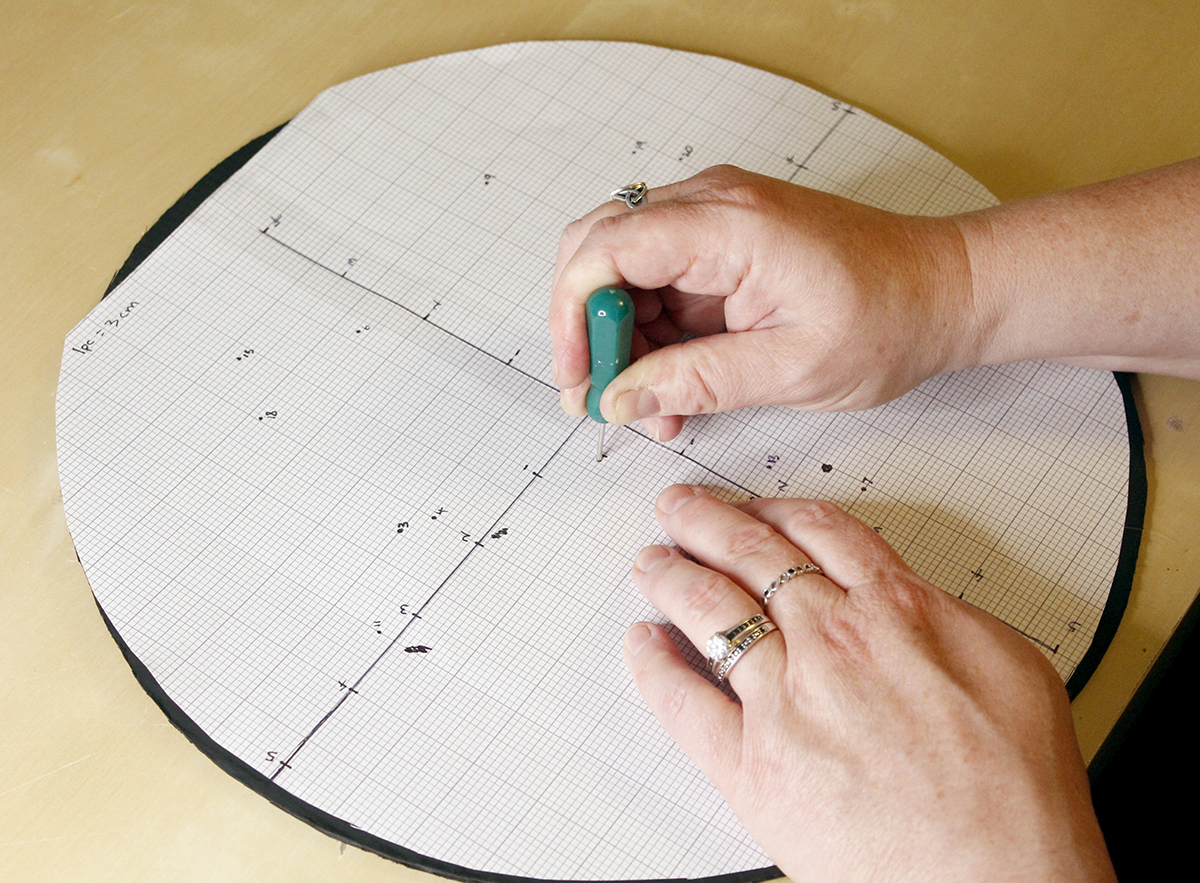
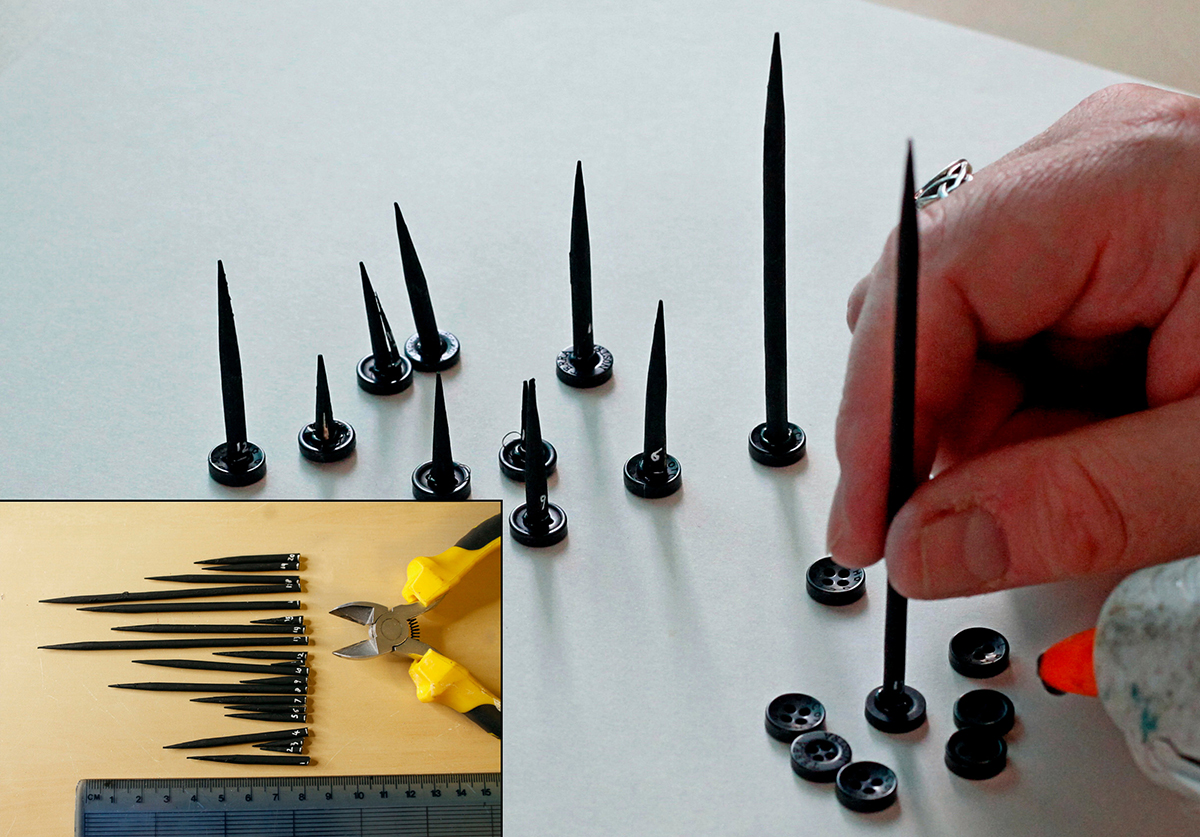
We mapped the x and y coordinates onto the flat disc first and then used barbecue skewers (painted black) trimmed to the correct length to represent the z coordinates.
The stars, represented by coloured beads (also painted beforehand), were attached to the skewer ends. Our stars in this project are not to scale – if they were, they would be microscopic!
We displayed the model on a simple stand so it is aligned with the plane of our Solar System, but you could easily adapt it to be a hanging model.
Tools and materials
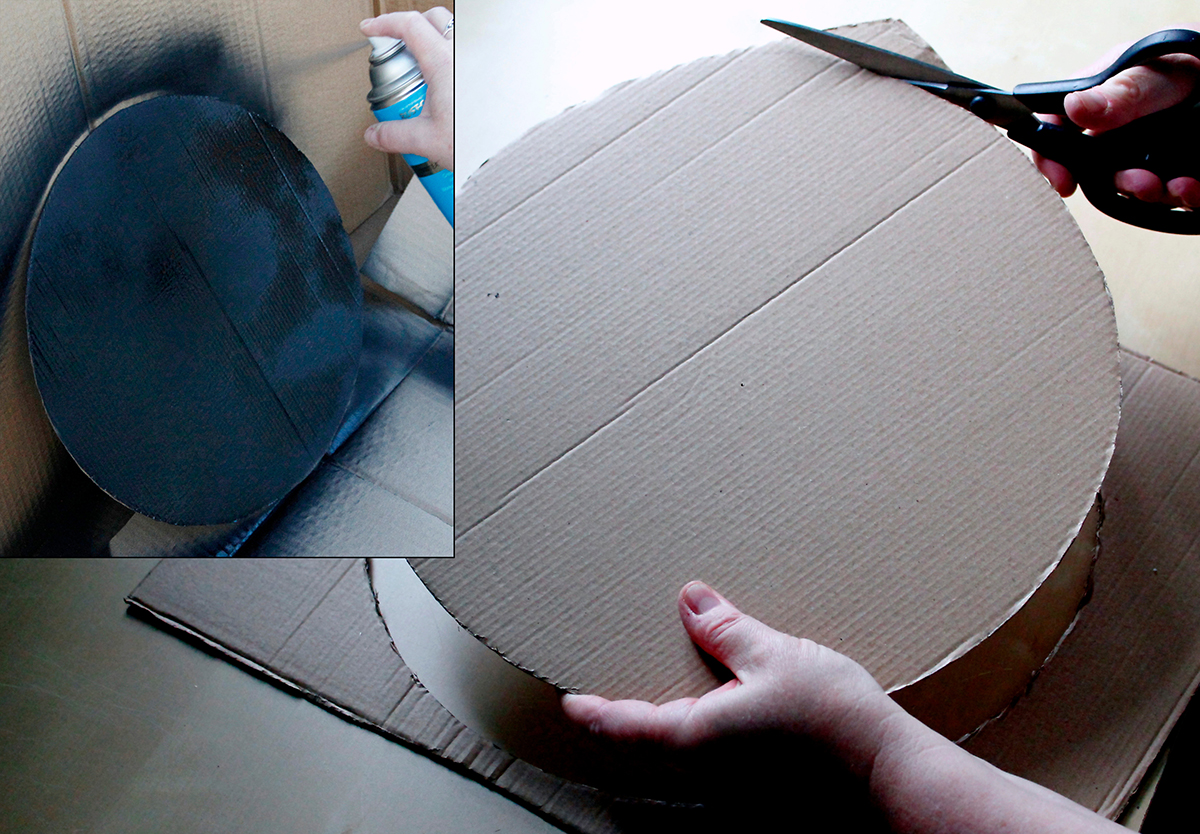
A piece of sturdy cardboard, measuring 30cm x 30cm, plus a piece of graph paper the same size – we stuck two pieces of A4 graph paper together.
Use 21 wooden barbecue skewers; 20 of 3mm diameter for the stars and a thicker one of 4mm diameter for the stand and the Sun.
You’ll also need 20 small black buttons, which will be glued to the ends of the skewers to act as stops for each star (excluding the Sun).
Find 21 beads that fit onto the pointed ends of the skewers; you’ll need 12 red, four orange, three yellow (including one for the Sun), one pale yellow and one white.
A small, sturdy box to use as a base for the stand; ours measured 7cm x 8.5cm x 4cm.
