Exoplanets are planets that orbit stars other than the Sun. It’s incredible to think that before 1992 it was still uncertain whether exoplanets existed.
Today, the number of known exoplanets is just over 5,000 and this total is increasing each day.
Here, I will show you that even amateurs can detect these faraway worlds from their back gardens.
Detecting exoplanets using the transit method
There are several indirect ways by which exoplanets are found, as only a handful have been directly observed by very large telescopes.
By far the most productive method is known as the ‘transit’ method, which works as follows.
If there is a planet orbiting a star in such a way that the planet passes in front of the star as seen from Earth, the light from the star will dim by a small amount.
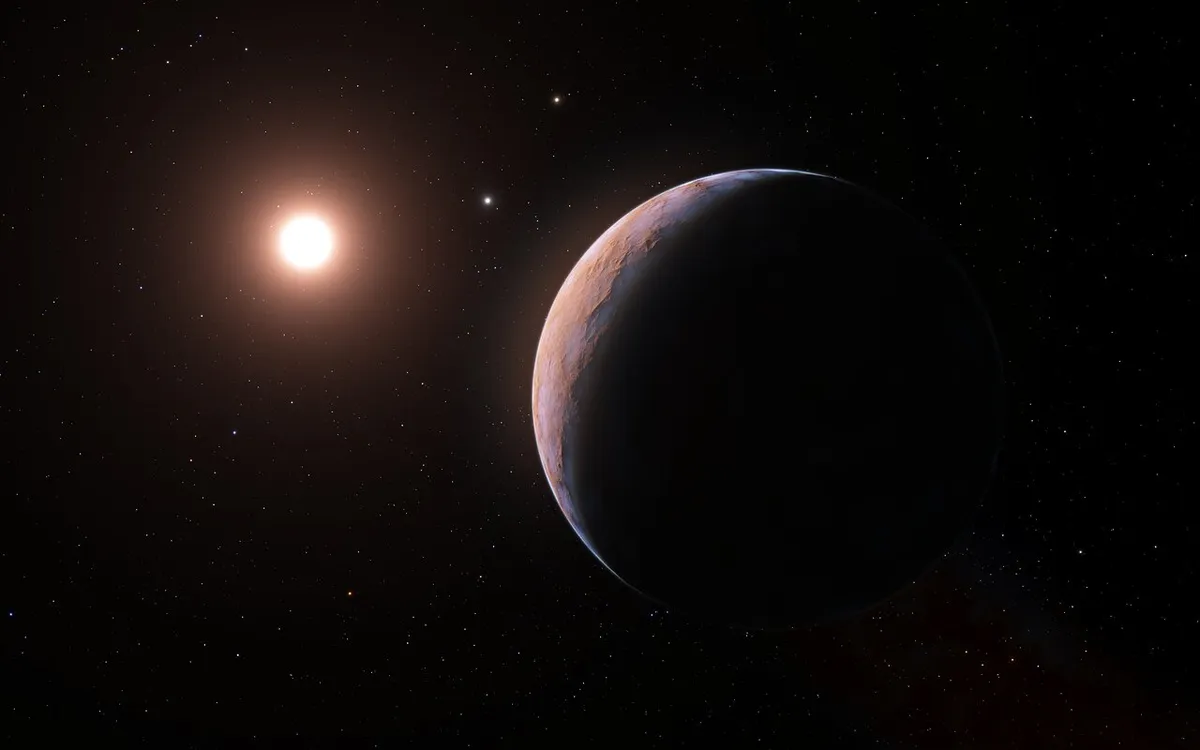
The graphic above illustrates the dimming effect produced by the transit.
It is within the capabilities of amateur astronomers to measure this dimming and to detect the existence of this unseen body.
The amount of dimming is important because it is tiny and often quoted in millimagnitudes.
However, there are many exoplanets you can hunt down with dips in the light curve of 20 or 30 millimagnitudes, which is within the capabilities of an amateur.
For example, in a four-hour run of 45-second exposures, where I captured a system called KELT-23A with an exoplanet called KELT-23Ab, the dip depth was 20 millimagnitudes.
You can see the results by downloading our Exoplanet Transit Detection PDF.
How to detect an exoplanet
Here, I’ll look at the basic process you need to follow to detect an exoplanet for yourself.
First, select a host star and a transit event and then capture images of it from before the start (the ingress) until after the end (the egress).
You’ll need to choose an exposure so that the star will not saturate the camera detector, but will give a good signal above background noise (unwanted artefacts).
You can experiment by viewing the images in a software program that will show the brightness of the pixels.
When the event has been recorded, you need to use one of many software packages to perform a process called ‘aperture photometry’ on each image to come up with a brightness, or magnitude value of the star in each image.
Note that you will need calibration frames for your detector with good flat frames being important for high accuracy.
Calibration frames are vital: good flats reduce image gradients and help with checking brightness measurements against fixed-brightness stars.
More software can be used to plot the resulting light curve in which you hope to see the transit event.
Finally, check your computer clock is accurate and you too can detect a planet orbiting another star!
What you'll need
A polar-aligned mount capable of tracking the stars. Autoguiding is useful, but not mandatory as a typical exposure is around a minute; less for the brighter host stars.
You can use whatever telescope you have! Smaller apertures can still work when trained on brighter host stars.
A detector; the best is a cooled mono CCD camera with filters. CMOS cameras are fine and a DSLR will also get the job done.
Use image capture software of your choice, as long as it will take a sequence. Save in FIT format as this can be read by photometry software.
Software for the photometry and plotting: there is plenty to choose from, including AstroImageJ, which is free, or HOPS software from ExoWorld Spies is free.