Viewing a deep-sky object for the first time can be a rewarding experience. Gazing at star clusters that are located many lightyears away gives us a profound reminder of our place in the Universe.
If you make the switch from observing to drawing, you’ll find that what you draw becomes an authentic learning experience.
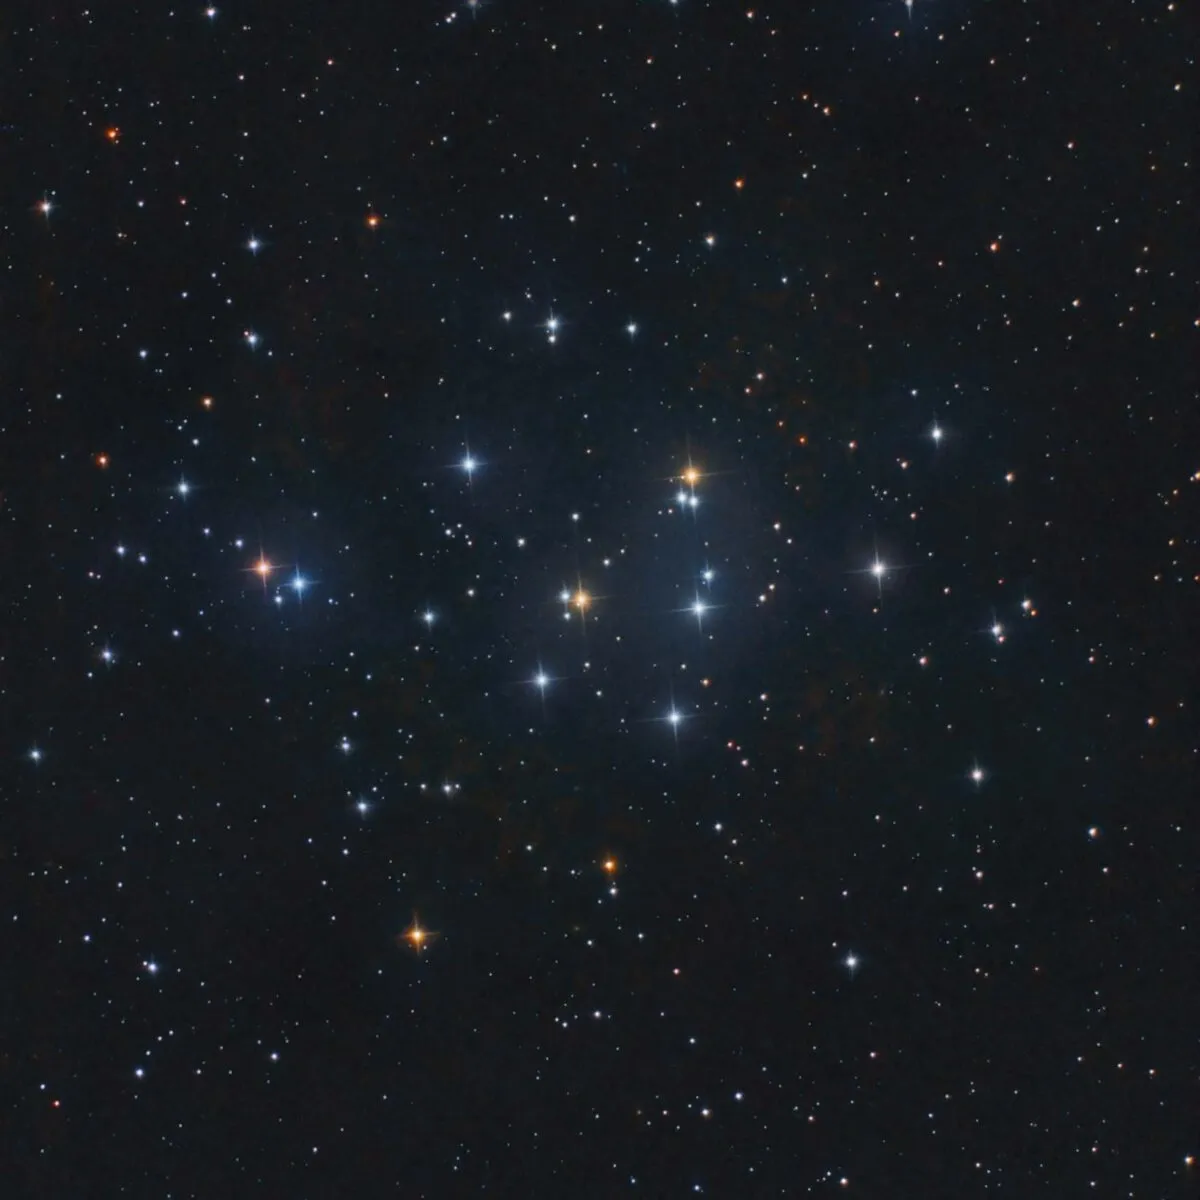
In this article I’ll show you how to capture the Beehive Cluster, M44, and bring it down to Earth by drawing it.
The process of making this happen can be a real pleasure, as you try and reproduce this deep-sky object as clearly and accurately as possible on paper.
For more astronomy sketching advice, read our guide on how to draw Jupiter and how to draw the Moon.
Pick a different target with our guide to star clusters you can see with the naked eye.
Tips for sketching a deep-sky object
When I began to draw deep-sky objects, the materials I found at my disposal were white paper and pencils.
Although it was thrilling to look into nebulae and clusters with a pair of binoculars or a telescope, my initial efforts to record these targets were far from exact compared to what I saw.
This wasn’t because my efforts were inaccurate, but because space is black. Indeed, most of the observed objects were various tones of grey and white.
I changed my approach to astronomical sketching, and using black paper was a real turning point.
It opened up the possibility of using white gel pens for stars and soft pastels for nebulous material.
You can experiment with different media and get familiar with how faint or bright each pen can be when you draw a star. The pen’s size, plus how much you press on the paper, can be used to show different magnitudes.
To do an excellent job of any drawing requires motivation. When you look at open clusters with a massive amount of stars, it can be overwhelming at first, so you need to find an initial starter shape from which the rest of the drawing can grow.
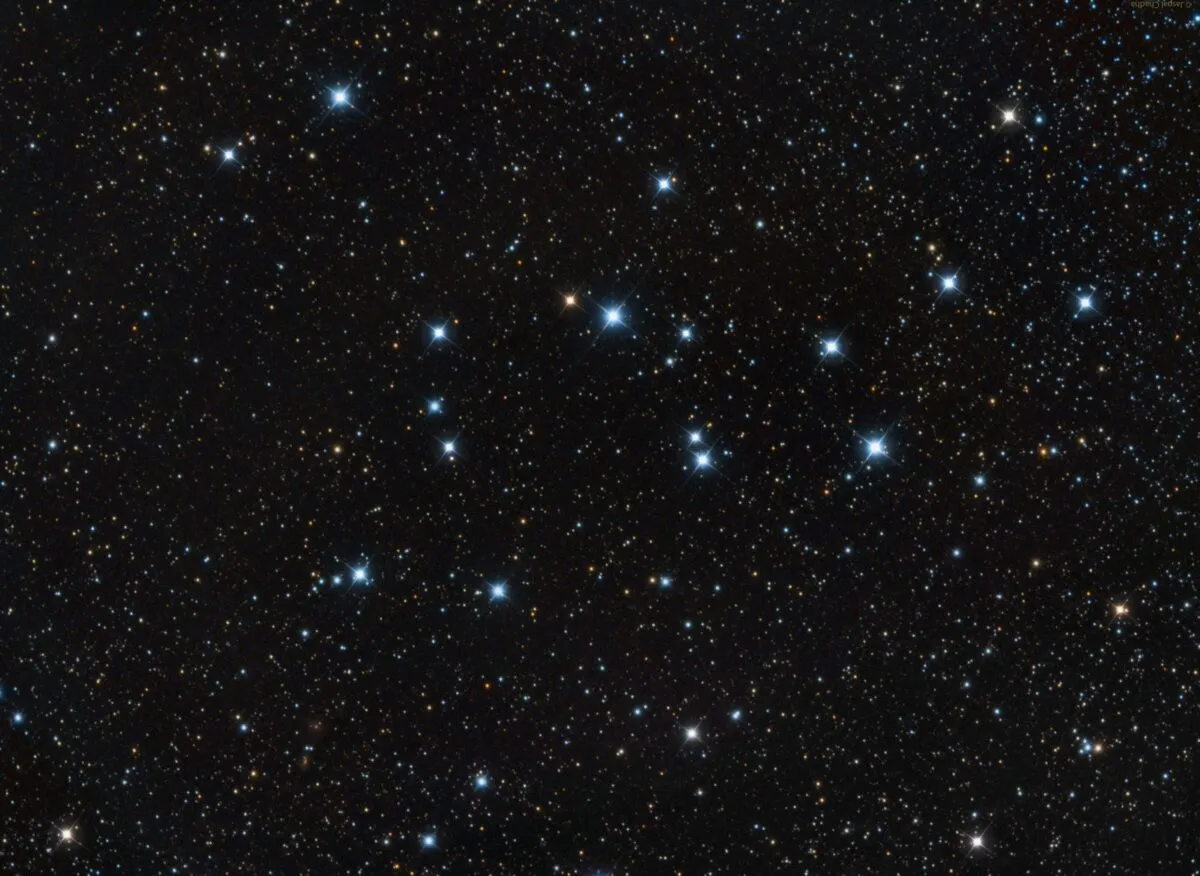
On a cold wintry night I noticed the Beehive Cluster was rising above a local hill, which provided an interesting aspect.
M44 looked terrific against the top of the ridge, especially through my 15x70 binoculars. It provided an opportunity for making a sketch, which I did from 19:15–20:00 UT.
Getting started
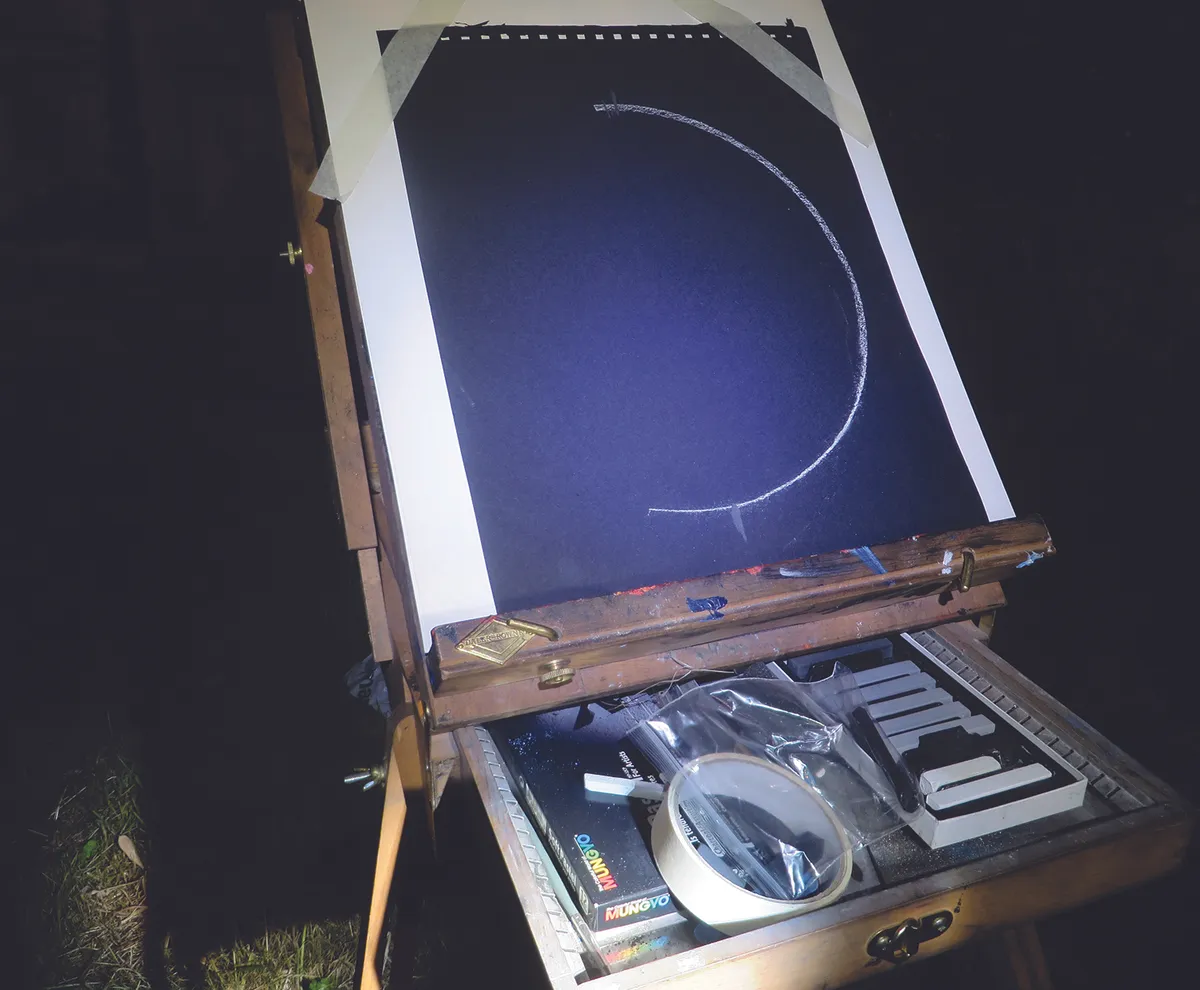
I began the sketch by drawing the hill’s profile in pencil on my pre-prepared circle.
Next, I spent a few minutes looking at the shapes made by the stars that were nearest the hill’s edge. It was noticeable how fast M44 was moving upwards. I added brighter stars first, followed by dimmer ones.
There is a triangular shape at the heart of M44, which looks like ‘>’ – the mathematical symbol for ‘greater than’ – through binoculars.
With five bright stars and a few dimmer ones, this shape makes a good starting point for a drawing.
Next I added fainter stars, such as those below the triangle, as it rose up from the hill, where there were two smaller triangles.
These patterns are helpful as guides to build up a drawing and to add more detail.
Make sure you always write on the drawing the start and end time, in Universal Time (UT), and the instrument used for the observation.
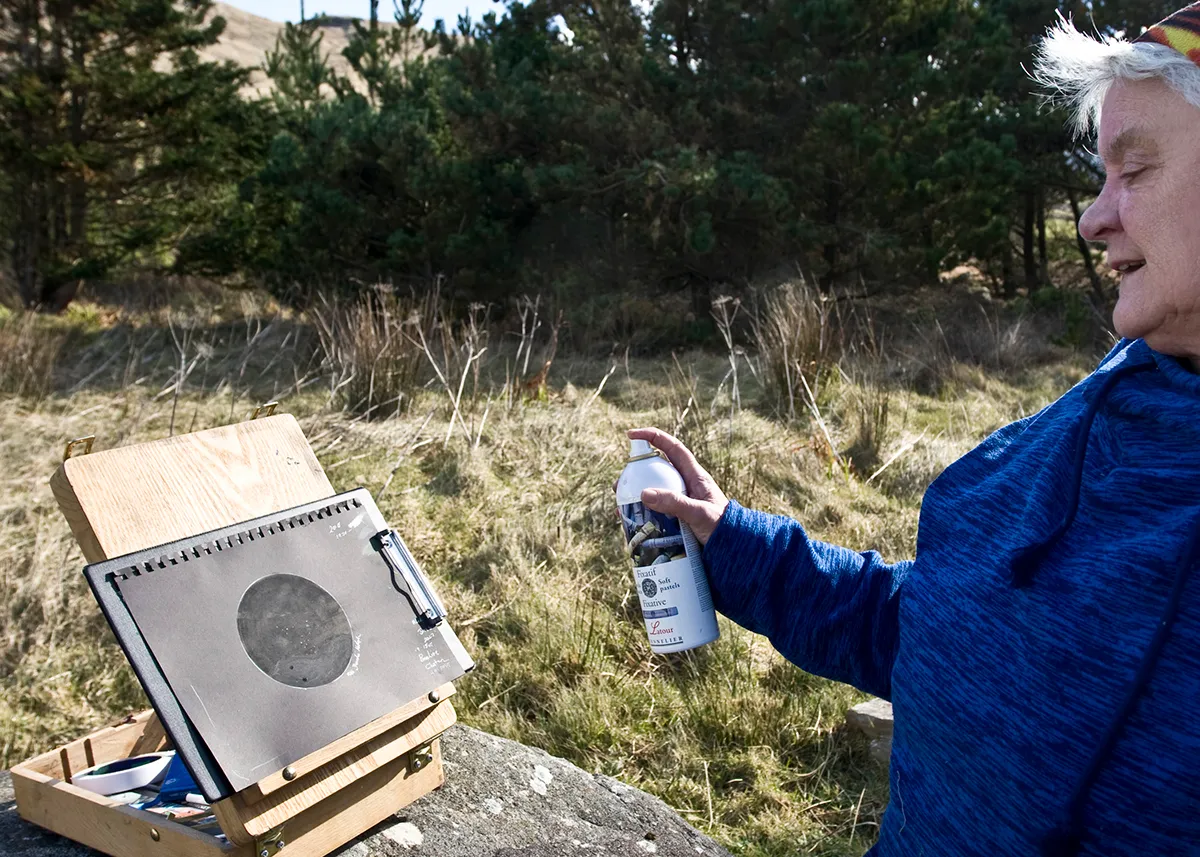
The drawing was finished indoors by painting black gesso over the hill area to separate it from the night sky.
Spray fixative was used (outside with good ventilation) to seal the drawing, and the final sketch now provides a permanent reminder of this cluster.
Tools and materials
- Binoculars, 10x50s or larger on a tripod, or any telescope (if using a telescope, its lowest power eyepiece is best)
- Red headlight or a clip-on orange LED with a low setting
- White gel pens with various size tips
- Colour gel pens.
- Clipboard
- A4 black card or strong paper
- Black pastel
- Spray fixative
- Warm clothing
- Good sturdy seat