The Moon’s surface material, known as regolith, has subtle colour differences dictated by the mineral composition in any particular area. This mineral distribution on the lunar surface was mapped in great detail by the US Clementine probe in 1994, but you can produce images of the Moon showing these colours without having to launch a spacecraft to do so.
All you need is a one shot colour (OSC) camera and a telephoto lens or telescope, plus a bit of image-processing knowhow.
As with most image processing, the success of the technique relies on having a decent image at the start.
The best image for creating a mineral Moon will be evenly exposed, such as the one shown here taken with a DSLR (see the top of this article).
If you're starting out in lunar astrophotography, read our guide on how to photograph the Moon or find out when the next supermoon is occurring.
Read more lunar astrophotography guides:
- How to capture scientific images of the Moon
- Colour saturating the Moon in astrophotos
- Remove noise from your astrophotos of the Moon
- Create a mosaic of the Moon
Keeping the exposure as short as possible helps to keep the image sharp. The settings used here were ISO 100 with an exposure of 1/640”.
Most DSLRs come with a preview mode that flashes to show areas of overexposed pixels, which is invaluable in helping you set the camera to an exposure that doesn’t overexpose.
If you have been taking photos of the Moon for a while you will probably already have many lunar images at different phases that would benefit from this technique.

Create a Luminosity Layer
To begin, open your image in Photoshop. This would preferably be a RAW image or, depending on your Photoshop version, it may be better to convert it to TIFF format first.
Images in JPEG format can be used, but JPEGs compress the data so the image quality will suffer, plus it won’t be as detailed.
The first step is to create a ‘Luminosity Layer’. This will enable you to make some changes to the colour and hold back any adverse artefacts that could quickly manifest themselves as a result.
A ‘Luminosity Layer’ locks the value of the pixels in the image, up to a point, so that the brightness of any pixel in the resulting image does not change too much as adjustments are made.
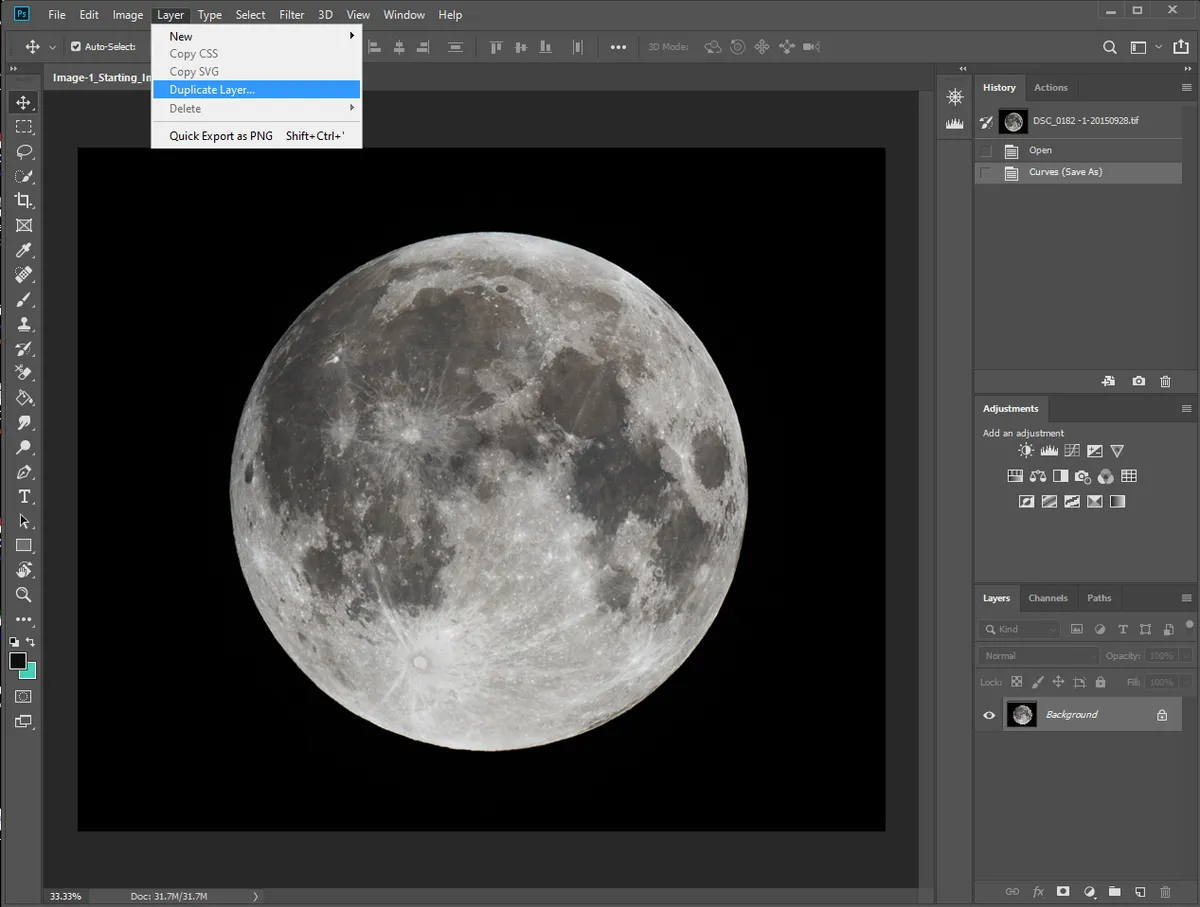
From the Menu select Layer > Duplicate Layer (see below). Name the new layer ‘Luminosity Layer’ and click OK.
From the Menu make sure that Window > Layers is ticked to reveal the Layers Window. This Layers menu should now be visible on the right-hand side of Photoshop.
Click on Layers to reveal the two layers in the image, before clicking on the newly created upper Luminosity Layer so it’s selected.
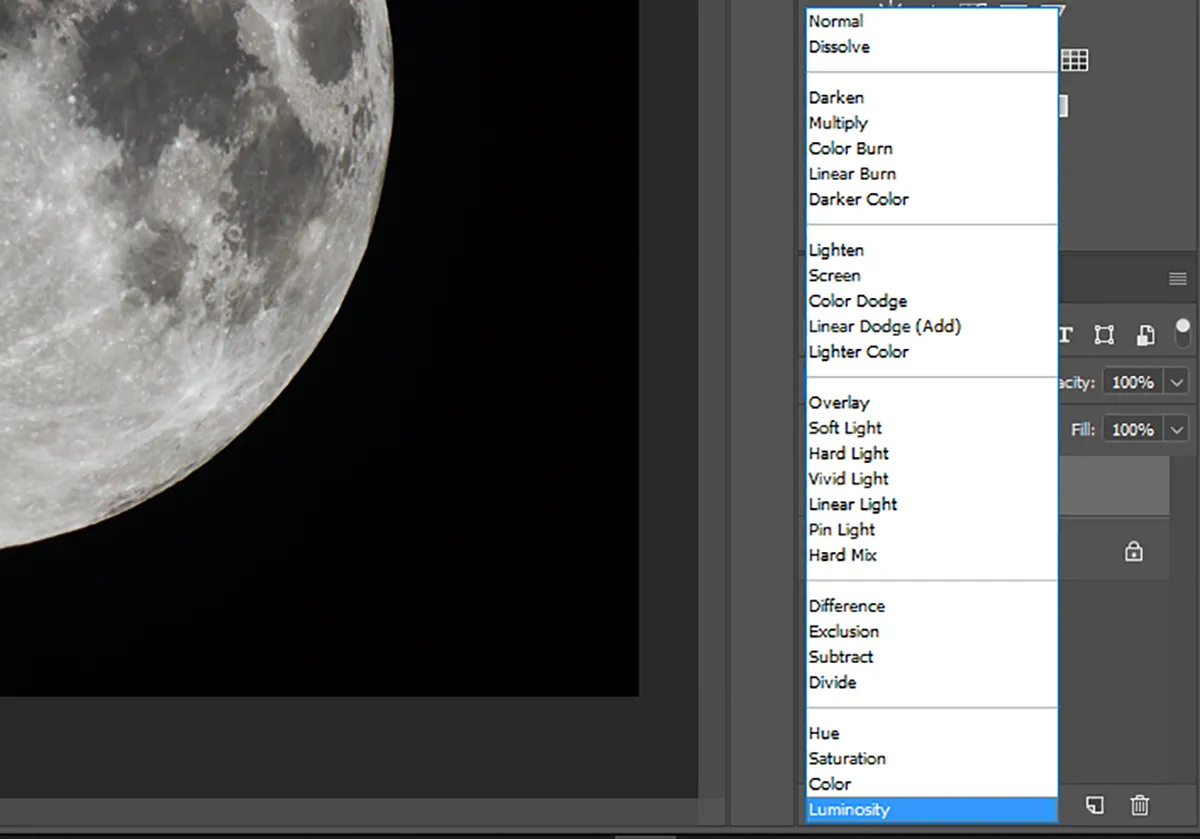
From the drop-down menu just above the layers, which shows the default Normal setting, select Luminosity at the bottom of the list (see image below).
Adjustments now need to be made to the saturation of the lower layer. Depending on your camera, the colour balance may need to be changed as an OSC camera usually has a green bias due to the built-in Bayer matrix that produces the colours.
Click on the lower layer to select it and from the menu click Image > Auto Color, or press Shift Ctrl B. Not much change will be noticed at this stage, but the Red, Green and Blue colour channels have now been balanced in the lower layer image.
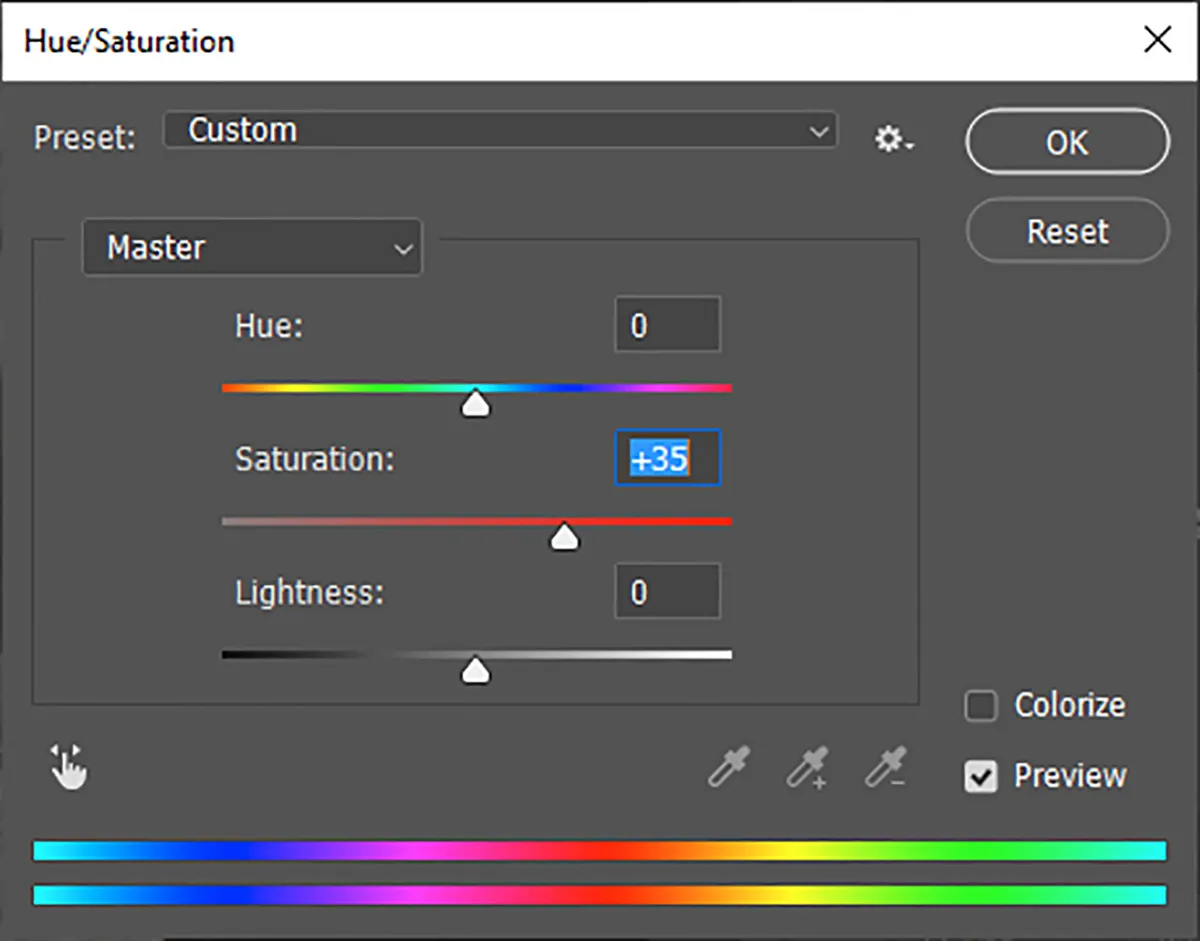
Next you need to increase the saturation. Making sure the lower layer is still selected from the Menu, go to Image > Adjustments > Hue/Saturation.
Adjust the Saturation slider to somewhere between 30% and 40%, but no more than this, and then click OK (see image below).
You may already see some colour appearing, but not much at this stage. So, repeat this saturation increase step a number of times.
Remember that it always gives better results if this is done in a series of smaller more subtle steps, rather than fewer more drastic increases. It’s very easy to overdo it so stop when you reach the colour you like.
Once completed, flatten the image and save it with a different file name. This ensures that you do not overwrite your original starting image.
In our final completed image (at the top) you’ll notice that brown iron-rich areas can be seen, while titanium-rich areas within Mare Tranquillitatis appear bluer.
3 quick tips for creating a mineral Moon image
1
Get the sharpest image possible. Use the mirror-up function to reduce camera vibrations.
2
Do not oversaturate an image as this will create colours that don’t exist.
3
If bright spots in the image show coloured fringes, apply a soft Gaussian blur to the saturated lower layer.
Have you produced a great lunar image? We'd love to see it! Find out how to send us your astrophotos or get in touch via Facebook, Twitter and Instagram.
Dave Eagle is an astronomer, astrophotographer, planetarium operator and writer. This guide originally appeared in the August 2020 issue of BBC Sky at Night Magazine.