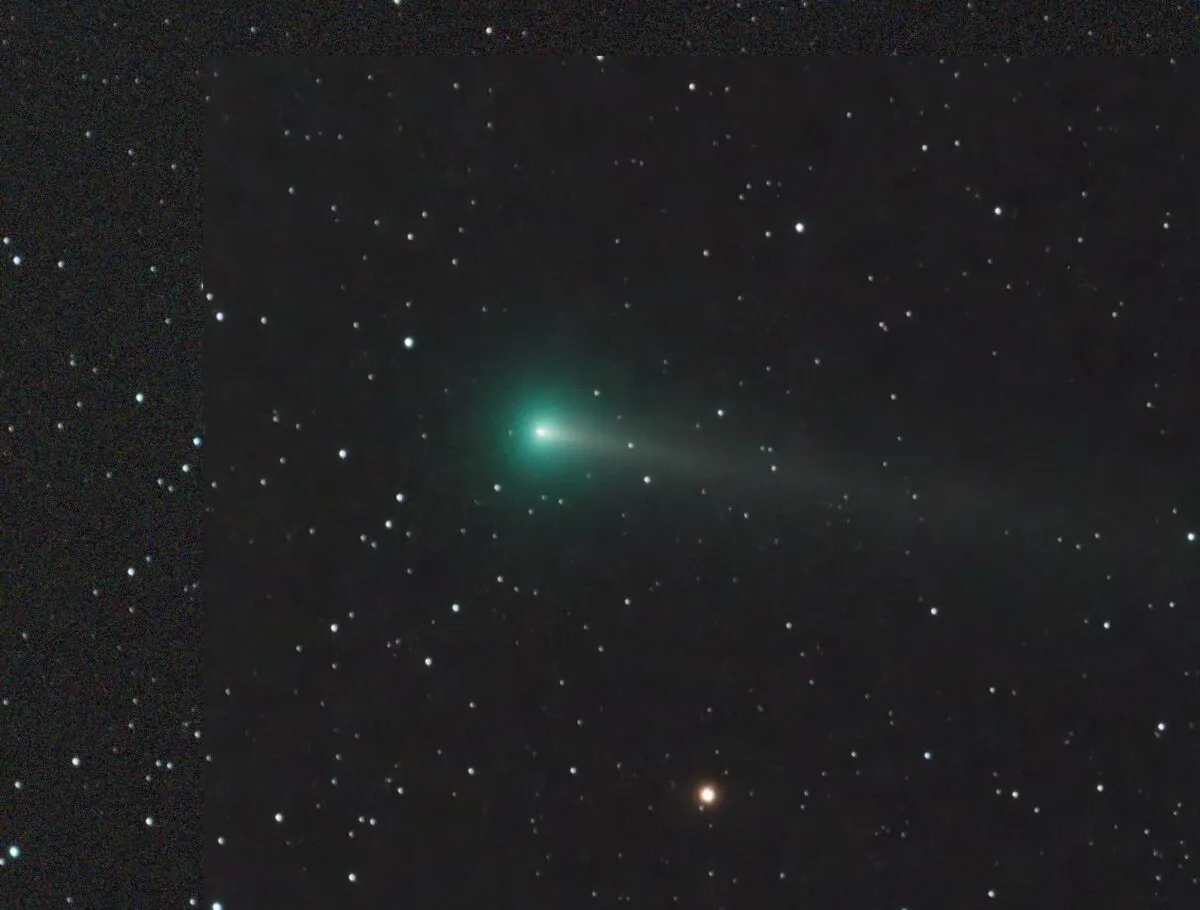
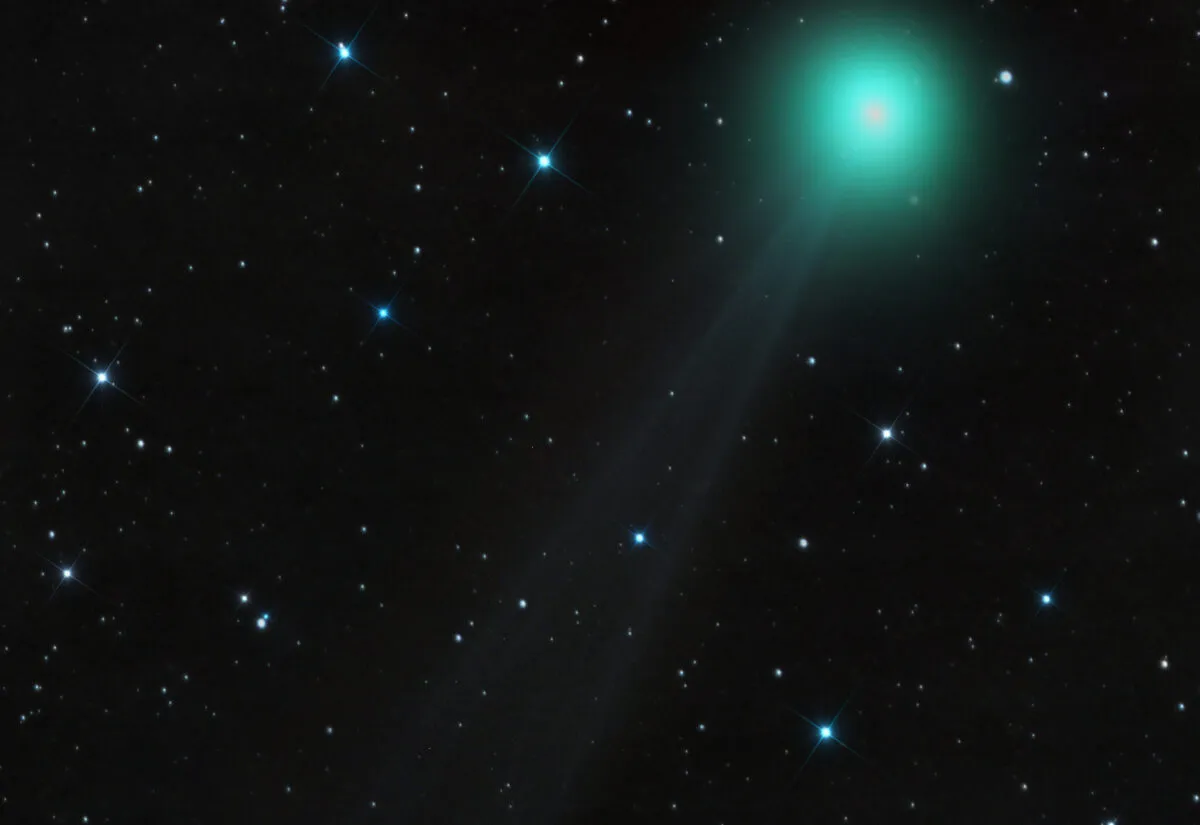
Have you ever wanted to photograph a comet? Photographs of comets can be absolutely spectacular and, as comets are so unpredicatable, they can require a bit of luck and timing to produce something with that 'wow' factor.
But as well as producing wonderful astrophotography - or cometography - your comet images can contribute to science by helping to document how a comet evolves over time.
A good and surprising example was comet 17P/Holmes, which underwent a massive outburst back in 2007, appearing over half a million times brighter than expected.
Find out which comets and asteroids are visible tonight.

The outburst was accompanied by many changes in the comet’s appearance that, when viewed in sequence, described the fascinating and unusual evolution of this amazing object.
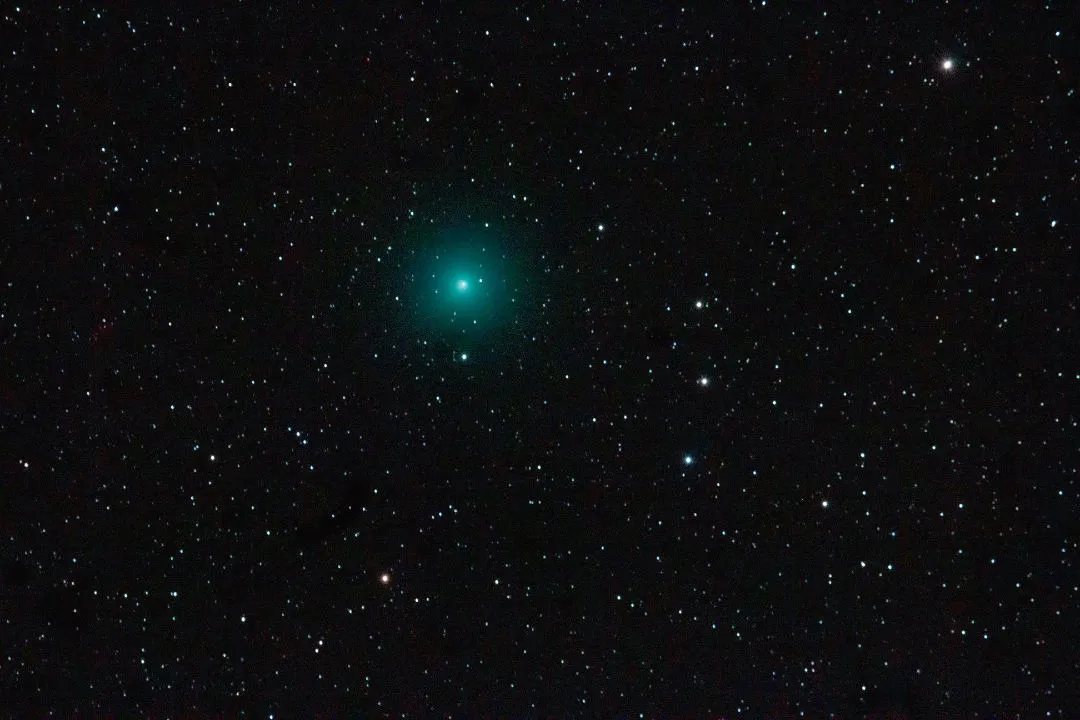
Many different camera setups are suitable for imaging comets.
Brighter comets make ideal targets for general photographic equipment, such as a DSLR fitted with a standard lens.
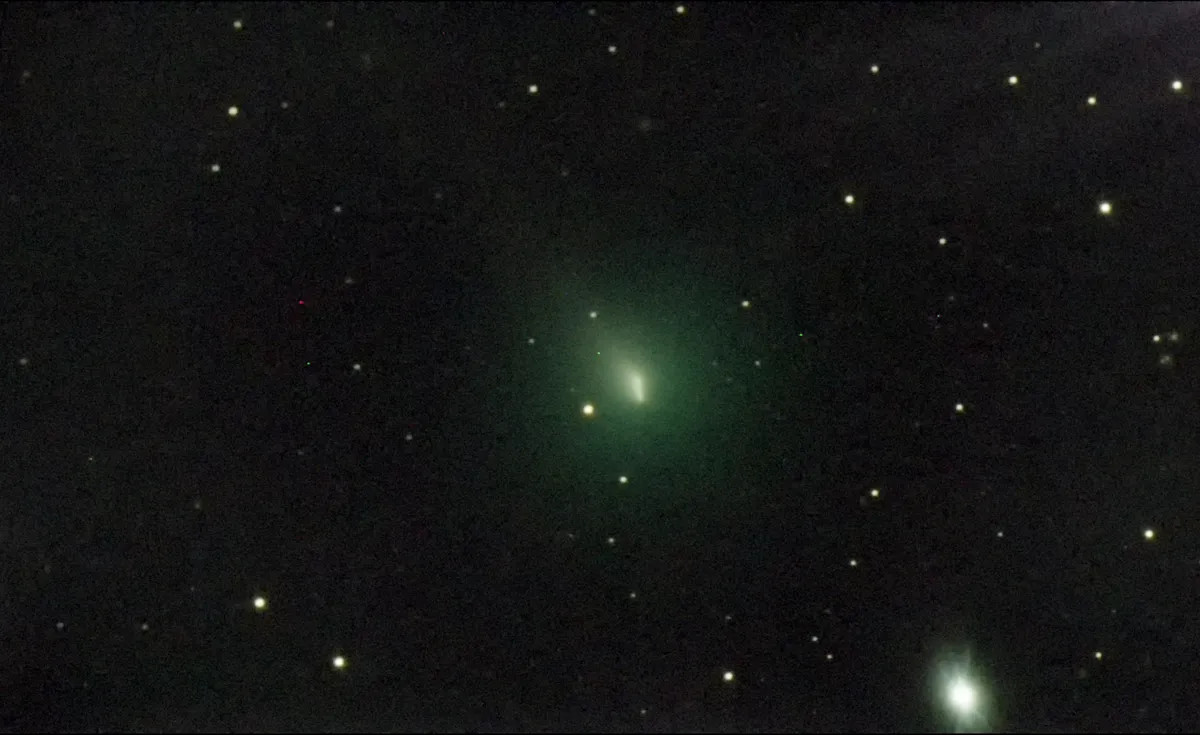
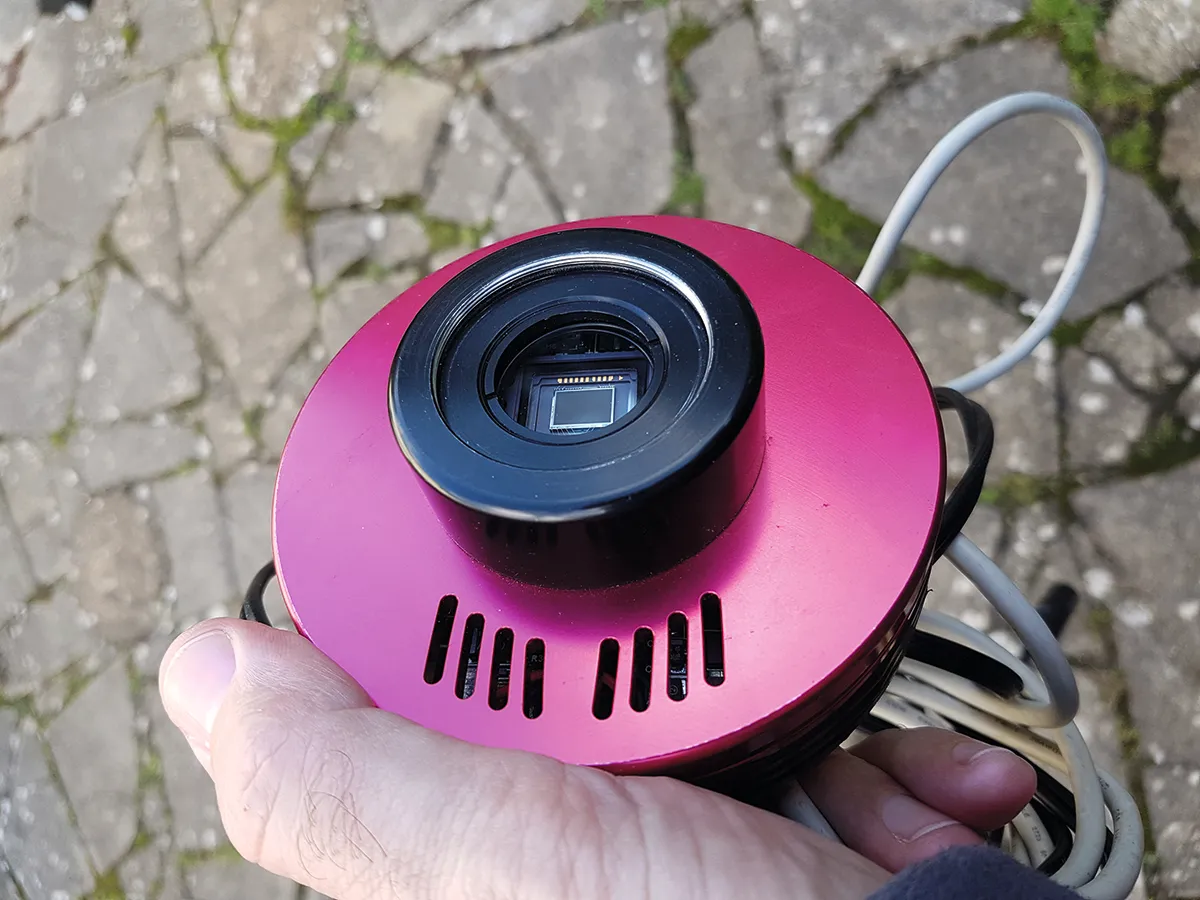
Dimmer targets up the ante, requiring more sensitive equipment, typically a cooled CCD camera fitted to a telescope.
In this guide we'll give you basic tips on photographing comets, but we'll also look at some more technical cometography projects that will provide vital scientific data.
Hardware & Software
Hardware
- Binoculars
- Small and large telescopes
- DSLR and CCD cameras
- Aligned tracking mount
Software
- Astrometrica shareware
- Comphot comet photometry software
- DeepSkyStacker
- PixInsight
- Gimp/Photoshop
Tips for photographing comets
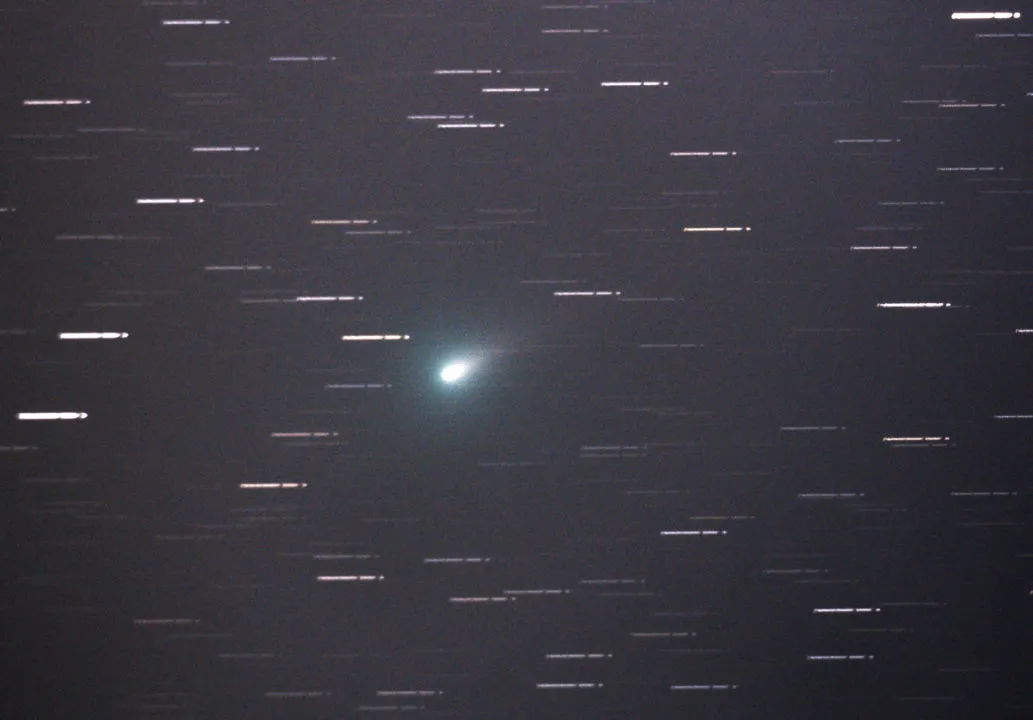
Comets are notoriously awkward objects to image against starry backgrounds.
While we go to great lengths to remove the effects of Earth’s rotation using equatorial tracking or autoguiding mounts, comets mess this up completely by having their own relative motion against the stars.
Tracking the stars keeps them crisp and sharp, as long as your polar alignment is accurate, but a comet will often blur.
Just to complicate matters, a comets’ rate of motion varies depending on how close they are to Earth and the inclination of their orbit to the line of sight of the observer.
Exposures in the order of 30, 60, 90 and 120 seconds should work fine for single shots.
If you intend to stack images, the situation is a bit different as stacking accumulates timed motion.
Stack sixty 60-second exposures for example and you’re integrating a scene that covers an hour’s worth of cometary movement.
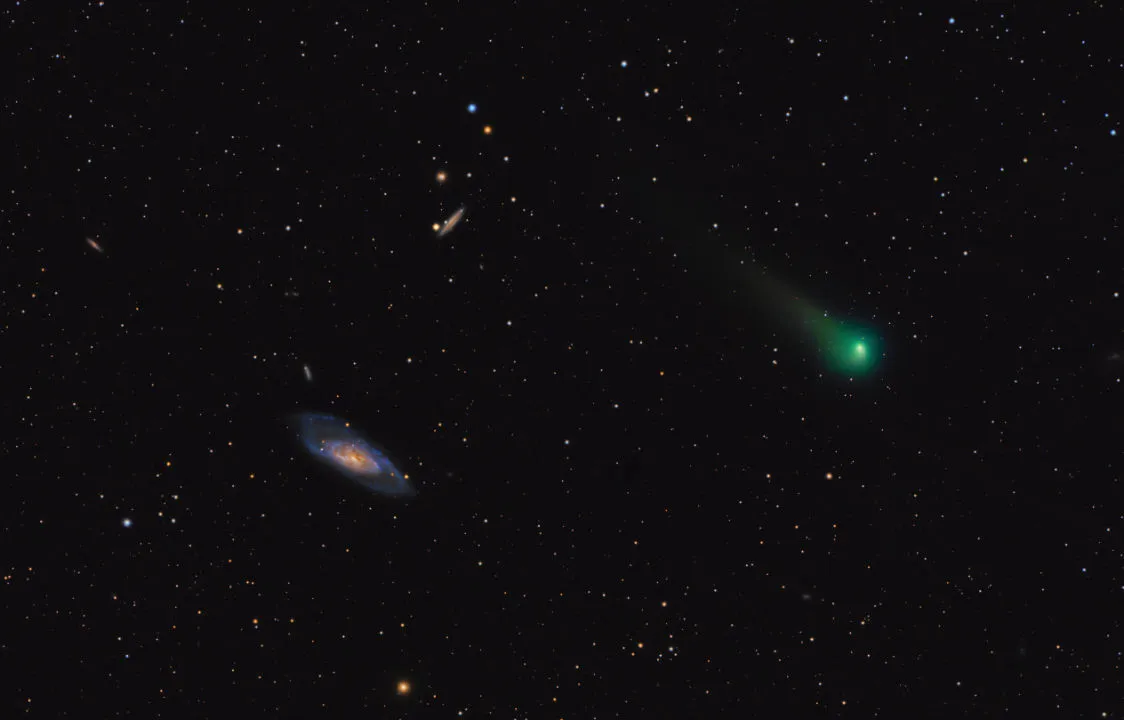
Various techniques exist for processing comets with deep-sky backgrounds.
One popular method is to process for the background stars and galaxies, getting your processing software to remove any moving objects between frames – ie, the comet.
Then process for the comet itself, attempting to remove background stars.
Finally, both sharp images can be combined to give a view showing the comet in sharp relief against its backdrop.
Your image scale will be determined by the lens or scope attached to your camera’s front.
A lens of 600mm focal length attached to a non-full frame DSLR (eg, APS-C) will deliver a 2˚ (long frame dimension) field.
A full frame camera with a 1,000mm lens achieves the same field.
An aligned tracking mount is needed.
Set your camera’s ISO to a mid-low value, say ISO 800-1600.
For lens-based setups, fully open the lens (lowest f-number).For 30” exposures, use the camera’s 30” setting.
For longer values, set the camera to bulb mode and use a remote shutter release to control shutter opening.
Use a stopwatch to control exposure lengths.
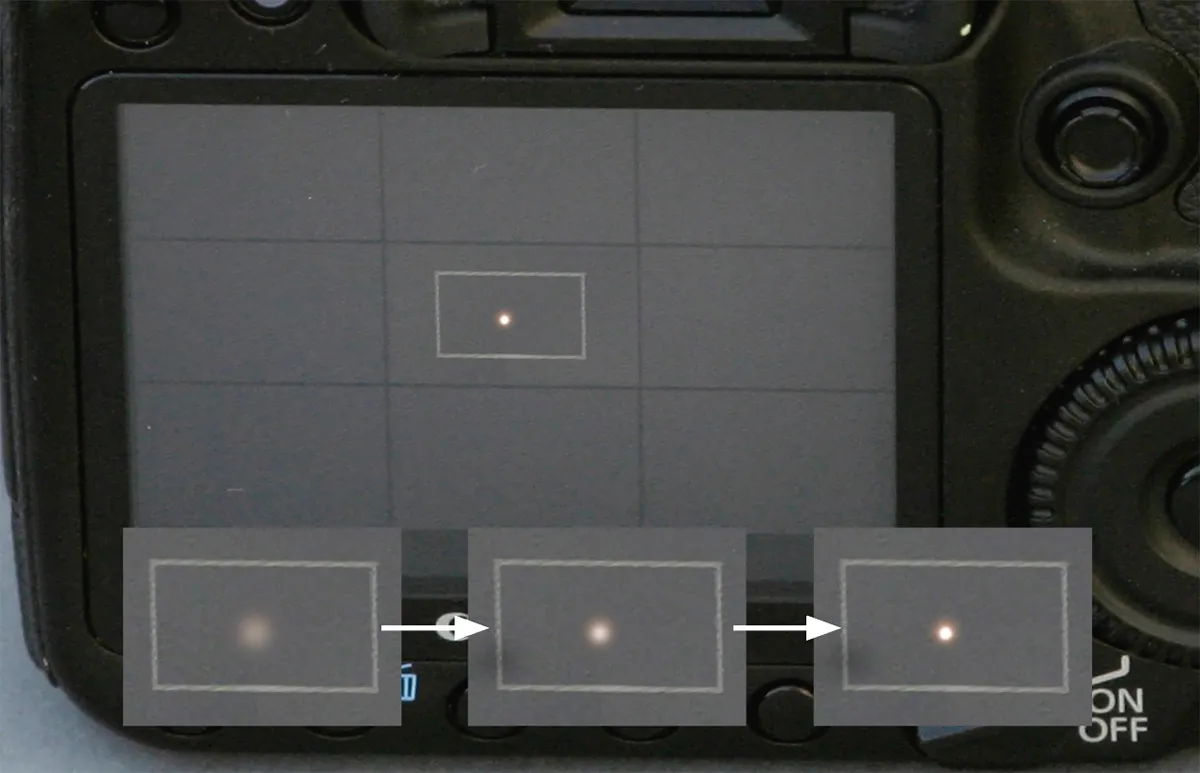
Accurate focusing is important, so take your time. Pre-focus on a star using your camera’s Live View facility.
Set the Live View display to maximum magnification. Approach focus, achieve it and wind through it. Repeat until you recognise what focus looks like, then wind to it.
If your comet is moving slowly, you may be allowed several minutes of images to be stacked without blurring.
DeepSkyStacker can stack and average images, allowing flats and darks to be used.
Dark frames are equivalent exposures with the lens cap fitted.
Flat frames are an image of an evenly illuminated white light source, exposing to 50-70% saturation.
Photographing comets for science
Comets move, often quite rapidly, relative to the background stars.
For this reason, mid-range ISOs and relatively short exposures between 30–120 seconds are normally used.
Dark and flat-field calibration is also essential to obtain the best and most accurate results.
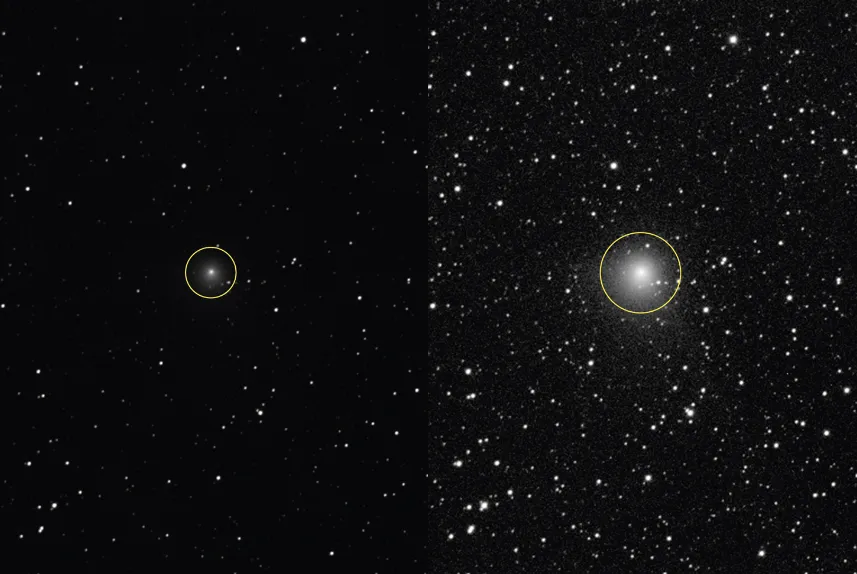
When it comes to registration-stacking, doing it on the stars will result in a blurred comet, while registering on the comet will produce trailing stars.
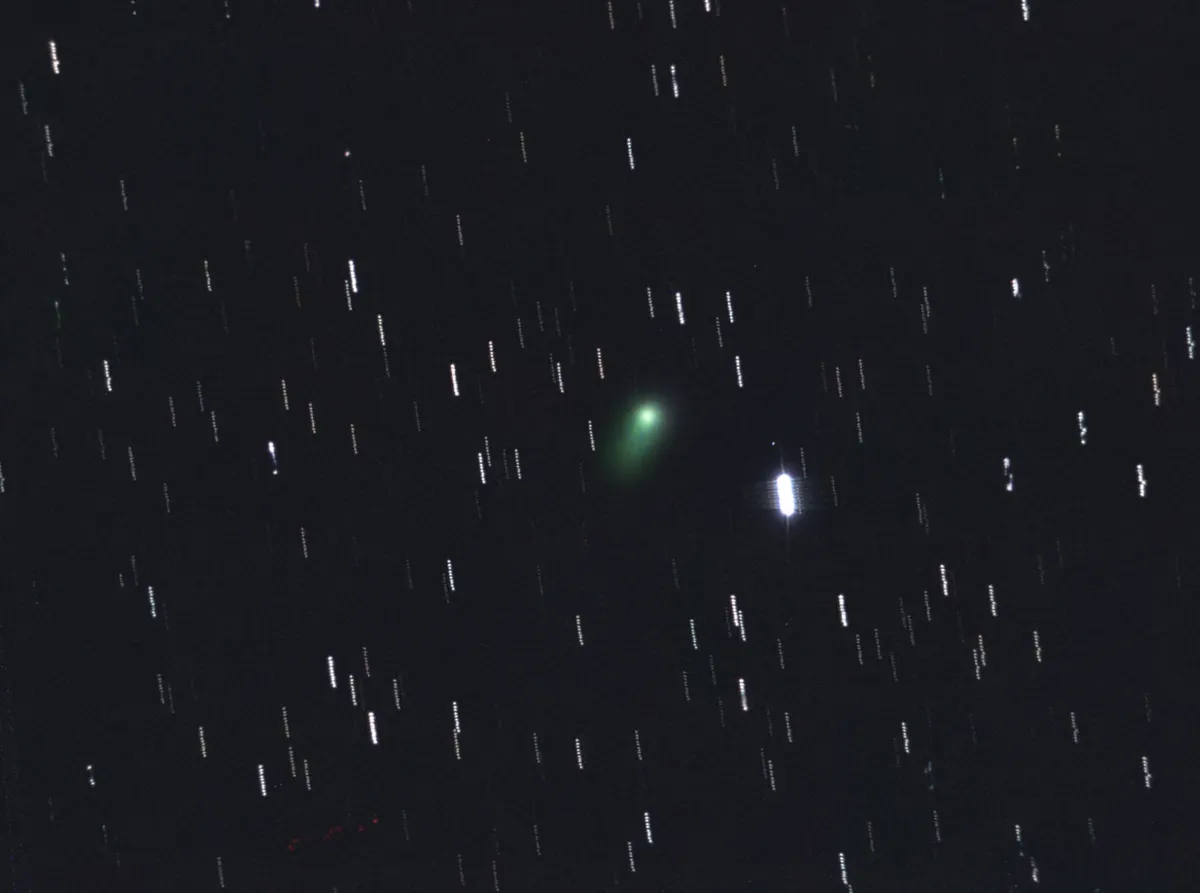
More sophisticated techniques involve registering on the comet and rejecting maximum pixel values between shots.
If a comet’s movement is sufficient, this should remove most of the stars.
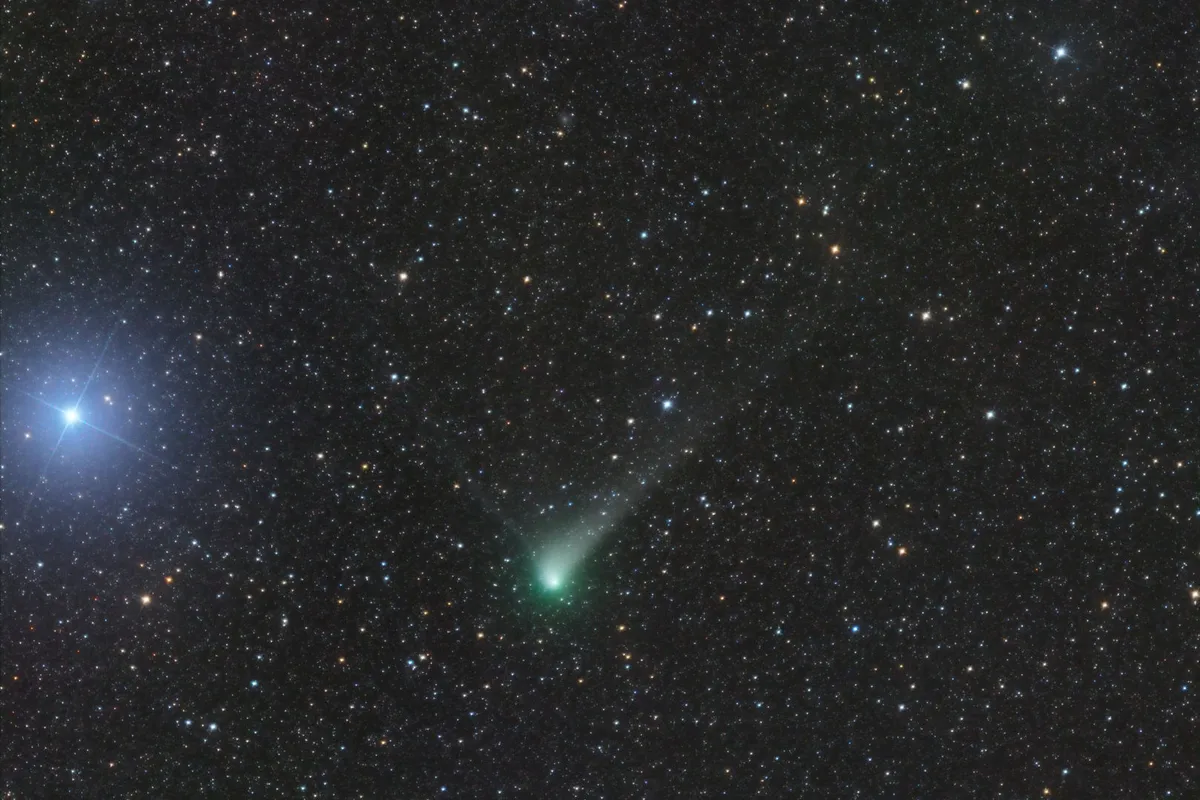
Subtracting the resulting comet-only image from the original star and comet frames will isolate the star-field.
Stacking the star-only images and recombining them with the processed comet-only image then allows you to produce a shot of a detailed comet against the background of a sharp star-field.
Submissions to organisations such as the BAA often require image filenames to be formatted in a certain way.
For the BAA, the format cometname_yyyymmdd_hhmm_observer is preferred, where cometname is the identifier of the comet, yyyymmdd and hhmm are the date and time of the image and observer is the imager’s name or initials.
Scale and orientation should also be included on the image with the preferred orientation being north up and east to the left.
How to submit your comet pics for science
"Comets are fascinating objects to observe. They are also scientifically very important since they represent material left over from the formation of the Solar System, which has been kept in deep freeze for billions of years," says Nick James (pictured), director of the British Astronomical Association Comet Section.
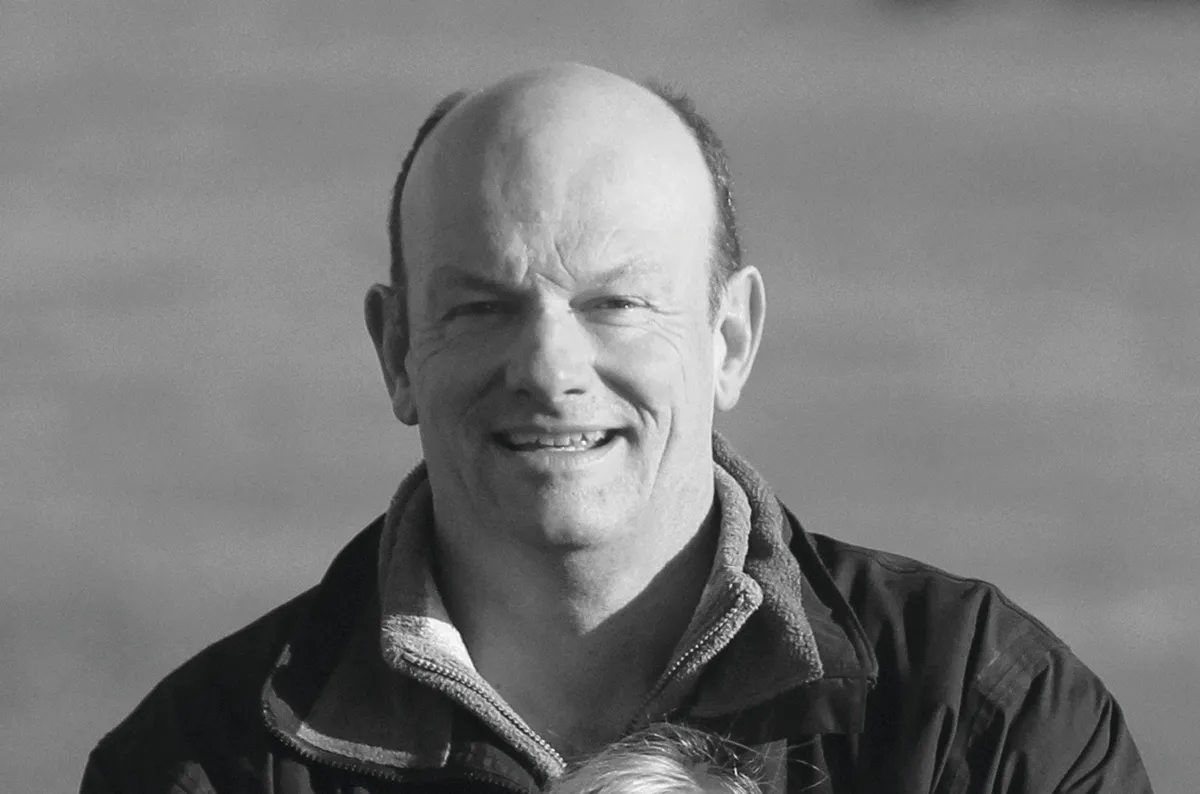
"A rare, bright comet can be an extraordinary sight in the sky and even the more mundane objects often behave in ways that we don’t expect. You never quite know what you will see when you go out to observe one.
"The Comet Section has been around since 1891 and we aim to encourage observations of these enigmatic objects, both for pleasure and to provide valuable scientific data.
"As with many areas of astronomy we have benefited from the revolution in digital imaging systems over the past few decades and our section officers have then necessary expertise to help observers record their sightings.
"When a comet is first discovered it’s important to characterise its orbit and a number of our observers submit very accurate position measurements obtained from images. Once the orbit is secure we can characterise the comet’s activity by measuring how its brightness evolves.
"Despite recent developments in digital imaging, visual observers still excel in this area. In fact, visual observations are often crucial in understanding the behaviour of a comet since they allow us to compare recent observations with observations made using similar techniques many years ago.
"The Comet section produces a newsletter, The Comet’s Tale, and there are often items of interest to comet observers in the BAA Journal."
Comet astrometry
Astrometry is the science of determining the precise positions and movements of astronomical bodies.
This is especially important for small Solar System bodies such as comets where such measurements help refine the object’s orbit.
The high accuracy required for the measurements places certain demands on your images.
The world-wide clearing house for submission of positional comet measurements is the International Astronomical Union’s Minor Planet Center (MPC), which maintains a detailed Guide to Minor Body Astrometry.
Comet astrometry is normally done using a CCD camera and an image scale of two arcseconds per pixel.
A scale of three arcseconds per pixel is considered the lower limit of quality.
You can work out your setup’s image scale using this formula:
Image scale (in arcseconds/pixel) = (206.3 x pixel size in microns) / focal length in millimetres.
To carry out astrometry on a comet requires the reduction of an image containing the comet.
This entails identifying the star field (a process known as ‘plate-solving’), determining the position of as many stars as possible from permitted catalogues and finally working out the position of the comet using a least-squares plate-constants (LSPC) solution.
This process must be done using software; manual reductions are not considered accurate enough.

Submissions to the MPC must follow strict formatting guidelines.
Two submission forms are permitted: one for permanent observatories and one for roving observations.
A permanent observatory will ultimately be given a three-digit MPC observatory code, while a roving observation will use the observatory code 247 along with extra data to precisely identify where the observation was made on Earth’s surface.
There are full details on how to obtain a permanent observatory code from the MPC in the Guide to Minor Body Astrometry mentioned earlier.
The astrometry software listed under recommended software at the top of this article will produce the required MPC submission format automatically.
Get more information about permanent observatory submissions and roving observations.
Comet photometry
Photometry is the science of measuring an object’s brightness and there are a number of important aspects to consider when performing photometric measurements on comets.
Firstly, images need to be pre-calibrated using matching flat and dark frames.
As sky brightness makes a contribution to the comet’s brightness, this too needs to be measured.
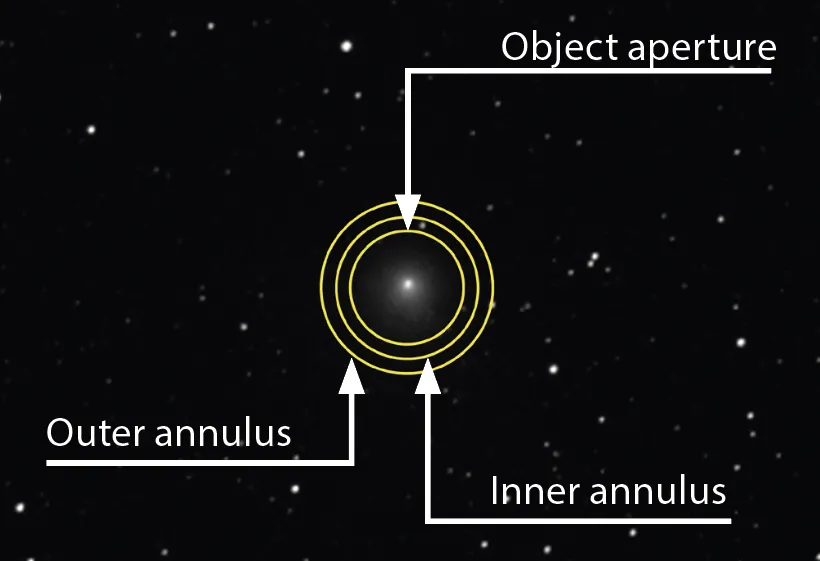
Some programs, such as MaximDL, perform this function using an aperture and an annulus.
The aperture measures the comet’s brightness while the annulus is used to measure the background sky brightness.
The BAA program Comphot (see Hardware & Software, above) can be used to perform photometry on comet images.
This requires two FITS images as a source, one stacked on the background stars and the other on the comet.
This is a command line program normally initiated by typing: comphot offset.fit fixed.fit x y
Here offset.fit is the image stacked on the comet, and fixed.fit is the image stacked on the stars.
Both files are in the FITS (Flexible Image Transport System) file format, a technical format preferred for astrometry and photometry.
The x and y values are the coordinates of the comet’s coma centre and can be derived by using a position-measuring program such as Astrometrica.
The UCAC-4 star catalogue is recommended for positional measurements.
As the coma contains reflected sunlight as well as light generated by excited coma atoms and molecules, specialist photometric filters are normally used for imaging.
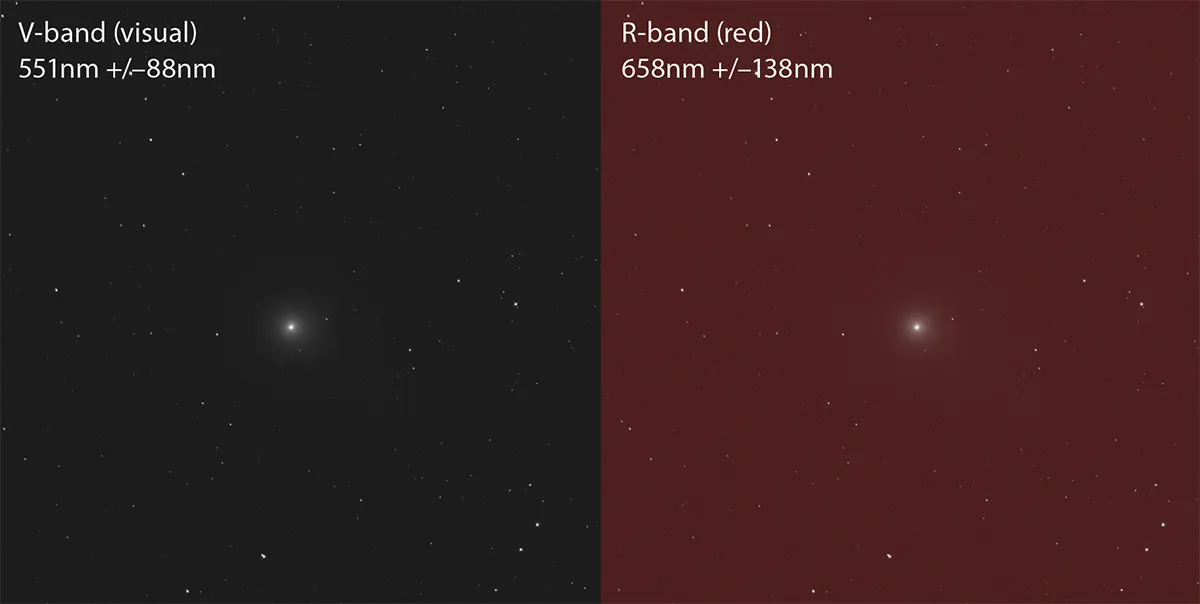
If you’re using FITS images from a CCD without a filter, R-band magnitude values should be selected in Astrometrica.
If using a green filter, V-band magnitudes should be used.
An R-band filter is a red filter typically centred on 658nm, while the V-band filter is centred on the visual wavelength at 551nm.
The Comphot software is capable of outputting its measured findings in the correct format required by the International Comet Quarterly (ICQ).
The ICQ requires that this data follows a strict submission format. Details of this format are available at the ICQ observation format webpage.
Have you managed to capture an image of a comet? Send it to us via contactus@skyatnightmagazine.com or share it with us via Facebook, Twitter and Instagram.
