In this guide we'll walk you through the some of the best ways beginners can get into astrophotography.
Astrophotography is the term given to the art of photographing the night sky, and it's surprisingly easy.
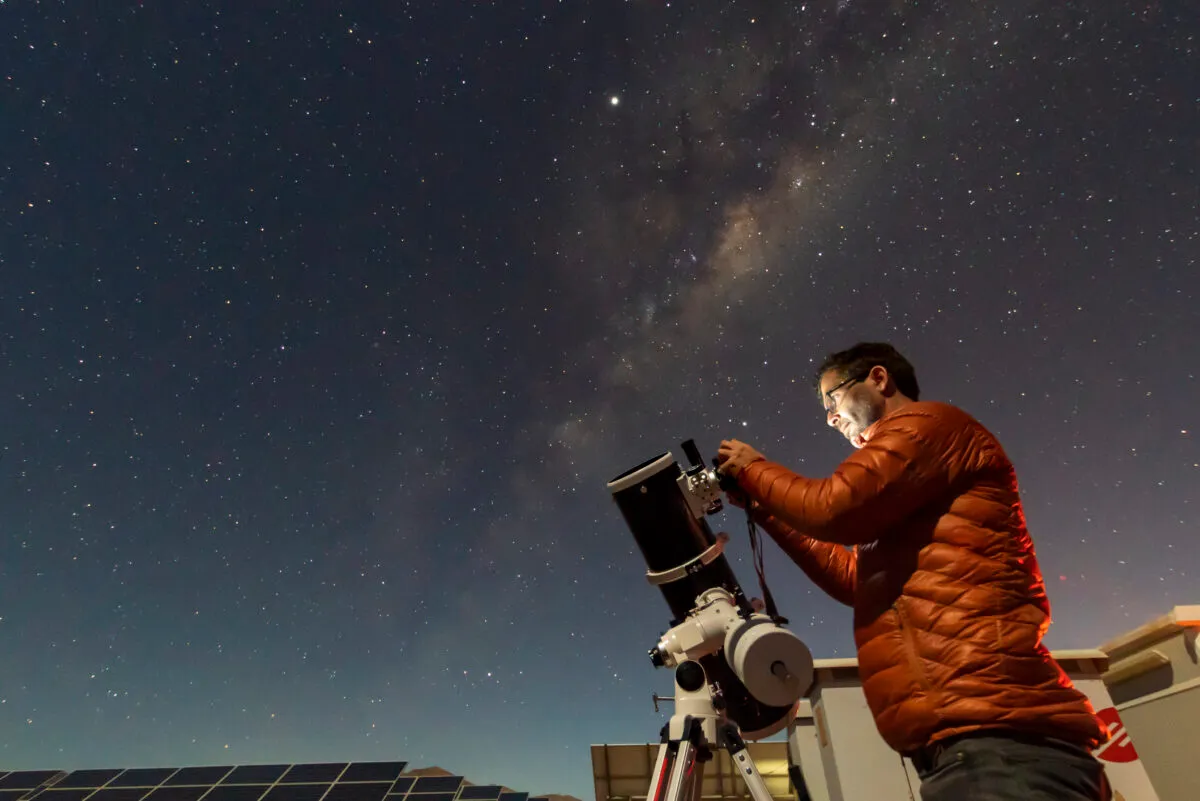
Armed with a DSLR or mirrorless camera on a tripod-mounted tracker, even novice astrophotographers can capture great shots of star clusters, nebulae, galaxies and other deep-sky objects.
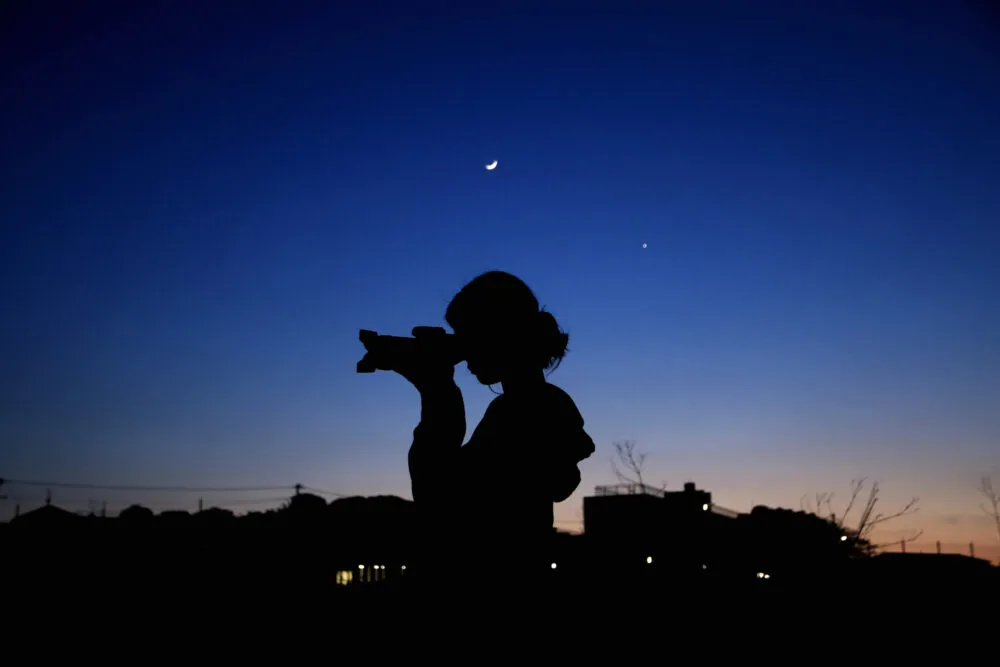
But it's even possible nowadays to photograph the night sky with your smartphone.
Capturing the night sky for posterity is indeed a gripping passion and there are many camera functions to uncover and much to consider when creating an imaging setup.
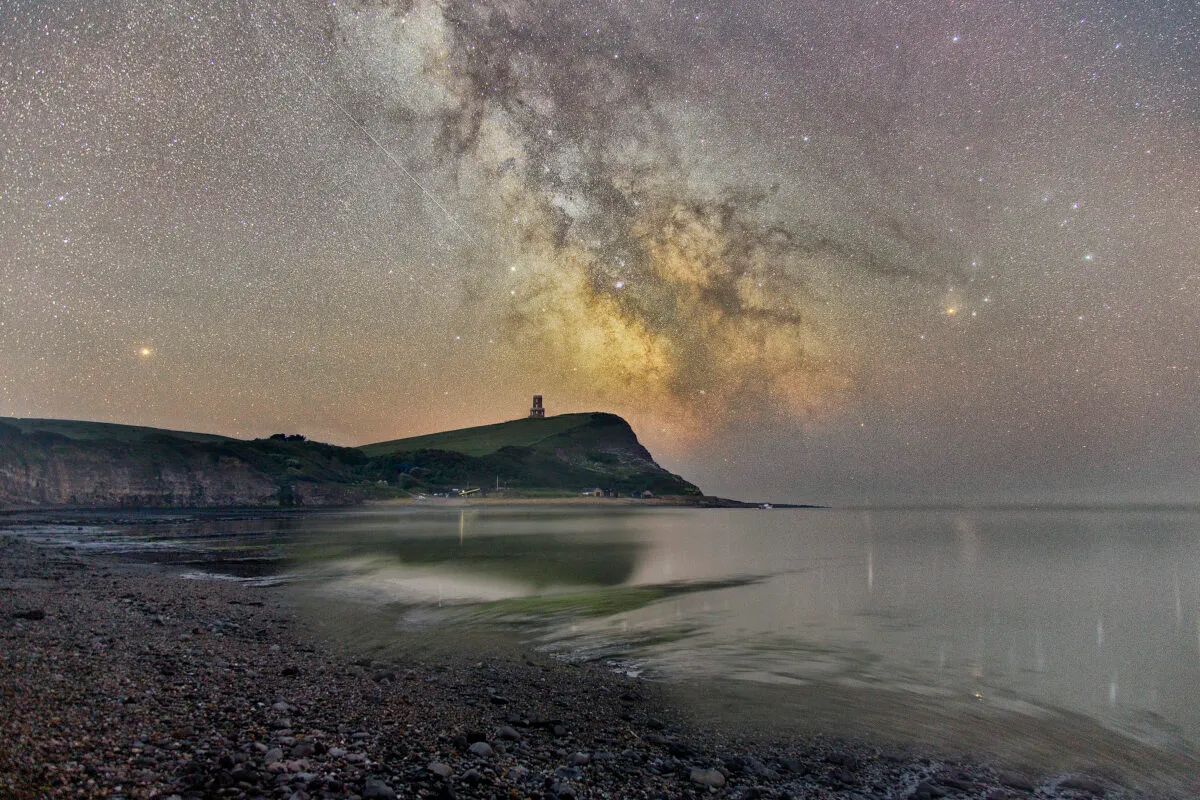
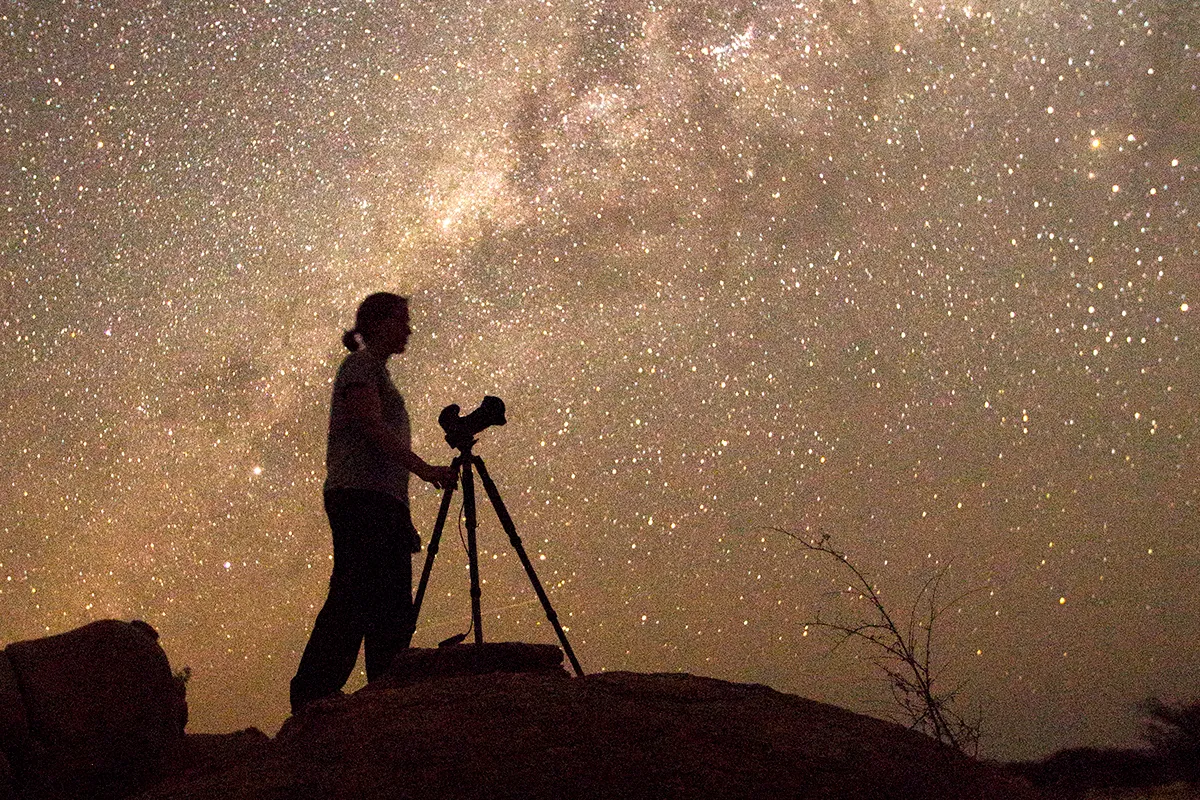
You might wish to photograph nightscapes: images that are similar to the views of the constellations and the Milky Way that you would see with the naked eye.
Or perhaps you want to photograph the Solar System via the Moon, the Sun and the planets
Or extend beyond the influence of our star and into the realm of deep-sky objects such as globular clusters and nebulae.

In this beginners' astrophotography guide, we'll explore how to get started, what equipment you'll need and what sort of targets you can aim for.
And we have loads more astrophotography guides to help you capture photographs of the night sky, including how to photograph stars, constellation astrophotography, how to photograph planets, how to photograph the Moon.
And, once you've made your capture, how to make it look amazing with image processing.
Deep-sky astrophotography Masterclass
Interested in astrophotography? Sign up for our Deep-Sky Imaging Masterclass and find out how to capture distant galaxies and nebulae.
Click here to book tickets for all three Masterclasses and save 20%
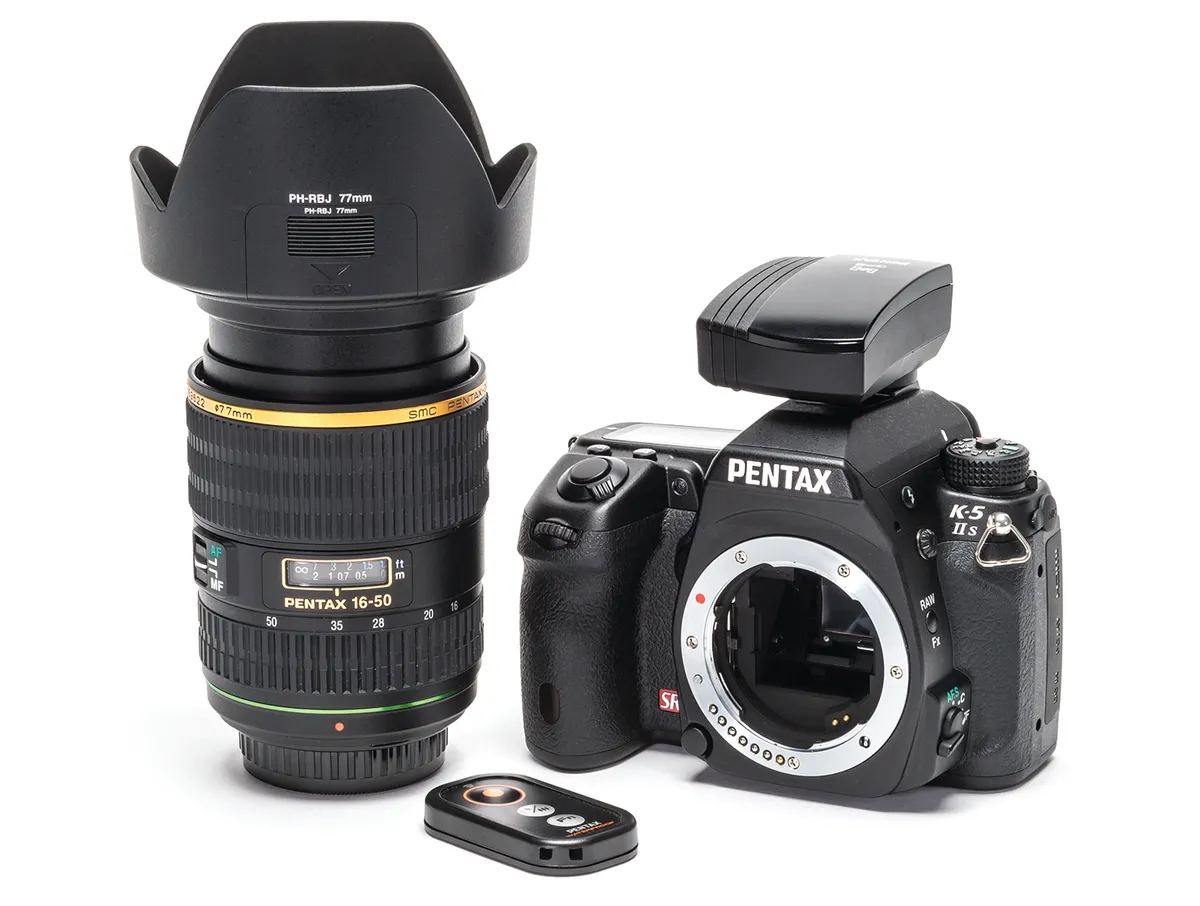
Selecting your camera for astrophotography
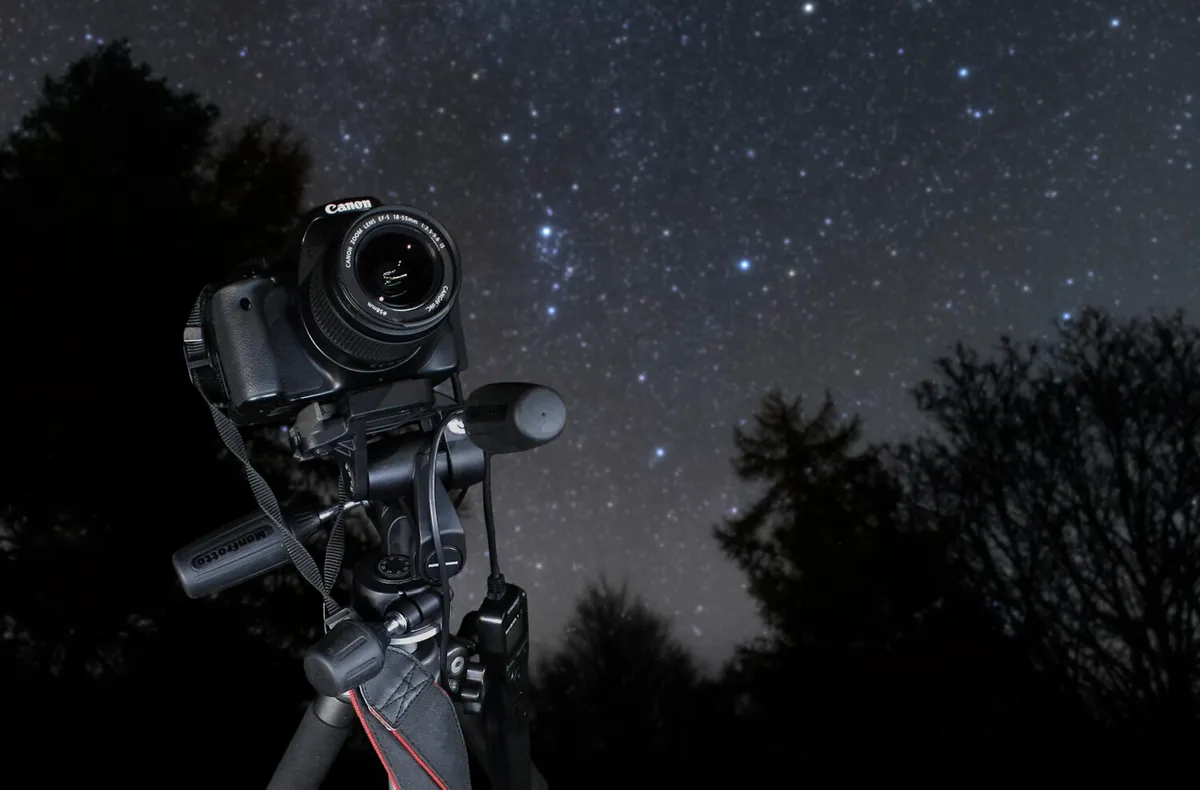
For basic astrophotography you’ll need a DSLR or mirrorless camera with a manual mode. Since deep-sky objects are faint, imaging them is about opening the shutter for as long as 90 seconds (in our setup) to allow as much light as possible to hit the camera’s digital sensor.
You’ll also need a 38mm ball-head mount so that the camera can move independently of the tracker once it’s in a fixed position.
What can you capture with your camera?
The type of objects and the overall appearance of your final astro image will depend on which type of camera you choose.
Smartphone camera
Daylight phenomena and bright twilight scenes; afocal shots of the Moon and bright planets through a telescope, the latest models can now even take basic constellation images
Compact camera
Daylight phenomena and bright twilight scenes; afocal shots of the Moon and bright planets through a telescope, the latest models can now even take basic constellation images
Prosumer camera
Daylight phenomena, twilight scenes and some basic night scenes; afocal shots of the Moon and planets; some have limited deep-sky capability for pictures of galaxies, nebulae and star clusters
DSLR/Mirrorless interchangeable lens
All daylight phenomena and night scenes; the Moon through a long lens or attached to a telescope; one-shot-colour deep-sky imaging; basic planetary capability
High frame rate
Optimally suited for Moon, Sun and planets through a telescope; some have basic to intermediate deep-sky capability
Cooled astronomical CCD
Optimally suited for long-exposure deep-sky imaging; capable of imaging the Moon and Sun; basic planetary capability, but good for picking out faint moons
For more on this, read our guides to the best cameras for astrophotography or the best telescopes for astrophotography.
Keep your camera in pristine condition with our guide How to clean a DSLR camera.
Get more out of your camera with our DSLR guide.
Camera lens
With a relatively basic star tracker (see below), you can experiment with both wide-field and medium focal length DSLR lenses.
What you use obviously affects magnification. That in turn affects the amount of blur in the finished photo; wide-angle lenses can be used for much longer exposures than telephoto lenses before stars begin to trail.
The trackers we’ve mentioned can support anything up to about 600mm lenses.
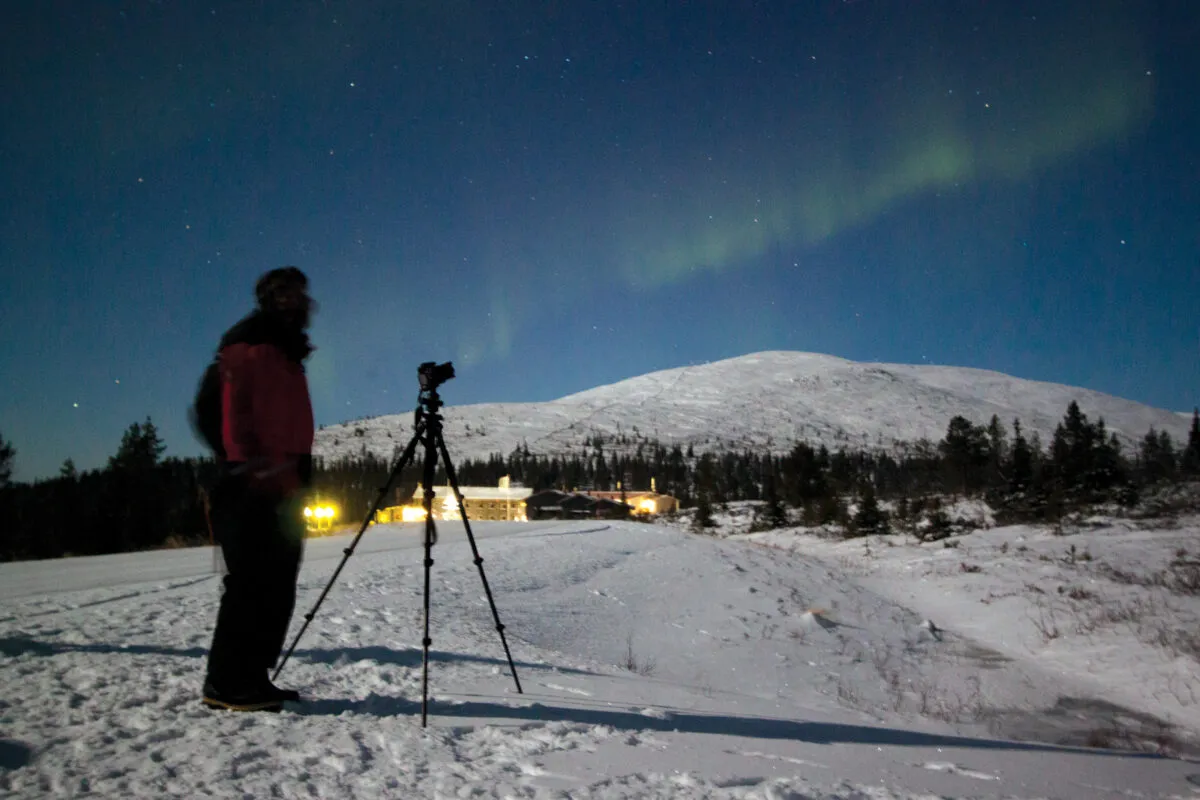
Using a star tracker mount
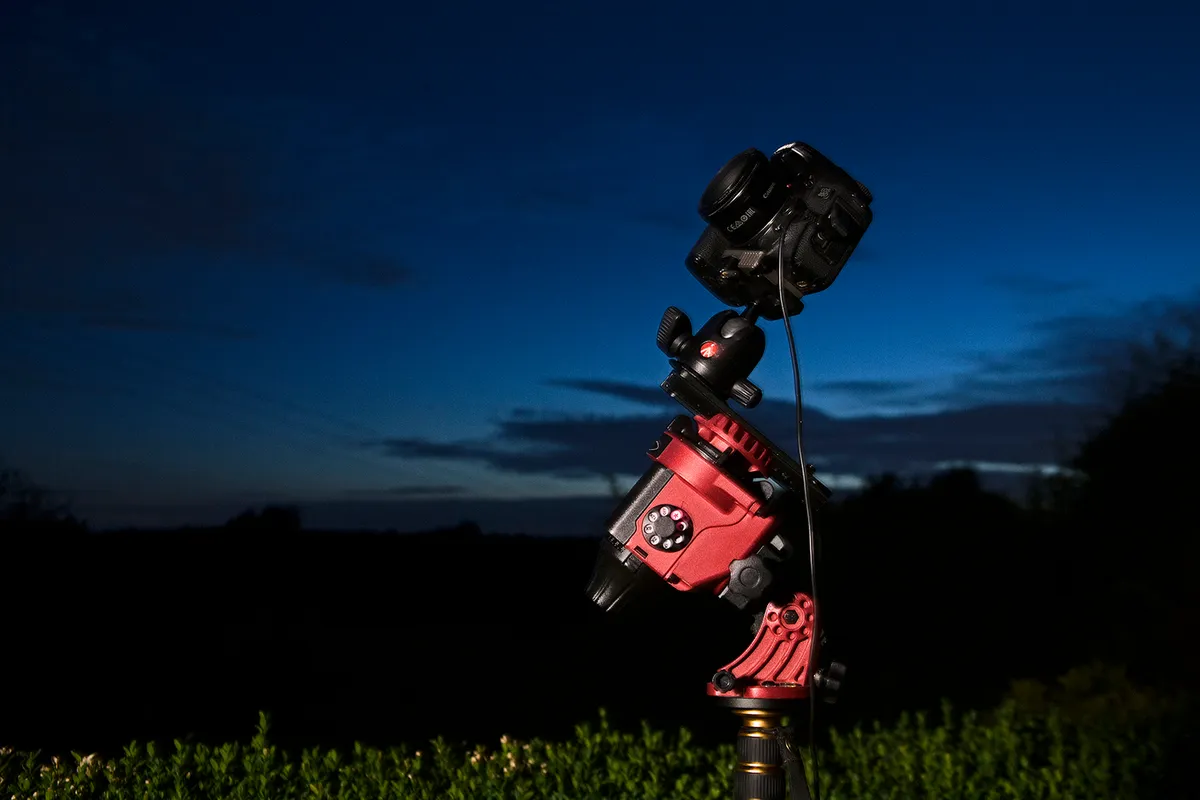
Earth rotates fast – at almost 1,600km/h – and since we’ll be taking long-exposure photographs, your camera needs to move in sync with the stars to prevent them from appearing as blurred trails on your photos.
So you’ll need a small EQ3 equatorial mount or a lightweight star tracker like the Sky-Watcher Star Adventurer or iOptron SkyTracker.
“They’re simple motorised equatorial mounts aimed at astrophotographers,” says Allan Trow, manager at Dark Sky Wales, who teaches astrophotography workshops.“They’re very portable and the polar alignment is easy.”
He suggests avoiding altaz mounts, which don’t track the sky in a smooth motion.Sitting between a camera and a tripod, these trackers initially need to be aligned to Polaris, the Pole Star.
For more info, read our guide to telescope mounts.
Targets for astrophotography beginners

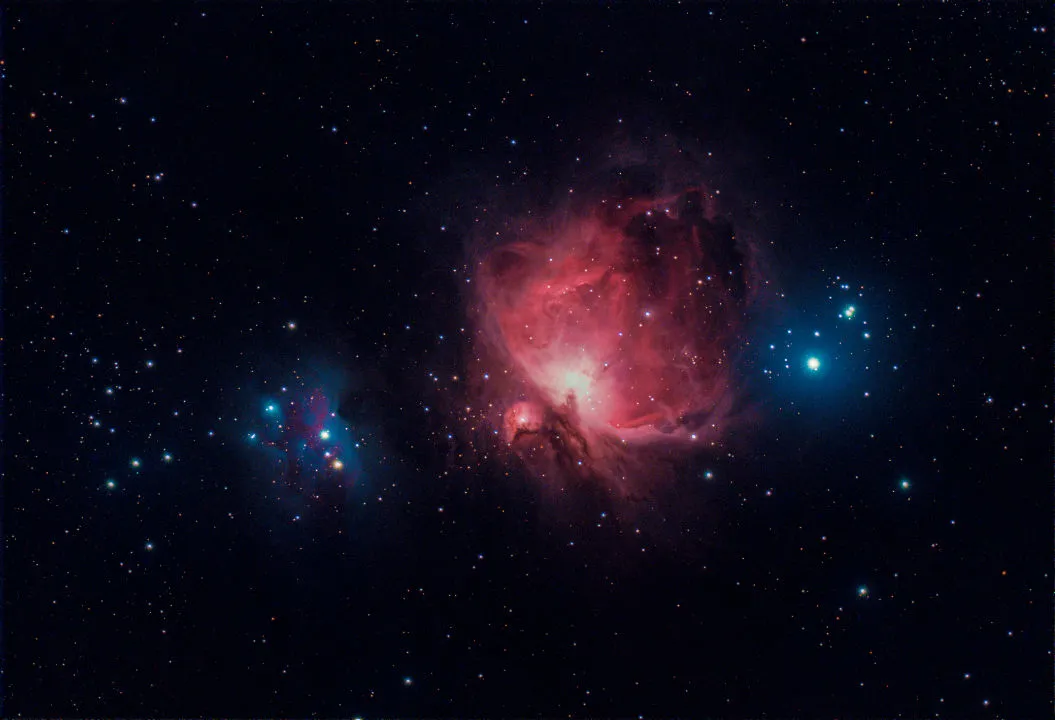
Three popular targets for beginners are the Perseus Double Cluster (NGC 869 and NGC 884), the Orion Nebula (M42) and the Andromeda Galaxy (M31).
For in-depth guides on imaging the latter two, read our tutorials on how to photograph the Orion Nebula and how to photograph the Andromeda Galaxy.
The all-in-one portable star trackers don’t have built-in autoguiding software, though you can add an autoguider to any EQ3 mount.
“It’s not so important because most people go for objects they know to begin with, that they can find themselves,” says Trow.
The easiest way to get great results without spending hours processing images is to take one, long-exposure photograph of your object of choice.Experiment with shutter speeds up to about 90 seconds.
“With a 600mm lens, 90 seconds is as long as you’ll get before stars start to trail, but that’s more than enough for most deep-sky objects, particularly since newer cameras can bump up ISO,” says Trow.
Use a variety of settings – including different levels of white balance – and you’ll soon learn what works best for different lenses and targets.

As you become more experienced, you may want to experiment with longer exposures, and ‘stacking’ your images to increase contrast, which means using more expensive equatorial mounts that are also more complicated to align.
But armed with the relatively basic astrophotography setup we’ve described here, you can be taking stunning images in no time.
Astrophotography: the basics
Conditions & location
Naturally, you’ll need clear skies and a dark location, but astrophotography also requires good ‘seeing’ (a lack of atmospheric turbulence) and ‘transparency’ (a lack of the moisture and dust in the air that typically occurs after heavy rain).
Perfect conditions will greatly improve your final photographs, but so will advice from experienced amateurs, so a good place to begin your astrophotography adventure is at your local astronomy club.
Preparation
You need to focus your camera and align the tracker, and if you're not used to doing this, it's best to practise during the daytime.
Finding the infinity focus point on your lens is best done before it gets dark by auto-focusing on something as far away as possible, using ‘live view’ to magnify the image.
Mark where infinity focus is on your lens then switch it to manual focus.Now you need to perform a polar alignment using the tracker’s built-in polarscope, though its built-in spirit level is also important.
“Always make sure the tripod is level otherwise your tracking will be out immediately,” says Trow.Now orientate the polarscope generally towards Polaris, the north star, which you can find using our guide to star-hopping.
Where exactly Polaris must be positioned on the tracker’s polarscope clock face depends on your latitude and the time of night; free smartphone apps like Astro-Physics PolarAlign and Polar Scope Align will give you a simple visual guide.
Once that’s done, lock the position of the tracker securely.You can then swing the camera towards your chosen deep-sky object.
Check your camera settings
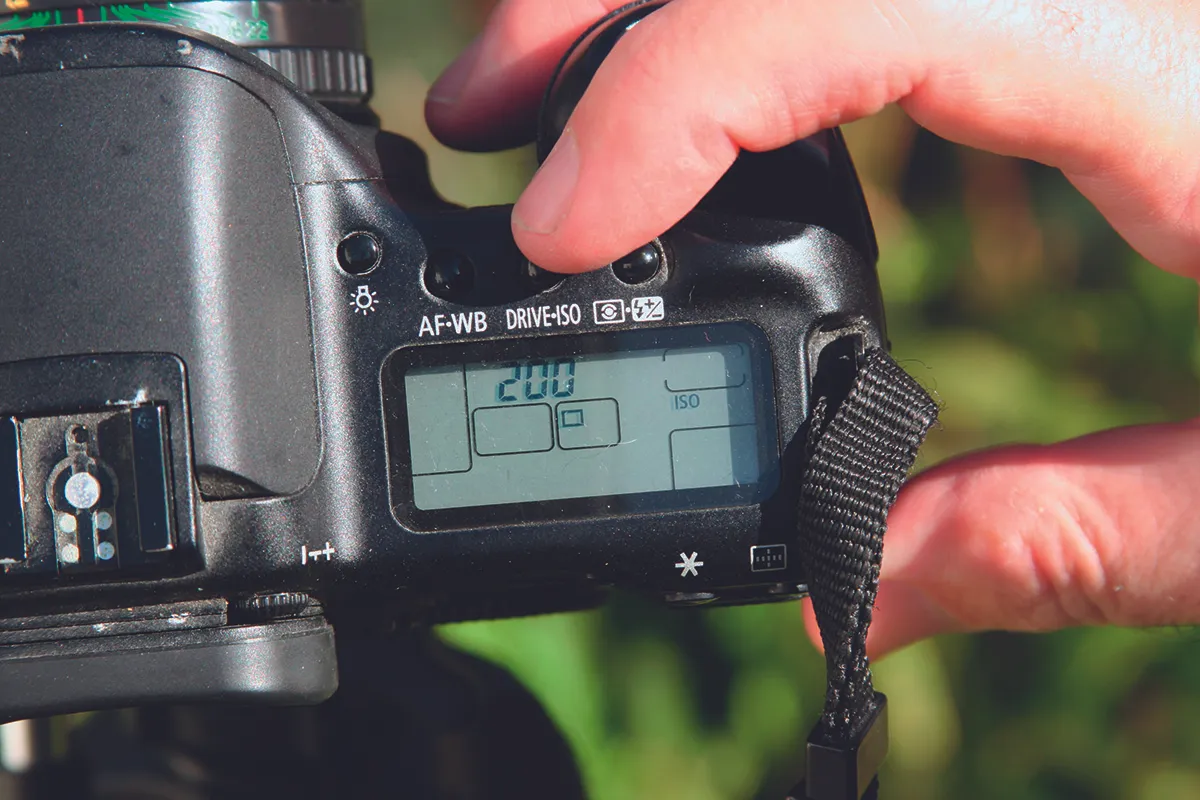
All photography is about balancing aperture (which controls how much light reaches the image sensor), ISO (which controls the light sensitivity of the imaging sensor) and shutter speed/exposure time (which controls how long the image sensor is exposed to light).
Start with an aperture as wide open as the lens goes (perhaps f/4.5 for a zoom lens or f/2.8 for a wide-angle lens). ISO 100 is used for bright conditions, so consider ISO 800for astrophotography for more sensitivity, though ISO 1600 or 3200 may work better depending on how advanced your camera is.
For the shutter speed, begin at 30 seconds and build up.Whatever your settings, it’s crucial not to introduce camera shake, so use a remote shutter release cable, rather than pressing the button on the camera itself.
Take the shot
For the likes of NGC 869 & NGC 884, M42 and M31 try a variety of settings and see what works best.If you’re using a wide-angle lens, you could also try for a long exposure on the Milky Way in late spring and summer.
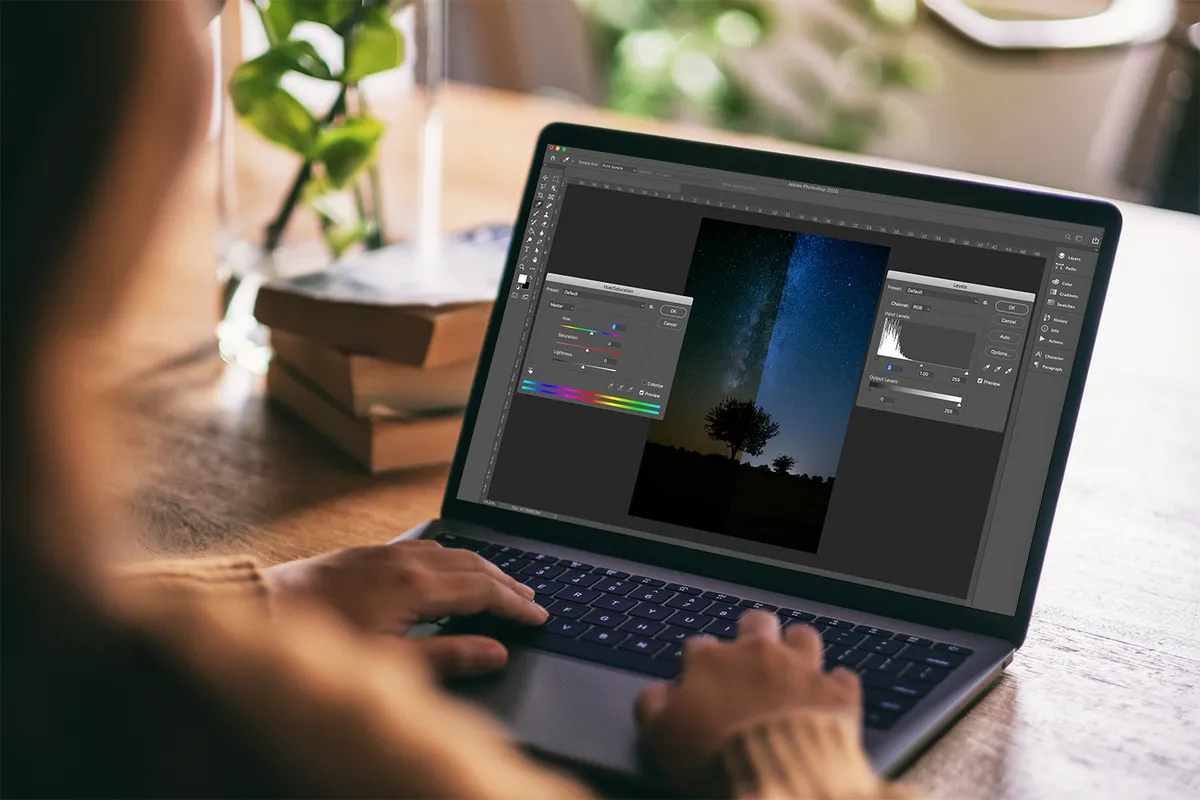
Whatever you do, always shoot in RAW rather than JPEG so that you can use photo editing software such as Photoshop or Corel to produce a brighter, more detailed image. It makes a massive difference.
10 simple astrophotography tips for beginners
1
Switch to manual
Switching your camera to M mode will give you full control over your camera’s settings.
2
Pick a good location
Find a good spot from which to take your astrophoto. Choose a dark spot away from light pollution where you stand a good chance of seeing a starry night sky. If this is not possible, make the best of what you've got: turn off all lights and use objects to shield your camera from streetlights.
3
Check your camera's exposure
A slow camera shutter speed of around 20 seconds allows plenty of starlight to be collected for astrophotography. For speeds slower than 30 seconds switch to the B (Bulb) function and use a cable release.
4
Check your ISO
The ISO controls the sensitivity.Higher ISOs are more sensitive, revealing more stars in your astrophoto but at the expense of picture quality, giving you a more grainy image.
5
Watch out for noise
Switch on noise reduction in your camera, which can be found in the menu, to improve image quality.
6
Pick a suitable lens
Use a wide-angle lens to start with and you’ll capture a surprising array of objects like planets, star clusters, dust lanes and nebulae.
7
Control your aperture (f-number)
The iris controls the amount of light that passes through the camera lens.The lower the f-number, the more dilated the iris is, meaning more light enters your camera. Aim for f/4 or lower if your lens allows it.
8
Focus
Because it’s dark focusing is often a case of trial and error.Switch to manual focus and set it to infinity.Take a test shot and slowly adjust the focus ring until your image is sharp.
9
Keep your camera steady
The slightest movement has a significant effect on an astrophoto. A steady tripod and cable release help alleviate movement caused by wind or your finger clicking off a shot.
10
Pay attention to composure
Use the rule of thirds to compose your image.Add something in the foreground to provide impact and perspective.
What to do next
So where do you go from here? There is no single right answer.
Some astrophotographers specialise in imaging particular objects – galaxies, for example. Some never use a telescope, relying solely on a DSLR and tripod for wide-angle nightscapes.
Some only make timelapses. It really is up to you, but here is some more advice to help you discover where astrophotography can take you.
Plan ahead
No astronomical target is visible in the night sky all the time – and even when it is, it may not be well placed for astrophotography. So it’s worth planning your imaging in advance.
There are various planetarium programs that can help you, including the freeware Stellarium and Cartes du Ciel.
Planning also extends to your setup: make sure your telescope is collimated and has cooled beforehand. Sadly, no amount of preparation can account for the weather!
Challenge yourself
We’ve shown you the techniques – now it’s up to you to test them out on the other denizens of the night sky.
If you’re beguiled by the Moon, explore it as the terminator moves and throws new features into relief; if you’re enchanted by the planets, try for Venus’s crescent; if you’ve seen enough of NGC 7000, try for another nebula, such as famous M42 in Orion.
Practise processing
Despite its formidable reputation, image processing has the potential to give you an equal if not greater thrill than that of getting the initial capture – especially once you start to see details emerge from what may be rather flat original images.
Of course, this thrill can easily overtake you: knowing where to stop is as important as knowing where to start.
Have you managed to capture a beautiful image of the night sky? We'd love to see it! Email it to us via contactus@skyatnightmagazine.com or get in touch via Facebook, Twitter and Instagram.