To maximise the impact of deep-sky images, boosting the signal-to-noise ratio is key, and dark frames can help you do this successfully.
In astrophotography, ‘signal’ is the light emitted from a deep-sky object – for example, a galaxy or nebula – while the ‘noise’ is produced by our camera’s internal systems.
Because we use long exposures in astrophotography, our camera sensors start to warm up and introduce thermal and electronic noise into our images.
This noise shows up as grainy artefacts that, as we start to stretch our data, can become noticeable and disruptive.
While all cameras will produce noise to some extent, DSLRs are particularly susceptible, because they don’t have in-built cooling systems like dedicated deep-sky imaging cameras do.
One way that astrophotographers combat noise is to take lots of images of targets, known as ‘light frames’, and then stack them on top of each other.
This helps to boost the signal, but doesn’t directly remove the noise of our camera sensors.
This is where dark frames come in.
Dark frames explained
Put simply, dark frames capture the random thermal and electronic noise of the camera sensor and, via stacking software, allow us to subtract it.
This reduces the noise in our image, to give us a helping hand for processing.
The good news is that dark frames are arguably the easiest calibration frame to take and can offer significant improvements in noise reduction.
Dark frames are simply taken at the same exposure length, temperature and ISO as our light frames.
That is, we take them during an imaging session simply by popping our lens cap or telescope cap on.
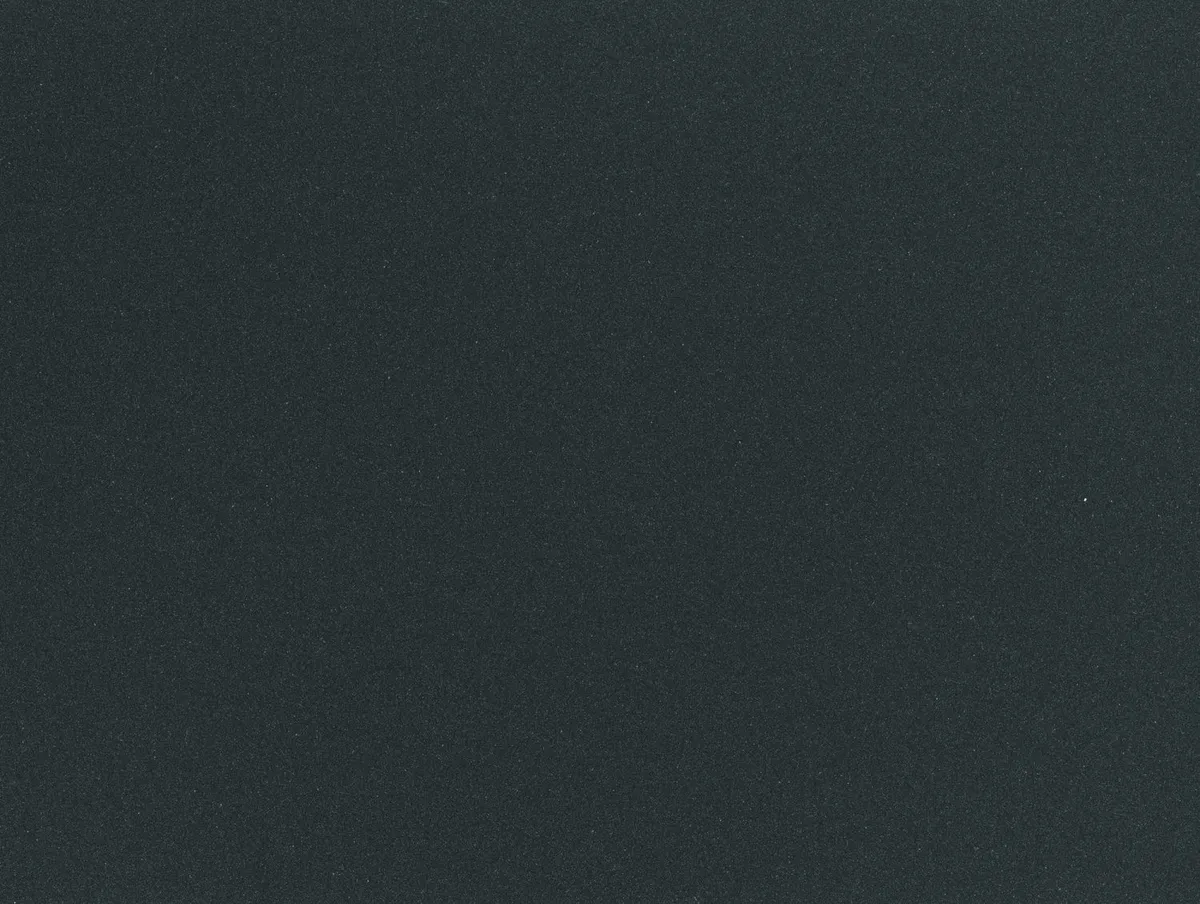
The output will appear to be a black frame, but of course within that frame is the same sensor noise that is in our light frames, which is important!
Step-by-step
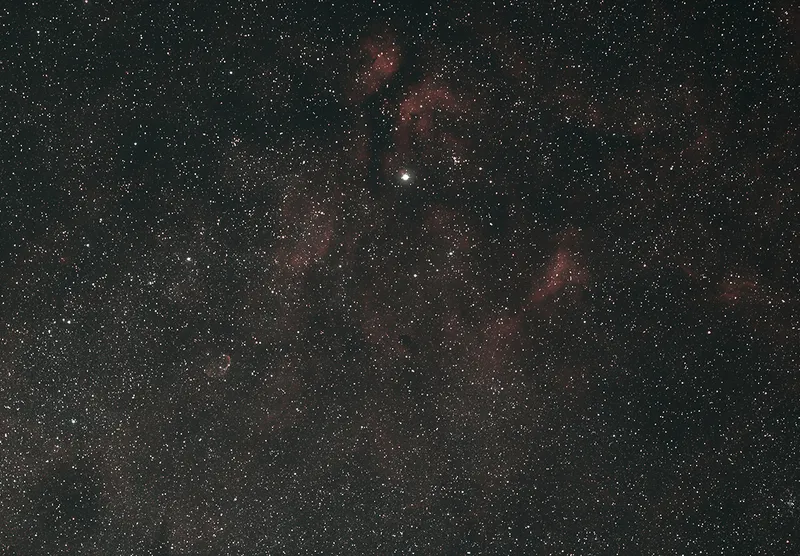
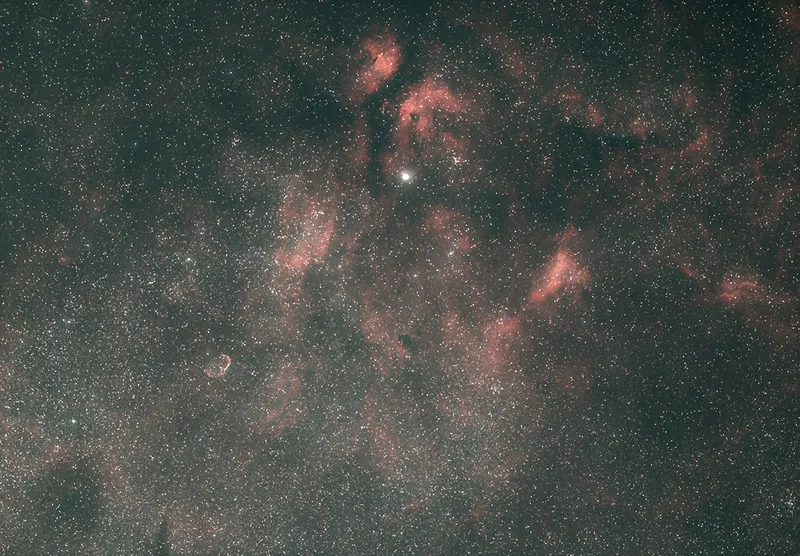
To show how it’s done, let’s go through how we added dark frames to our processing workflow for a DSLR widefield image of the Sadr and Crescent Nebula regions of Cygnus.
In the ‘Before’ image at the top of this article, you can see our unprocessed image stacked using DeepSkyStacker (DSS).
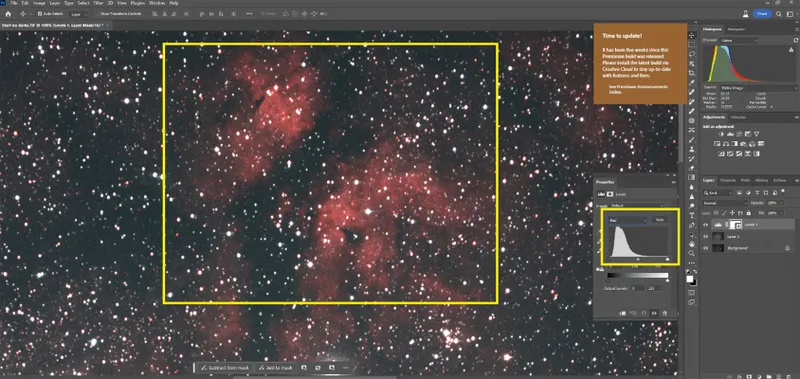
We opened this image in Photoshop and used the Levels function to stretch the data (click Image > Adjustments > Levels).
In the Levels window, we used the dropdown menu to select between the red, green and blue (RGB) channels, dragging the anchor points until they met the histogram (highlighted in the image above).
We performed this step multiple times, each time re-clicking on the Levels icon to reset the histogram and bring up a new adjustment window.
Our histogram widened each time as the data ‘stretched’.
However, we weren’t able to stretch the data much before we saw the tell-tale grainy effects of noise.
We zoomed into a region of the Butterfly Nebula to show this clearly (highlighted in the image above).
It was then time to restack using our dark frames.

Heading back to DSS, we re-added our light frames, then clicked on Dark Files (highlighted, Screenshot 2).
We navigated to where we had saved our DSLR flat frames and selected them all (pressing Ctrl A simultaneously).
After that, we clicked Check all.
Our dark files now appeared as registered, next to our light frames, in the bottom window of DSS (highlighted in the image above).
Our dark frames had a red tinge to them, as you can see in the image above.
This was because we used an astro-modified DSLR in which the red spectrum filter had been removed (this allows hydrogen-alpha light to hit the sensor, one of the key wavelengths emitted by nebulae).
We then reprocessed our image with the dark frames added.
Loading our new image in Photoshop, we performed the same data stretch that we did previously, using the Levels function.
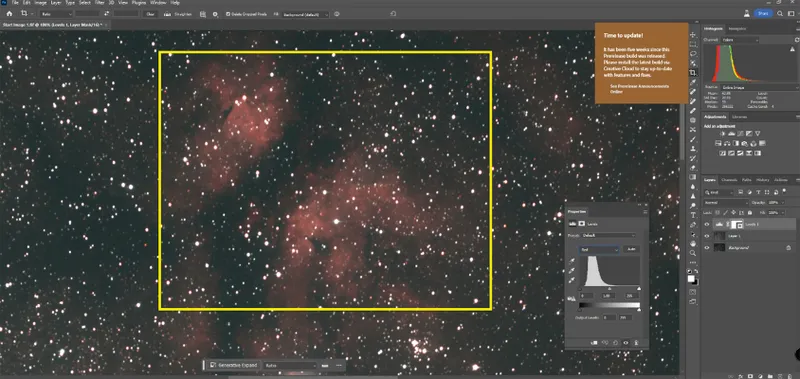
This time, there was noticeably less noise in the same region of the Butterfly Nebula (highlighted, Screenshot 3).
Finally, we adjusted the colour balance (Image > Adjustment > Colour Balance) and used noise reduction (Filter > Noise > Reduce Noise).
We applied the median filter (click Filter > Noise > Median) and the colour range function (click Select > Colour Range) to reduce the size and impact of the stars, allowing the nebulous details to come through.
Dark frames in astrophotography: 3 quick tips
- Take dark images at the start or end of your imaging session, using all the same settings as your light frames.
- Aim for 20–30 dark frames per image – more than this won’t result in a noticeable improvement.
- For DSLRs, add a cap to the viewfinder while shooting darks to stop stray light entering and reaching the sensors.
Are you an astrophotographer? Don't forget to send us your images.