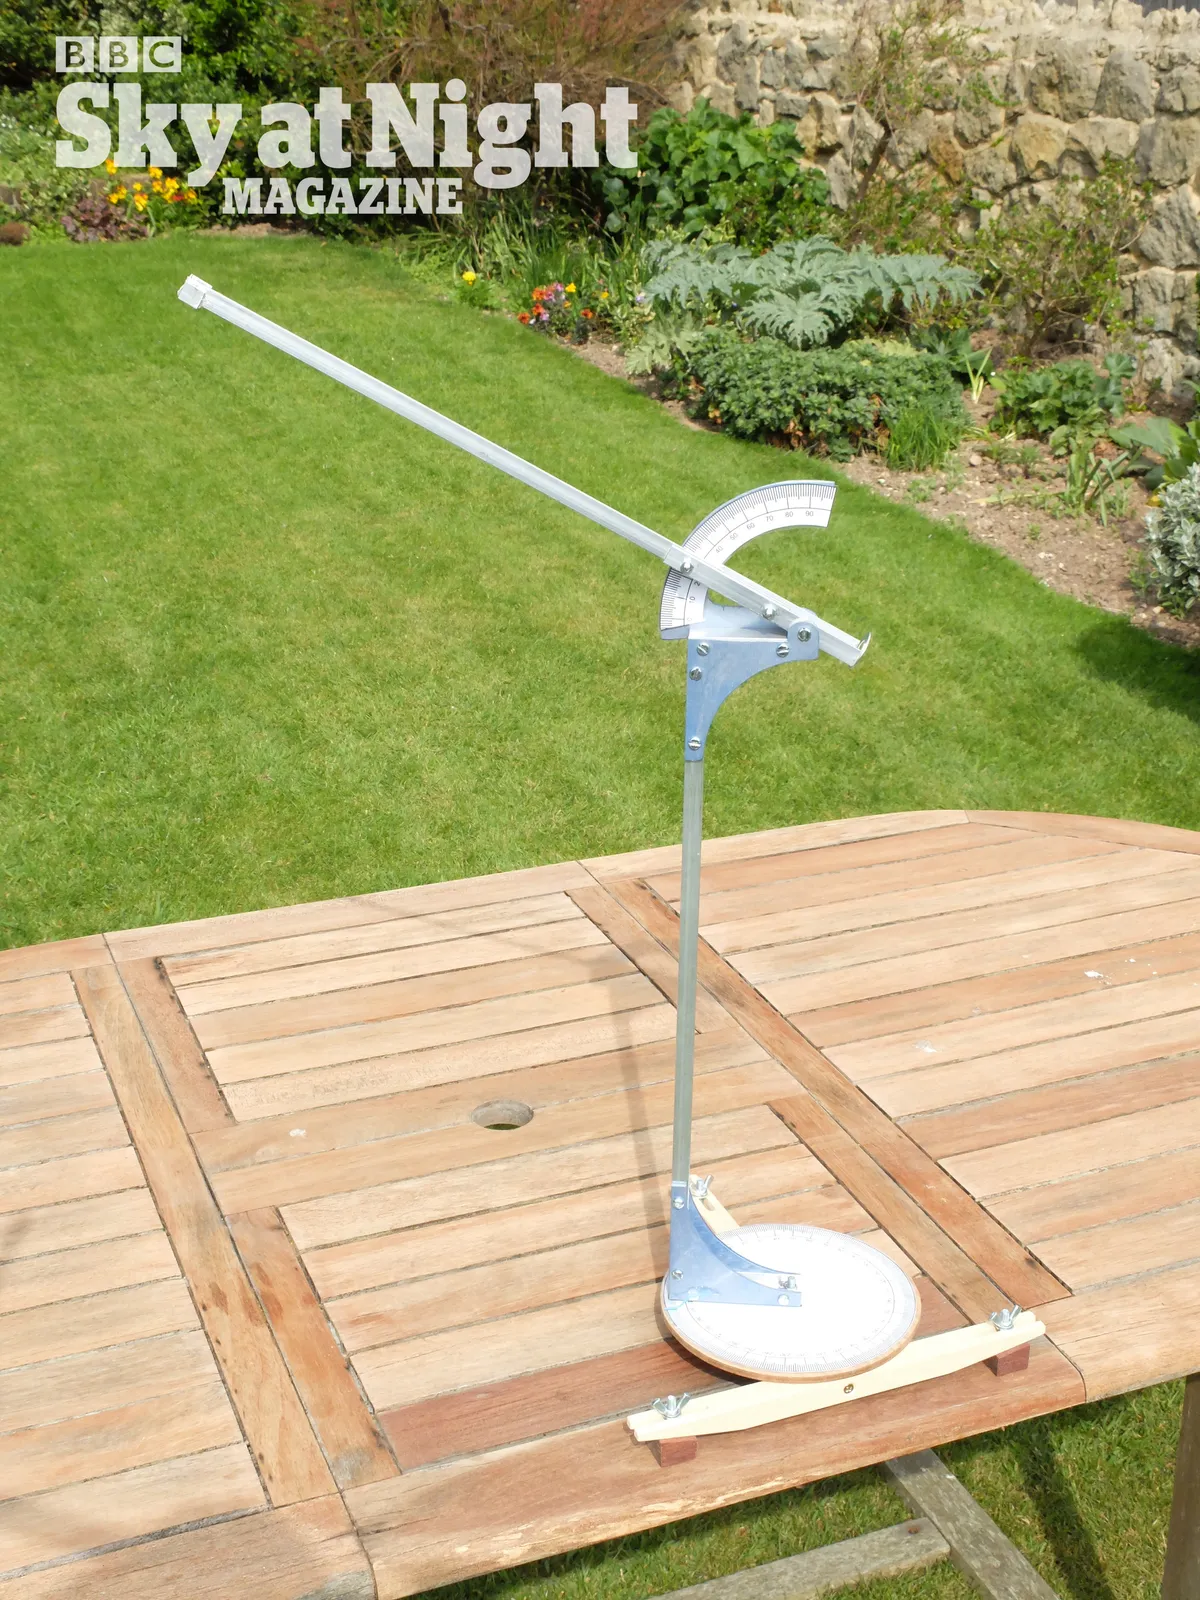
This project is an astronomical table-top quadrant, which is derived from the astrolabe and similar instruments used for surveying and navigation.The quadrant’s purpose in astronomy is to accurately point to objects in the sky and record their position relative to the observer.
It works the other way too: if you know where an object is the quadrant can be aimed towards those coordinates so that it can be viewed with the naked eye or binoculars.
In this article we'll show you how to make your own astronomical quadrant. It makes for a great science project for school or at home.
How a quadrant works
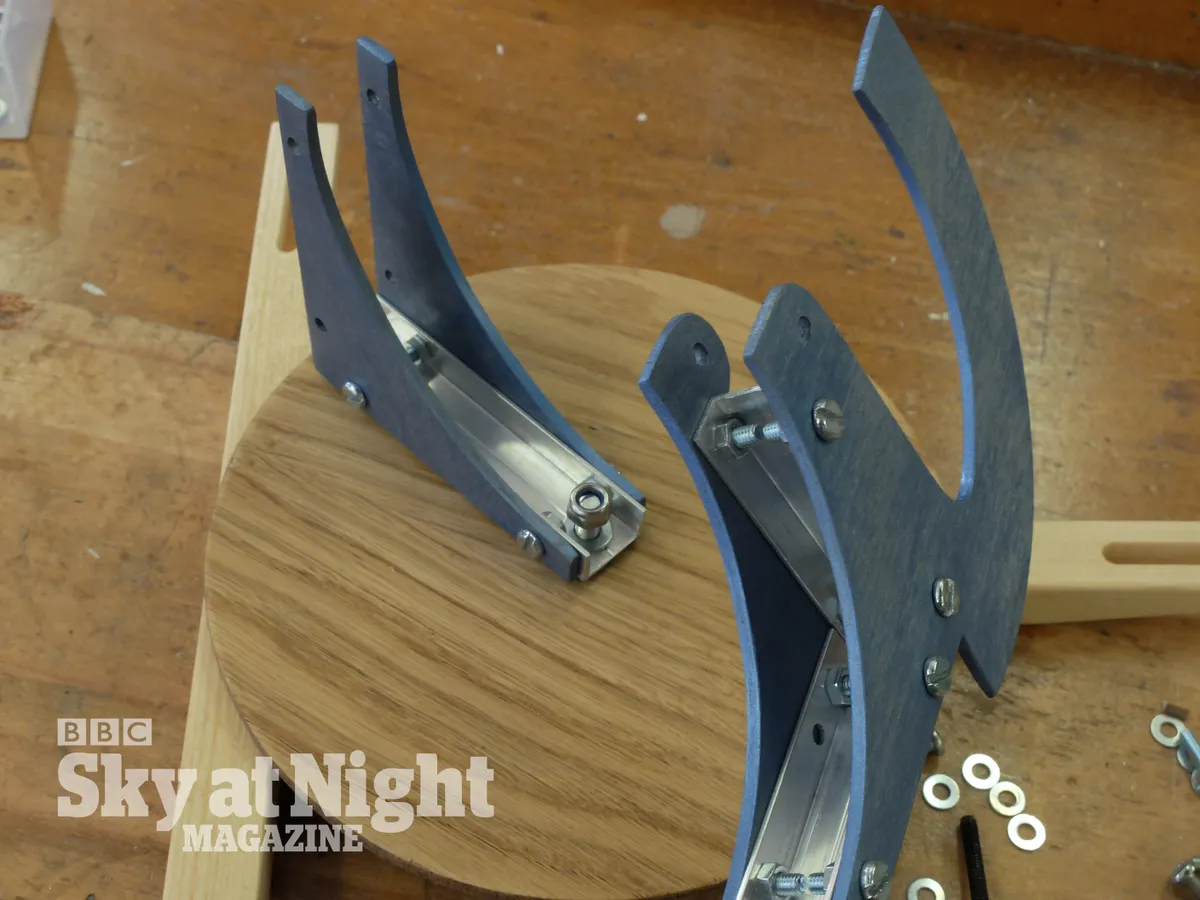
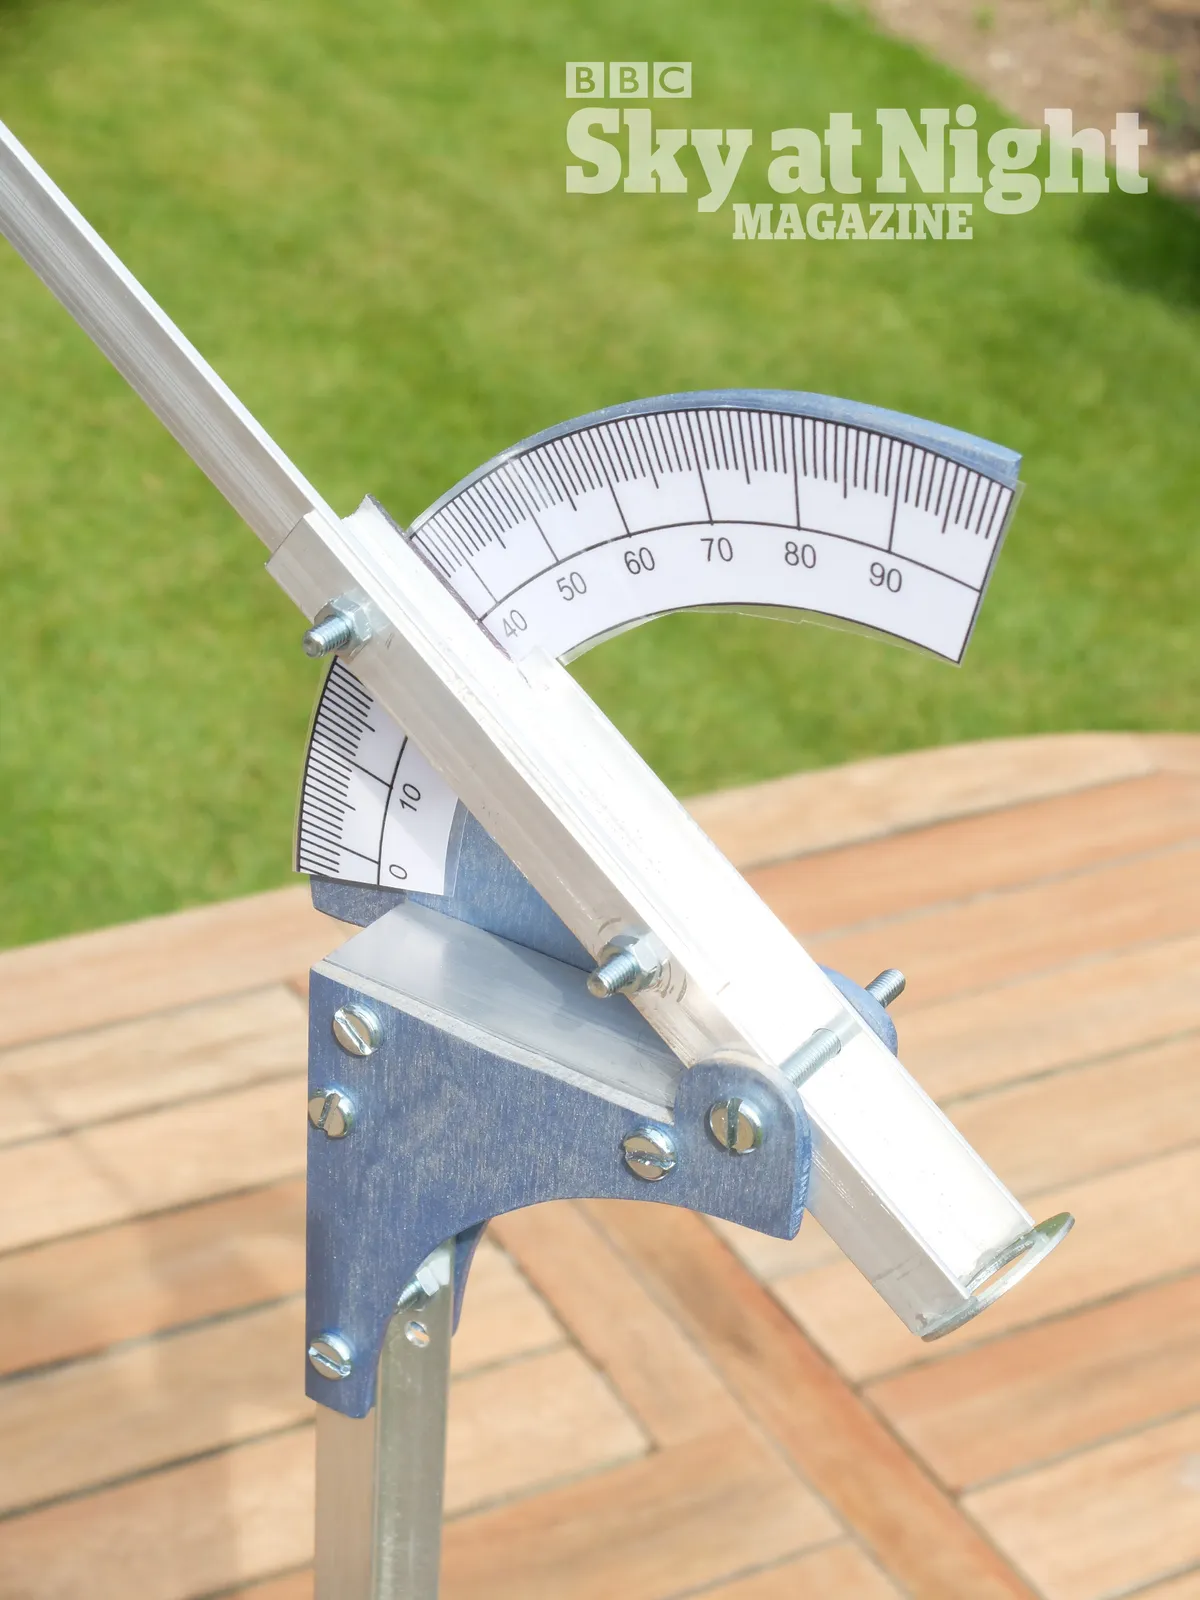
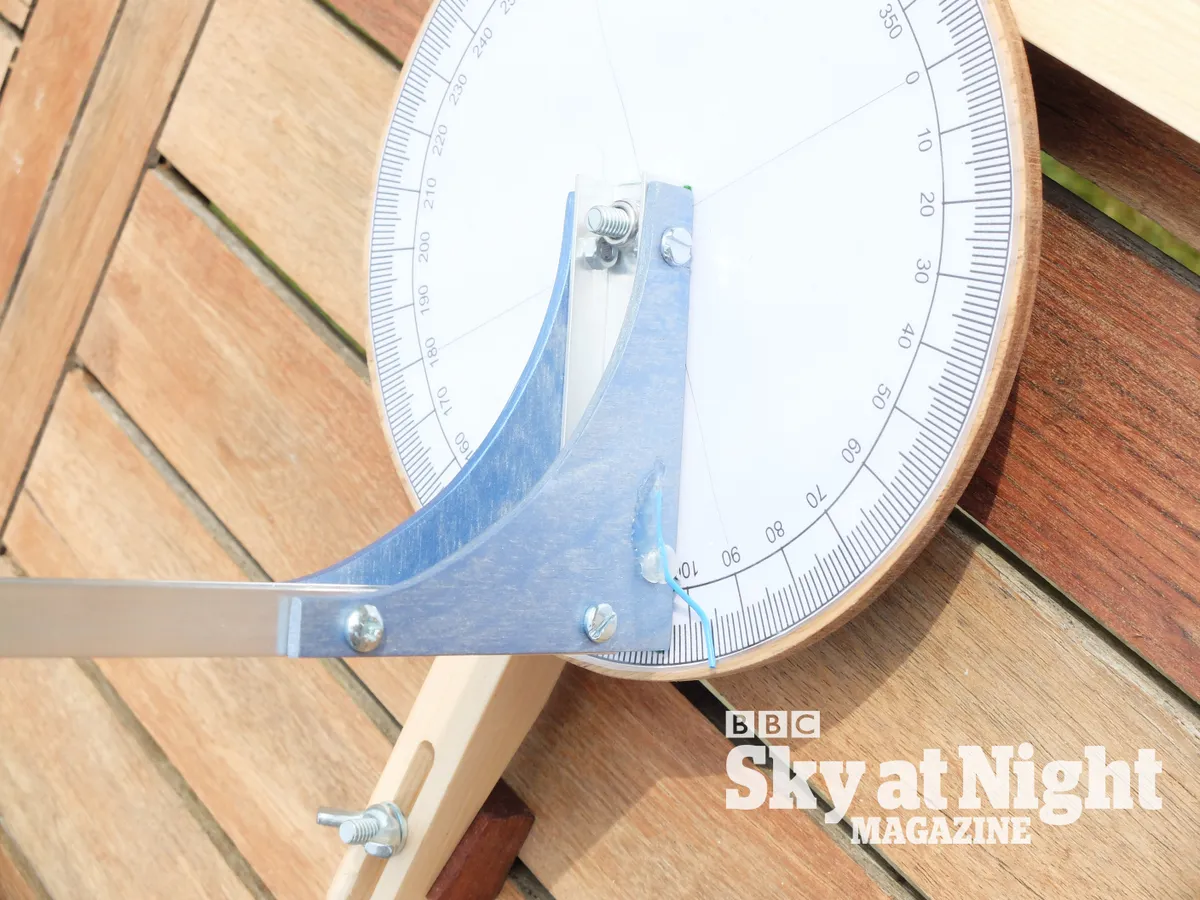
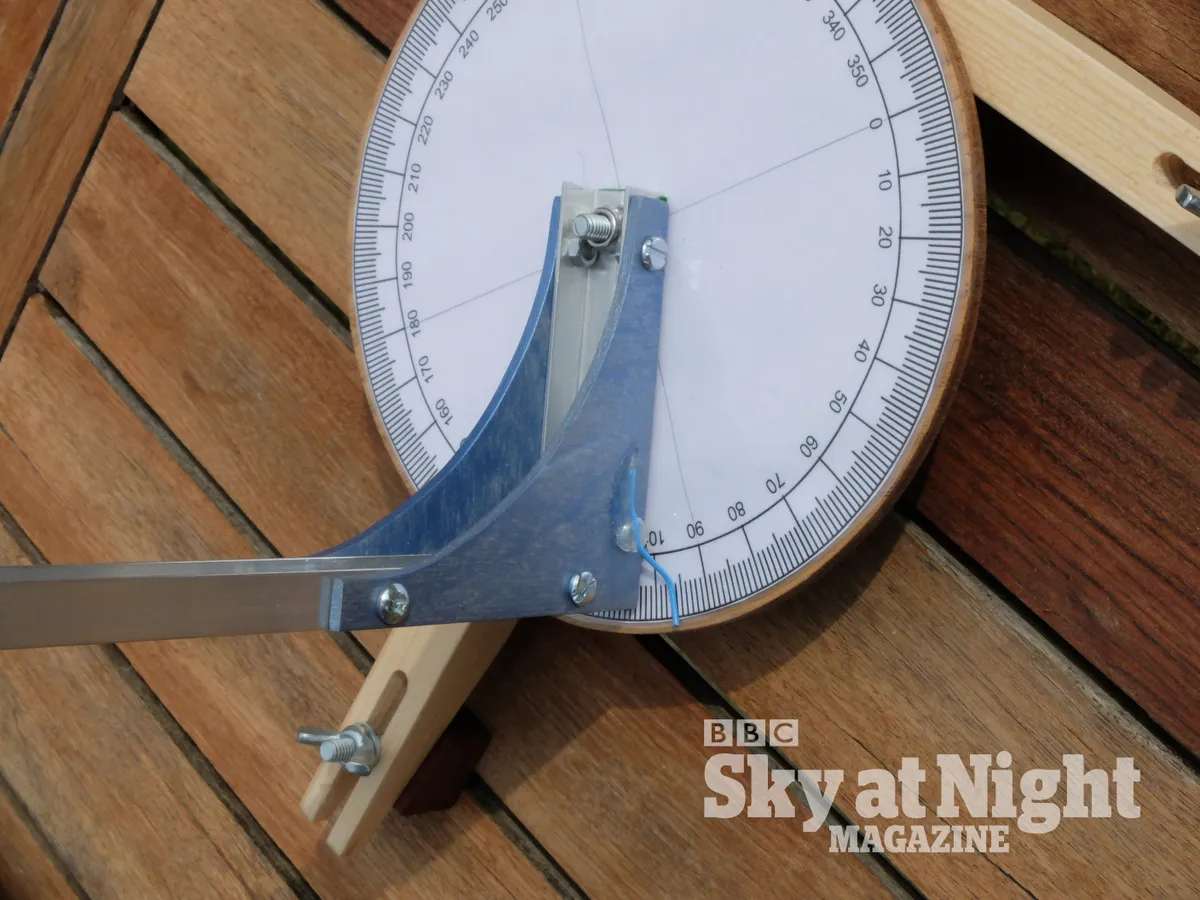
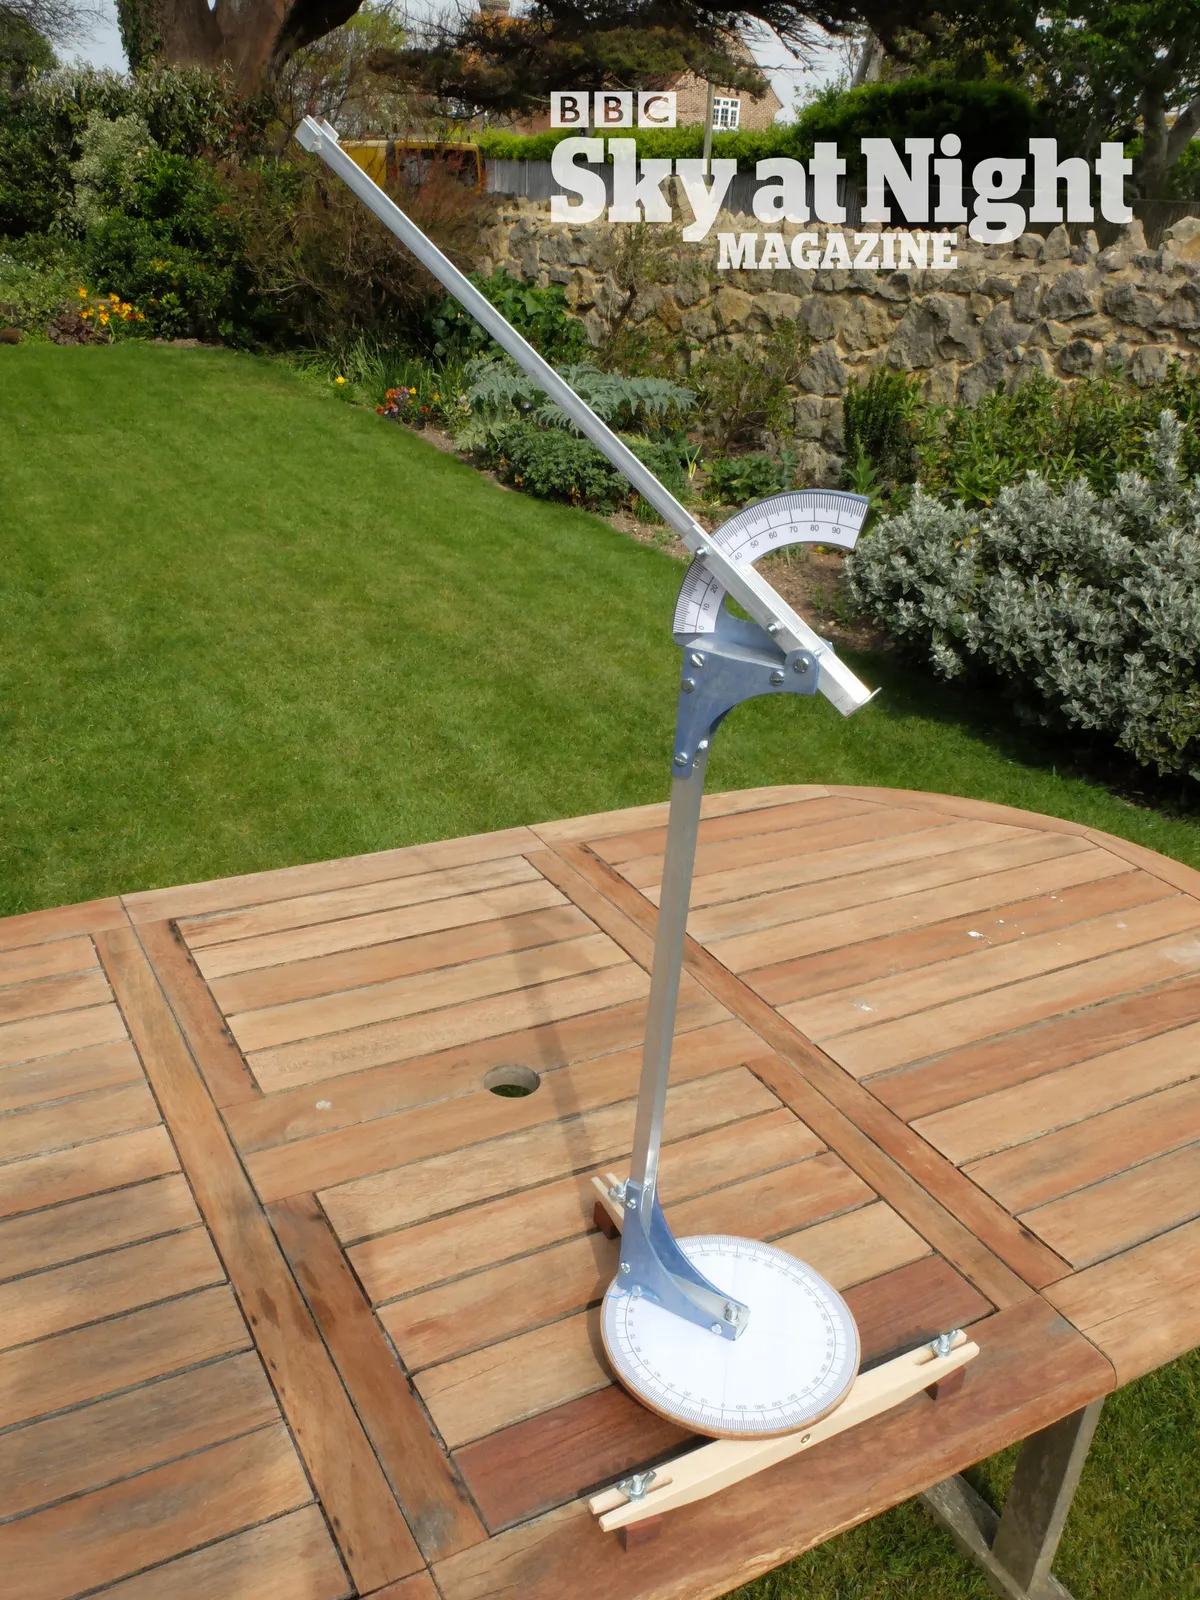
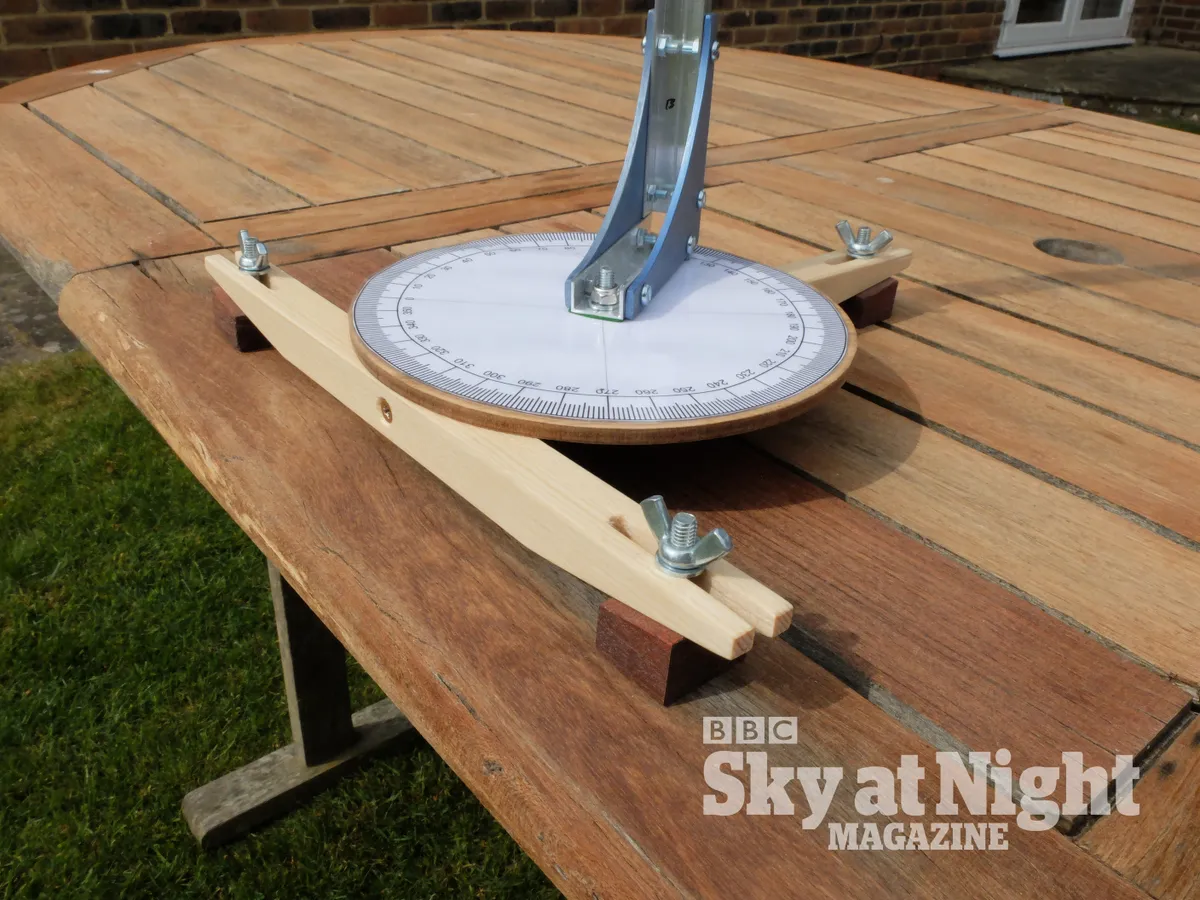
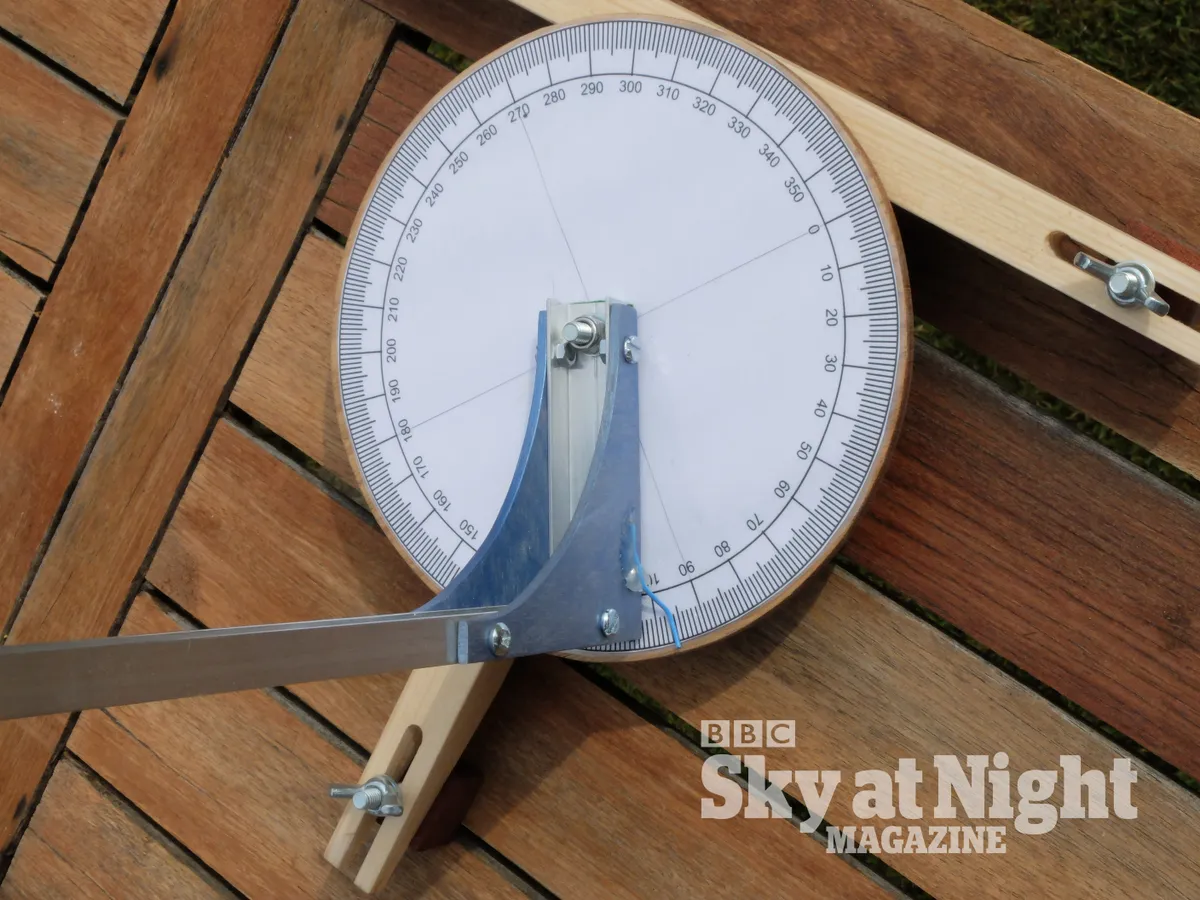
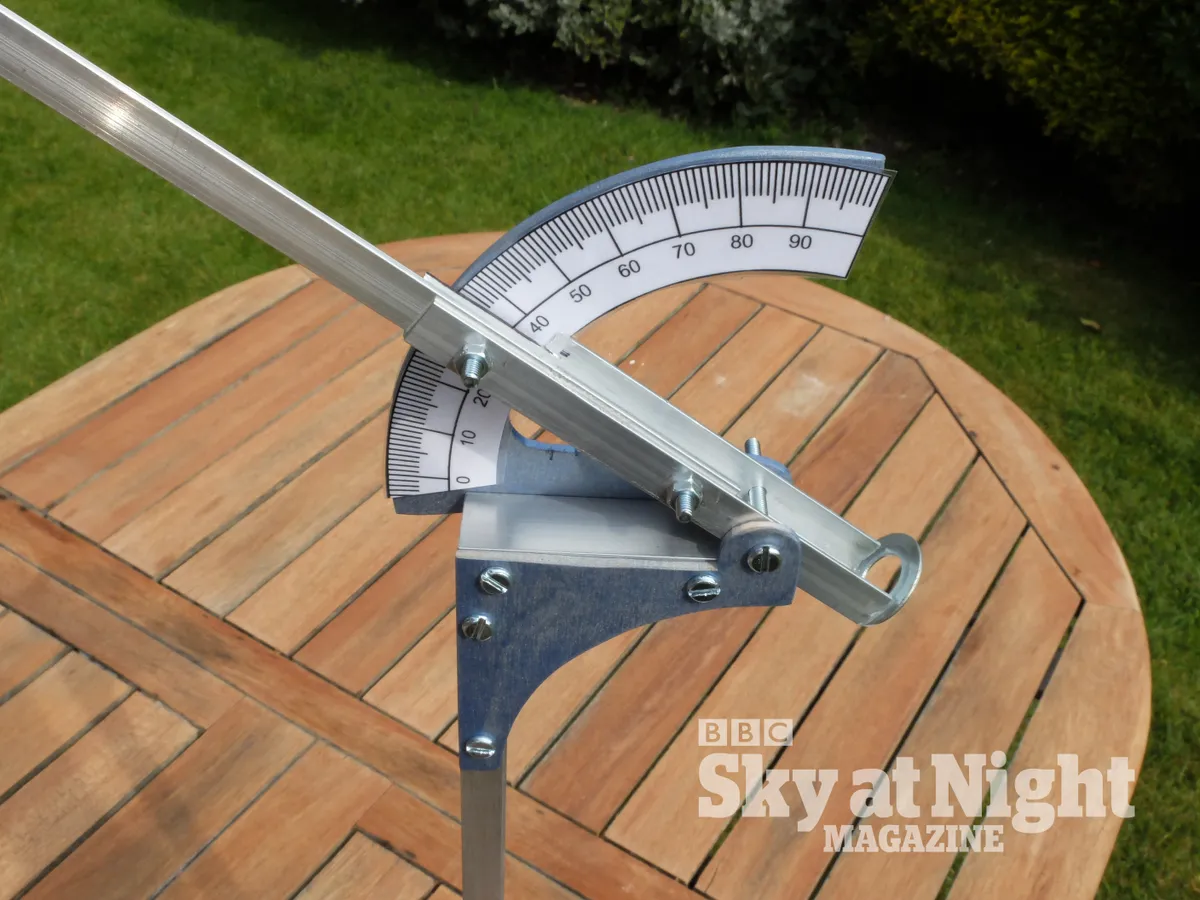
The quadrant has two elements; the base with a disc (and a scale marked out in 360˚ increments) and a central pivot for the top of the instrument, plus the pointing arm, mounted to a vertical beam via a 90˚ scale and horizontal pivot.
The arm can be moved in all directions and, by carefully adjusting the friction of the pivots, it holds position so you can read off the indicated values on the scales.
The quadrant uses coordinates in altitude and azimuth.
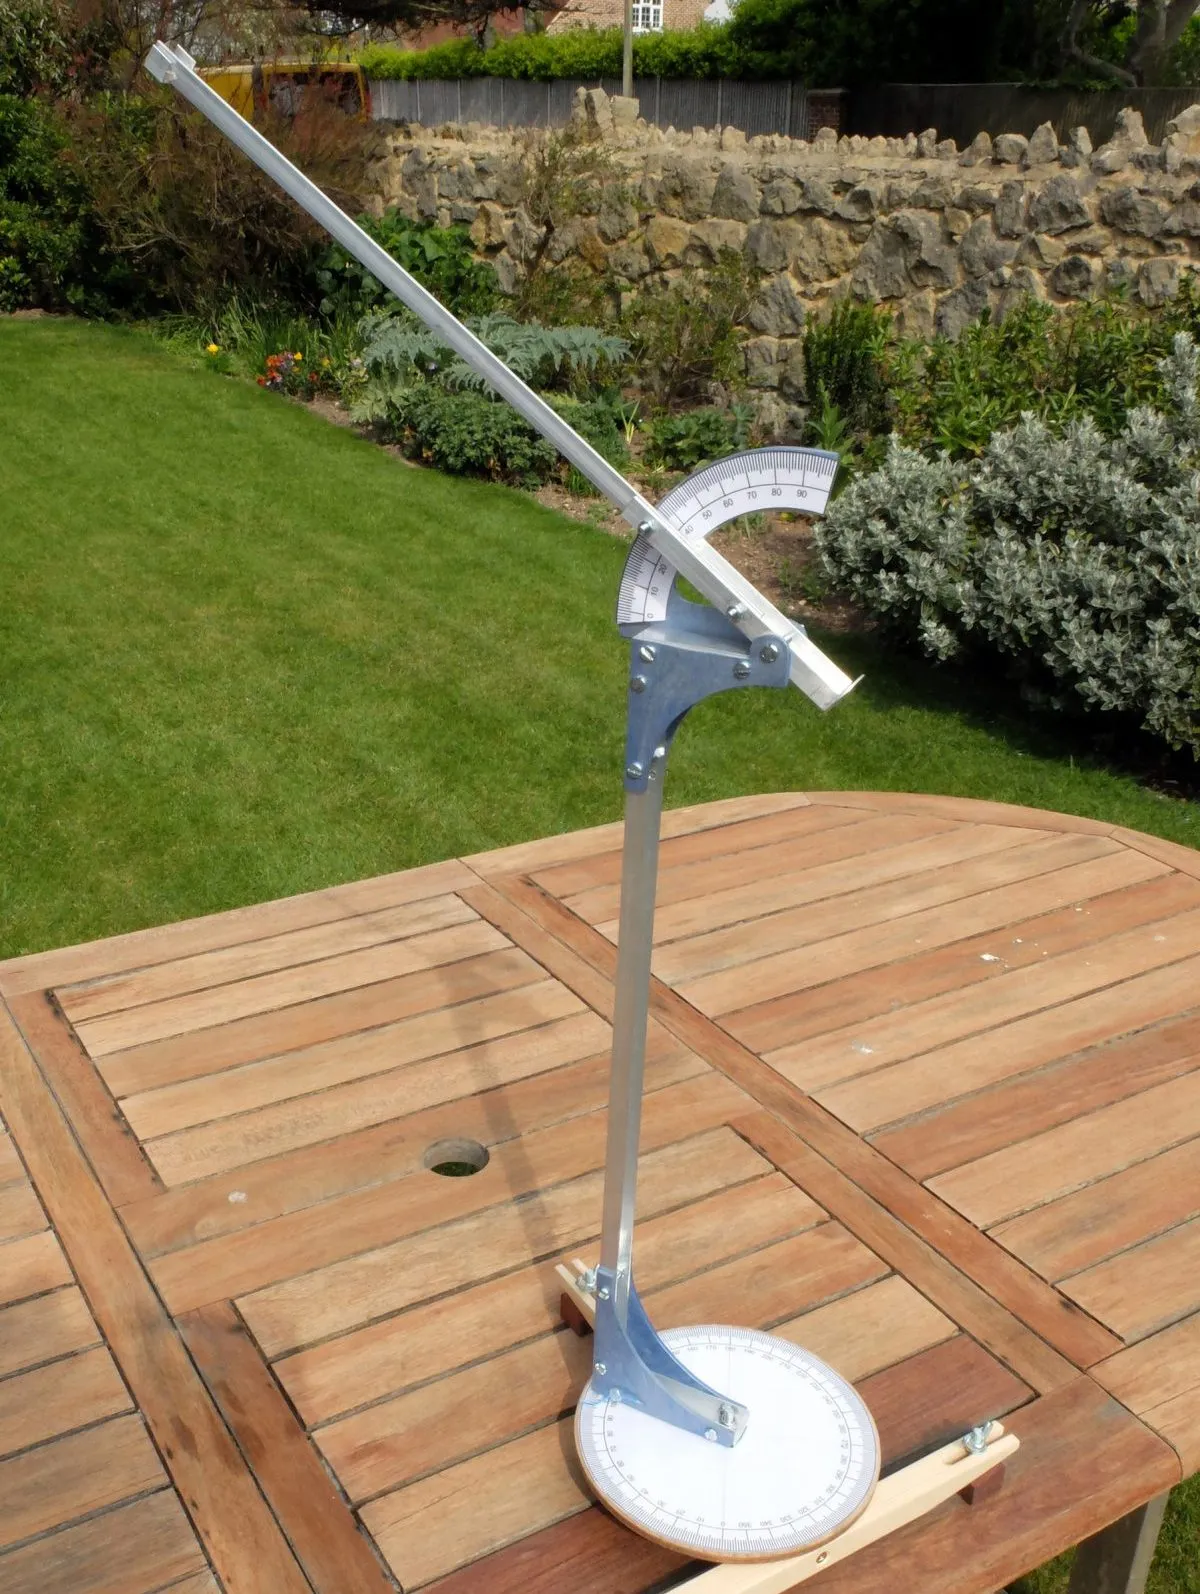
Altitude is measured in degrees above the horizon – 0˚ represents the horizon and 90˚ is the zenith directly overhead.
Azimuth is also measured in degrees – due north of the observer is 0˚; east is 90˚ and so on.
The altitude-azimuth system is simple to understand, and the instruments are easy to make but the coordinates of an object in the sky differ for observers in separate locations and also vary during the night.
In order to establish the coordinates of an object you need to know your location and time of observing.
There are apps and websites that display this; for example, the web-based planetarium www.staratlas.com.
After entering your location in Star Atlas, select an object in the sky then click on it.
Within the list of information displayed, you can read off its altitude-azimuth coordinates.
If you are preparing for an evening’s observation you can ‘fast forward’ to the time you plan to be out and make a note of the times and positions of targets or, of course, you could take your laptop or tablet with you.
To set up your quadrant place it on a garden table. To make viewing more comfortable it’s a good idea to be sitting with the table between you and most of your targets.
Next, you must ensure it is level. For this we used a smartphone app with a built-in spirit level.You can level it by adjusting the wedge-shaped blocks below the base.
Finally, you need to set the azimuth scale so that the 0˚ mark faces north.
This could be done using a compass, but a good method is to point the main arm towards Polaris and then turn the disc (adjust the friction so this is fairly tight), so the pointer falls on the zero mark.
Take care not to jog the azimuth disc when moving the arm onto each new target.
Templates for making your astronomical quadrant
Download templates to help with this DIY astronomy project.
- Astronomical quadrant drawing (PDF)
- Astronomical quadrant 3D view 01 (PDF)
- Astronomical quadrant 3D view 02 (PDF)
- Astronomical quadrant template for brackets (PDF)
- Astronomical quadrant printable scales (PDF)
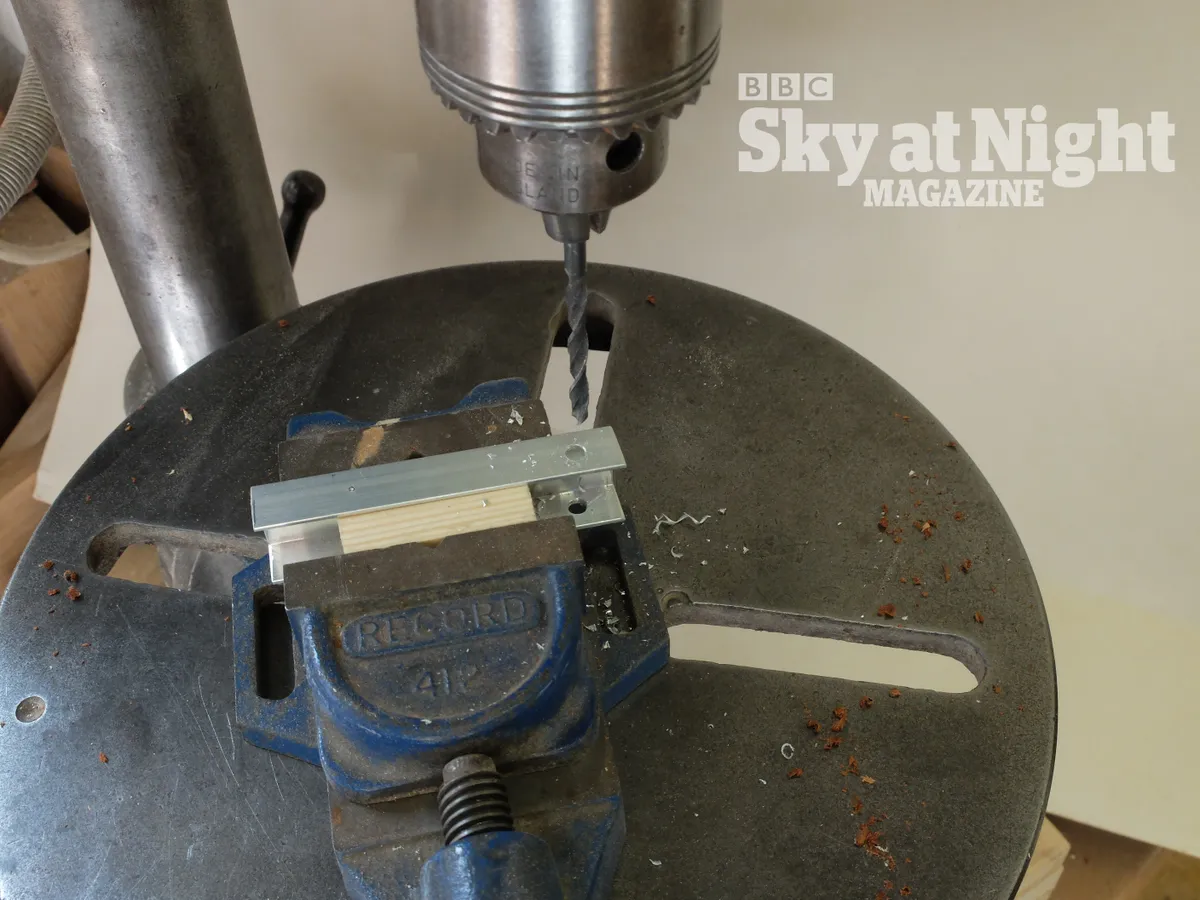
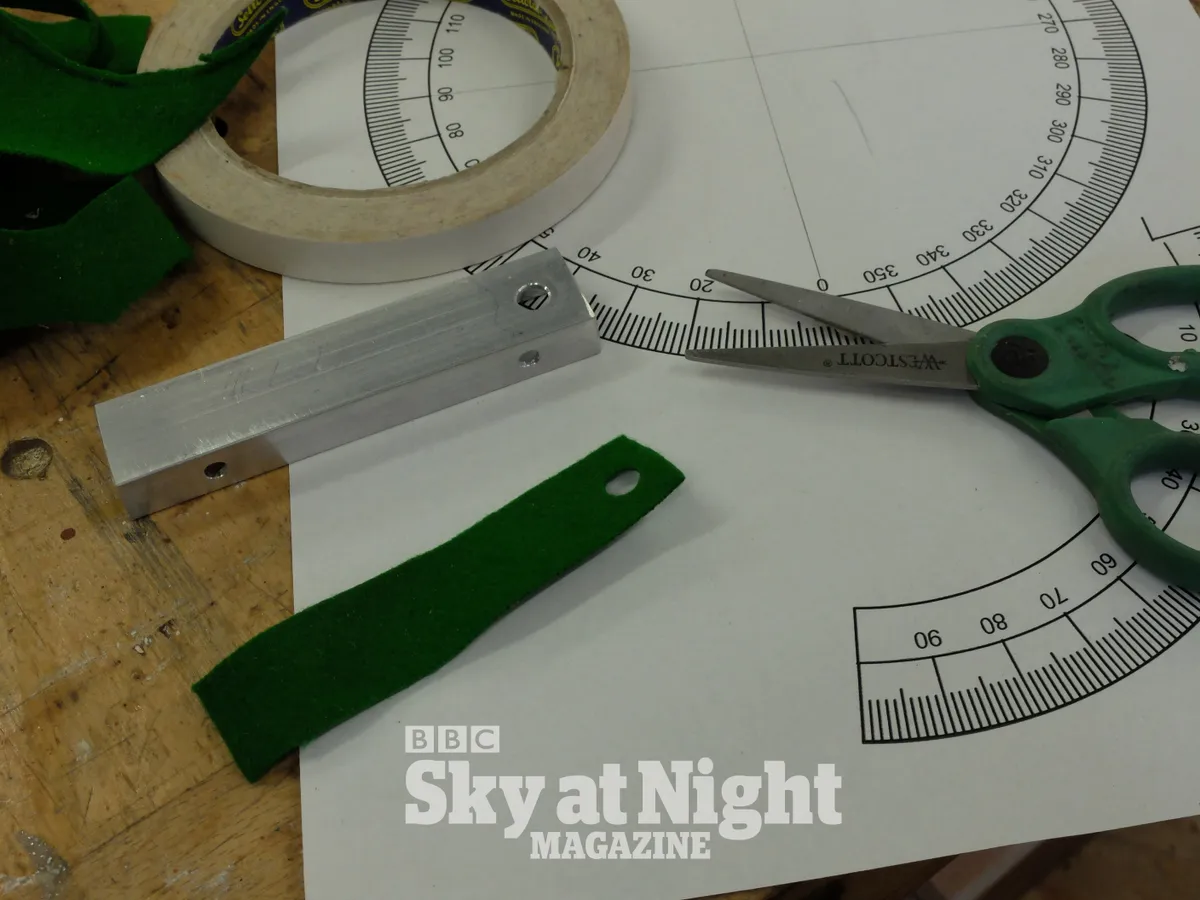
Images for making your astronomical quadrant
View our gallery of extra images to help with this DIY astronomy project.
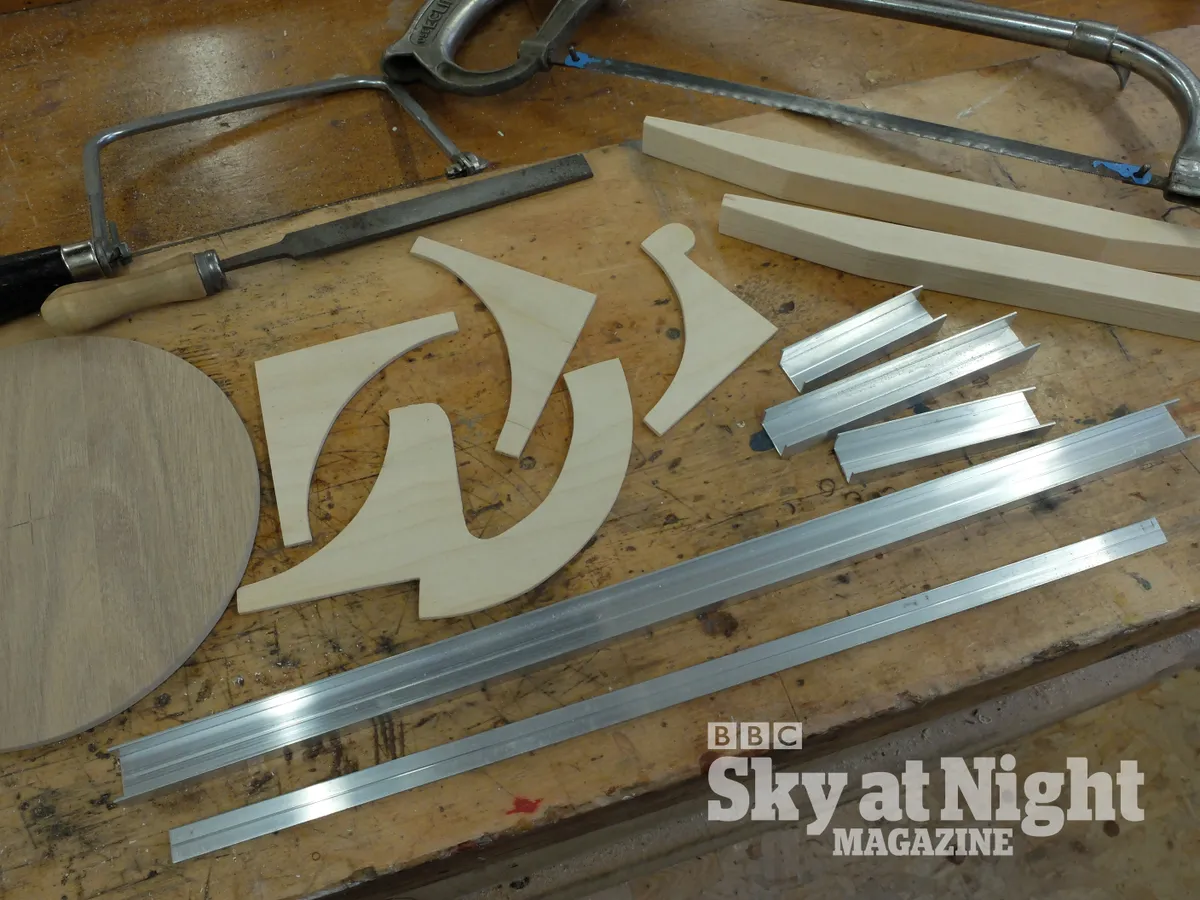
Tools and materials
- Marking-out tools, including a ruler, square, compass and pencil; a coping saw or similar; a hacksaw, drill and bits for M4 and M6 screws; a scalpel or craft knife and files or sandpaper for smoothing.
- Two plywood sheets (A4) one 3mm and one 6mm thick; wood for base, 18x18mm and 600mm long; aluminium channel, 19.5x11.5x1.5mm and 800mm long; aluminium strip, 11.5x1.5mm and 500mm long.
- Sundries include 20 M4x12mm screws with nuts, four M6x40mm CSK screws with one Nylock nut and three wingnuts and washers, and a couple of M4 Nylock nuts and washers. You will need a small pieceof felt, offcuts of wood for wedges and double-sided tape and glue.
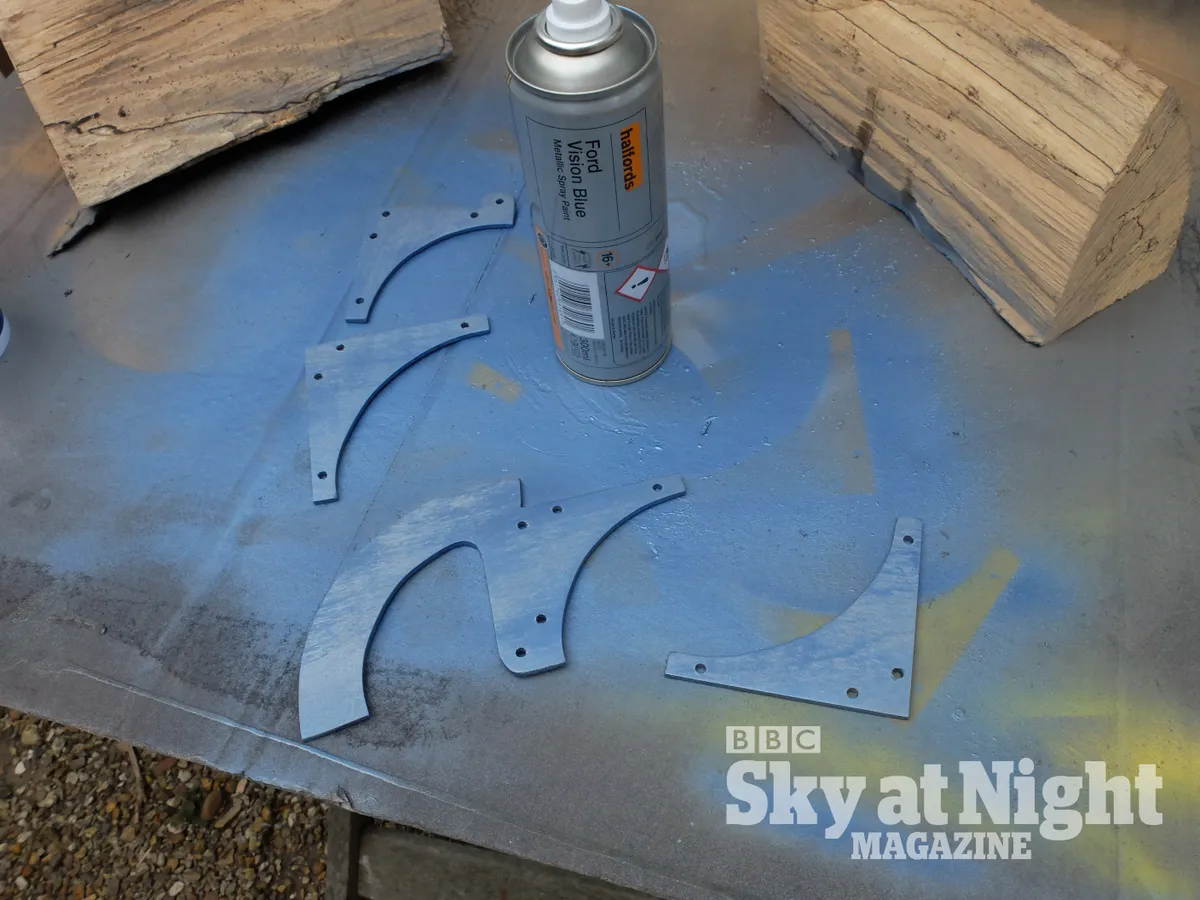
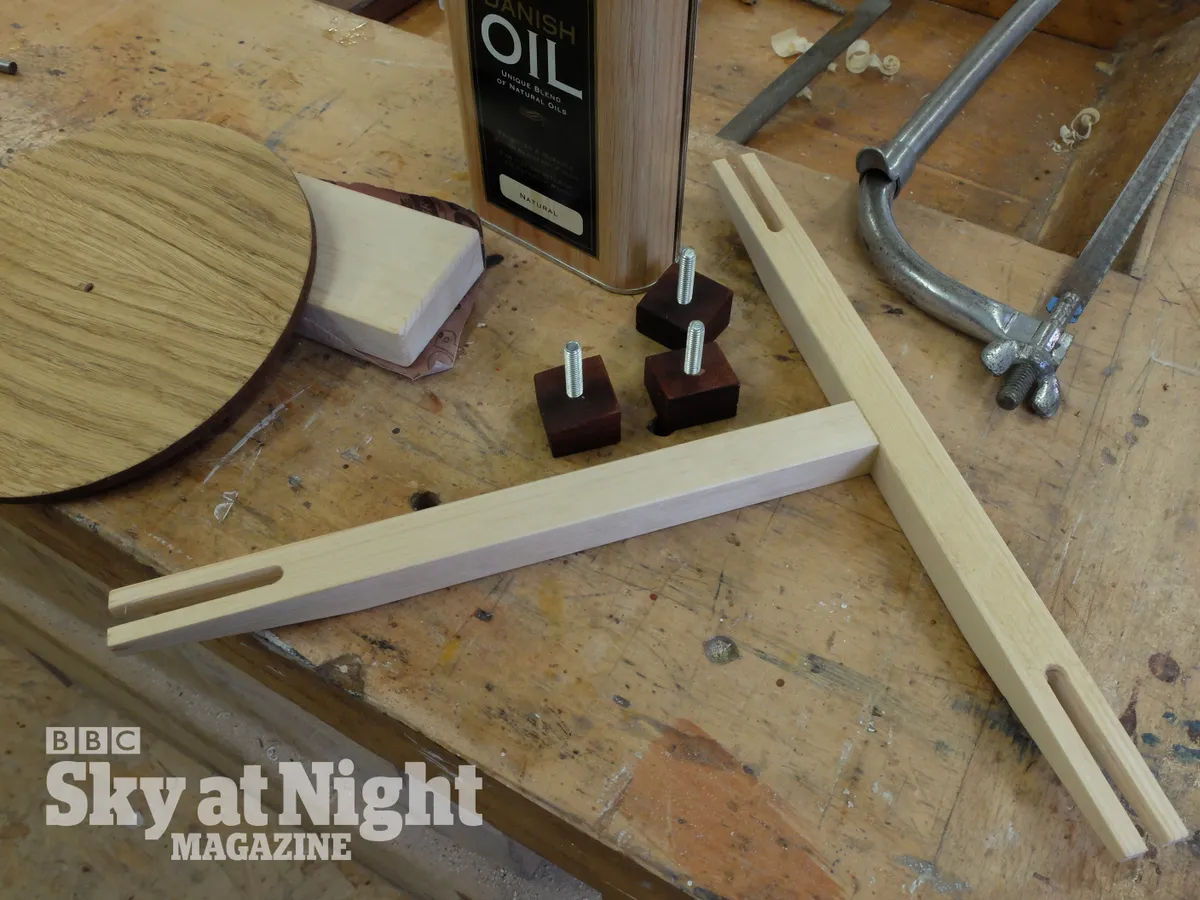
- To finish the plywood, apply primer and spray paint or varnish.
This How to project originally appeared in the August 2019 issue of BBC Sky at Night Magazine.


