A Bahtinov Mask is a mask that makes use of diffraction, an optical effect that happens when light passes through small openings.
Achieving focus is arguably the most important aspect of successful astrophotography.
This project is a focusing aid based on the design developed by astronomer Paul Bahtinov to help you achieve pin-sharp stars and therefore pin-sharp images.
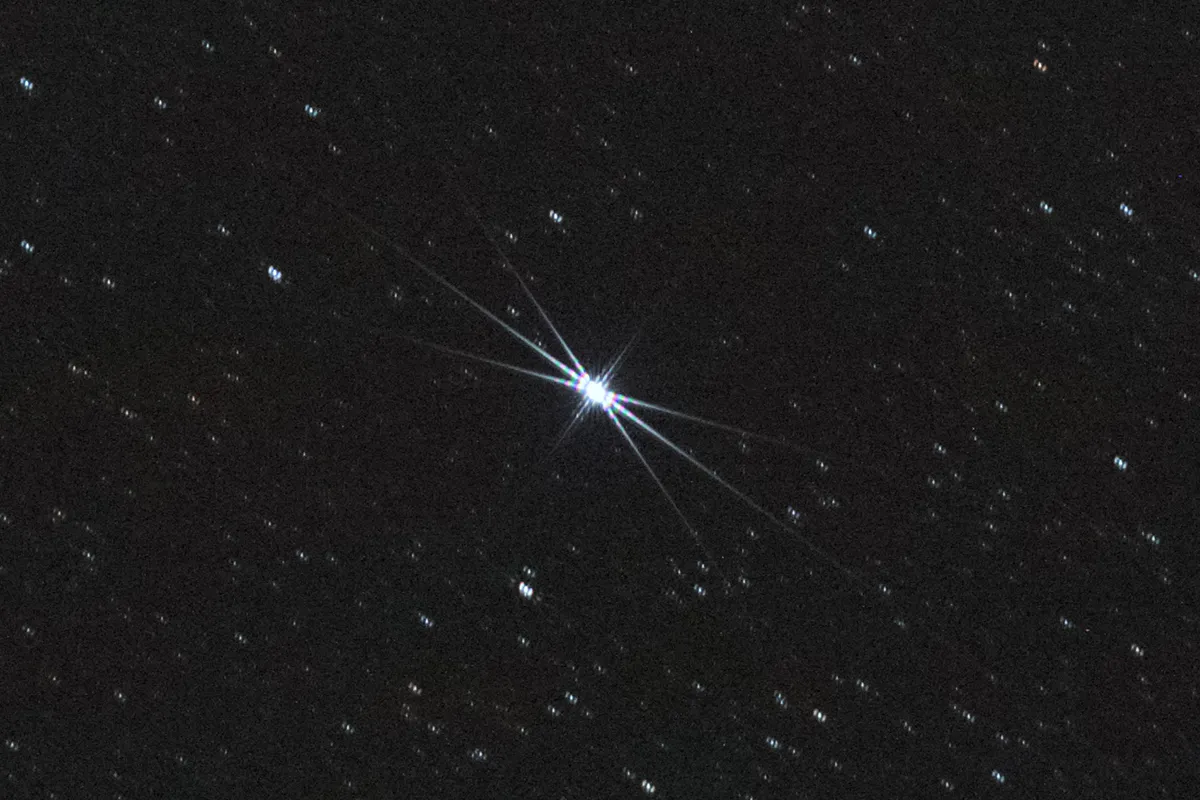
Diffraction effects can be observed with a Newtonian telescope that has a ‘spider’ support for the secondary mirror, or a camera lens with an iris that has straight edges – in both cases, bright stars appear to have lines (called spikes) radiating from them.
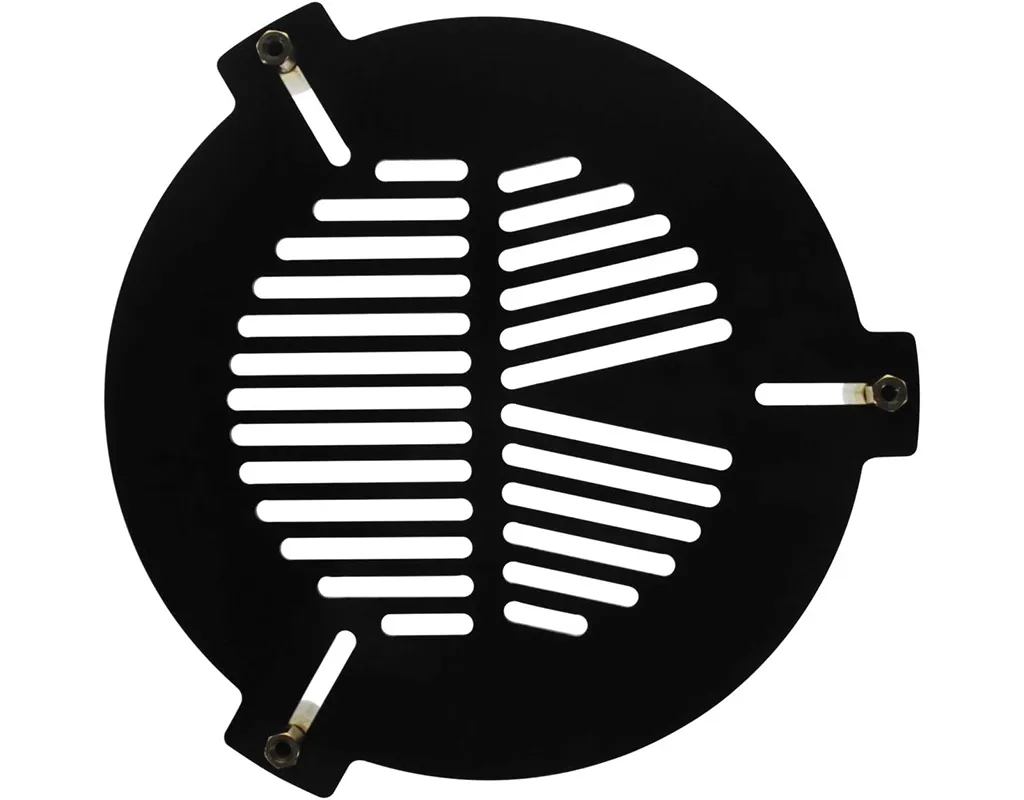
Our Bahtinov mask has three sets of diffracting slits through which the starlight passes.
On one side, two sets of angled slits produce a cross pattern, while the straight slits on the other side create a line that passes through the cross.
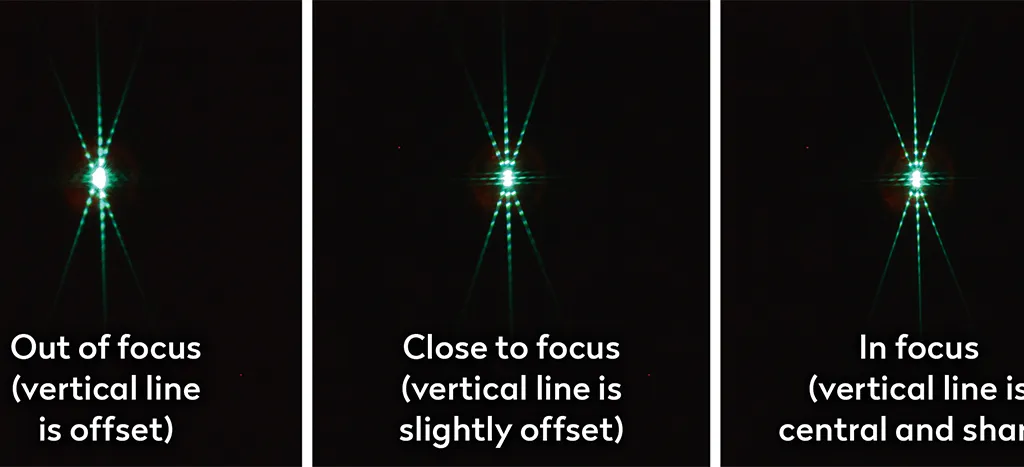
When the image is properly focused, this line passes exactly through the centre of the cross, but when unfocused it is offset to one side.
Building a robust Bahtinov
Most DIY versions of Bahtinov masks are made from card, but our design is slightly more robust and should last longer.
However, it’s still easy to make, using just a few basic materials, a craft knife and glue.
The Bahtinov mask panel is cut from a sheet of thin craft foam and the sleeve is built up from strips of cork.These were bought from our local hobby and craft store.
A very sharp knife is essential for a neat mask, so pop a new blade in, use a cutting mat to protect the tip, and make the mask panel before cutting the cork strips.
There is no need to work out the design of the slits because there’s an online tool that does it all for you.
Go to satakagi.github.io/tribahtinovWebApps/Bahtinov.htmland type in your telescope’s focal length and aperture.
If your telescope has a central obstruction, add the diameter of this too.
The tool generates a CSV file that can be printed from various applications, including MS Word and Google Chrome.
Once your mask is completed, you can use it by taking a series of images of a convenient bright star (or use live view) and adjusting the fine focus.
When you have the line and cross aligned, lock your focus, remove the mask, and reposition the scope to take an image of your desired deep-sky object.
What you'll need
- Scalpel or craft knife, cutting mat, safety rule, pencil
- Thin, black craft foam (size to suit tube diameter), thin cork sheet
- Black spray paint, PVA glue, masking tape, low-tack glue or spray mount
- Rubber bands, clothes pegs
 Remove the dew shield to work on, if possible. If not, protect the optics with a clean, soft cloth and make sure that the telescope can’t roll off the table.


