This is a family friendly project that you can build with minimal tools and basic skills. It’s a planetarium projector that projects a view of the night sky onto a bedroom ceiling.
It uses a normal LED torch as a light source and the pull-out all-sky chart from our the monthly ‘Sky Guide’ in BBC Sky at Night Magazine to position the pinholes you make for the stars.
You could use any star chart you happen to already have, or you can download the BBC Sky at Night Magazine November 2021 star chart (PDF).
As well as being fun to make, this homemade planetarium is educational, as you can use it to learn how to star-hop and navigate between the constellations.
And by making multiple pinhole ‘slides’ you can demonstrate how the sky changes through the seasons.
For more DIY Astronomy projects, find out how to make a scale model of the Solar System, how to demonstrate an eclipse or how to make a Solar System mobile.
If you want an even more immersive experience, then take a look out our list of the best home planetarium and star projectors.

How to use your homemade planetarium
To use the projector, find a clear space on the floor for the torch in its base.
Next, place the box over the torch, lay a night-sky slide on the top and switch on.
You could orientate the projector so that the compass points (north, east, south and west) correspond with the edges of the ceiling.
It is important to use a torch with a single, small light source (an LED or tiny bulb) and it should also produce a fairly wide beam.
Our torch had a ‘Zoom’ feature and we used it on the widest setting.
Before starting the project, you need to hold your torch above the chart so that its circular beam of light just spills beyond the chart’s edge, and measure the distance (h) between the torch and chart.
You’ll need this dimension (h) in order to mark out your box sides. Find out how to do so by downloading our planetarium projector diagram (PDF).

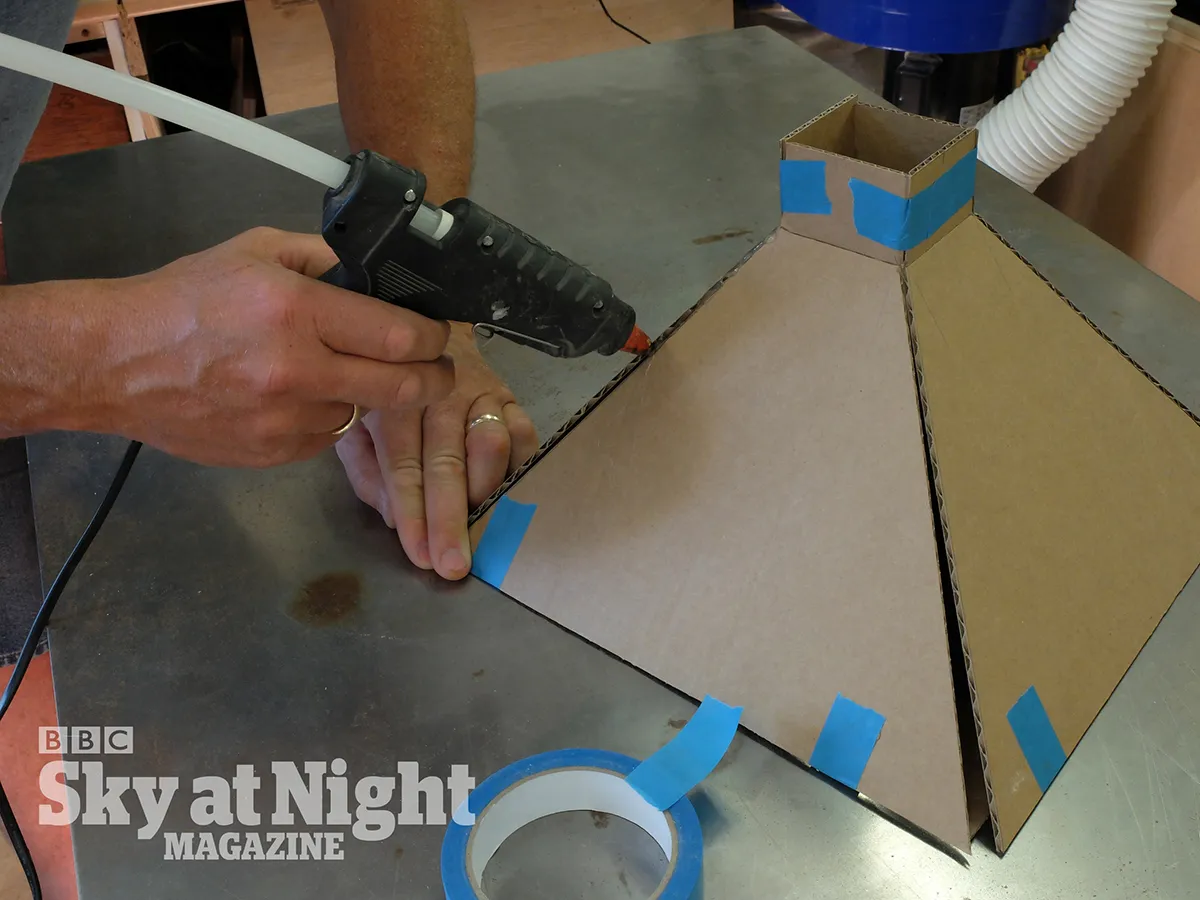
The box and slide frames are made from some stiff cardboard.
After cutting out, we used a hot-melt glue gun to join the sides, but strong tape would be fine.
The inside must not create reflections, so we combined sawdust and matt black paint to overcome this.
It is easier to paint the insides before gluing the top section on.
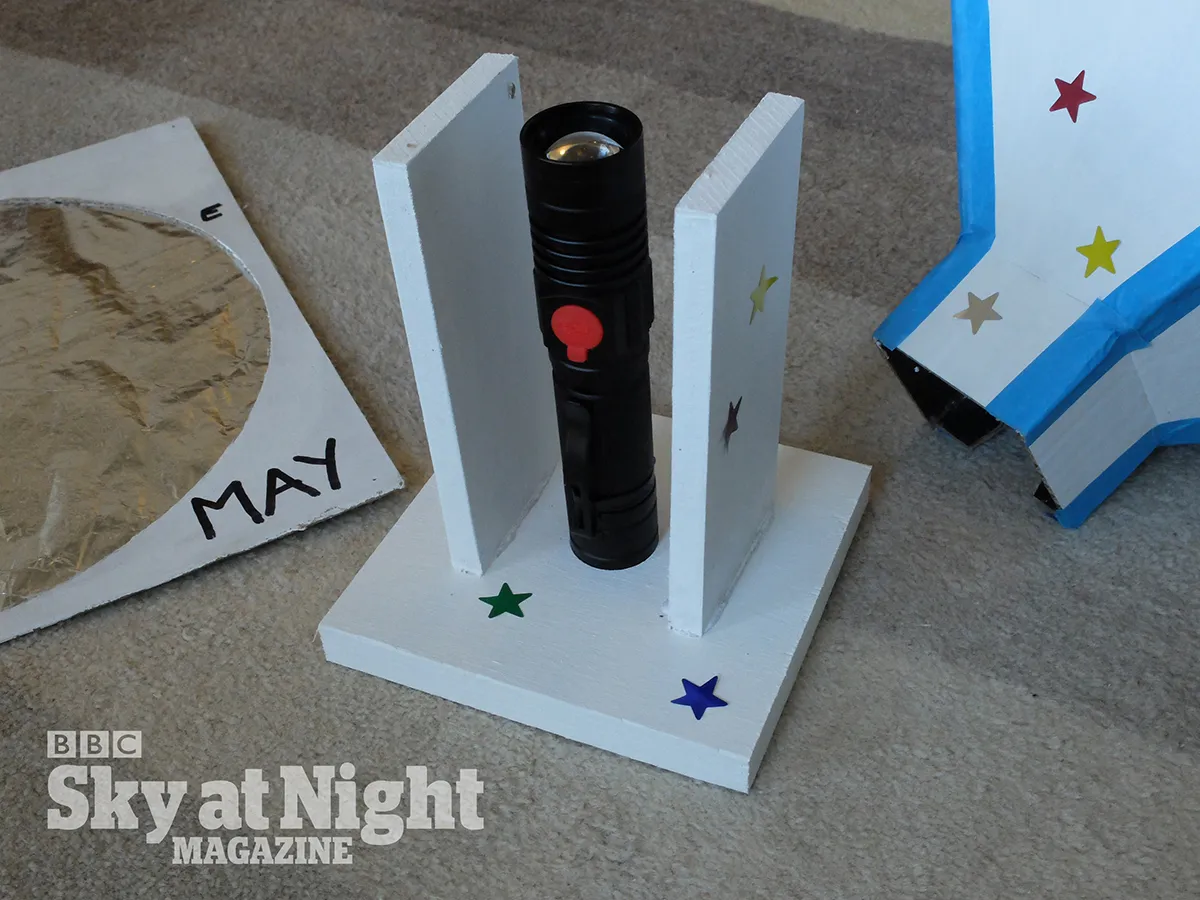
The stand will need to suit your torch, but a fairly heavy base with a hole that the torch can be stood in is a simple solution.
Two walls made from offcuts of wood hold the box above the torch, so that the top of the torch just reaches the fold line of the box, close to the distance (h) from the slide at the top.
Next, paint the underside of some foil matt black and mount it to a cardboard slide with a glue stick, and you are ready to start making the holes for the stars.
You need to work on the foil’s underside or you will find your east and west are reversed when you project the stars.
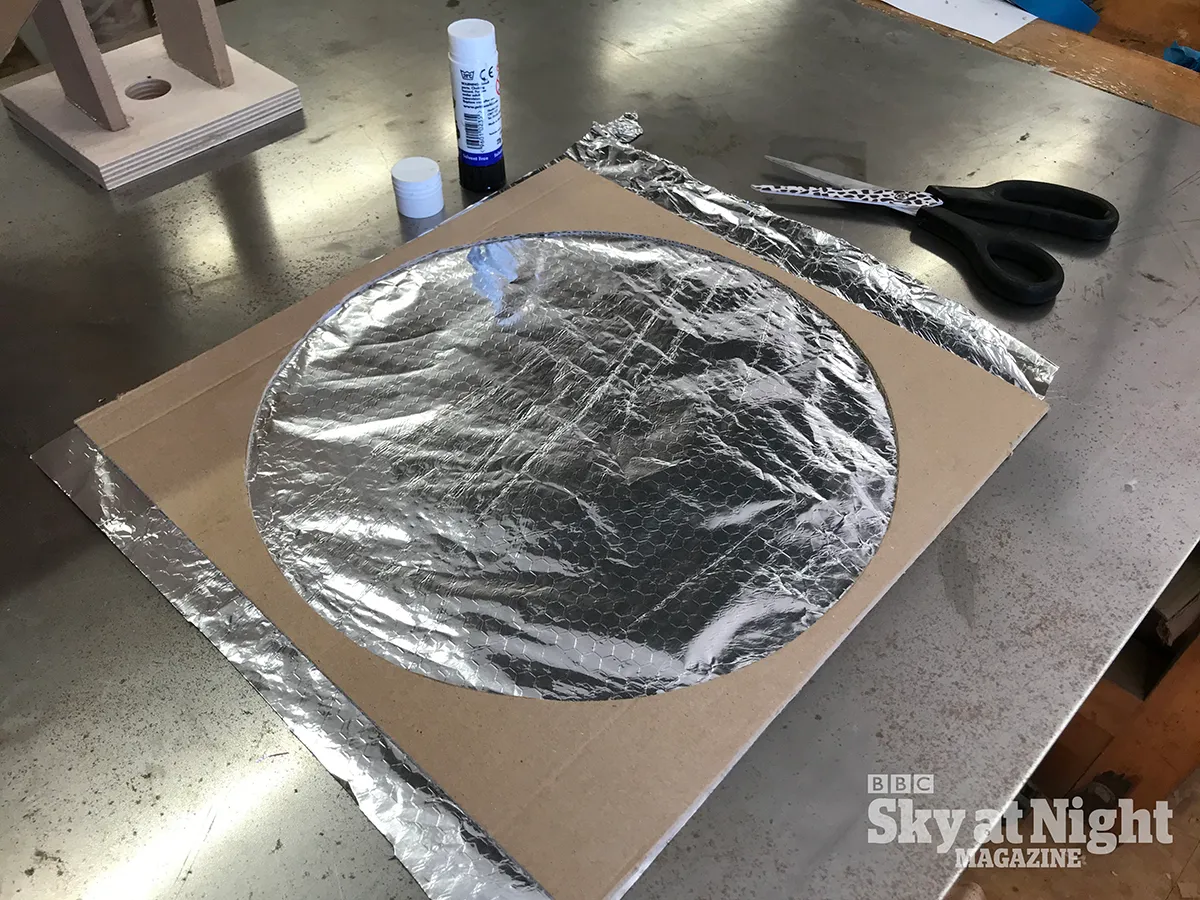
Place the sky chart over the black side of the foil and begin making the pin holes.
You need the tiniest holes you can possibly make. We estimate that the resulting stars are about 10 to 20 times the size of the holes you make, so small is beautiful.
You may not want to pick out all the stars on the chart. You might, for example, decide to just include the main constellation stars.
If you are very careful you can vary the hole sizes to emphasise bright stars or pick out planets for added effect.

Tools and materials
You will need:
- Ruler, compasses and a pencil
- Craft knife and cutting mat
- Scissors
- Masking tape
- Hot-melt glue gun (or strong adhesive tape)
- Small saw and drill for making the wooden base
- Small dressmaking pin and a glue stick
- Several sheets of stiff or corrugated cardboard (at least 6, approx. 300 x 300mm)
- Aluminium foil
- Small offcuts of wood
- Small, bright torch with a single LED or very small bulb (not an LED array)
- An all-sky or star chart
- Matt black spray paint, foil and sawdust
- Suitable paint and decorations for the outside