Stellarium is a fantastic piece of planetarium software and it’s invaluable for helping to plan observing sessions. The program is freely available to download shows you what you can see in the sky on any particular date and time from any location. The view it gives of the night sky is flexible, with the ability to control displays of stars, planets, labelling and more.
As well as the view above you can also alter the view it shows of the horizon, which we’ll look at here.
With careful tweaking of all the settings it can almost look like the real sky, so much so that some planetarium operators use it to project a view of the night sky across their dome.
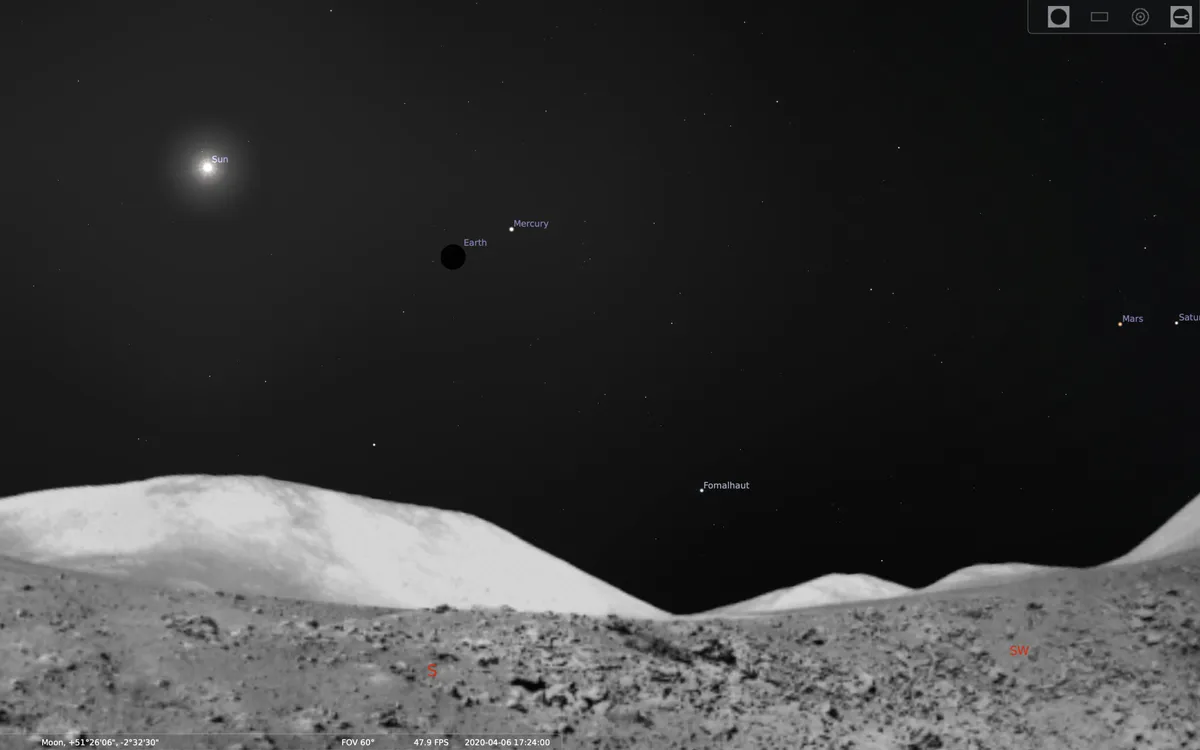
It’s useful for seeing what's around on those nights when clouds are hiding the sky, and another great feature is that it enables you to view the sky from other bodies in our Solar System.
For example, you can look up from the surface of the Moon and see Earth floating in the black lunar sky.
When Stellarium runs it automatically places a default graphic of a landscape around the edges of the horizon.
The program comes with a number of landscapes pre-installed and available to choose from, which can be useful if you want to experience what other locations have as their horizon.
If you use the program to visit the Moon’s surface, for example, it makes sense to replace the Earth-like landscape with something a little more suitable.
To change it, press F4 and then select the Landscape tab. Within the landscapes available there should be a lunar landscape that you can choose.
If any of the supplied landscapes aren’t suitable, there are a number of others that can be downloaded.
Copy the extracted folders into the same landscape folder of your system and they will be available to use from the Landscape selection menu.
It’s all very well having these pre-made landscapes, and they look impressive, but wouldn’t it be great to be able to show your own landscape, as a true reflection of your own location?
The good news is that this feature is available and is easy to do. You just need some basic computer file and image manipulation skills, along with your own selection of images covering a 360° view of your horizon. You can do the latter with a DSLR or a smartphone.
Having your own landscape helps you to plan your observations, as you know what parts of the sky are accessible or are blocked by trees or buildings.
Once your new landscape has been set up, you can add as many as you like, such as famous landmarks or places you’ve visited.
By using Stellarium’s Landscape selection tool you’ll be able to switch landscapes, whether you wish to see the view from your own location, or if you just feel like a change of scene.
Follow our step-by-step guide below.

