Often I am asked by amateur astronomers what they can do to improve their views of the planets, and telescope filters answer this call, making quite a difference to the view in an easy-to-use way.
White light is made of all the colours of the rainbow.
We can think of light as a wave, and colours like red and orange have longer waves than those like blue or purple.
A filter is a piece of glass or plastic that has been coated to allow certain wavelengths to pass through your telescope, while blocking others.
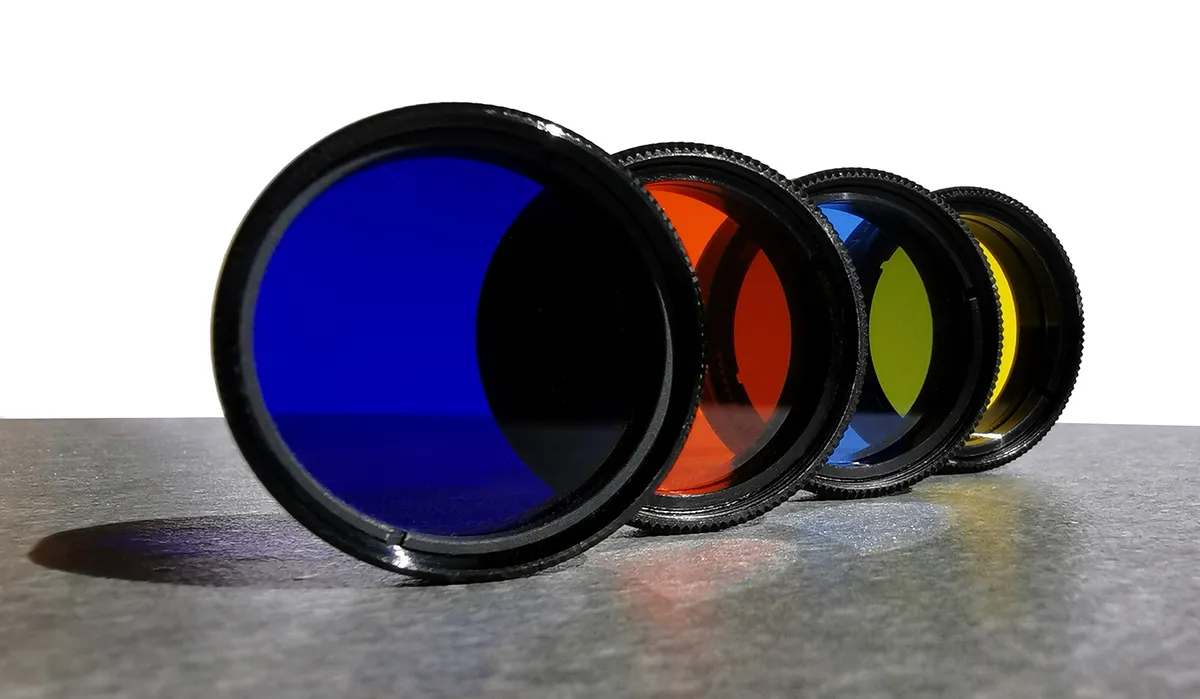
Filters are catalogued by Wratten number, after Frederick Wratten, who invented this way of indexing them.
Each number, prefixed with a ‘W’ or a ‘#’, corresponds to a particular colour and is usually printed on the side of the filter.
In this article, I’m going to focus on how to use coloured telescope filters to bring out detail on the discs of the planets that make up our Solar System.
And for advice on how to get started, read our step-by-step guide on how to fit telescope filters at the bottom of the page.
Venus

Venus’s cloud tops are difficult to observe at the best of times.
The main problem is glare. Observing in the daytime reduces this, but various filters will help to bring out the faint cloud structures in the atmosphere.
Venus has a cloud deck that is about 24km deep.
This means that cloud features vary with different filters, because we are observing different layers of the atmosphere.
Below are four drawings I made in March 2012 which demonstrate this.

A W#47 is a violet filter, and only transmits a small amount of the light that hits it.
In particular, the W#47 can be used to study the clouds that exist in Venus’s upper atmosphere.
A W#21 (orange) filter will show clouds at lower depths.
I use filters to locate prominent cloud features, then track them to measure the rotation of the atmosphere (usually three days).
Schröter effect
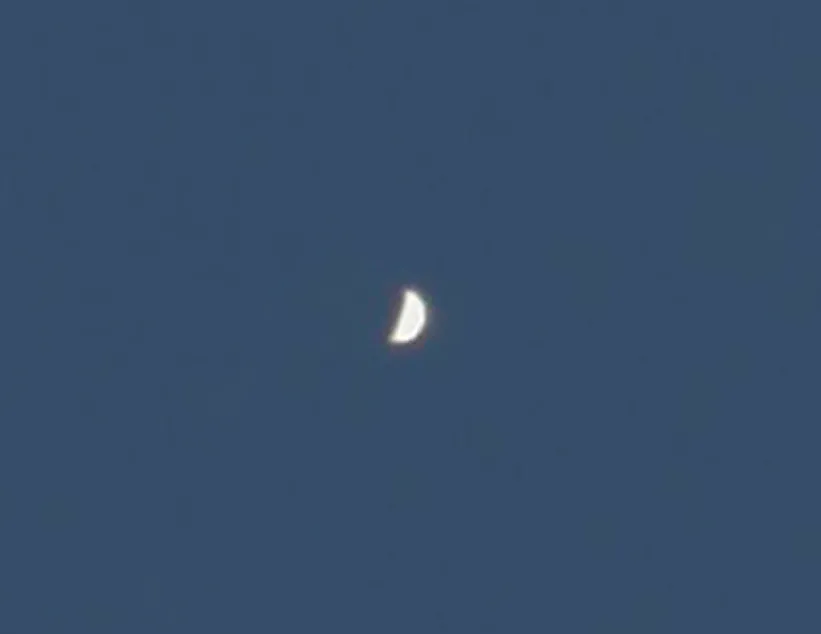
Another interesting phenomenon that occurs on Venus is the Schröter effect.
In 1793, Johann Hieronymus Schröter found that the observed phase of Venus is always less than the predicted theoretical phase, because the planet’s thick atmosphere scatters the sunlight.
In fact, blue light is scattered more than red, so the Schröter effect is most pronounced in a blue filter.
You will notice the phase is smaller in a light blue W#80A filter, but markedly less in the W#47.
If you use a W#11 (yellow-green) or W#12 (yellow) filter you will find that the observed phase is very close to the predicted one.
Mars

Telescope filters can be employed for a wide range of uses when observing Mars among the planets of the Solar System.
You will find that a W#8 (light yellow) or W#21 (orange) filter will increase the contrast of the various dark Martian albedo features.
Although the Martian atmosphere is rather tenuous, it still manages to produce a range of weather phenomena including bright white clouds, fogs and, of course, dust storms.
Dazzling orographic clouds are common when the planet is in its spring and autumn months.
They often collect in the deep basins like Hellas and Argyre, and can become quite prominent when seen on the morning or evening limb.
But not all of Mars’s white clouds are as striking: sometimes, for example in the equatorial cloud band, the only clue to their existence might be a slight ‘washed out’ appearance to the region that contains them.
A light blue filter will help enhance such white clouds.
I find using a W#80A (light blue) or W#82A (very light blue) filter helps to bring out the structure of the white clouds that collect around the Tharsis volcanoes.
Dust storms

Most dust storms on Mars begin life as small local disturbances that appear as light yellow clouds.
When they are small they can be quite hard to detect.
A W#38A (dark blue) filter will help enhance these clouds, making them easier to observe.
A W#56 (light green) filter will also help to enhance any yellowish dust storms.
Polar caps
The polar caps of Mars are also dynamic places. During springtime on Mars a polar cap will retreat as the temperature increases, causing it to sublimate.
During the autumn and winter months, a polar cap will form and become large and prominent.
A green W#58 is a good filter for enhancing the contrast in the polar regions.
I would also recommend using a W#47 (violet) filter for the polar caps if your telescope has an aperture of 6 inches or more.
Jupiter

At its best, Jupiter is one of finest planets to observe, and telescope filters will really help here.
The restless clouds of Jupiter provide us with endless opportunities.
The lovely subtle pastel colours of the belts and storms are caused by the complex chemistry in the atmosphere of this giant planet, and make it an excellent subject for filter work.
Belts and zones
A cursory glimpse through a small telescope will reveal Jupiter's main dark belts and light zones, and a telescope of 6 inches or larger will reveal the storms and structure within them.
Larger telescopes of eight inches or more can reveal some truly wonderful fine structure when the seeing is good.
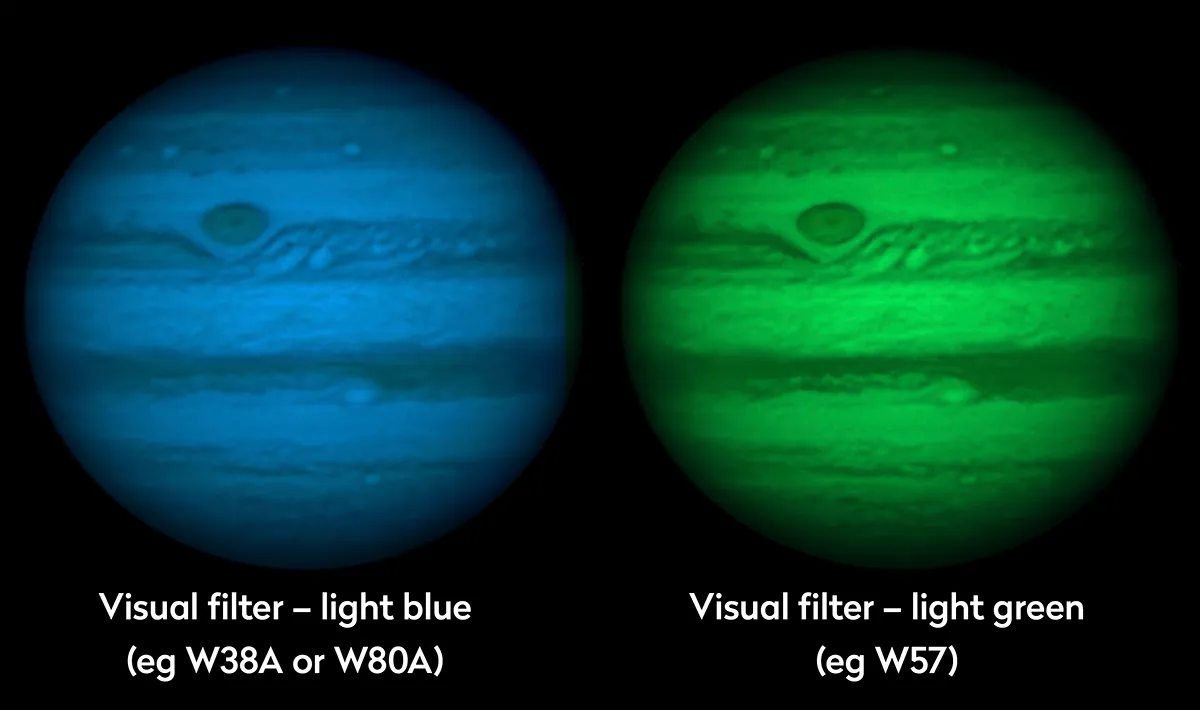
A commonly used telescope filter for Jupiter is a W#38A (dark blue), as this increases the contrast between the reddish equatorial belts and the bright zones.
Storms
I find that using a W#21 (orange) filter helps to enhance the fine detail that occurs along the edges of the two main equatorial belts, and the ovals and storms in the polar regions of the planet.
A W#8 (light yellow) filter will help to increase the contrast of the reddish storms within these belts.
The equatorial zone of Jupiter often produces dark bluish streaks known as festoons.
A filter like a W#23A (light red) (or if you have a larger scope, a red W#25A) will help to sharpen the contrast of the festoons.
Often it seems the bases of these festoons are situated inside the northern edge of the North Equatorial Belt and I find a red or orange filter helps enhance these cloud details, too.
Great Red Spot
The Great Red Spot retains an orange colour so a W#80A (light blue) filter and a W#38A filter should help enhance this enormous storm.
If you have a larger scope, this filter may help enhance Oval BA (‘Red Jr’), a smaller storm that sometimes contains an orange hue.
For more advice, read our guide on how to observe Jupiter through a telescope
Saturn

The atmosphere of Saturn is just as tumultuous as Jupiter’s. However, a form of petrochemical smog hides all but the most striking details from us.
A 6-inch telescope or larger is needed for filter work with Saturn.
Belts and zones
We've looked at a few types of telescope filters good for observing the planets.
For Saturn, in general a W#8 (light yellow) or a W#11 (yellow-green) filter will help to enhance the contrast between the belts and zones.
Although giant storms are usually seasonal, occasionally Saturn throws us a surprise like the Dragon Storm of 2010.
For white storms, I recommend using a light blue W#80A filter, as this will increase the contrast and make the storm much sharper.

Rings
The rings of Saturn are also a good subject for filter work.
If you have an 8-inch telescope or larger you’ll find a W#47 (violet) filter helps to increase the contrast of Saturn's rings.
An interesting effect that sometimes occurs is known as the bi-coloured aspect of the rings.
This is the phenomenon whereby the rings (normally just the A Ring, but sometimes the B Ring as well) appear to be brighter in a W#80A (light blue) filter than in a W#25A (red) one.
The effect seems to be concentrated on just one side of the rings rather than appearing equally on both sides.
Whether the effect is due to atmospheric dispersion or some dynamical effect in the rings is not at all clear, but it is certainly worth examining Saturn's rings through W#80A and W#25A filters to see if the effect is present.
Titan
Try looking at Saturn's moon Titan through a light blue W#80A filter (you’ll need a large telescope for this).
Over the course of an apparition, see if there are any changes in the brightness of the moon in the filter.
If so, this may suggest that the satellite’s colour does vary – though this effect could well be the result of Earth’s atmosphere rather than Titan’s.
For more advice, read our guide on how to observe Saturn through a telescope
Different telescope filters and what they reveal in the planets
| Wratten Number | Colour | Effects |
| 8 | Light yellow | Emphasises Jupiter belts, zones; increases contrast of Mars albedo features. |
| 11 | Yellow-green | Enhances red and blue colours on planetary surfaces. |
| 12 | Yellow | Lightens orange colours; contrasts blue colours on Saturn, Jupiter; reduces Venus Schröter effect |
| 21 | Orange | Enhances contrast of equatorial belts on Jupiter and Saturn. |
| 25A | Red | Useful for bluish clouds (festoons) on Jupiter and Mars polar ice caps. |
| 38A | Dark blue | Useful for Mars dust storms; enhances Jupiter's Great Red Spot |
| 47 | Violet | Useful for upper atmosphere of Venus; enhances Schröter effect. |
| 56 | Light green | Very good filter for enhancing yellow clouds on Mars. |
| 58 | Green | Brings out details on Venus and polar regions of Jupiter and Saturn with larger scopes. |
| 80A | Light blue | Good for bringing out white clouds on Mars. |
Fitting telescope filters for observing planets
Step 1

Select the telescope filter you want to use for observing the planets. Your choice will be based on colour and transmission. The Wratten number is printed on the side of the filter, as seen in the picture above.
The manufacturer will normally supply a leaflet that states the colour of the filter and gives details of its light transmission characteristics.
Step 2

Your filter will screw into the bottom of your eyepiece. If you look at the bottom of an eyepiece you will see that it has a thread.
So, select the eyepiece you wish to use and then carefully screw the filter into the base. Make sure it is properly secured before you turn the eyepiece over.
Step 3

Return the eyepiece, with filter attached, into the draw tube or star diagonal. You will probably have to re-focus the image.
If the image is too blurred, try using a lower power. You can also ‘stack’ filters – simply remove the eyepiece and screw another filter into the bottom of the one currently in your eyepiece.
This guide appeared in the October 2012 issue of BBC Sky at Night Magazine


