Dealing with high dynamic range and ensuring the bright parts of deep-sky objects are not burnt out during image processing is an important part of the astrophotography workflow.
Typical examples of high dynamic range objects include galaxies such as the Andromeda Galaxy, and nebulae such as the Orion Nebula or Wizard Nebula.
What is less obvious is the limit the stars place on how far you can stretch an image’s brightness before they become bloated.
How useful would it be if you could remove the stars during this part of the image processing and then add them back in later on?
For a more basic astrophotography guide, read our tutorial on how to photograph the stars.
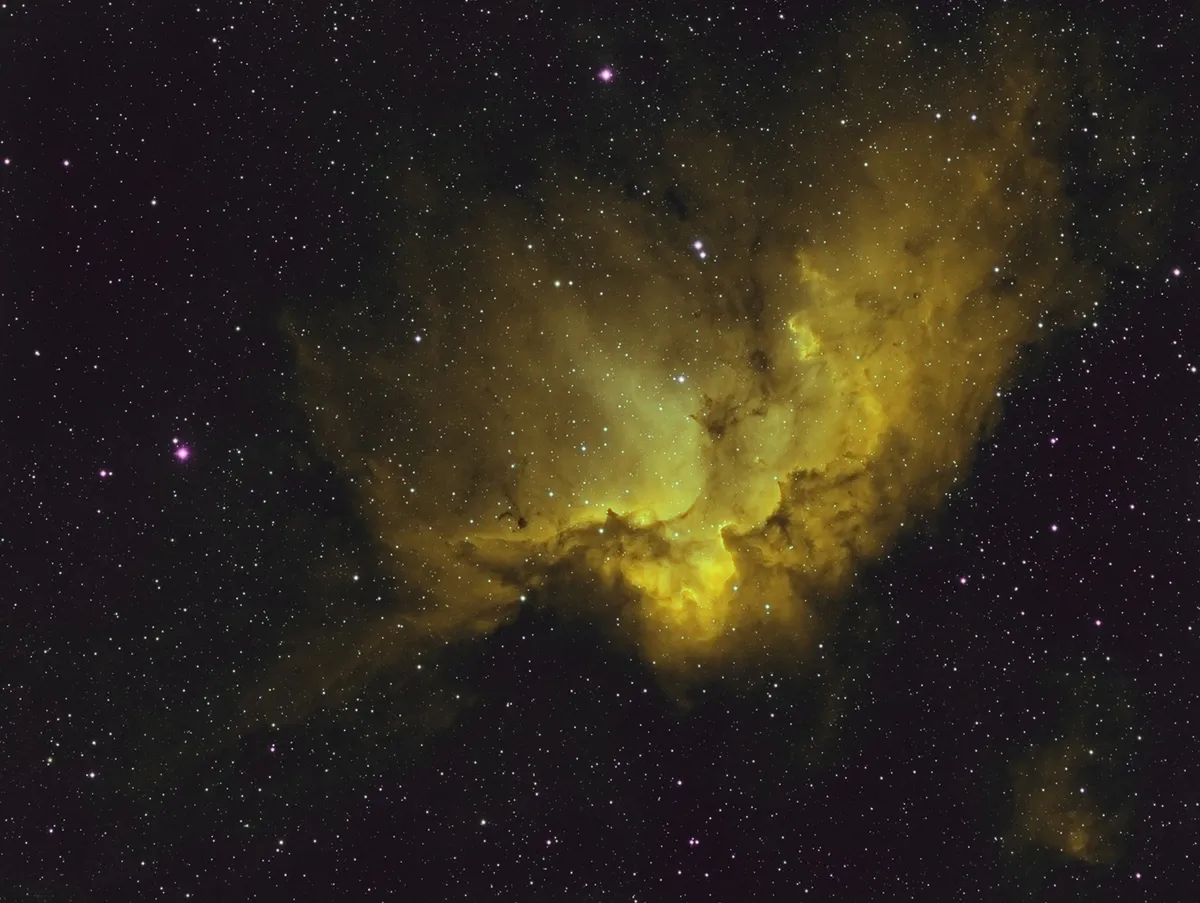
Well, you can, and we're going to show you how to do this using PixInsight.
As an added bonus, if you are imaging in narrowband, which often results in bland stars, you can use just the nicely coloured stars from an LRGB (Luminence, Red, Green and Blue) image of the same object as replacements.
PixInsight is always evolving and a new process called StarNet is now available.
StarNet only works with non-linear images - those that have had a preliminary stretch - so use HistogramTransformation (HT) by selecting Process > IntensityTransformations > HistogramTransformation to adjust the image.
Select the ‘Realtime Preview’ button and use the shadows, mid-tones and highlights sliders to make a stretch adjustment to the preview image to bring out some detail and set your background level.
Fix the new stretch on the main image by dragging the ‘New Instance’ button onto the image, then close HT.
This image will be used to produce the ‘starless’ image, so produce a duplicate image for the ‘stars only’ image by dragging the image name tab onto the image itself to produce a clone.
Read more image processing guides for PixInsight:
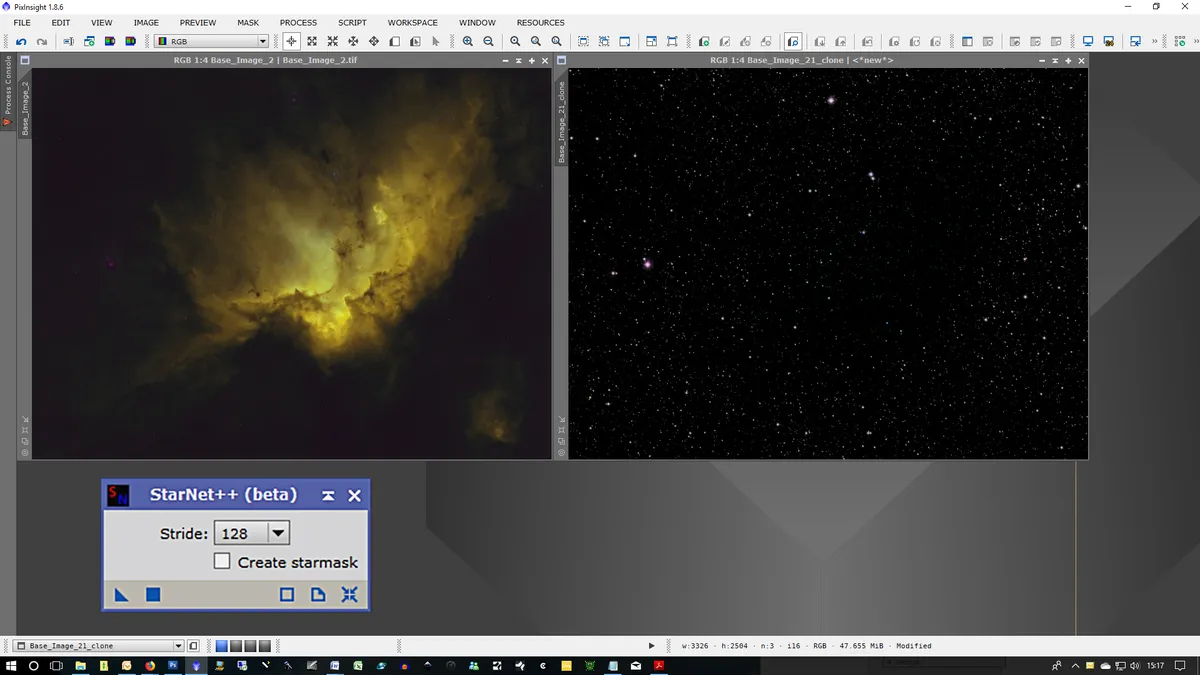
To start the StarNet process, select Process > Etc > StarNet. The ‘Stride’ selector dropdown menu offers a range of processing tile sizes, but excellent results and a faster processing time can be achieved with this set to 128.
StarNet has two modes of operation: star removal and star mask.
To run the star removal process, untick the ‘Create starmask’ box, drag the ‘New Instance’ button onto the first image and watch the magic happen.
To produce the stars only image, place a tick in the ‘Create starmask’ box and drag the ‘New Instance’ button onto the clone image.
You now have two images: one with no stars and one with only stars. Now is a good time to save these two suitably named images, making it easy to identify which is which.
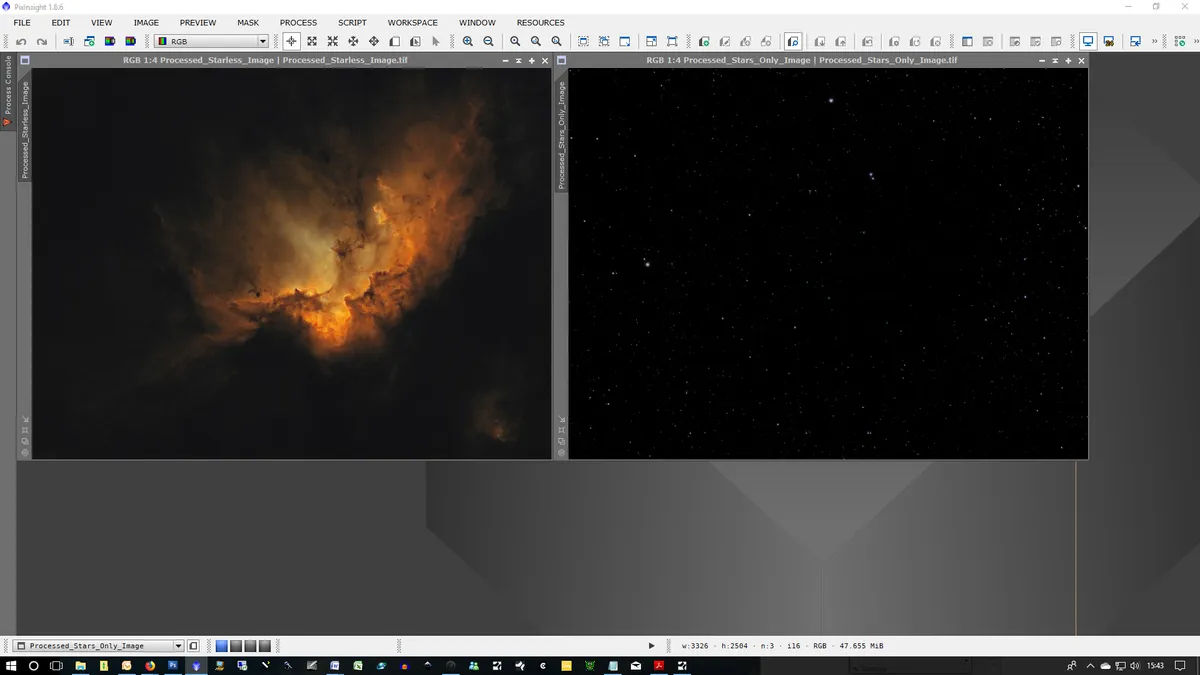
You can now process the starless image in any way you wish using any of the tools within PixInsight or any other image-processing software, like PhotoShop, to bring out the maximum amount of detail without having to worry about bloated or over-saturated stars.
You can also work on the stars-only image to reduce their brightness and size ready for recombining with the main image to complete the project.
If you have both narrowband and LRGB image data for the same object available, you can use a suitably aligned LRGB image to extract naturally coloured stars for inclusion in a starless narrowband image using the same process.
There are various ways of recombining the starless and stars only images. PhotoShop’s ‘Screen’ blend mode or PixInsight’s PixelMath process – which is what we used here – both give excellent results.
Select Process > PixelMath > PixelMath then place a tick in the ‘Use a single RGB/K expression’ and ‘Generate output’.
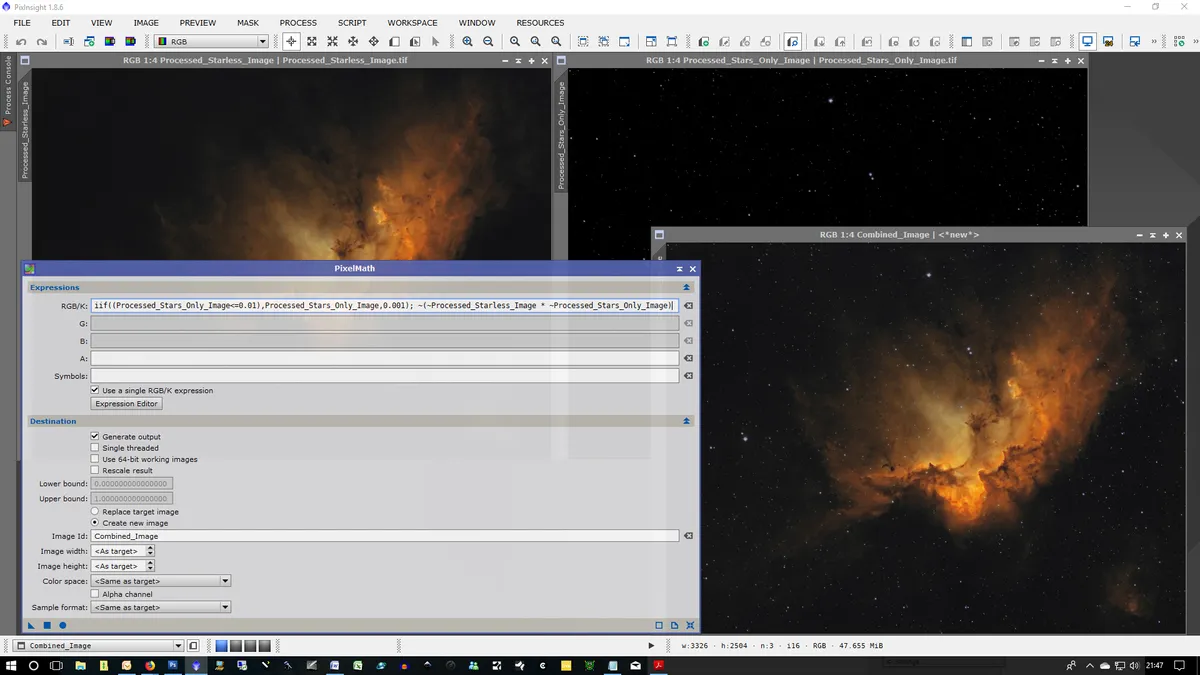
Activate the ‘Create new image’ radio button, enter a name for the finished image in the ‘Image Id’ box and leave all the other settings at their default values.
Click on the ‘Expression Editor’ button and type in the following two algorithms which maintain background levels and produce a ‘screen’ blend of the stars into the starless image:
- iif((Stars_only_image_name <=0.01), Stars_only_image_name, 0.001);
- ~(~Starless_image_name * ~Stars_only_image_name)
Replace the image names with the names of your own images selected from the list at the top right-hand corner of the Expression Editor dialogue box.
Click on the ‘OK’ button to return to the PixelMath dialogue box then click on the the ‘Apply (F5)’ button to run the PixelMath process which will blend the two images together.
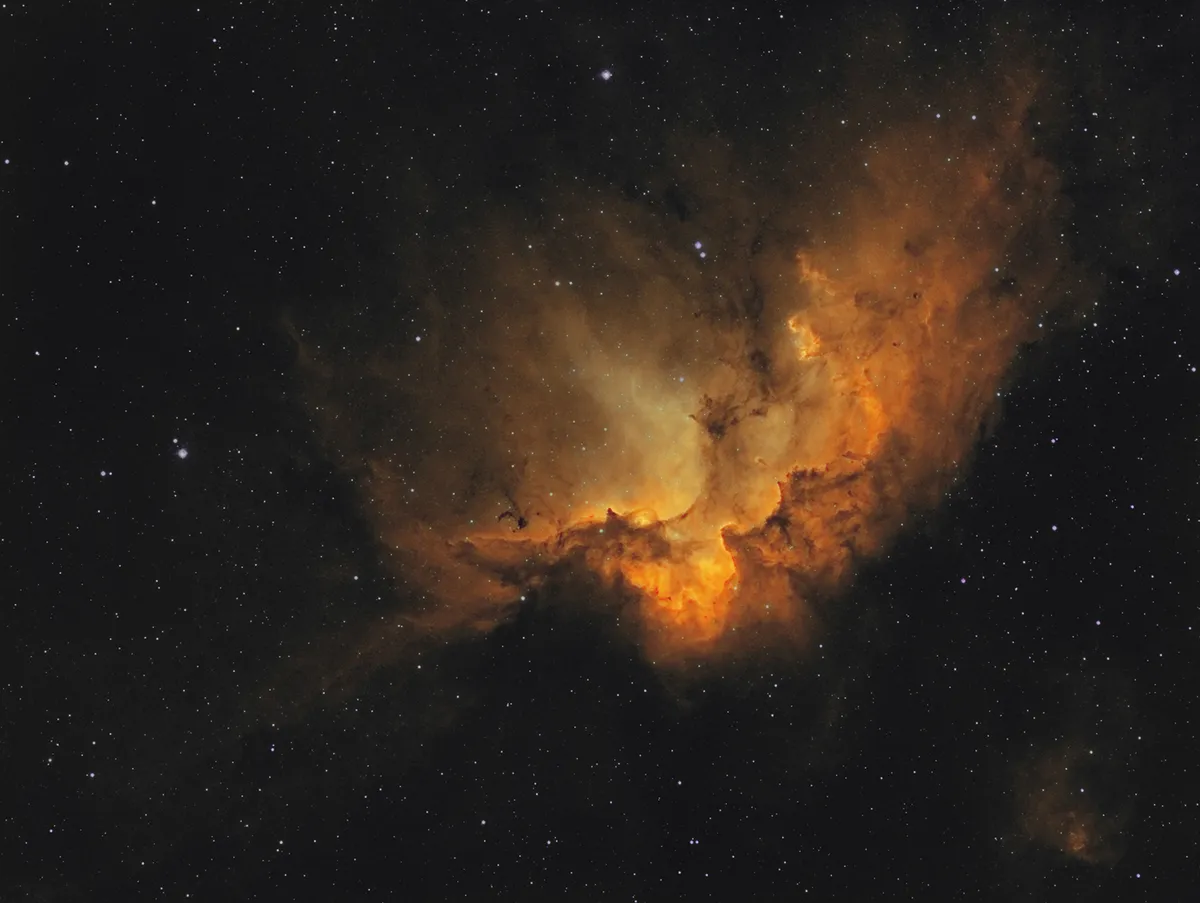
This article originally appeared in the January 2020 issue of BBC Sky at Night Magazine.
