Image Credit: Martin Lewis
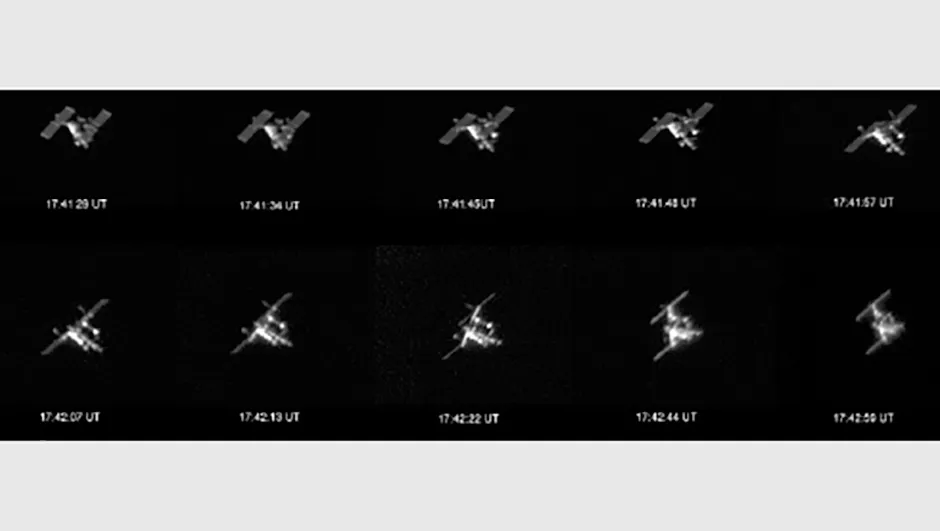
The December 2011 issue of Sky at Night Magazine featured my images of the International Space Station, and went into detail about how I take them.
In the step-by-step guide below you’ll find more details about my imaging technique, which will be useful to those wanting to have a go at imaging this amazing spacecraft.
By necessity this procedure is biased towards the method and equipment I use.
However I hope there is enough here to enable readers to see what is important in the method and to be able to interpret it for their own set-up:
Step 1
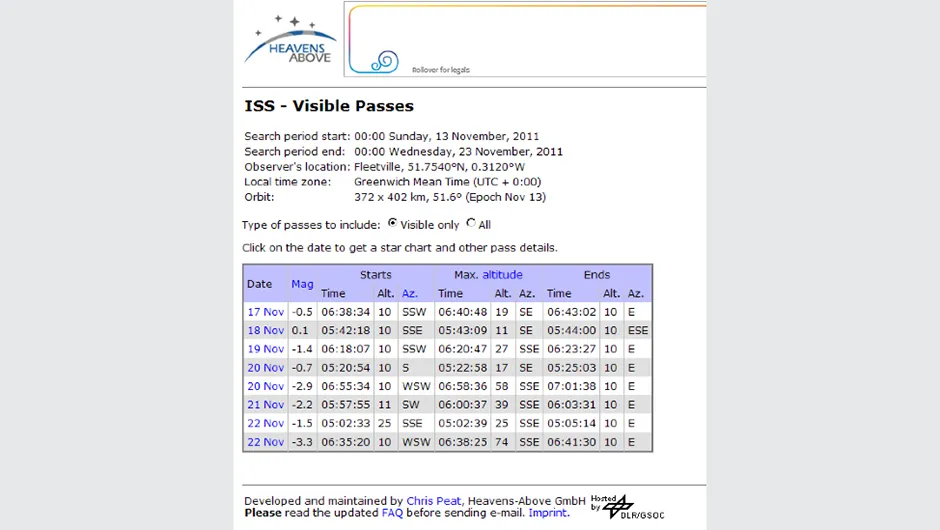
Refer to the ISS pass information on the Heavens Above website (www.heavens-above.com) or on the ‘CalSky’ website (www.calsky.com).
CalSky is particularly good as you can click on the links in the Object (Link) column to see a map of the pass and to see other useful pass information.

Whichever site you look at, make sure it uses your correct latitude and longitude as this is used to calculate the geometry of the pass.
Also information more than a few days old may be inaccurate as the ISS is low enough to be affected by atmospheric drag and has to regularly boost itself to a higher altitude orbit.
Step 2
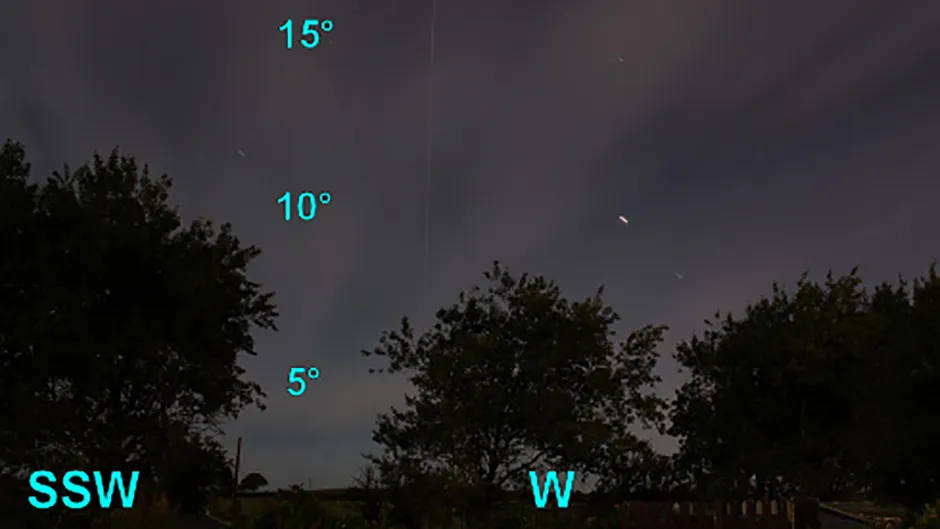
Work out where in the sky the ISS will first appear, reach its maximum altitude, and disappear relative to your observing location.

You will obviously need to know where north, south, east and west are from your location to do this – use Polaris to aid you.
Step 3
If your telescope is portable, place it in a position which allows a clear view of the pass, especially of the part of the pass where it is above about 60° altitude.
At this higher altitude, the ISS is not only closer and larger, it’s also less affected by atmospheric dispersion effects and the seeing is significantly better.
Images taken when the ISS is below about 30° rarely show much detail but may be worthwhile if something unusual is in progress, such as a solar or lunar transit.
Step 4
As the ISS climbs higher in the sky, its size changes, one’s viewing perspective changes and the direction of solar illumination changes.
All these have an effect on an imager’s ability to see structure on the craft.
For evening passes the ISS generally appears as a faint star in the west, close to the horizon.

It climbs upwards, very slowly at first, brightening and increasing in speed as it gains altitude.
Above about 60° altitude the ISS is moving at over 0.5°/sec and will usually be brighter than Jupiter.
Often the view in the evening, taken a bit past the time of highest elevation, is the most interesting: then the Sun is more fully illuminating the underside of the craft.
The ISS will disappear into the Earth’s shadow shortly after, so this optimal stage can be short.
If you’re keen enough to image the ISS during a morning pass then this all happens in reverse.
Morning imaging is harder as there is no slow build-up and it can all happen a bit too fast.
The ISS still travels from west to east but it will appear out of the Earth’s shadow travelling fast and often high up in the sky.
It quickly reaches maximum elevation then starts to drop in altitude, slowing and fading as it nears the eastern horizon.
Step 5
Once your scope is correctly placed, connect everything up – camera, laptop, batteries etc, and do a trial run, sweeping the scope along the predicted path.
If you are not using a Dobsonian telescope then you may need to unlock the axes of your mount to be able to do this.
In this mode you need to be careful if the scope is not well balanced and you let go of the tube, as it may tip up.
During the trial sweep, check for smoothness of movement of the telescope, potential cable snagging, or lead pull-out, and anything else that might go wrong during the vital imaging stage.
Check that your body won’t get too contorted or if your head will knock the camera during the trial.
Difficult body positions will have a big effect on your ability to move the scope smoothly and to concentrate on tracking the ISS.
If you have an equatorial mount do check that your sweep won’t be constricted by the orientation of the polar axis.
As you are not using the tracking of the scope you can re-orientate the polar axis to any direction you want.
Dobsonian owners have similar movement restriction issues with the azimuth axis, but these are at the zenith.
Unfortunately, this is also where the ISS could be the largest and there is no option for repositioning the axis to a more convenient direction to allow easier following.
Step 6
Open the camera’s interface program (I use IC Capture with my Imaging Source camera) and set to Preview mode.
Using a brightish star as a target, alter the finder’s alignment so its cross-wires and the centre of the camera’s field are accurately aligned.
Note that a reflex type finder like a Telrad is not sufficient for tracking the ISS.

Although you can see the ISS easily through these types of finder there is insufficient positional discrimination due to their zero power nature.
Instead you need a finder with a power of 8x or 10x and good thin crosswires.
With my undriven mount I often use Polaris to help with finder alignment as it is virtually stationary during the task.
Once the finder and camera field are aligned and the scope has fully cooled from the primary mirror’s fan being on for an hour or two to minimise tube currents, I use the same star to carefully optimise the camera’s focus.
This may require altering the exposure time to get a good star image but do be careful to change it back to the correct exposure for the ISS later.
If I had a driven mount and the moon or a planet was on view I would most likely use these to optimise the focus as I am well used to doing this, however, adding my equatorial platform into the setup increases complications so I prefer to just focus on a star without using my driven platform.
Originally I used the simple technique of getting as tight a star image as possible to get best focus.
I experimented with other aids such as a Hartman mask but never really found them better than that simple method.
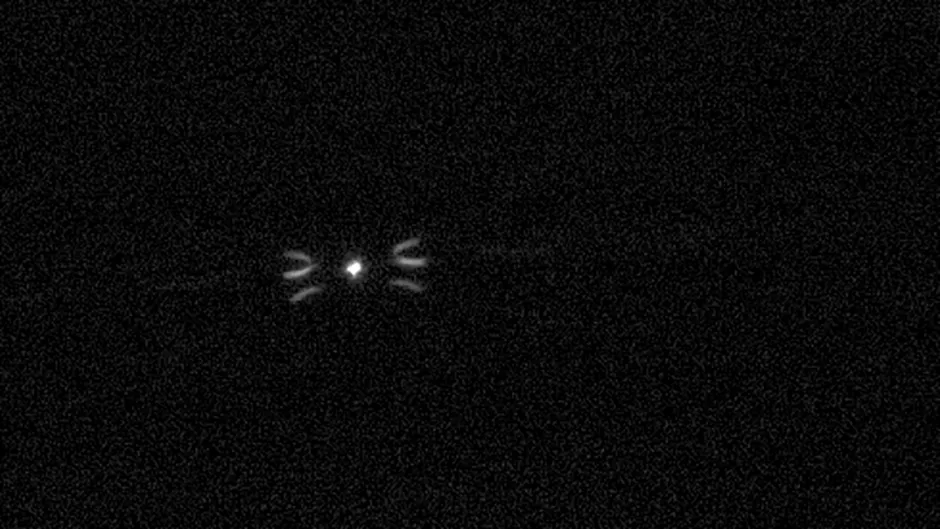
About 2 years ago, however, I discovered the wonders of the Bahtinov mask and now I usually use that to get best focus.
With this mask I get more reliable and quicker result compared to using the simple method of getting the best, tightest star image.
Step 7
Once aligned and focused, set the camera’s recording format, frame rate, exposure time, gain and gamma.
It is useful to record a short video of a bright star at the desired settings to check all is ready to go and the laptop records okay.
Step 8
As a final pre-run check, ensure the Bahtinov mask is removed and that the camera settings are correct for the ISS.
Particularly don’t forget to check the camera exposure value if you altered it for focusing on a bright star.
Check your camera interface is not set to record a short avi – you need the laptop to record for at least 2-3mins.
Also check that your laptop battery level has sufficient charge for the time you will need to record and plug it into the power if it is low on charge.
Step 9
When the ISS appears and is approaching a reasonable altitude (>30°) then hit the record button on the laptop.
Calmly sweep the scope to pick-up the ISS and then, once you see it in the finder, start chasing it across the sky, continuously attempting to keep the bright star-like image of the ISS aligned on the finder’s cross-wires.
Step 10
When you have finished the chase, hit the record stop button and RELAX.
You can then quickly review your video in something simple like Windows Media player to get a sneak preview of your achievements and see if you have caught anything useful.
If you see something buzzing around like a firefly then you have met with success and you can move onto the next stage.
To find out more about imaging the ISS using hand guiding, about post-processing, focusing for sharp images and advice on camera settings, visit Martin Lewis’s website, SkyInspector.co.uk
