Capturing night-sky objects comes with its fair share of challenges. How you handle them can make the difference between a good image and a great one.
Sometimes, when everything conspires against you getting a clean shot, post-processing is your only solution!
More image processing
For example, with some deep-sky, narrowband solar or lunar images, parts of the frame will be very bright, while others will be darker and less defined.

In lunar shots especially, details near the terminator can be particularly faint due to small shadows created by a low-angle Sun.
These reduce the overall brightness in that part of the image.
Because it only affects one area, it’s not easy to achieve an exposure that will reveal faint details without blowing out the brighter regions farther from the terminator.

How image processing can help
This image of the southern highlands around Clavius (above) is a good example.
While the brighter areas are almost over-exposed, the capture settings were designed to prevent them from being completely blown out.
However, the walled plain of Clavius on the left side of the image, where the Sun was rising, is still too dark.
This issue can only be fixed through processing.
Using Affinity Photo

Affinity Photo, available for a one-off purchase price, has different workspaces for processing tasks, called ‘personas’, and its Tone Mapping Persona can address this processing problem.
Tone mapping is designed to manipulate images to give them an extended dynamic range.
It works best on flat and under-exposed images, lifting the brightness of the darker areas and helping to retrieve their detail. Here I’ll run through how you can use it effectively to improve your Moon images.
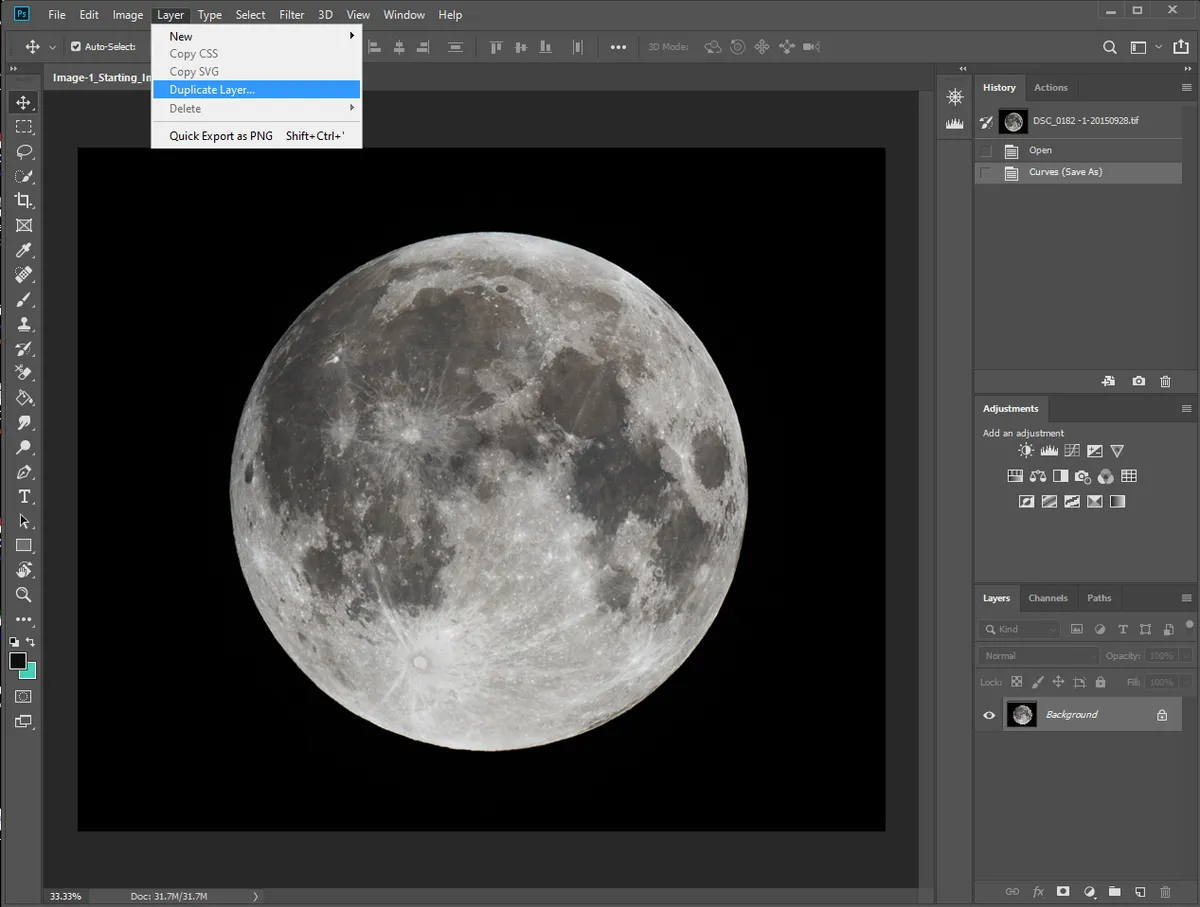
To begin with, open your Moon image in Affinity Photo, clicking File > Open.
This opens within the default Photo Persona workspace (see image above).
To access the Tone Mapping Persona, click the fourth Persona icon at the top left of the screen.
As it opens, a progress bar will appear as the software will initially adjust the tonal range of your image. Don’t worry if afterwards the image looks over-processed (see image below).

Explore your options
There are several preset adjustments available down the left-hand side, but after clicking each of these you might find the results are too severe.
Instead, you can make your own adjustments with the slider bars under the Tone Map tab on the screen’s right side (see image below).
The two main sliders to use are Tone Compression, which is moved to the left, away from 100%.
As the adjustment is made, you should see a significant improvement in the tonal range of your image. Adjust this to taste.
Once you’re reasonably happy with the result, move the second slider, Local Contrast, to the right and away from 0%.
This adjustment is great for enhancing maria rays and wrinkle ridges in lunar images.

You may need to adjust both settings in small increments, one after the other, to find the best balance.
In our case, we reduced Tone Compression to 32% and Local Contrast to 28%, brightening the darker lunar areas while keeping the sky background dark.
The lunar details close to the terminator were then brighter and clearer, and shadows and features within the large walled plain of Clavius were more pronounced.
In the menu, beneath Tone Compression and Local Contrast are several other adjustment options, including Exposure, Brightness, Contrast and Saturation.
Because our image was taken using a one-shot colour (OSC) camera, increasing the Saturation slider to 44% brought out more colour in our image.
The lunar surface has some very subtle colour variations, so it is always a good idea to try to tease these out.
Once you are happy with all your adjustments, click Apply in the top left to exit the Tone Mapping Persona tool.
Your tone-mapped image will then reopen within Affinity Photo’s Photo Persona workspace.
From here, you can fine-tune it further – sharpening, reducing noise, or adding final touches – before saving your beautifully enhanced Moon shot.
3 quick tips
- For the best results, begin with a shot that doesn’t have any completely blown-out highlights
- Tone mapping works on deep-sky and solar images too. Use it to reveal fainter details in these objects
- Less is more! Always apply settings that respect the data. Over-adjustments produce false artefacts
Send your lunar shots to us via contactus@skyatnightmagazine.com and they could appear in a future issue of BBC Sky at Night Magazine.
This guide appeared in the September 2025 issue of BBC Sky at Night Magazine.

