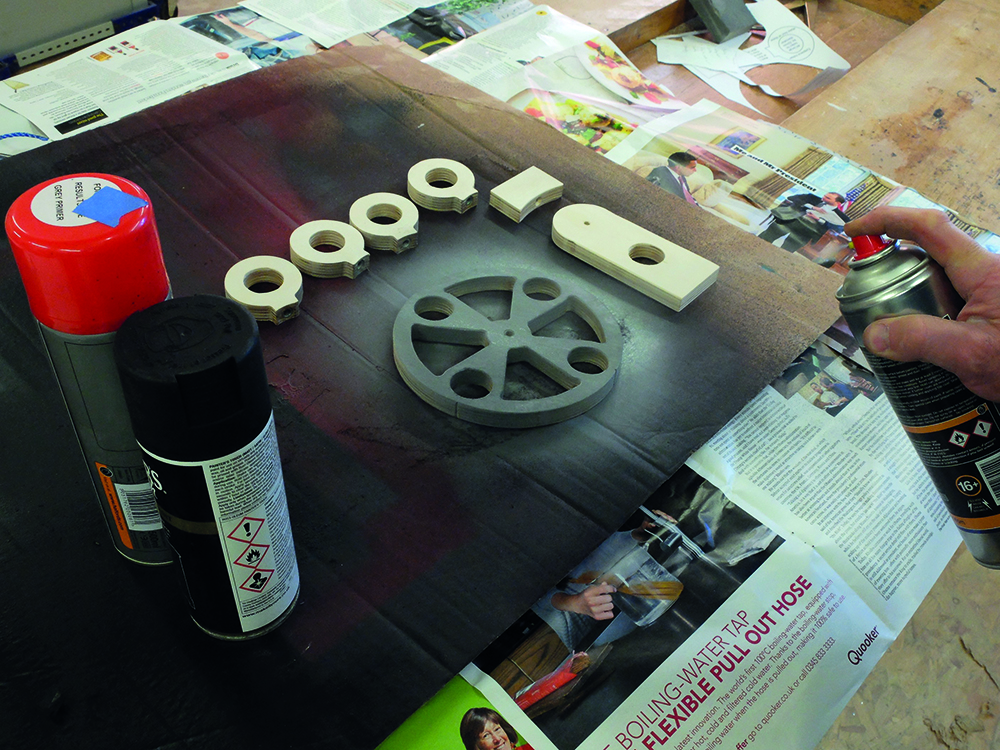
Visual observers habitually use a range of eyepieces, swapping between focal lengths to increase or decrease magnification or change the field of view.Fluctuations in seeing conditions during a session may also mean you need to swap eyepieces to get the best view.
This month’s project aims to make the process a little bit quicker and easier, as we show you how to make a rotating turret that can hold up to four of your favourite eyepieces.
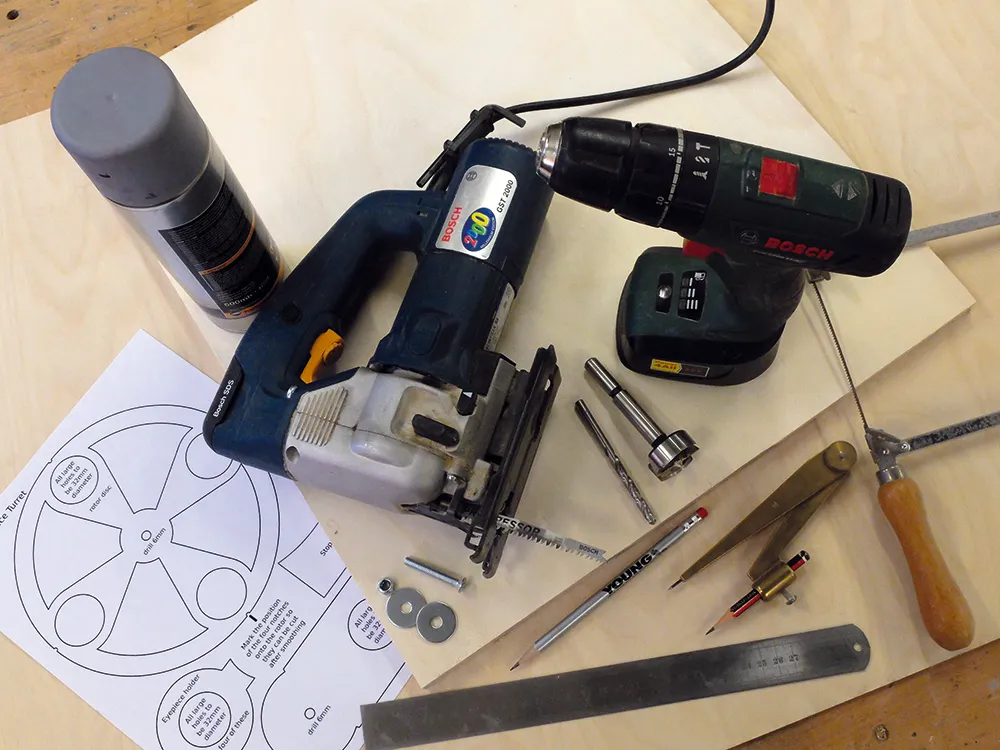
Tools - Jigsaw (or coping saw), drill and bits (1.25-inch or 32mm for eyepieces plus 5.5mm and 6mm for other holes and 11mm for nut inserts)
Materials - Small sheet of good-quality plywood approximately A4 size (we used 15mm thickness but 12mm or 18mm may suffice)
Sundries - Five M6x30 nylon screws with normal M6 nuts; one M6x50 screw with a nyloc nut and three M6-threaded penny washers; a 1.25-inch tube approximately 30mm long (we recycled part of an inexpensive T-ring adaptor); various parts from a plastic, retractable ballpoint pen; a round-headed map pin
Covering - Some spray paints or wood varnish to provide a good finish
It’s a relatively simple matter to turn the carousel section around to select the best eyepiece for the target and saves you having to rummage around in your accessories box in the dark.
The job of an eyepiece is to magnify the image produced by your telescope’s main ‘objective’ lens (or mirror).
This telescope image is produced at a point that lies on
an imaginary plain inside the focuser tube.
Eyepieces have a similar focal point, inside the part of the tube that slips into the focuser.
When these two points are brought perfectly together by turning the focuser knob (moving the eyepiece in and out) the result is a sharp, in-focus image.
But eyepieces (even those made by the same manufacturer) usually have focal points at slightly different positions inside their tubes, so when you swap them around you often need to make small adjustments to bring the target back into focus.
It is possible to buy matched ‘parfocal’ sets with corresponding focal points but these can be expensive.
Plus, most of us have built up collections of favoured but mismatched eyepieces over the years.
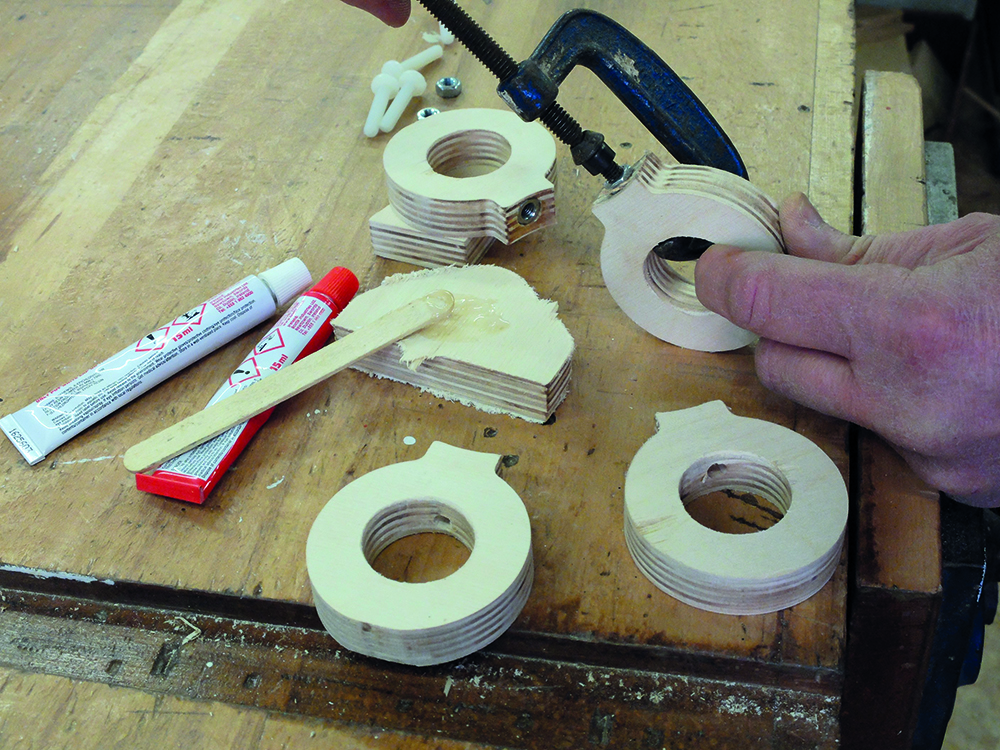
So we’ve designed our turret to grip your eyepieces at varying levels in the carousel meaning that they’re all in focus as soon as they’re rotated into position.
This is a real benefit when switching between views, perhaps when scanning an area of sky at low power before ‘zooming in’ with a higher magnification.
One consideration when embarking on this project is the extra weight being introduced to the focuser.
Four eyepieces in themselves obviously create an additional load, but the materials used in the turret also need to be taken into account.
Many telescopes are used for imaging purposes and if yours can support a DSLR camera then it should be able to cope with this turret without any fuss.
Certainly, if you have a focuser with a 2-inch drawtube you should be fine.
You also need to make sure your focuser can move inwards by about 45mm from its normal ‘in focus’ position to account for the thickness of the plywood layers.
You know the drill
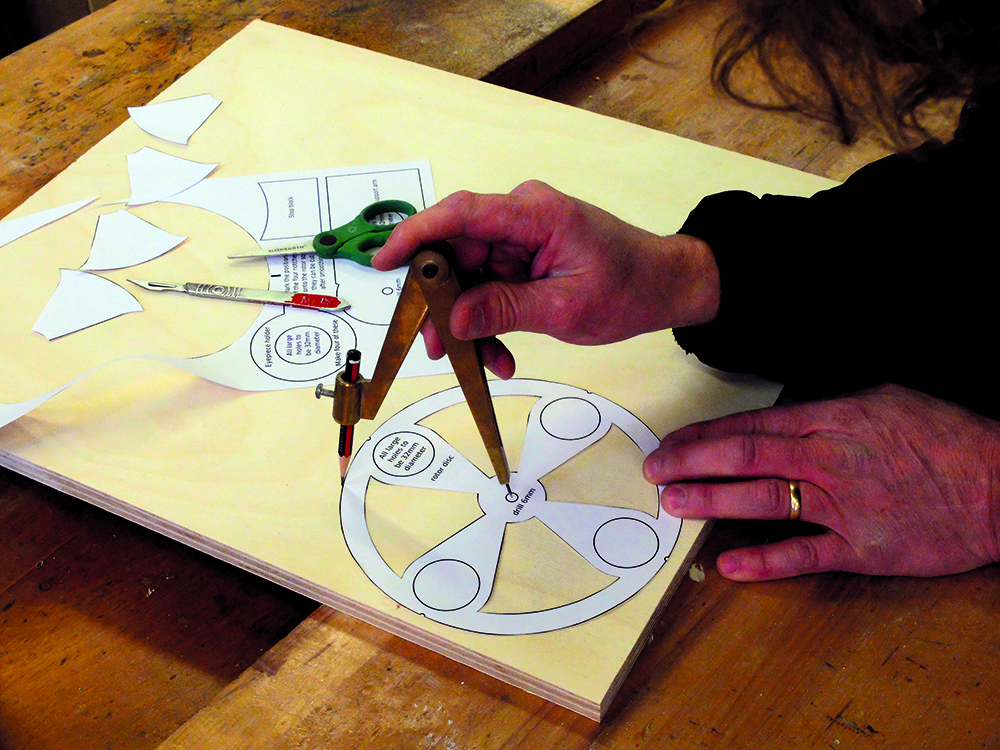
In our design we cut away much of the carousel disc to minimise the weight.
You may wish to make further reductions by removing material elsewhere but make sure you leave enough surrounding the eyepiece screws and maintain a smooth circumference for the carousel.
Make a shallow saw cut into the circumference next to each eyepiece hole for the locator.
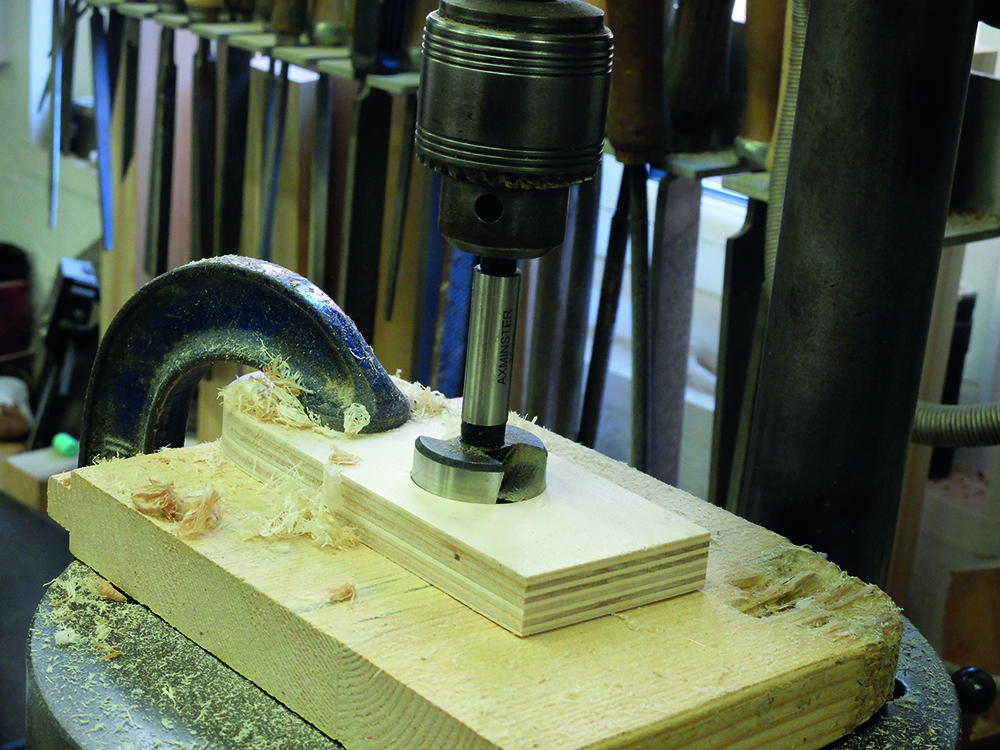
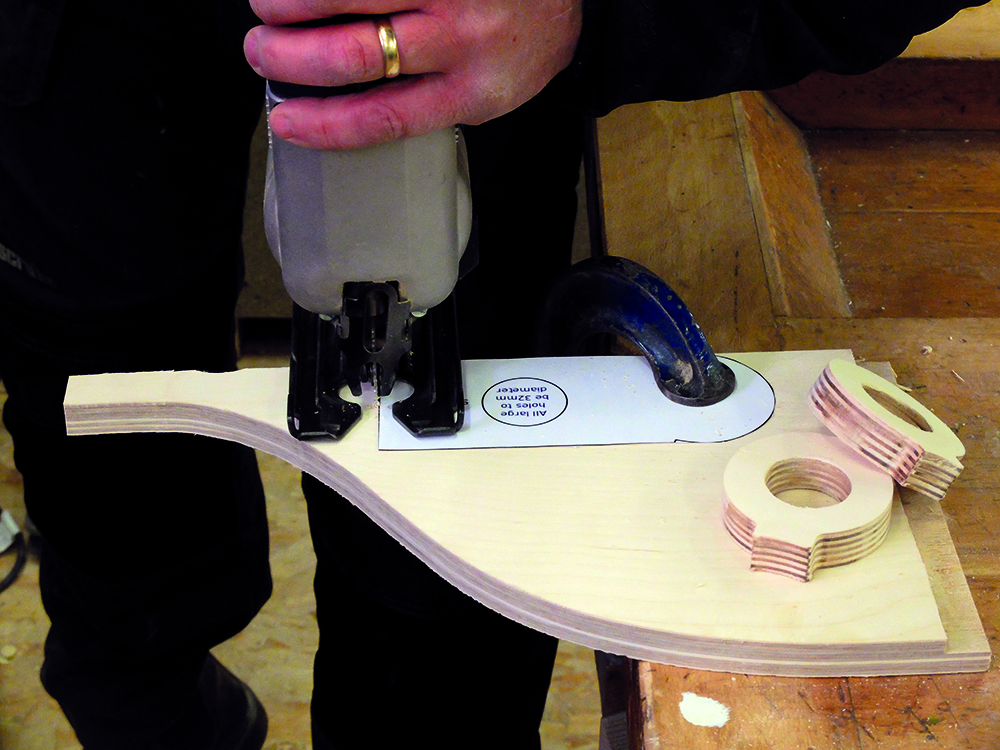
We were fortunate to have a 1.25-inch bit to drill our eyepiece holes but if you don’t have one to hand you can buy relatively inexpensive flat bits and hole saws in this size or, alternatively, you can drill a series of small holes around the circumference of the hole (chain drilling) and get to work with a rasp or file.
We chose nylon eyepiece screws to avoid scratching the tubes but a normal screw with a smoothly sanded end should be okay.
These screw into threaded inserts made with N6 nuts.
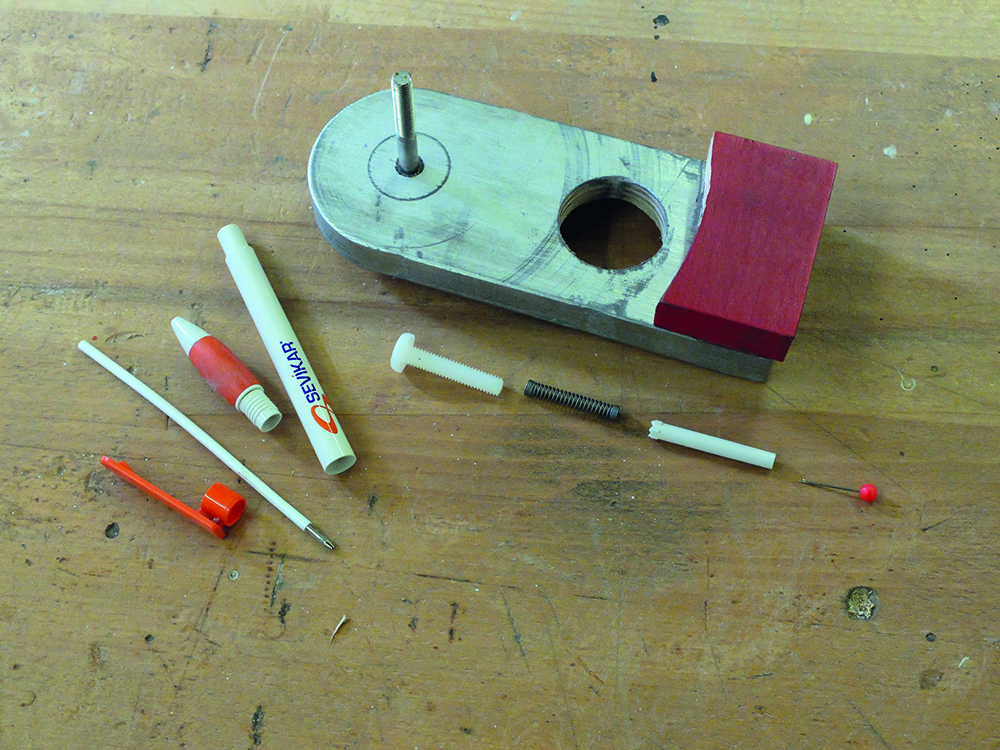
Plans for how to make a spring-loaded position locator that lets you know when each eyepiece is lined up can be found here.
We would recommend setting up your favourite four eyepieces on a distant target in daylight, adjusting them so they all come into focus at a similar height; just make sure each is gripped securely with the retaining screw so there’s no danger of it slipping out.
You may consider adding a second screw to each holder at 90 degrees to the first (as is the case with some focusers) if you want a ‘belt and braces’ solution.
