We've all seen craters on the Moon, but have you ever tried to make your own Moon impact craters at home?
This simple astronomy arts and craft activity uses just flour, cocoa powder and plasticine and is a good introduction to how lunar craters and surrounding features are created.
Our Moon crater activity is great fun for all the family to get involved with, and makes for a great kids' science project for school or at home.
Read our guide on how to observe the Moon with the naked eye or a telescope
How Moon craters are formed

Craters are formed when an asteroid, comet or large meteorite hits the surface of a planet or moon.
These objects can be travelling at speeds of up to 40 kilometres per second, so the impact is violent and the energy released can dramatically change the landscape around it within seconds.
The crater itself is usually circular, but in some circumstances oval-shaped craters can form.
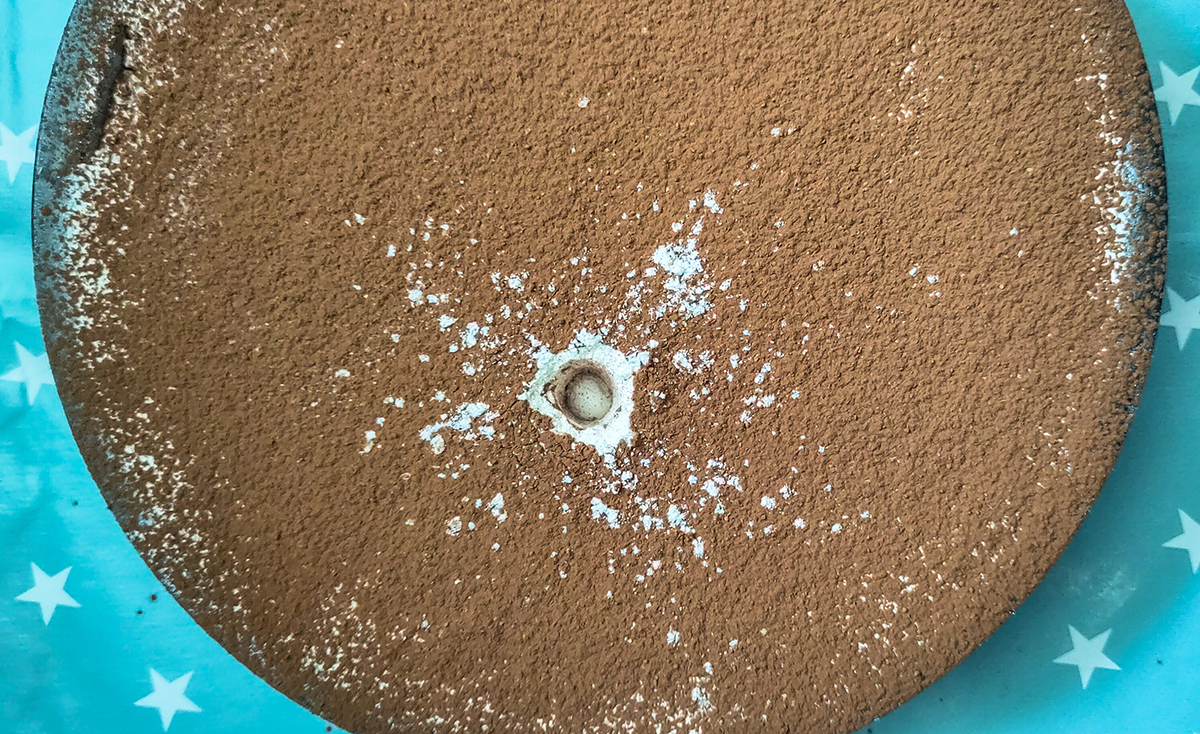
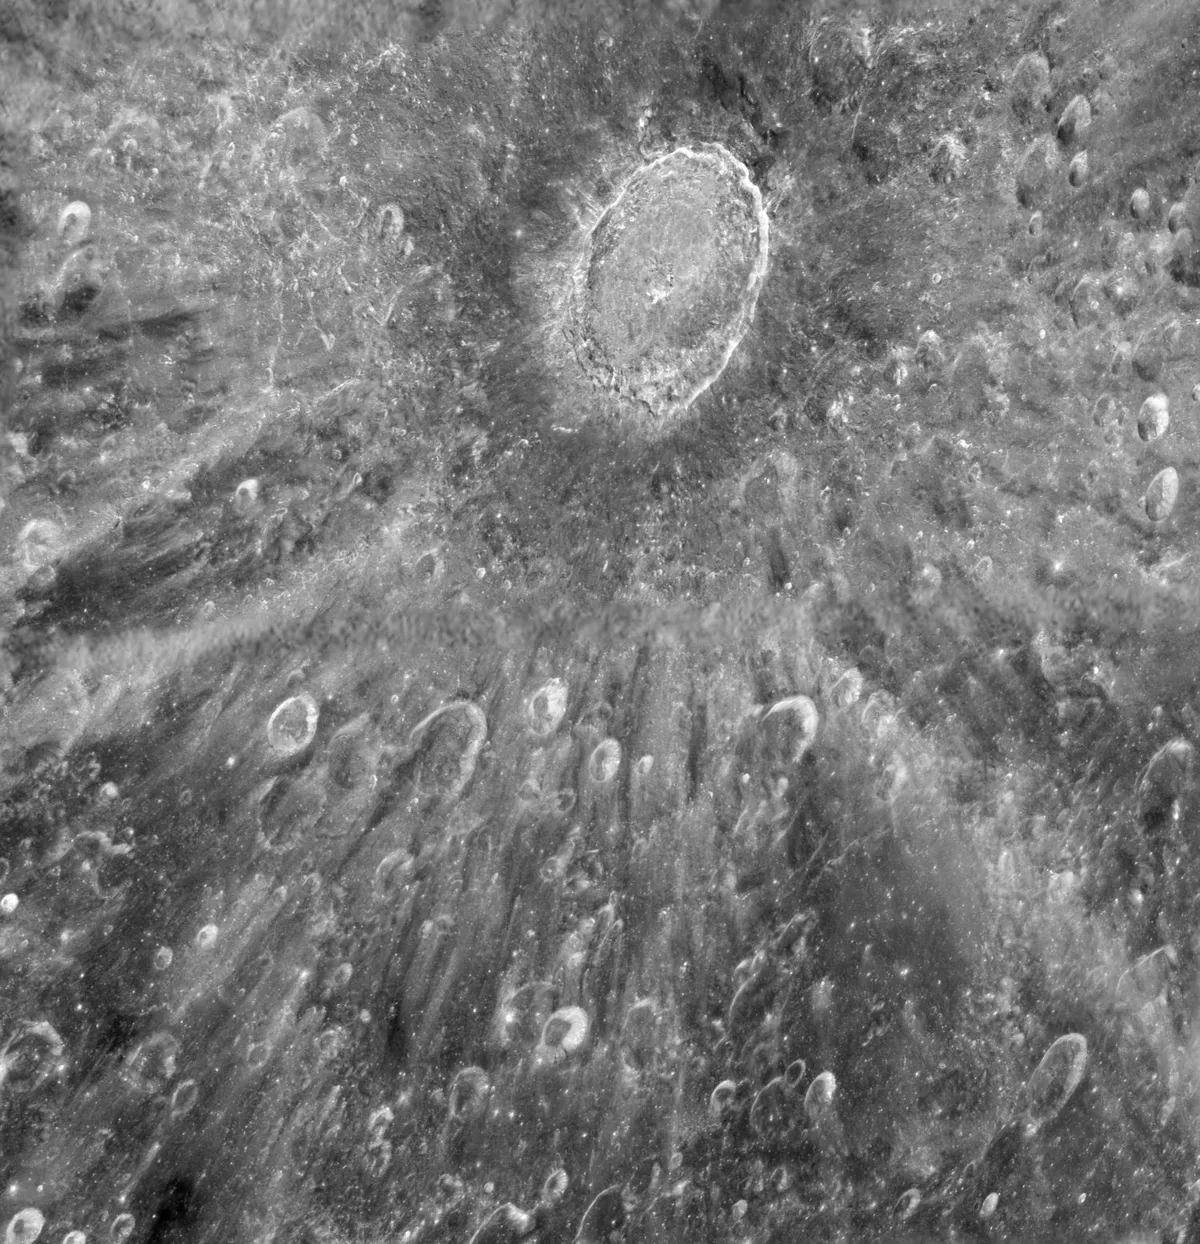
Commonly seen features at a Moon crater include:
- Raised rim around the edge of the crater
- Unstable material slipping down on the inside edge to form slump terraces
- Blanket of ejecta material from below the surface that extends outwards by 2–3 crater diameters
- Ejecta rays – like those at Crater Copernicus and Crater Tycho – which are straight lines of subsurface material extending outwards from the crater
What you need to make your own Moon crater
Lunar impact craters are usually 10 to 20 times larger in diameter than the object that created them.
But the ones we create won’t be that large because we can’t throw our impactors at the speed needed for such a dramatic effect!
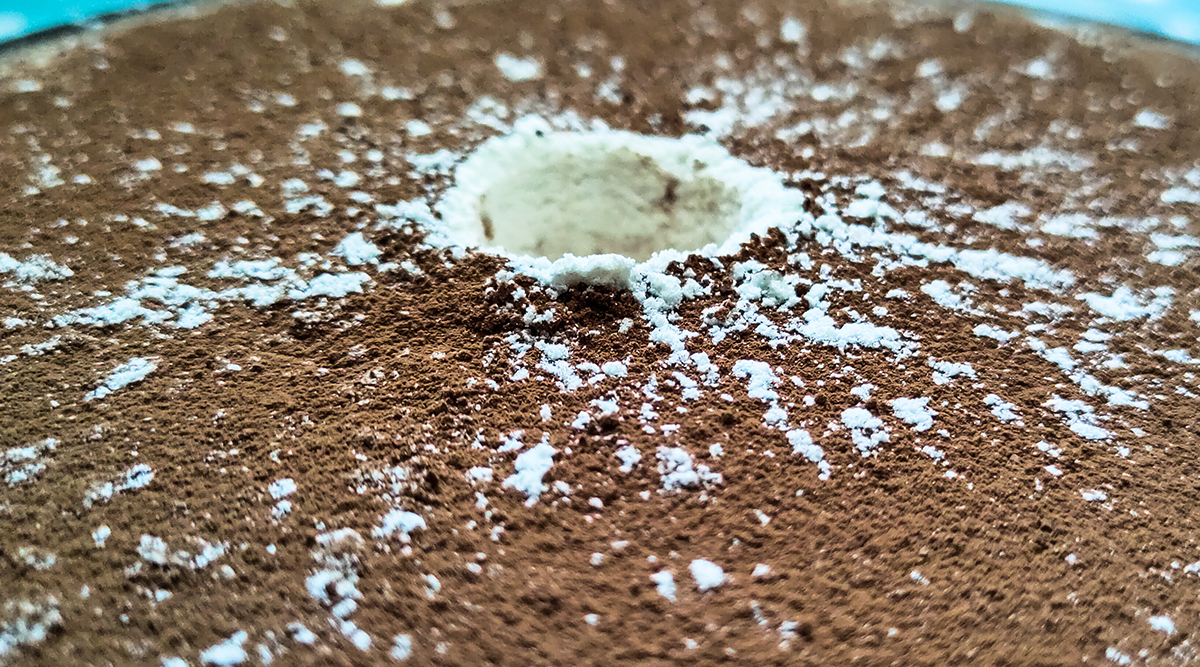
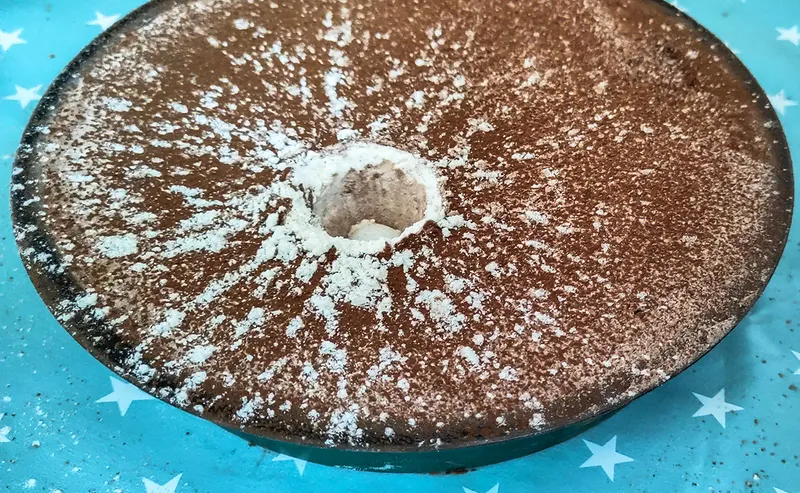
However, we’ll still be creating craters with very similar features to those that you can see on the Moon.
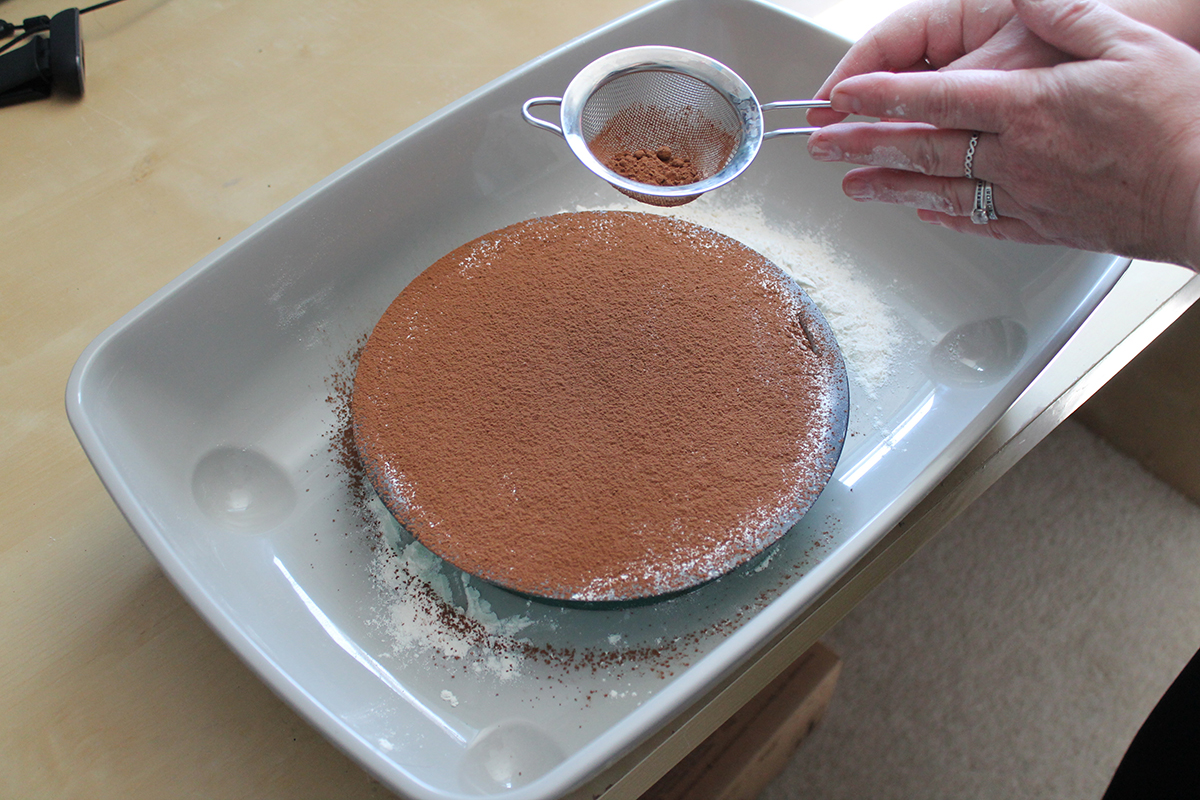
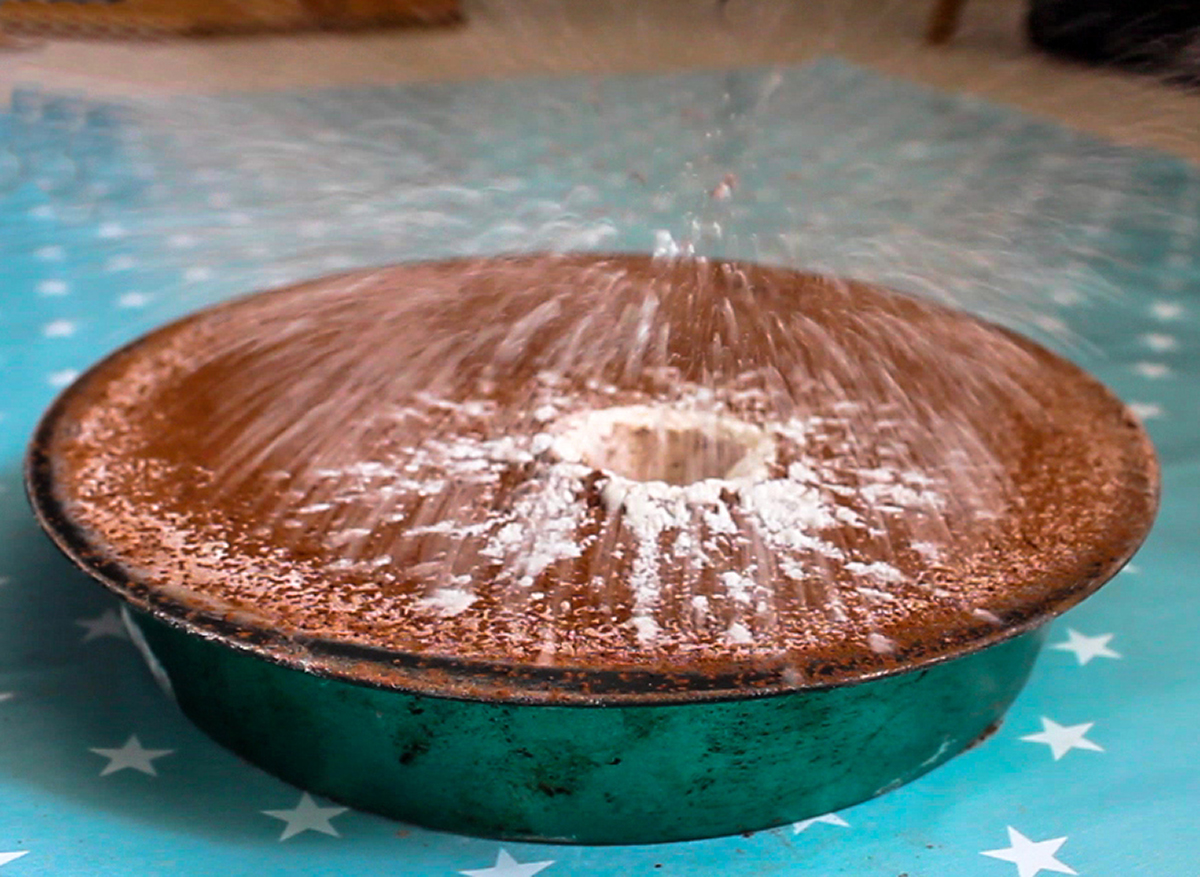
Flour is ideal for this project because it mimics the behaviour of lunar surface material pulverised by a violent impact.
It's lightweight,so it produces great ejecta features that stand out when a darker layer of cocoa powder is used as a surface covering.
Cover the floor around the cake tin with a plastic or vinyl sheet to catch any stray material.
Your tin should be min. 4–5cm deep, or your impactors will hit the bottom and bounce, creating an unnatural crater.
When it’s time to drop your impactors, hang a makeshift plumb line so you can centre the cake tin underneath.
Once the tin is in place, you can shorten the string so the end is 1 metre above the floor.
Hold your impactors at the end of the string before dropping, to ensure they’re falling from the same height.
After you’ve dropped from that height, shorten the line so the end is 1.5 metres from the floor and drop again.
Photograph or sketch each crater and its features after impact to compare different sizes of impactors and different heights.
Follow our step-by-step guide below to make your own Moon crater.
What you'll need
- Air-dry clay or Plasticine for making different-sized impactors
- White flour – any kind will do. Alternatively, you could use fine white sand instead
- Cocoa powder and a sieve to create the top layer of your lunar surface, contrasting the flour
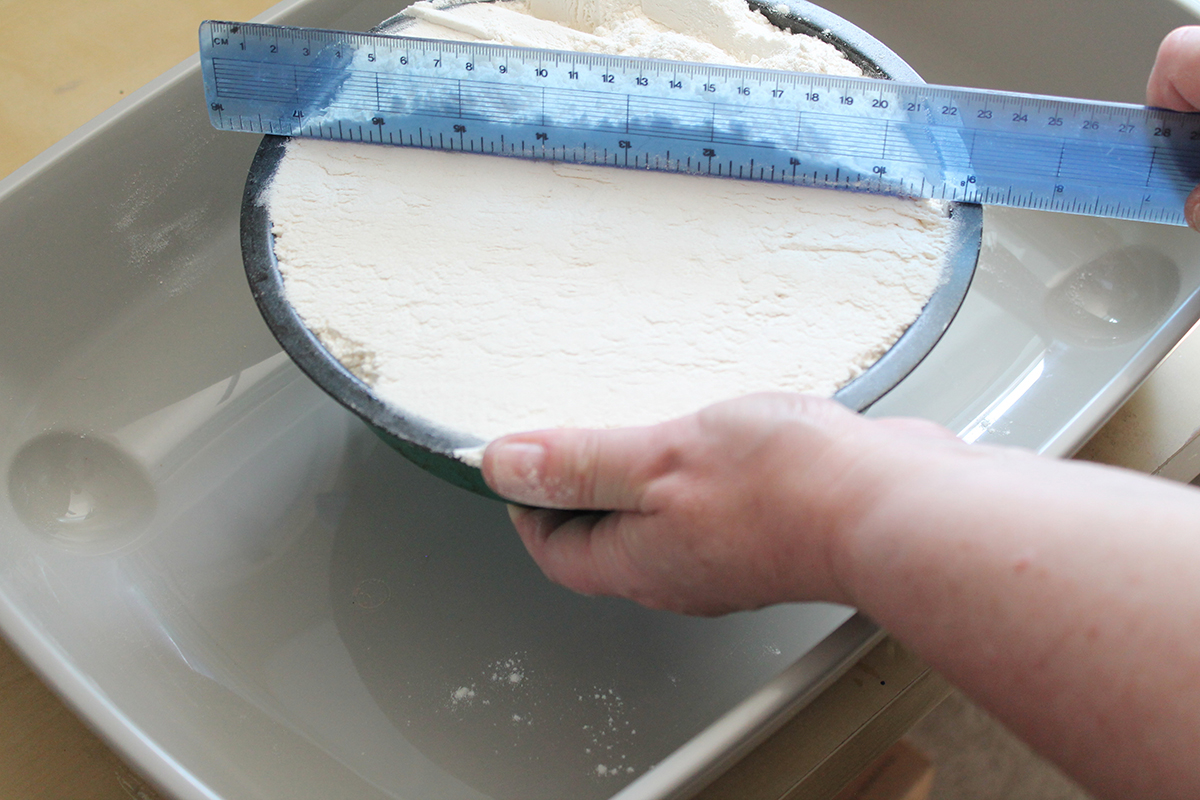
- Deep cake tin or oven tray. We used a 4cm-deep circular tin with a diameter of 20cm
- A ruler longer than the cake tin diameter so you can level the top of the flour with one swipe
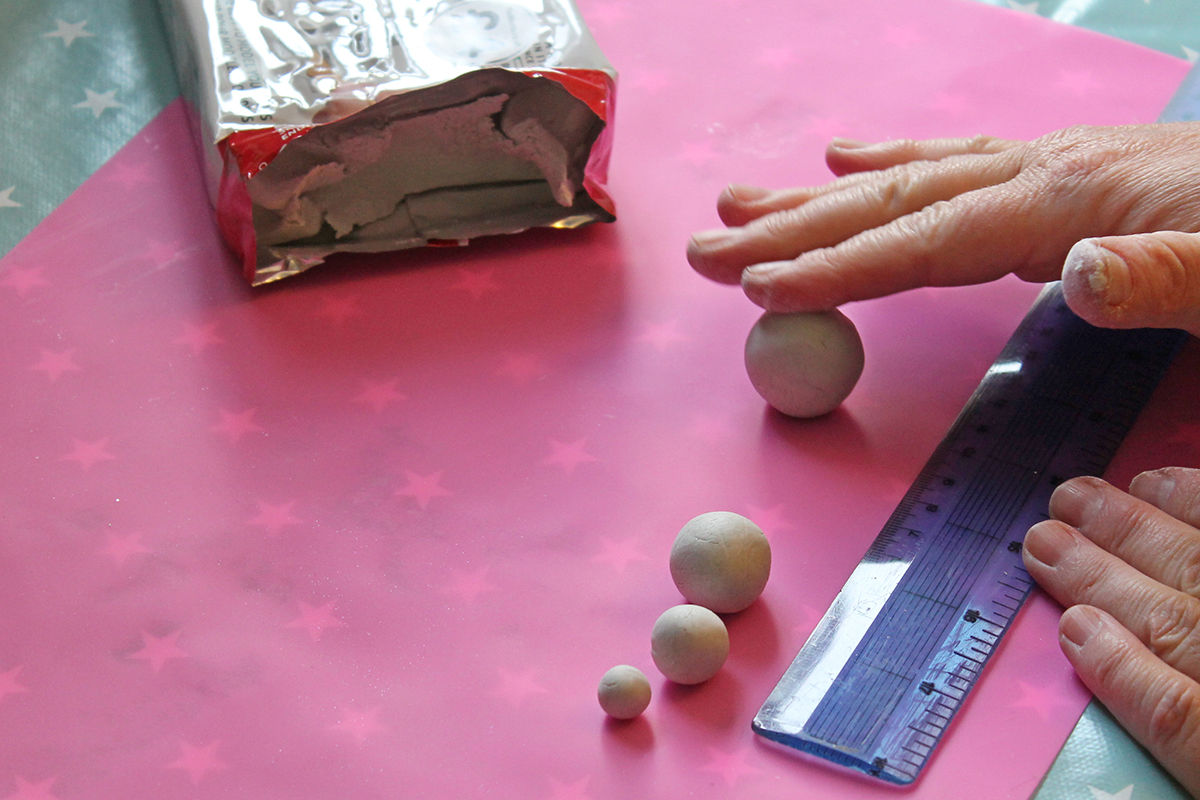 Create some impactors by rolling the air-dry clay into different-sized balls and letting them dry.