A good telescope mount is the bedrock upon which any decent observing or astrophotography setup is built
Here we'll explore everything you need to know about telescope mounts, what they are, what they do and why you should think carefully about which type of mount you choose when buying your first telescope.
On the lookout for a telescope mount? Browse all of our mount reviews or read our guide to the best telescope mounts.
Get started with our guide to astronomy for beginners.

A telescope mount does two things:
- It holds your telescope securely
- It allows you to move the telescope so it can be pointed precisely objects in the night sky
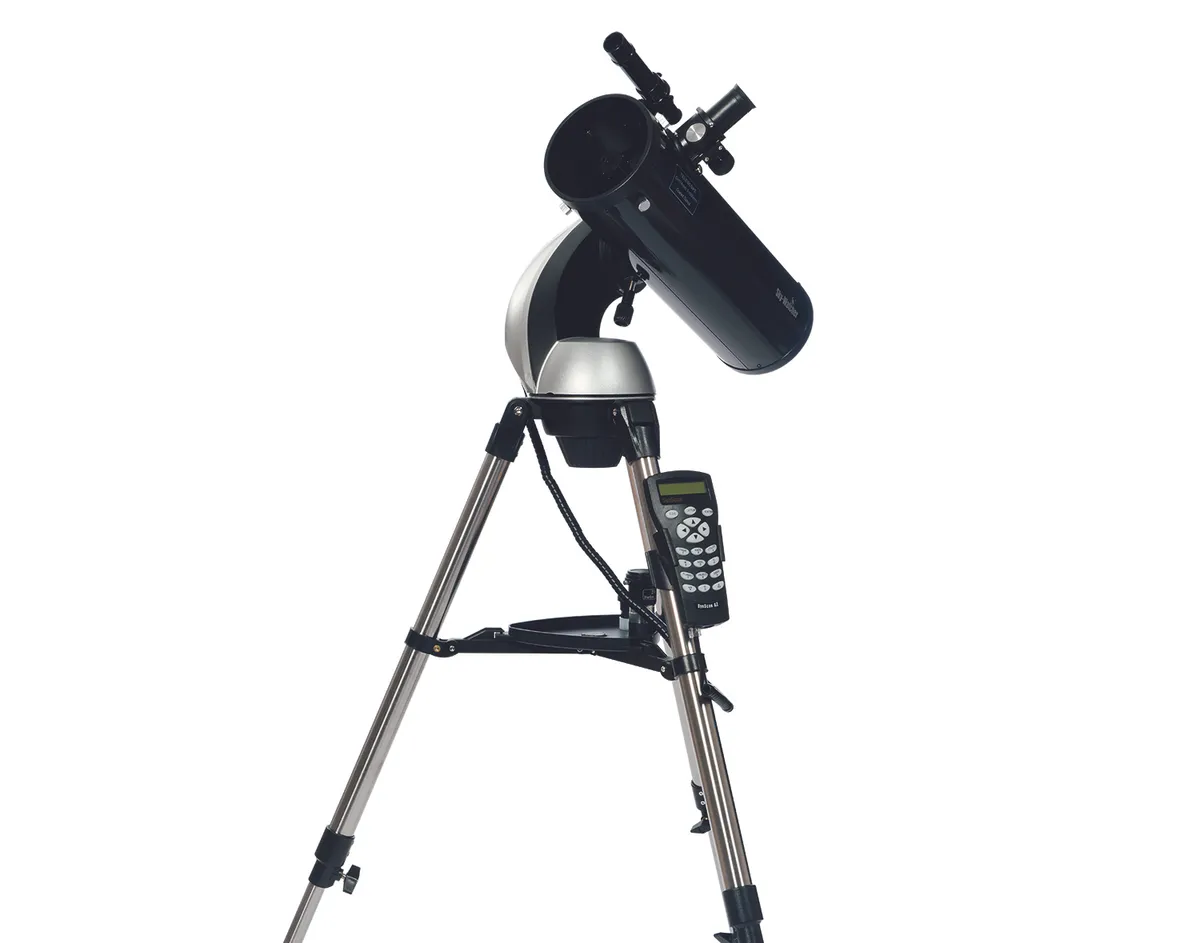
Most mounts achieve the first requirement (holding your telescope securely) using a combination of two elements: a sturdy tripod with legs made of either wood or metal, and what’s known as the ‘mount head’.
The mount head is typically made of metal and is where the two axes of the mount and any fine-tuning controls are located.
Some types of mount are even simpler than this, while others use a metal ‘pier’ instead of a tripod.
Whatever type of mount you decide to use, it needs to be rock solid. Any play or looseness in it will be a source of immense frustration when you’re observing.
Any vibration in the mount will be transmitted to the optics resting on top of it, where the effect will appear magnified, ruining your view of the stars until the shaking has subsided.
Even the tiniest tremor from a wobbly tripod leg can translate to the view of a celestial object moving dramatically in the eyepiece.
Moving a telescope mount on its axes
The second function a mount has to perform is enabling you to point your telescope at the objects you want to observe.
Most basic telescope mounts allow you to move a telescope slowly and precisely in two axes using a set of controls. These generally take the form of large knobs on the mount head.
Sometimes there are flexible metal rods that hold these knobs away from the mount to make them easier to use in the dark.
Other mounts have electric motors that are controlled by the buttons on a handset, but the principle is the same.
The crucial thing about any mount controls, whether they’re electric or manual, is that they provide a smooth, regulated motion so that small, precise adjustments can be made during your observations.
Different types of telescope mount
If you look at a selection of basic telescope mounts you’ll notice they broadly fall into two categories: alt-azimuth mounts (‘altaz’, for short) and equatorial mounts.
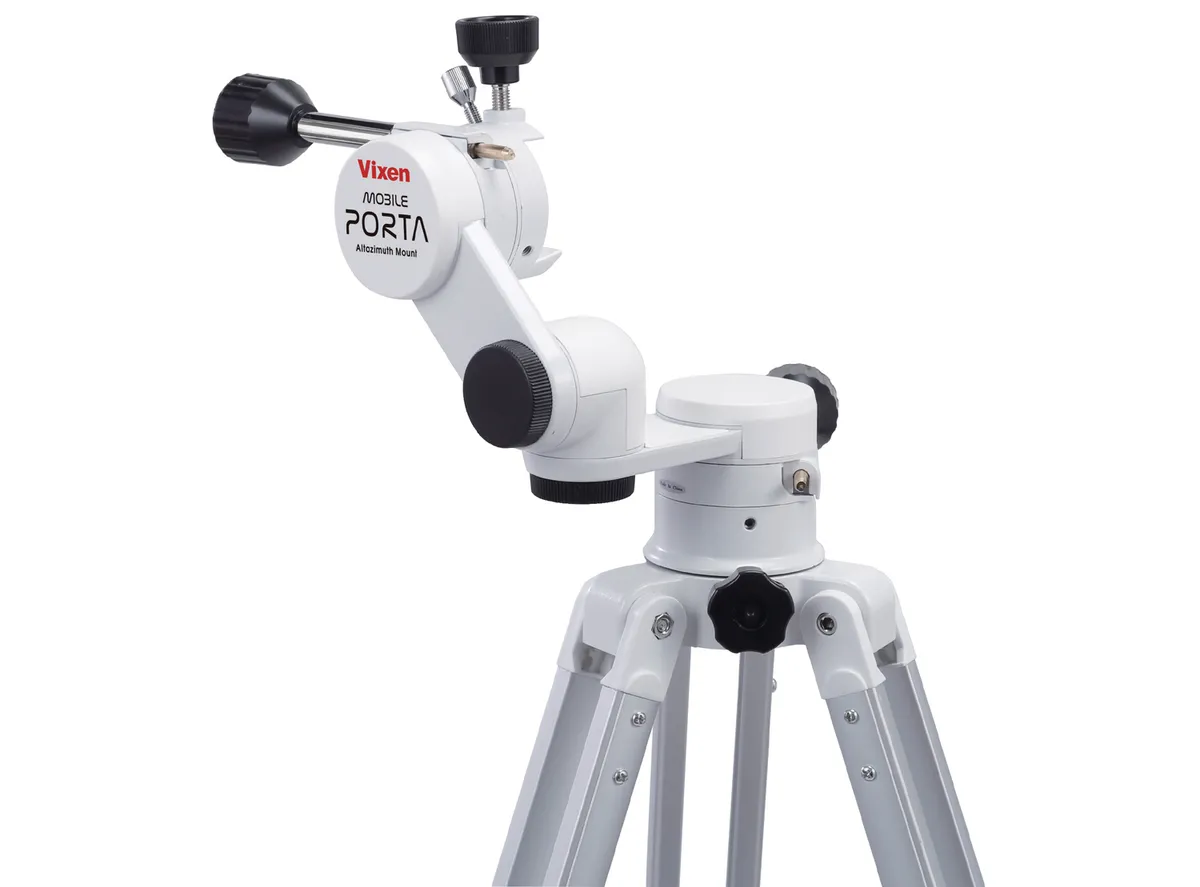
Altaz mounts
The head of an altaz mount has two axes of motion: one that moves up and down from horizontal (0°) to vertical (90°), referred to as the altitude, and another that runs in a full 360° circle parallel to the horizon, known as the azimuth.
If you want to point an altaz mount to a celestial object, you adjust the controls to rotate and raise the scope in the same way you would if you were turning your head to look at something.
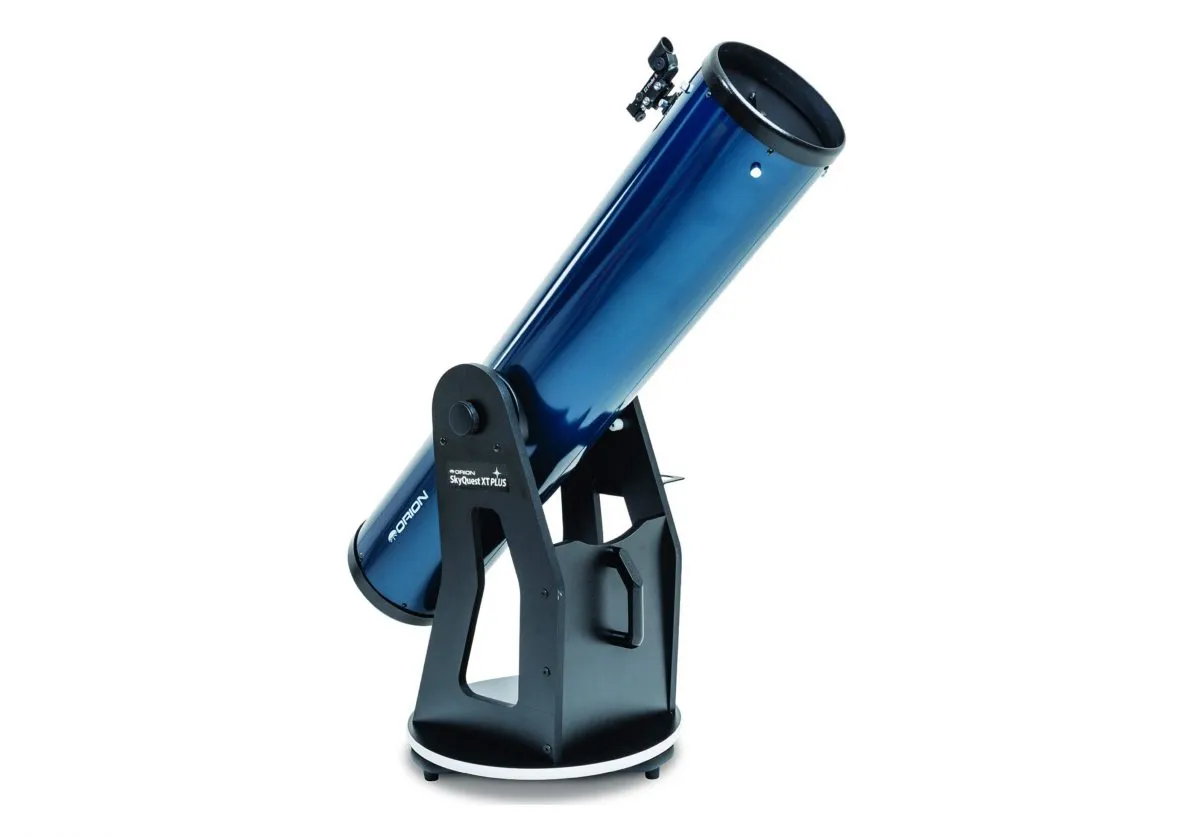
Altaz mounts are used to great effect on Dobsonian telescopes. On these instruments, the mount takes the form of a cradle (which allows the telescope to pivot in altitude) that sits upon a flat, rotating base.
For more info, read our guide to altaz mounts.
Equatorial mounts
To understand why they are so popular, we need to briefly explore the basics of how the night sky is charted.
Astronomers imagine that the stars are mapped onto the inside surface an imaginary globe called the celestial sphere, of which we sit at the centre.
This sphere has an axis of rotation that runs from a point called the ‘North Celestial Pole’, down through Earth’s axis and out the other side to a ‘South Celestial Pole’.
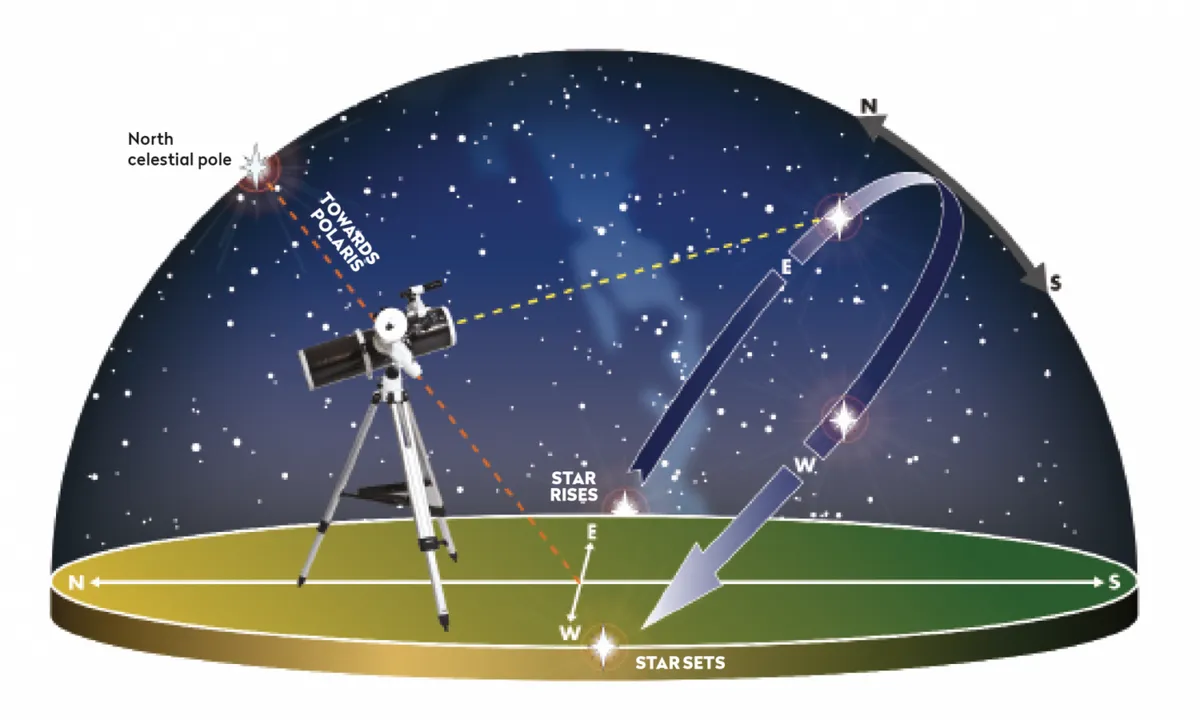
Because Earth is rotating, the objects we see on the celestial sphere move across our sky. We see this as the stars, planets and galaxies drifting from east to west during an evening.
If you want to find an object on the celestial sphere you need its coordinates.
These are known as the right ascension (RA) and declination (dec.) and are similar to longitude and latitude on Earth’s surface.

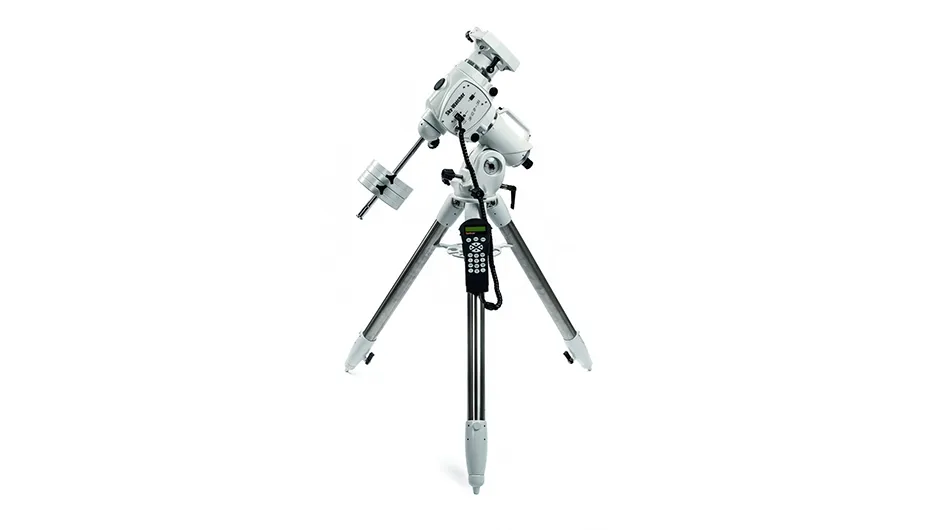
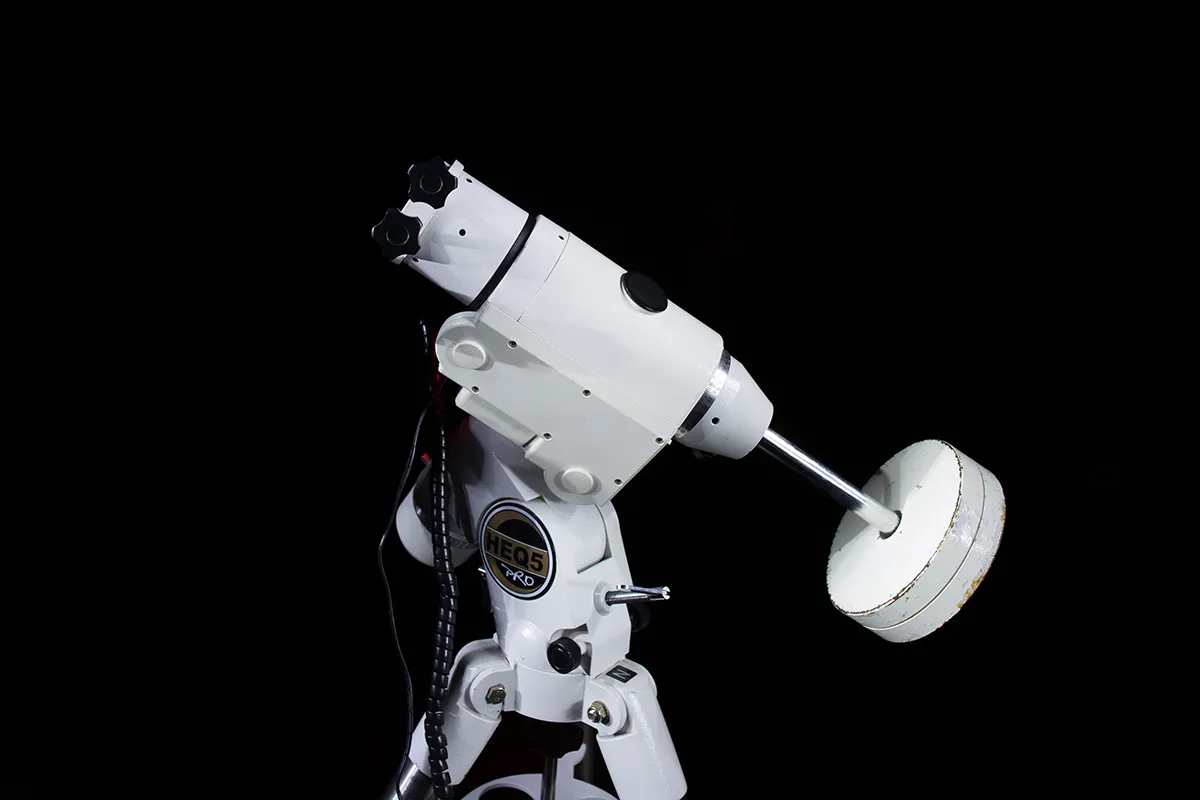
An equatorial mount works by having one axis – known as the polar or RA axis – aligned with Earth’s rotational axis, and therefore the rotation of the celestial sphere.
You can achieve this by using a small instrument called a polarscope, which sits inside the mount along the polar axis.
Inside the polarscope is a reticule (a viewfinder with markings to help you line up your telescope) that, with the help of the star Polaris, can be pointed precisely at the North Celestial Pole.
Once ‘polar aligned’ in this way, the other axis of an equatorial mount can then be moved along lines of declination on the celestial sphere.
It is also possible to polar align an equatorial mount using the Sun, but you should only attempt this if you know what you're doing, as viewing the Sun without protective equipment can damage your eyesight.
The controls on an equatorial mount essentially work in the same way as those on an altaz mount, except because an equatorial mount head is polar aligned, the scope moves within the RA and declination coordinate system on the celestial sphere.
For more info, read our guide to equatorial mounts.
Tracking with an equatorial mount
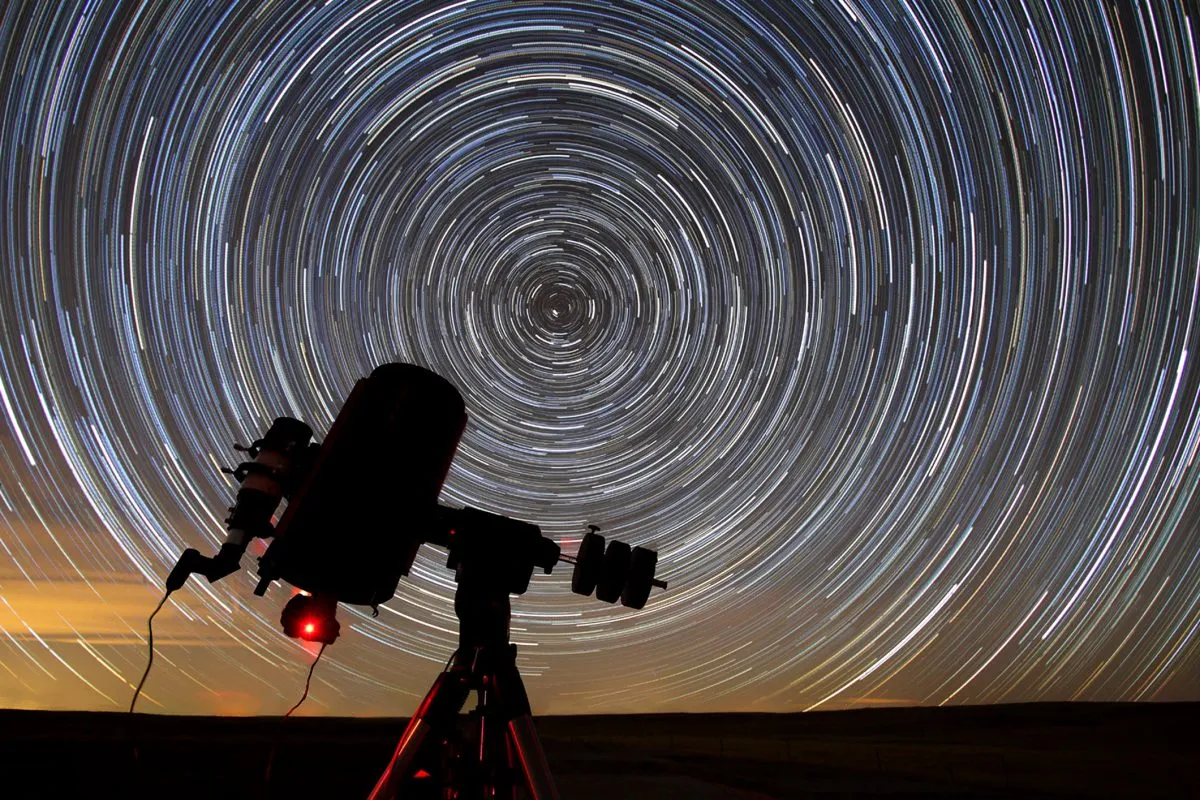
What makes equatorial mounts so attractive to astronomers and astrophotographers is that all they need do to track a celestial object on the sky (which is to say, keep it in the field of view of an eyepiece for a long time) is rotate the polar axis at the same rate as the Earth rotates.
This can be achieved either by manually adjusting the controls or, more commonly, with a small electric motor.
Many basic equatorial mounts make use of this, creating what’s known as a driven or motorised equatorial mount.
Tracking celestial objects with an altaz mount is a much more complicated affair, requiring both axes to be motorised and, typically, controlled by a computer handset.
It is possible to convert certain altaz mounts into equatorial mounts, but doing so requires a device called an equatorial wedge.Some telescopes are sold with integrated altaz mounts, which hold the telescope tube via one or two arms.
When an equatorial wedge is inserted underneath the base of such a mount, it allows the altaz head to be tilted and aligned towards the North Celestial Pole, which effectively turns the azimuth axis into a polar axis and the altitude axis into a declination axis.
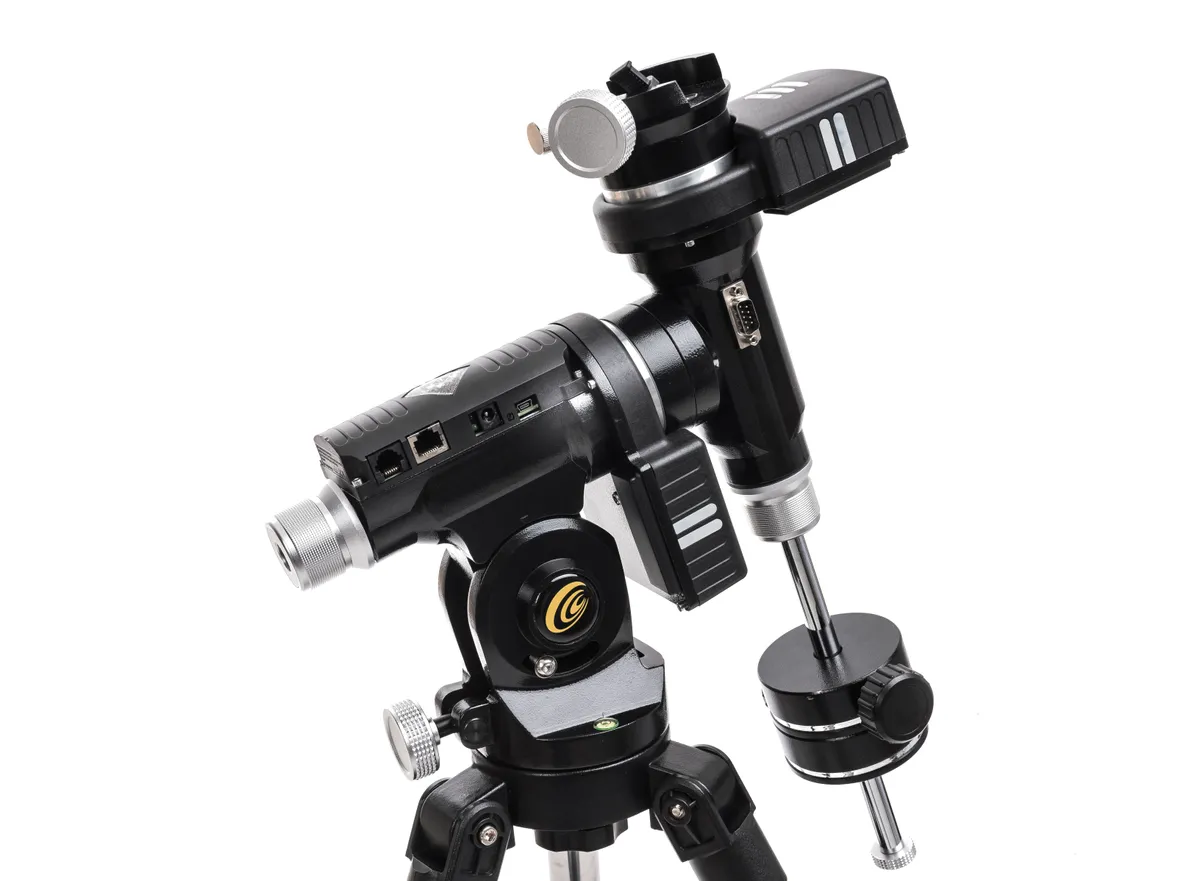
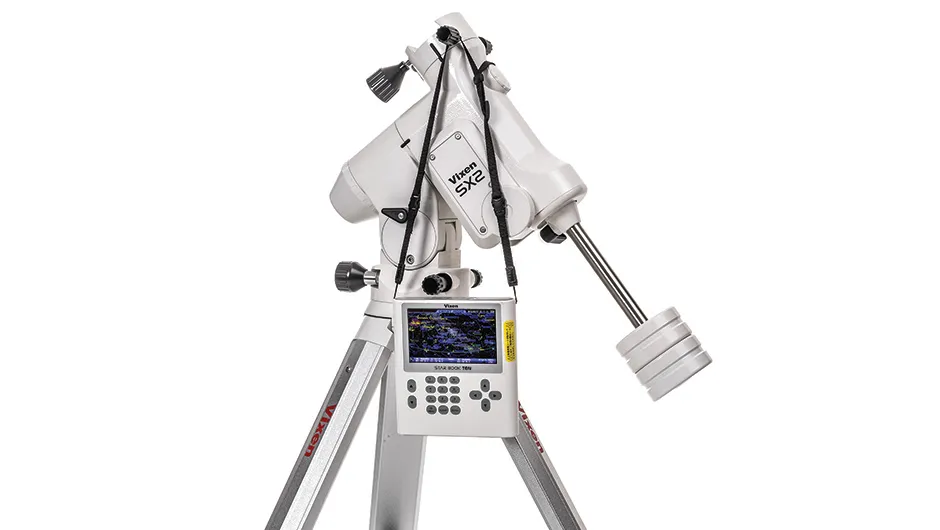
Different types of equatorial mount
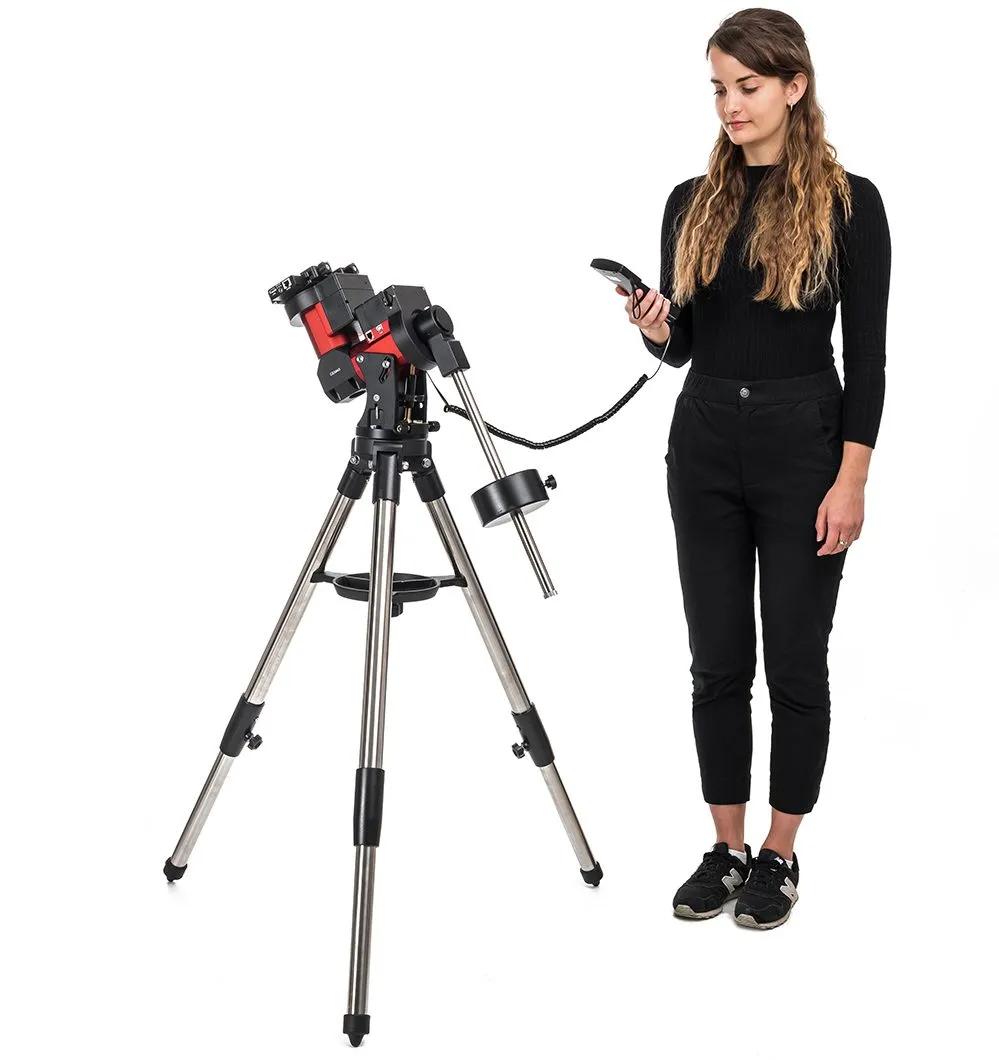
Centre-balanced Equatorial Mount
The Centre-balanced Equatorial Mount (CEM) is a relatively recent introduction from iOptron that places the load-bearing RA axis between two points as opposed to one, which leads to an unusual Z-shaped design including the counterweights shaft.
An advantage of this design is that it places the centre of gravity directly over the centre of the tripod, and quite low, making for a more stable setup.
Portable English Mount
The English Mount was a very large Victorian design suited to permanent observatories.The Portable English Mount (PEM), the scaled-down version from UK companies Astromount and AWR, holds great promise.
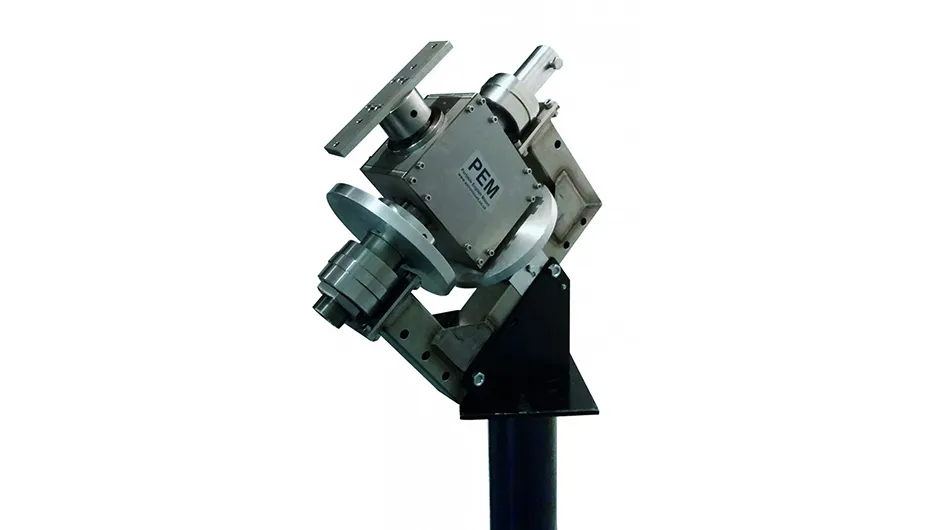
The load capacity is in excess of 50kg and, due to the popularity and interest in the mount, a mini-PEM with a capacity of up to 25kg is in development.
Camera tracking mounts
These mounts are extremely lightweight and small; essentially, they are miniaturised EQ mounts.
With a load range encompassing anything from DSLRs up to small telescopes they have revolutionised travel astronomy, being ideal for solar eclipse and wide-field, deep-sky photography anywhere in the world.
As they are compact and run on batteries, they are great grab-and-go systems.
Make sure your mount fits your telescope
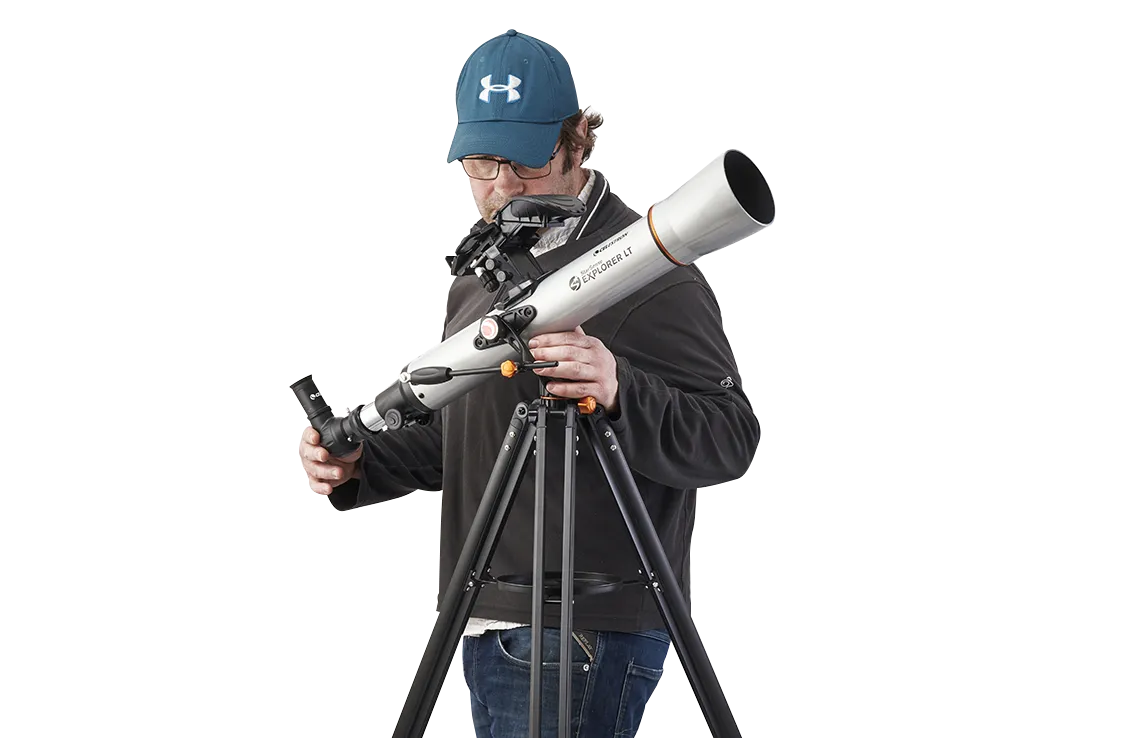
If you’re buying a telescope and mount separately, you’ll need to think about how the two fit together.
Most telescopes are connected to a mount via a set of fabric-lined metal rings that hold the telescope tube, called ‘tube rings’.
The rings are usually connected to a metal bar – known as a ‘dovetail bar’ due to the shape of its profile – via a set of bolts.
This dovetail bar then sits in a channel with a matching profile on a mounting plate – sometimes referred to as a saddle or clamp – at the top of the mount head.
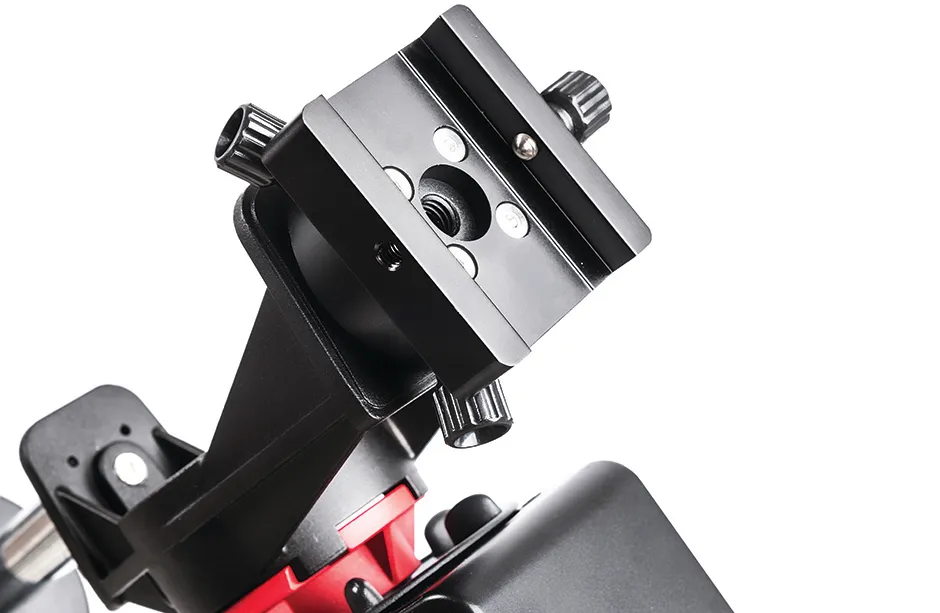
One or two bolts, typically with large handles, are used to secure the bar tightly into the channel, so the telescope cannot move or slip.
The profiles of mounting plates and dovetail bars are not universal, however, so check which type your telescope has.
It’s also worth noting that sometimes control knobs, locking bolts and the bolts used to secure a dovetail bar to the mount head can all look and feel similar in the dark.
Make sure you’re absolutely familiar with which is which before you adjust or loosen anything. The last thing you want is your telescope violently swinging around or, worse, crashing to the ground.
Go-To mounts explained
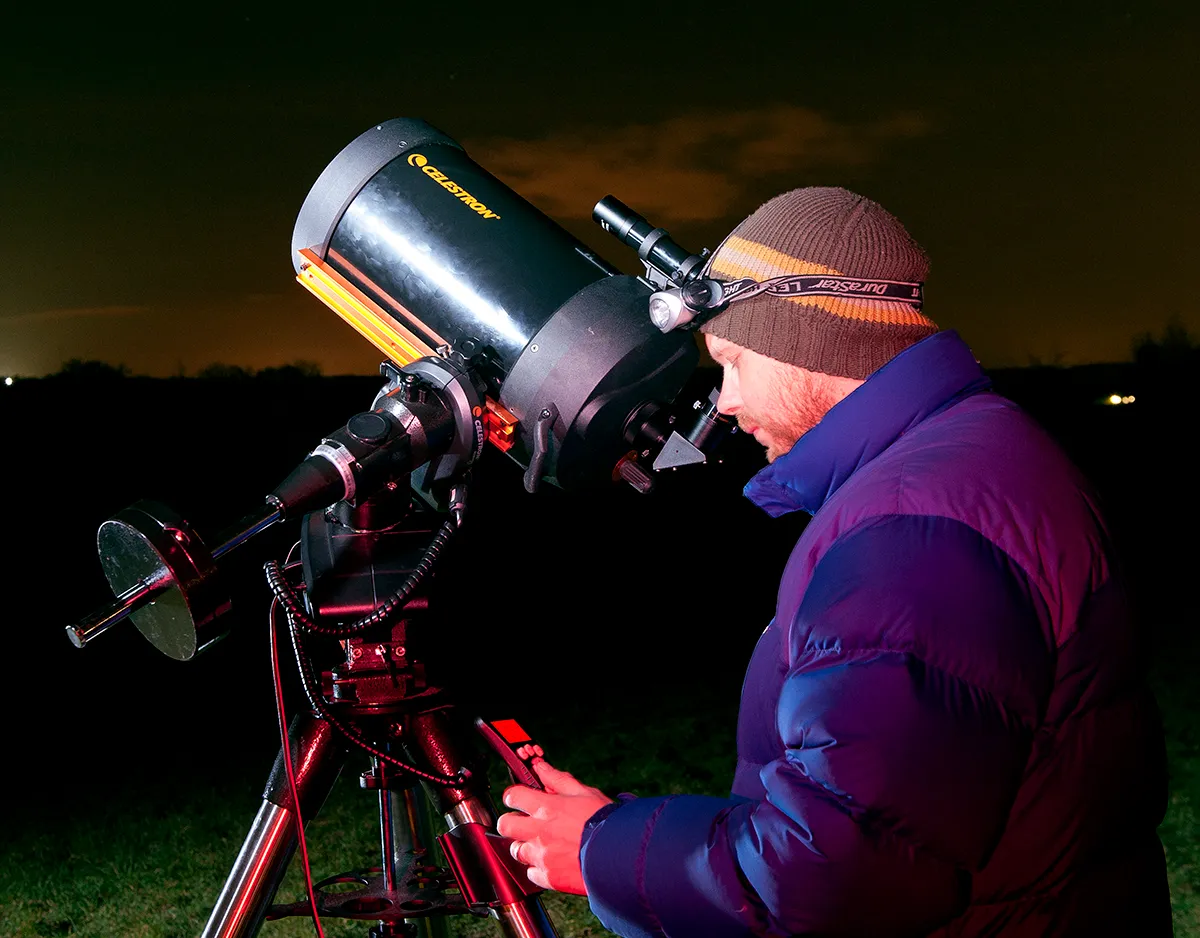
Go-To mounts are fully motorised and controlled with a small, computerised handset.
Typically, Go-To mounts need to be calibrated before use and the calibration procedure often varies between brands and models, so it’s worth checking out exactly what routine is required before you invest in one.
Generally it starts with setting up the mount in a certain orientation: for example, with the polar axis pointing north.
Once it’s powered up, the mount will usually ask for the date and time, then turn the telescope to point at several stars, each of which you’ll have to centre in the eyepiece.
Once that’s been done, the mount will ‘know’ where it’s pointing and can then be directed towards any of the celestial objects in the handset’s database, which can number in their thousands.
With so much to take in, choosing the right mount can involve a fair bit of thought. If you’re overwhelmed, we recommend speaking to experienced astronomers and reputable suppliers about your possible options.
One thing you can be sure of though is that any effort you put in at this stage will be worth it. A bit of research now should ensure you get off to a solid start when you take your first steps into the world of astronomy.
Read our guide on how to set up an altaz Go-To mount.
How to choose your first telescope mount
When choosing your first telescope mount, there are a few things you need to consider before making that all important purchase.
One of the best things you can do is ask more experienced amateur astronomers their advice.
Are you a member of an astronomical society? If not, can you get in touch with your local section?

How portable does your mount need to be?
Consider where you’ll be using the mount most. If you’re going to be travelling to a dark-sky site you may find that lugging around a large equatorial mount will become tiresome.
A smaller, portable tracking mount or a lightweight altaz setup could be more in line with your requirements, especially if you aren’t up to lifting heavy loads. You may also wish to think about a good travel telescope.
What sort of observing will you be doing?
Your choice of night-sky target may have a bearing on what type of mount you opt for. If you intend to do solely visual observing of faint objects, it’s probably better to opt for a simpler, less expensive, mount design and spend any money you save on bigger or better optics.
For example, you may go for a non-motorised altaz mount or Dobsonian telescope (with its simple, integrated mount) rather than a higher-end Go-To equatorial mount.
Have you future-proofed yourself?
Consider what you might want to try in the future. For example, can the mount be easily adapted for astrophotography? And if you upgrade your telescope, would the mount be capable of carrying the new one safely?
How to polar align an equatorial mount
Orientate the tripod and mount head
First, set up the tripod; one of its legs may be marked to indicate that it should be pointing north. Attach the mount head securely to the tripod, making sure to place it in the starting configuration advised by the manufacturer – for example, with the polar axis pointing north.
Set the polar axis
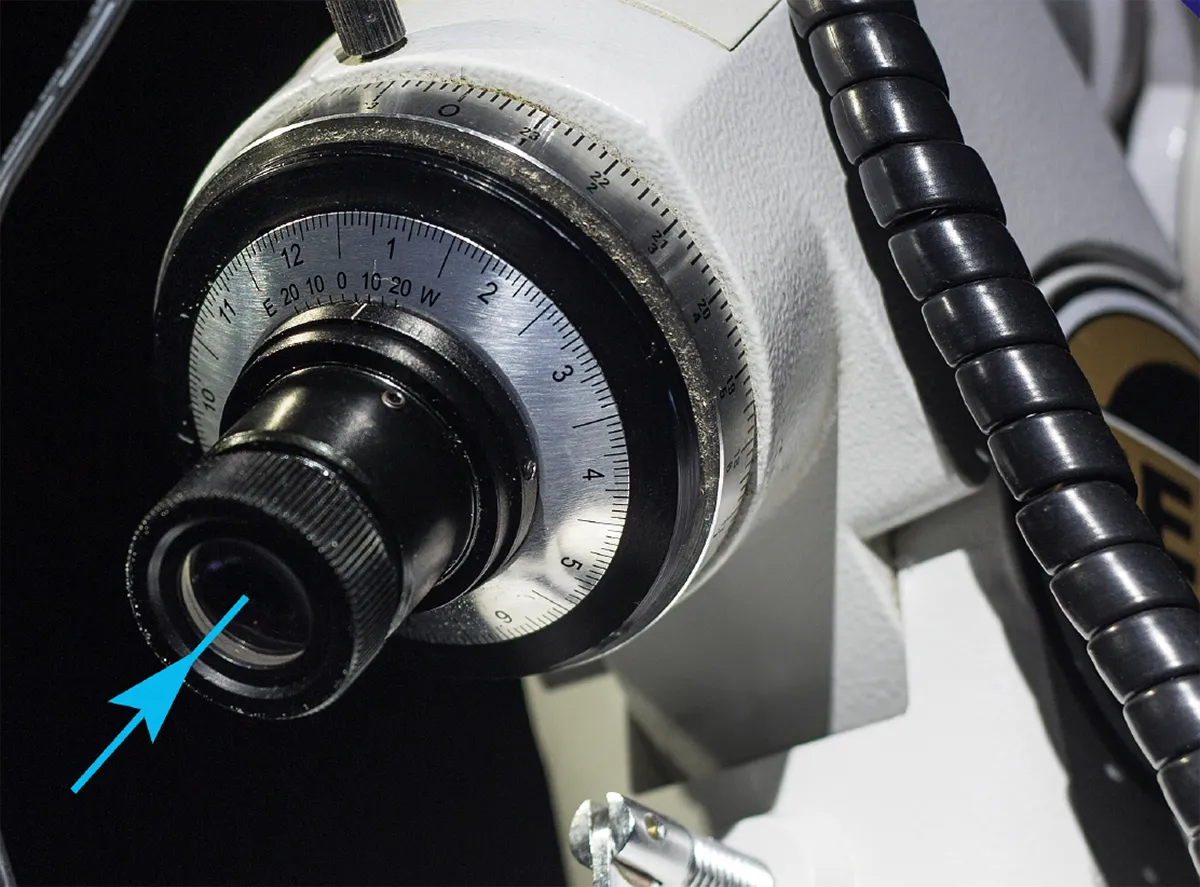
Next, check that the altitude of the polar axis is set to your latitude – that is, that the axis (the blue arrow and line above) is pointing towards the North Celestial Pole. If it’s not, this can usually be done by carefully tweaking the altitude adjustment knob located at the base of the mount head.
Orientate the polarscope’s reticule
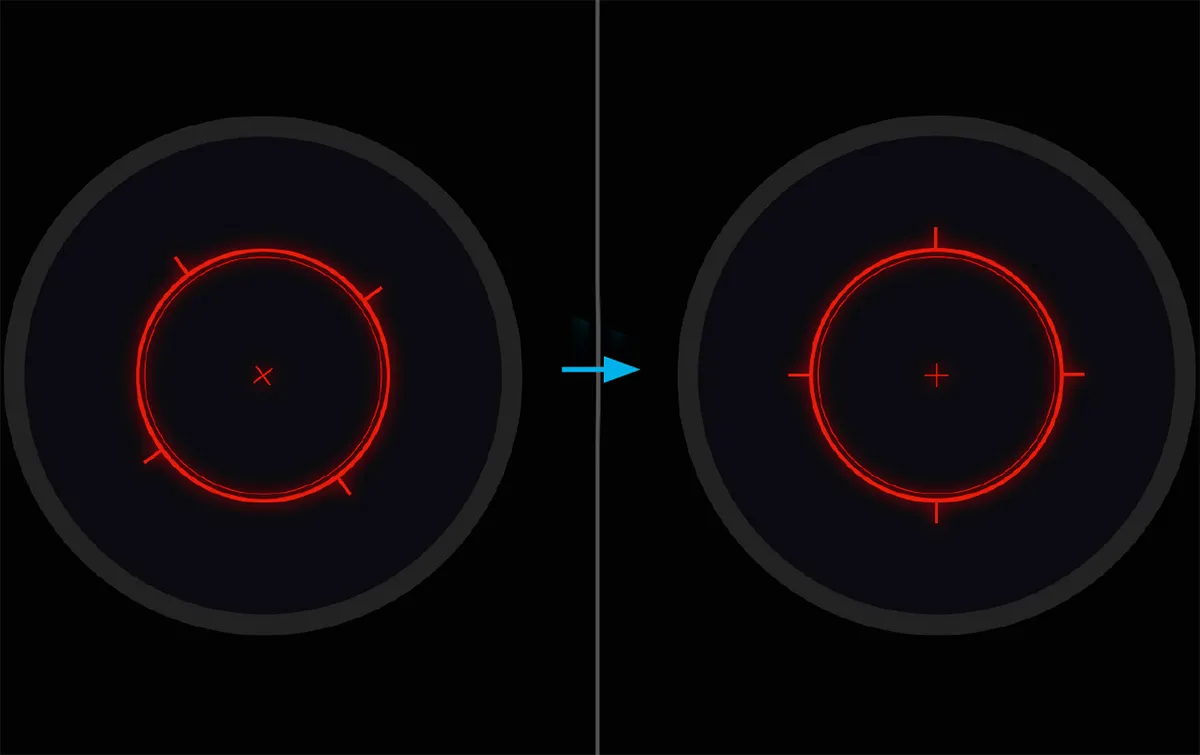
The polarscope reticule now has to be set to its starting orientation, if it’s not already. Your mount’s manual will tell you what this is and how to do it. On some mounts, for example, it’s done by carefully rotating the polar axis until the reticule points in a certain direction.
Place Polaris in the reticule
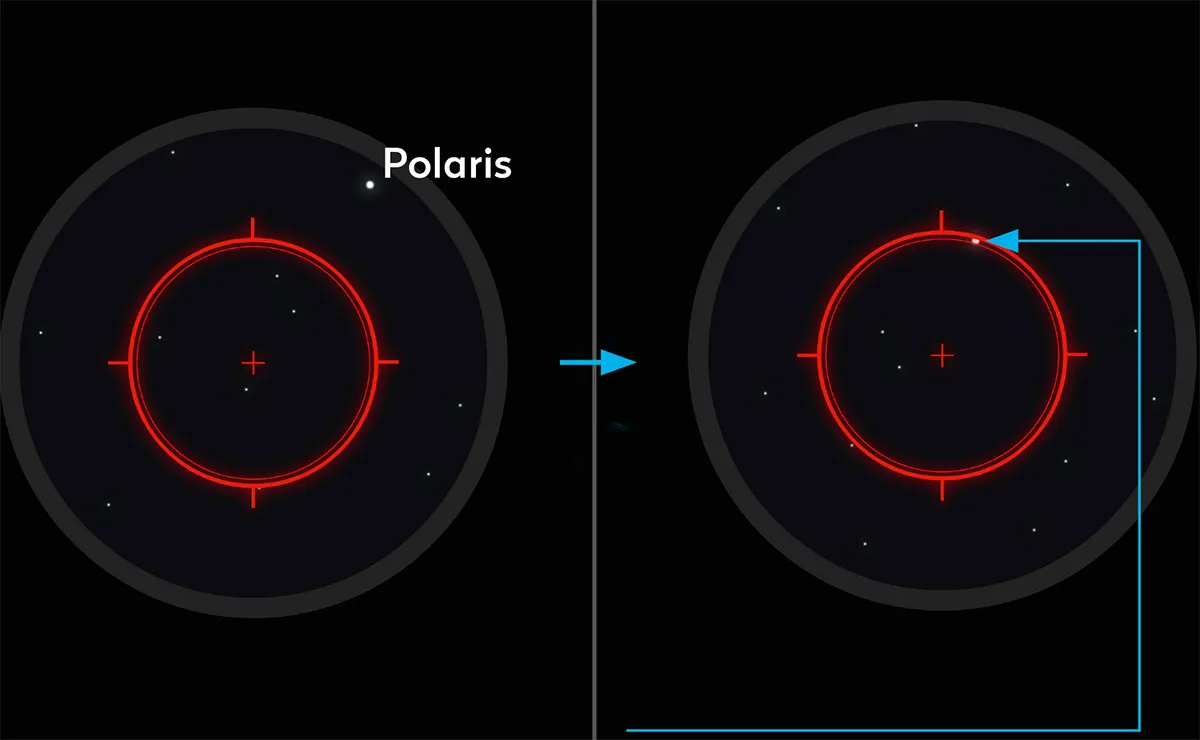
There are some more convoluted ways to do this final step, but probably the easiest method for beginners is to download a polarscope smartphone app. It’ll tell you how much you need to rotate the polar axis, if at all, and exactly where to place Polaris in the reticule.
This guide originally appeared in the February 2020 issue of BBC Sky at Night Magazine.