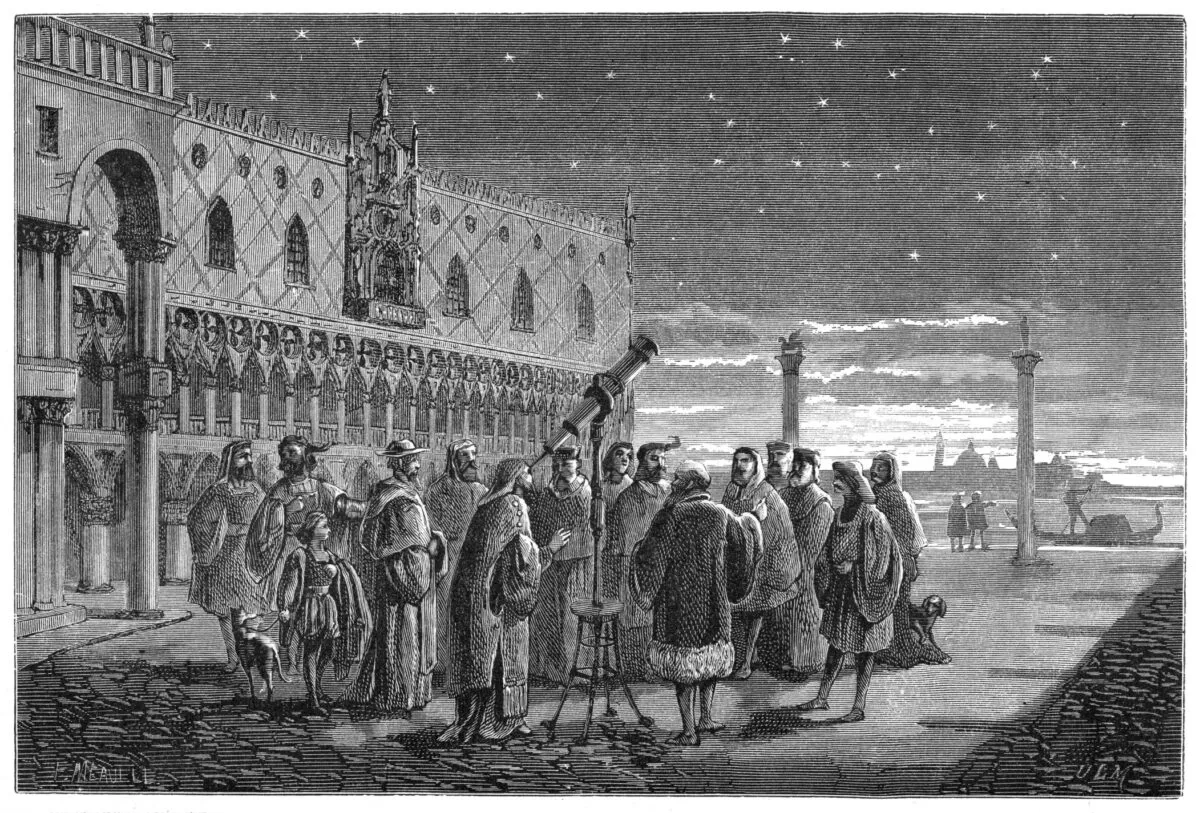
This project is a homemade, working replica of a very famous instrument. In 1609 Galileo designed and built his first telescope, and we thought it would be interesting to try and make our own telescope based on this instrument.
It's not intended to be an exact replica, but we've used similar construction techniques and chosen lenses with similar specifications, so our views should be approximate to those seen by Galileo over 4 hundred years ago.
- Read an extract from the book A Conversation With Galileo.
- Download an Annotated Galilean telescope plan (PDF)
What kind of telescope did Galileo use?
Galileo's telescope could magnify approximately 8x, but he quickly improved it to magnify objects nearly 21x.
The aperture was small and the field of view was very restricted, but despite these limitations, in the following year Galileo published some exciting celestial discoveries in Sidereus Nuncius.
These included craters on the Moon, the phases of Venus and three of the largest moons of Jupiter (which would eventually become known as the Galilean moons).
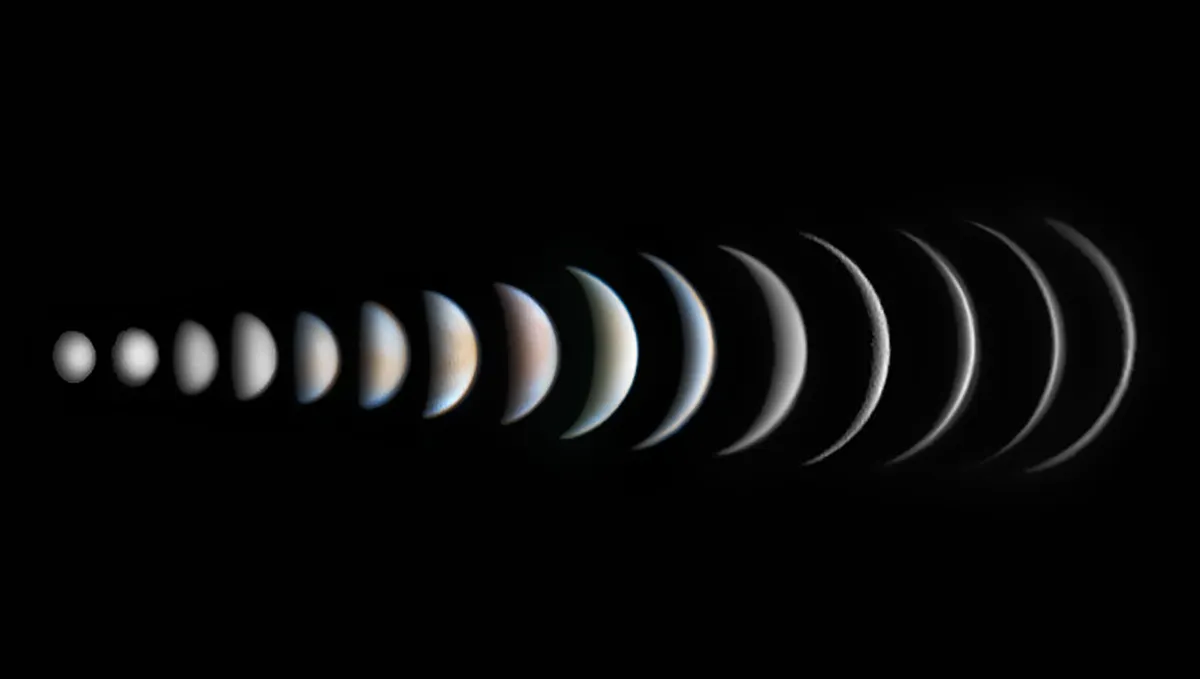
Galileo also observed the unusual shape of Saturn, but was not able to interpret that this was due to the presence of Saturn's rings.
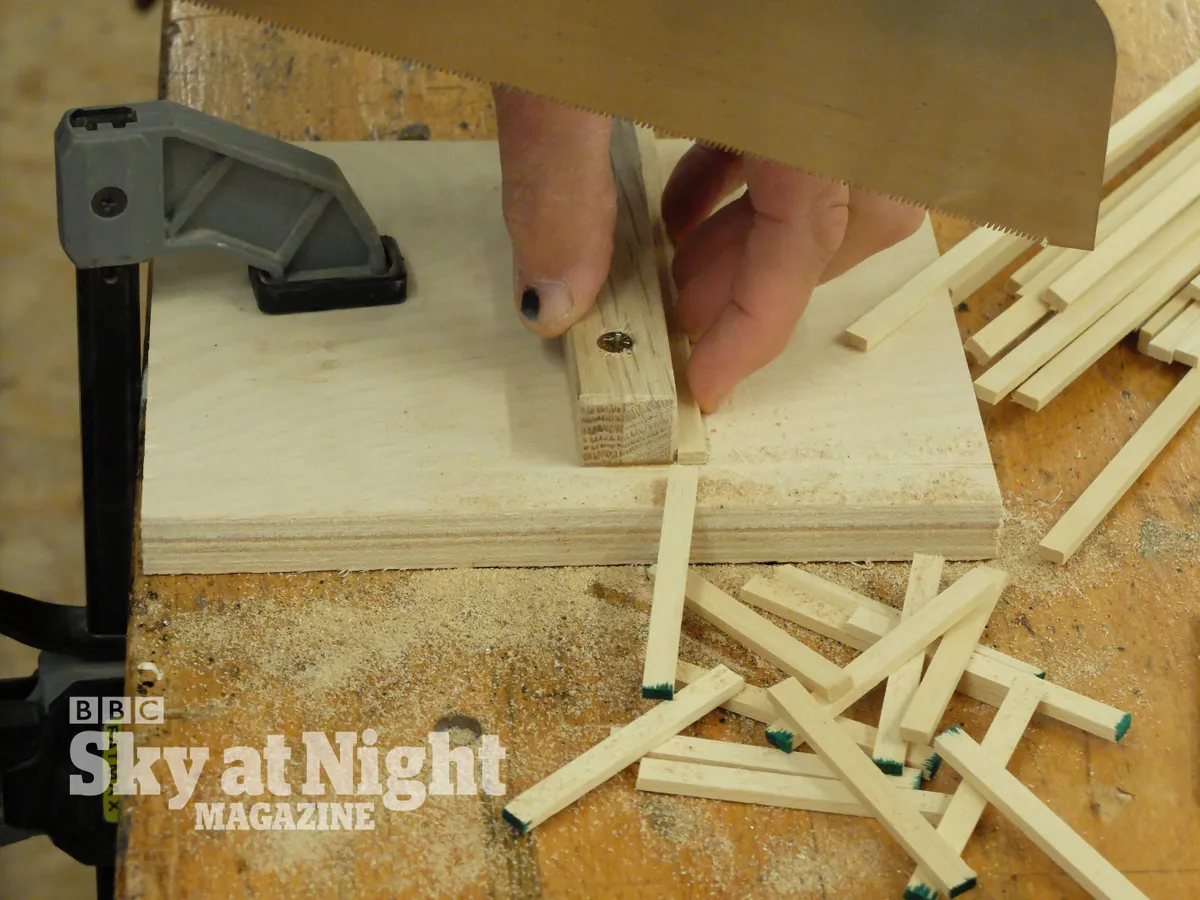
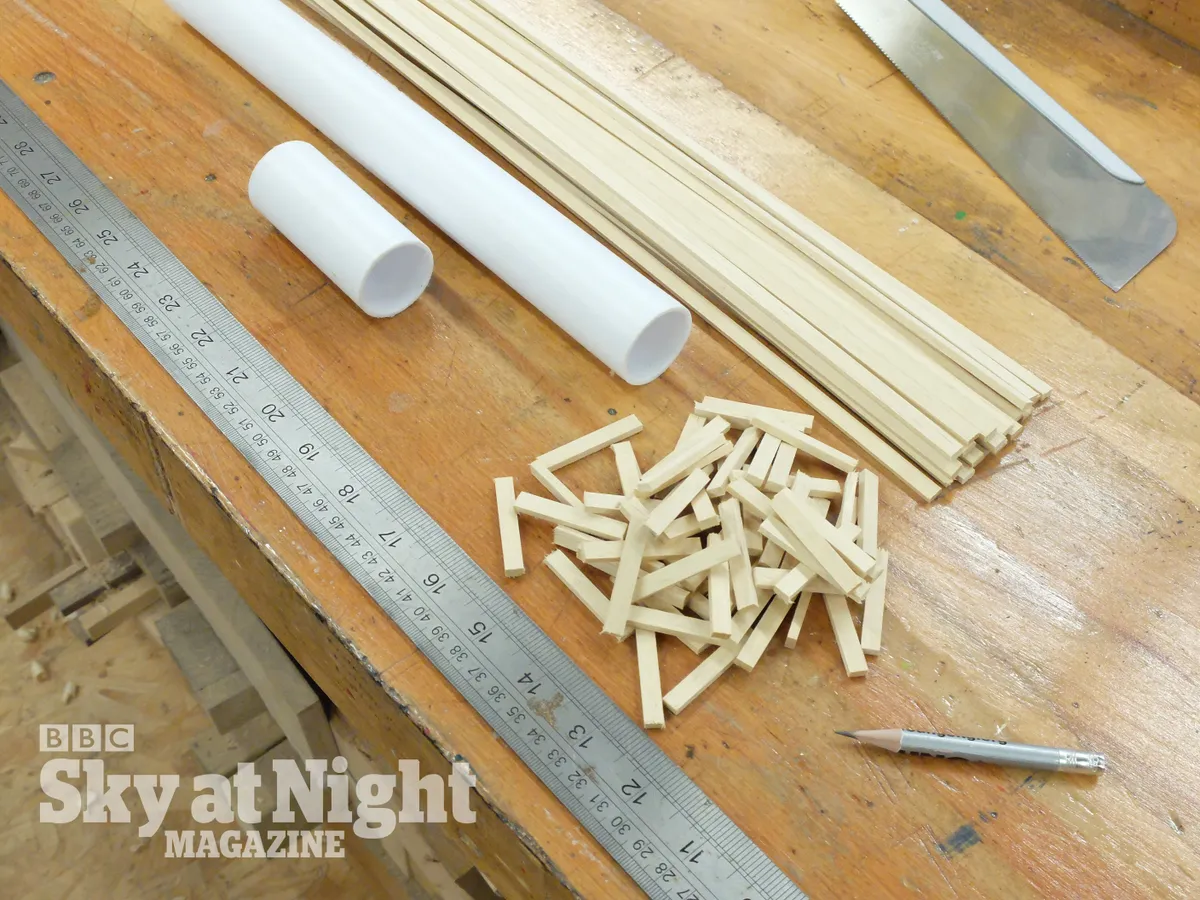
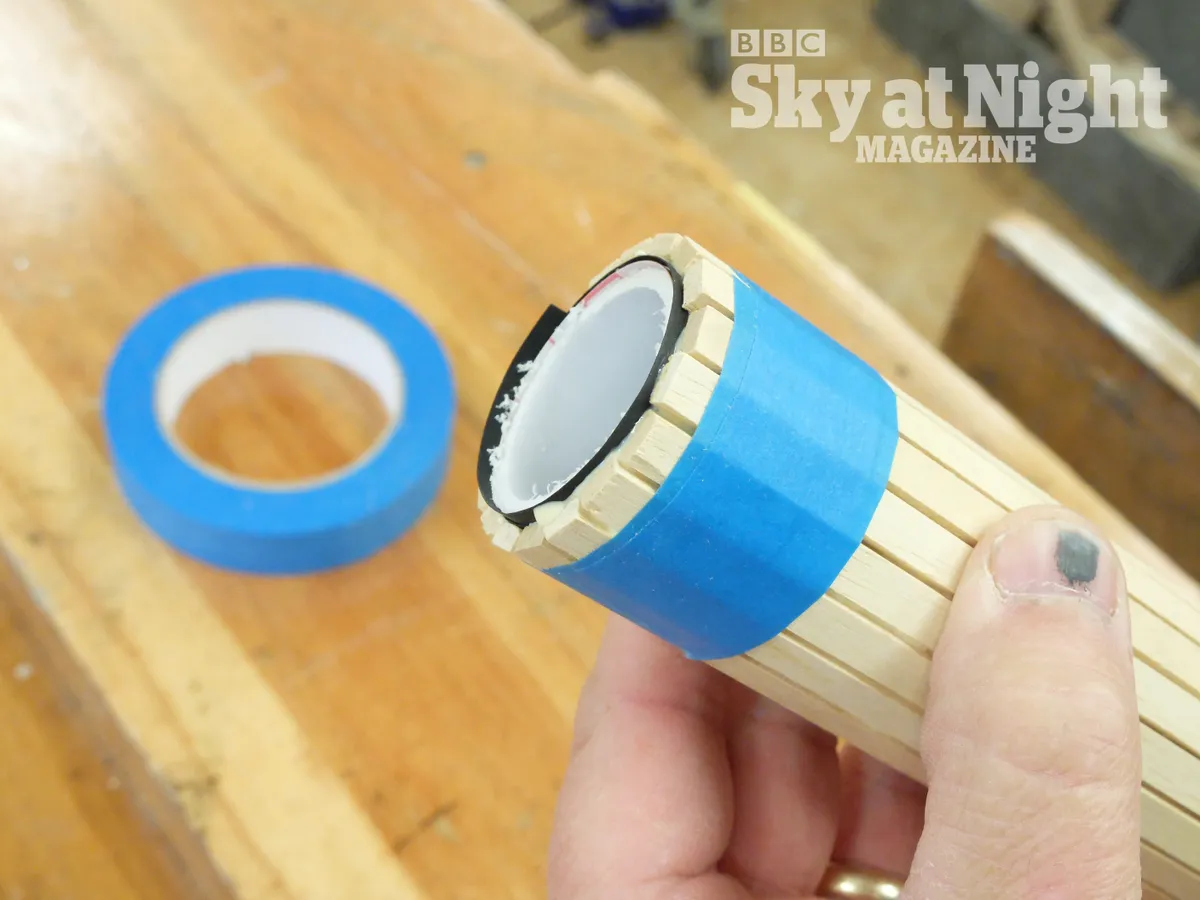
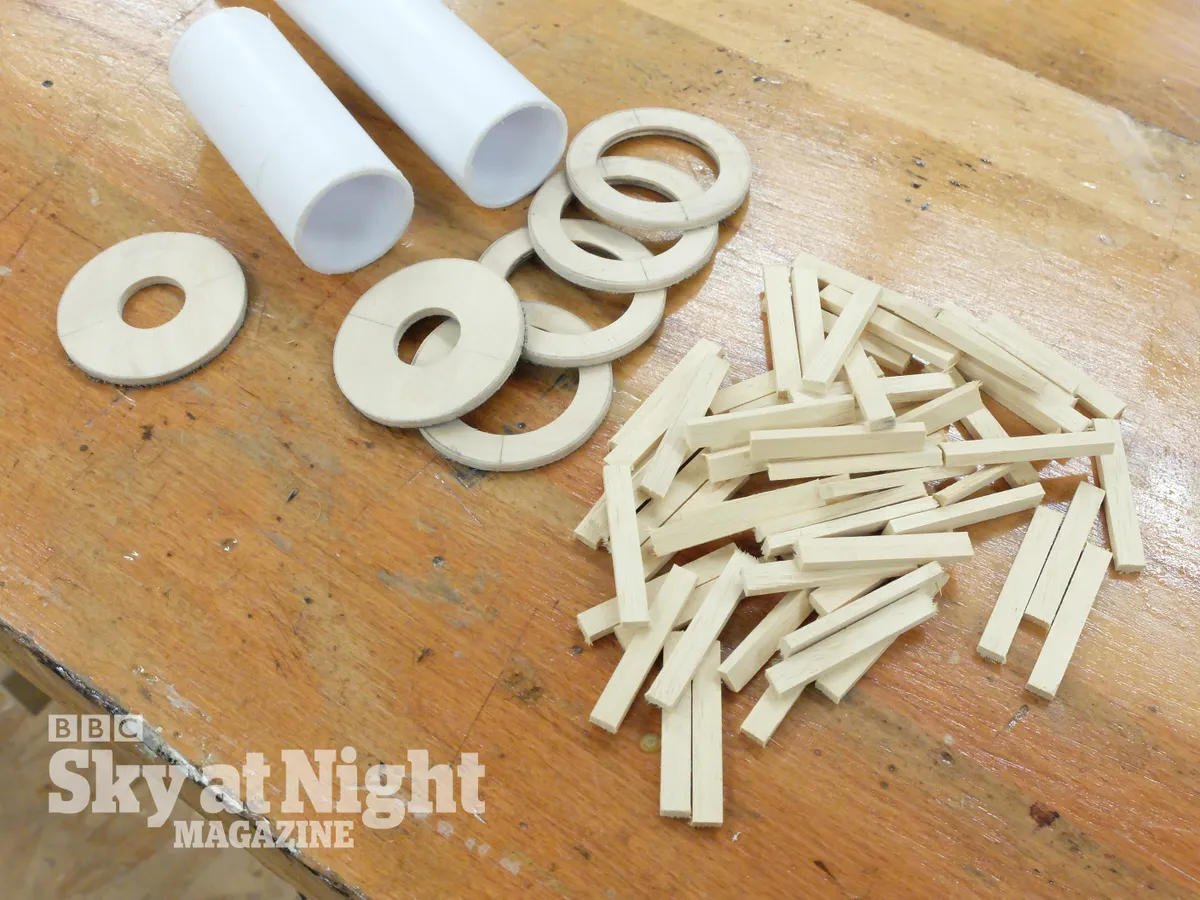
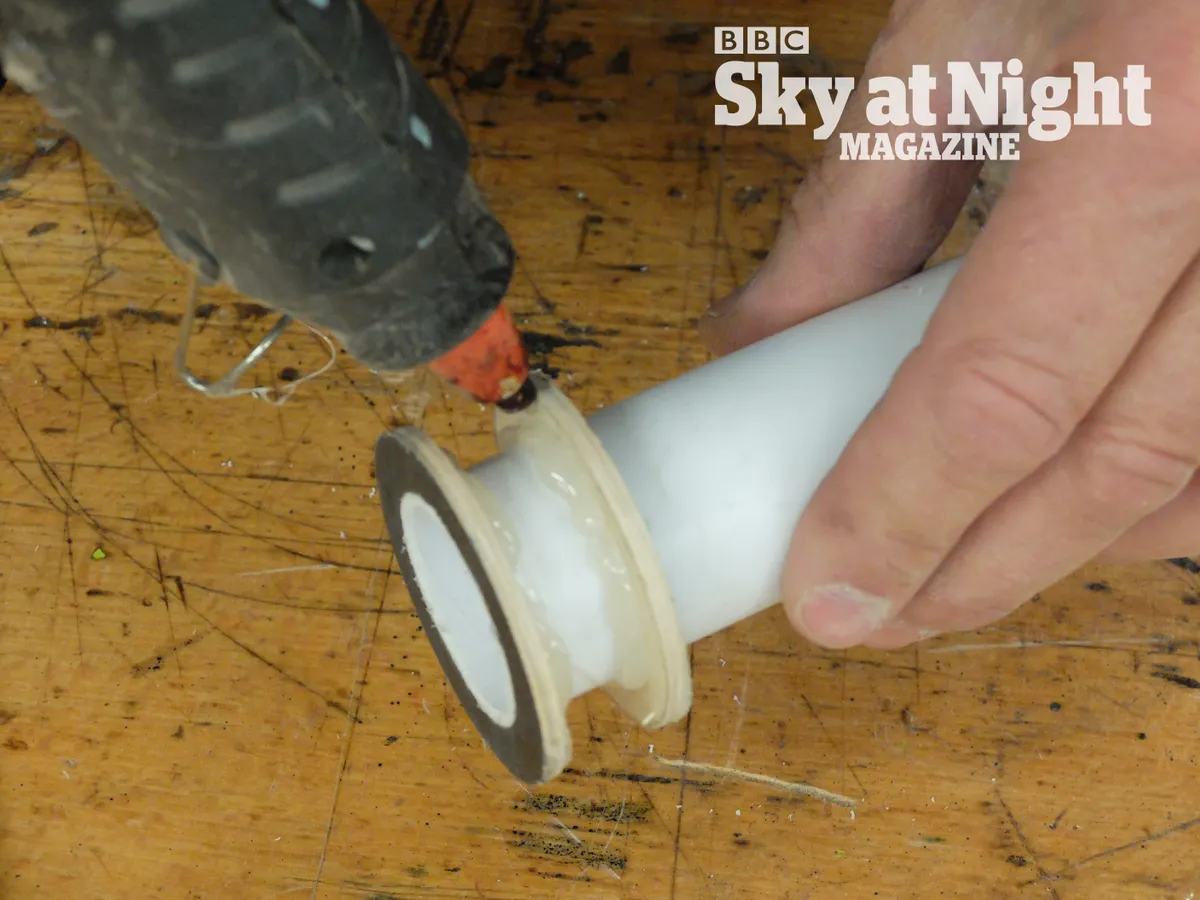
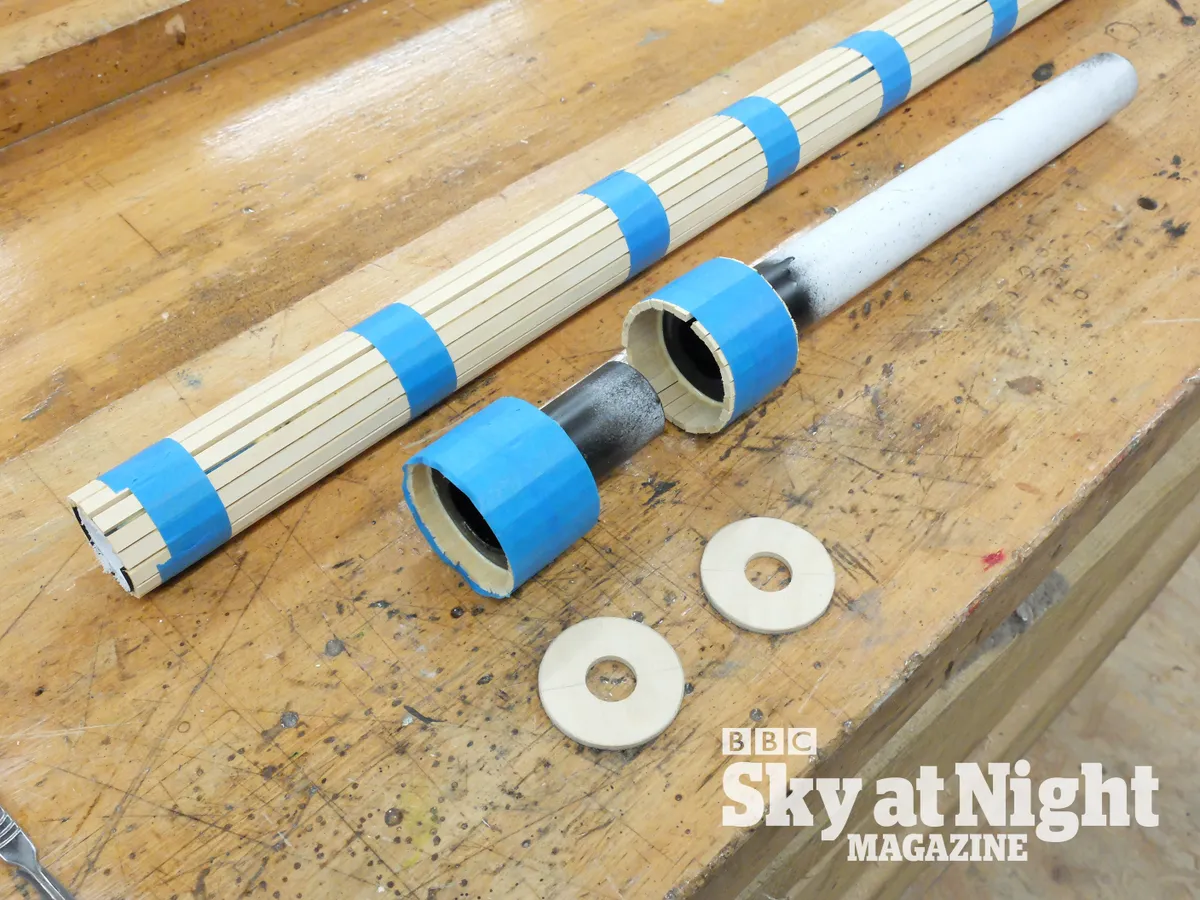
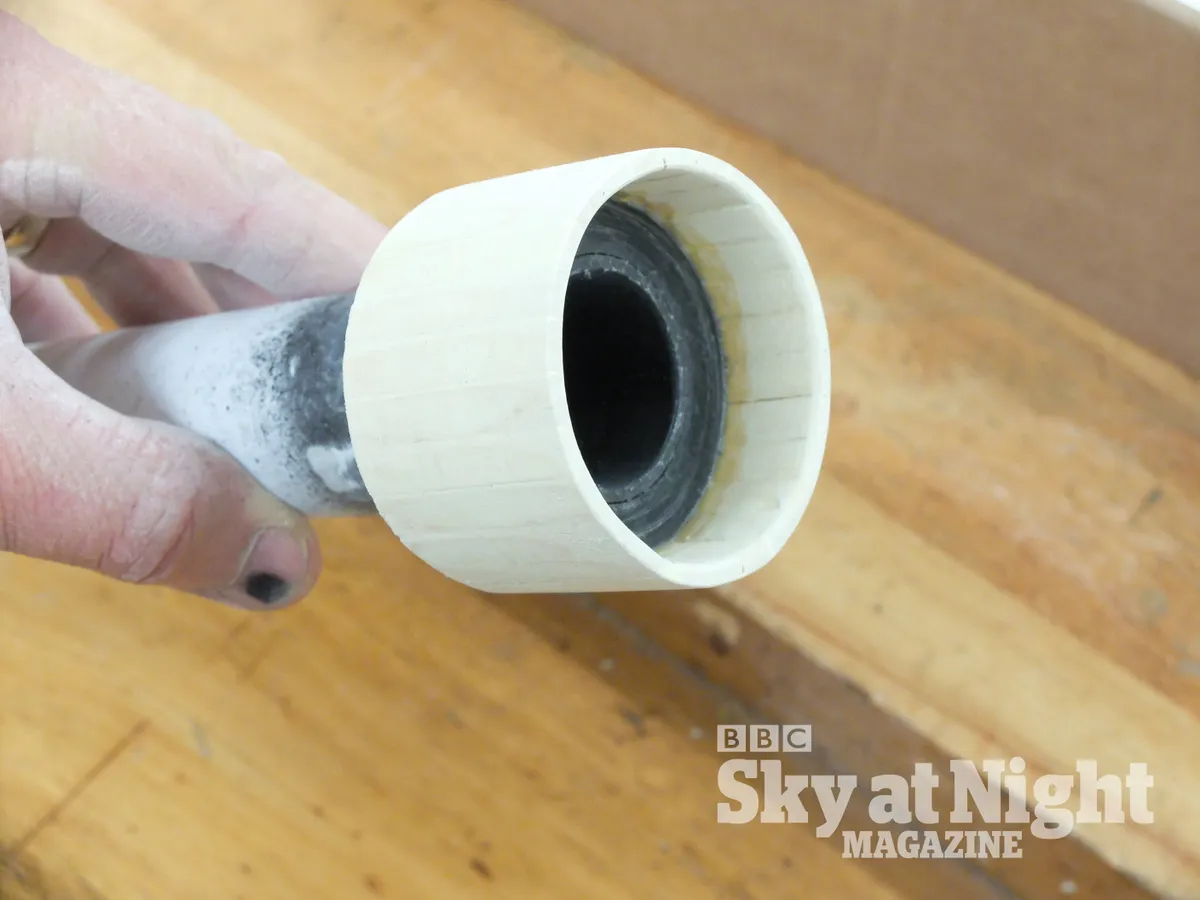
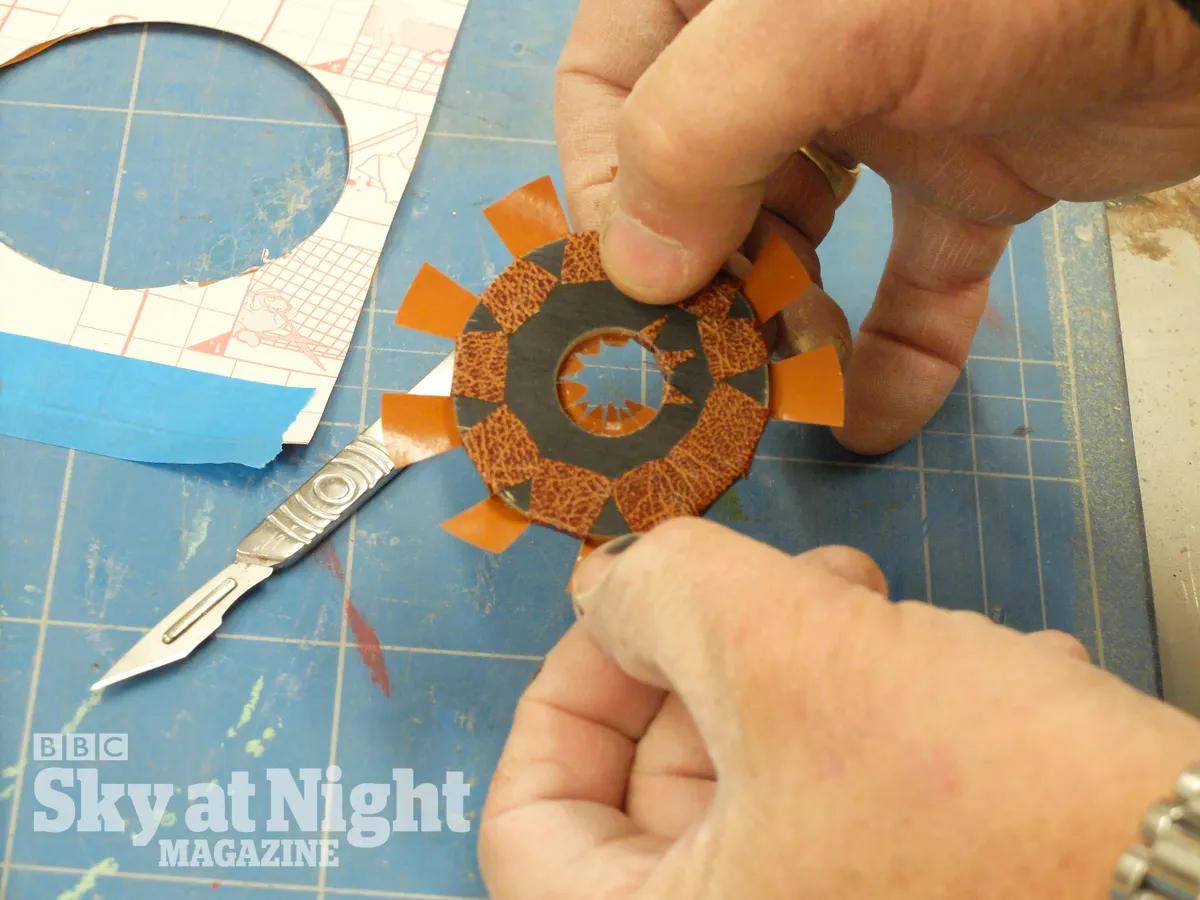
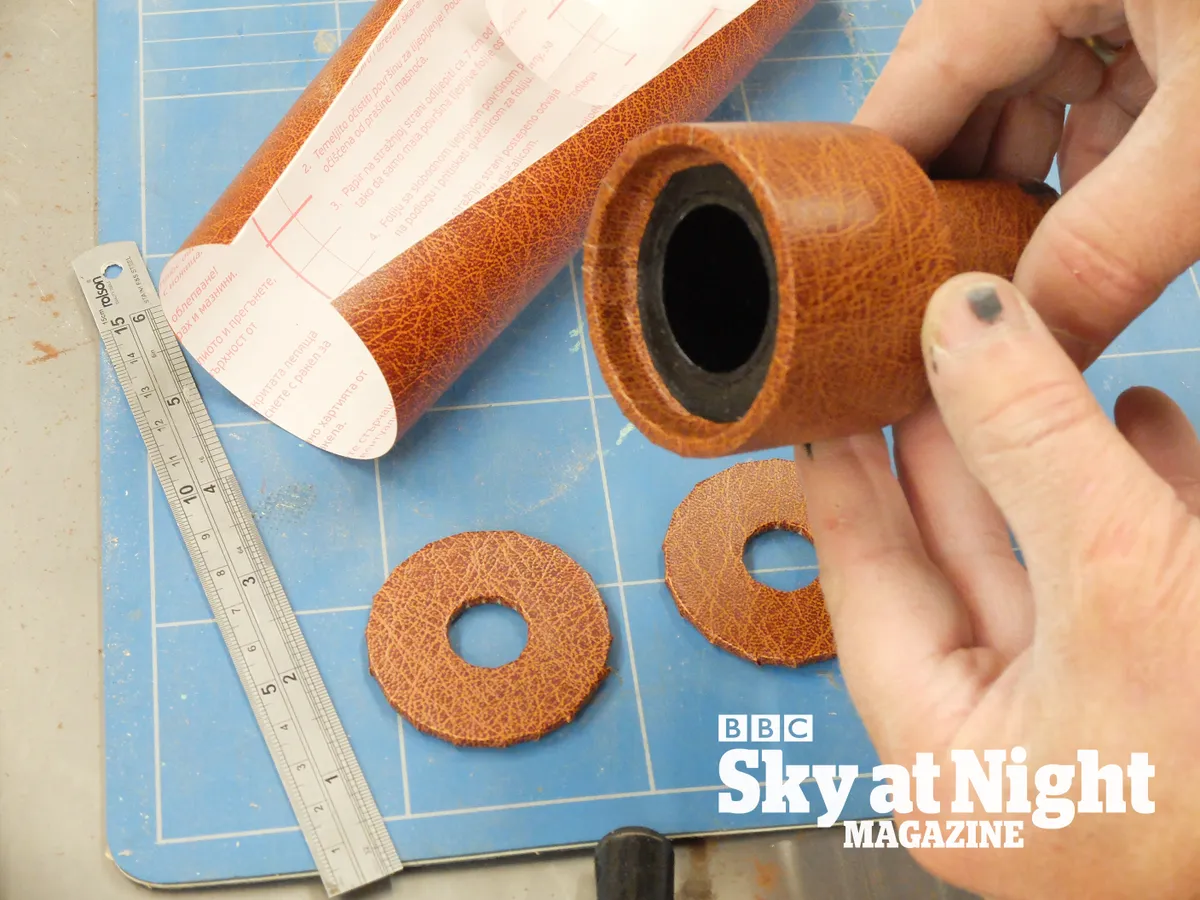
Our Galilean telescope consists of a main tube with separate housings at either end for the objective lens and the eyepiece. These can slide in and out to adjust the focus (longer for close objects).
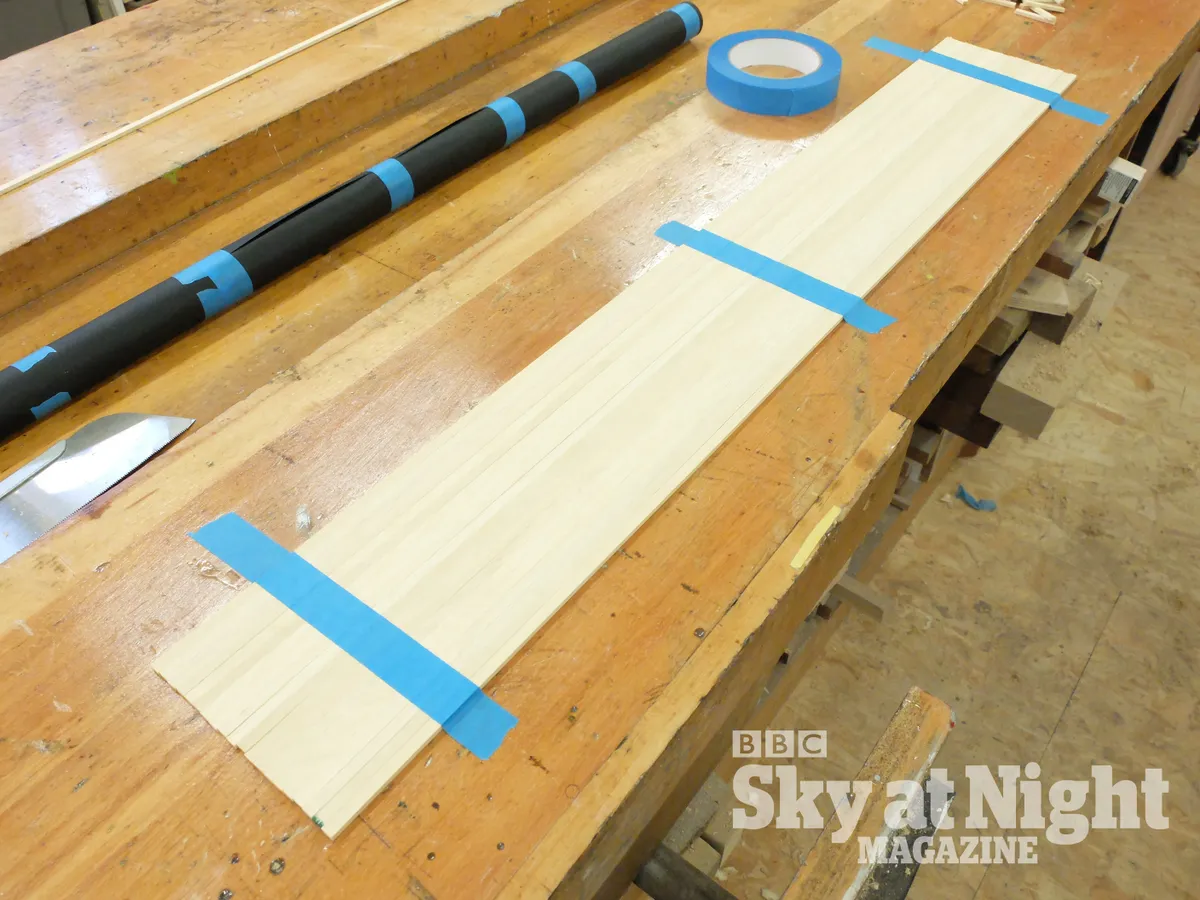
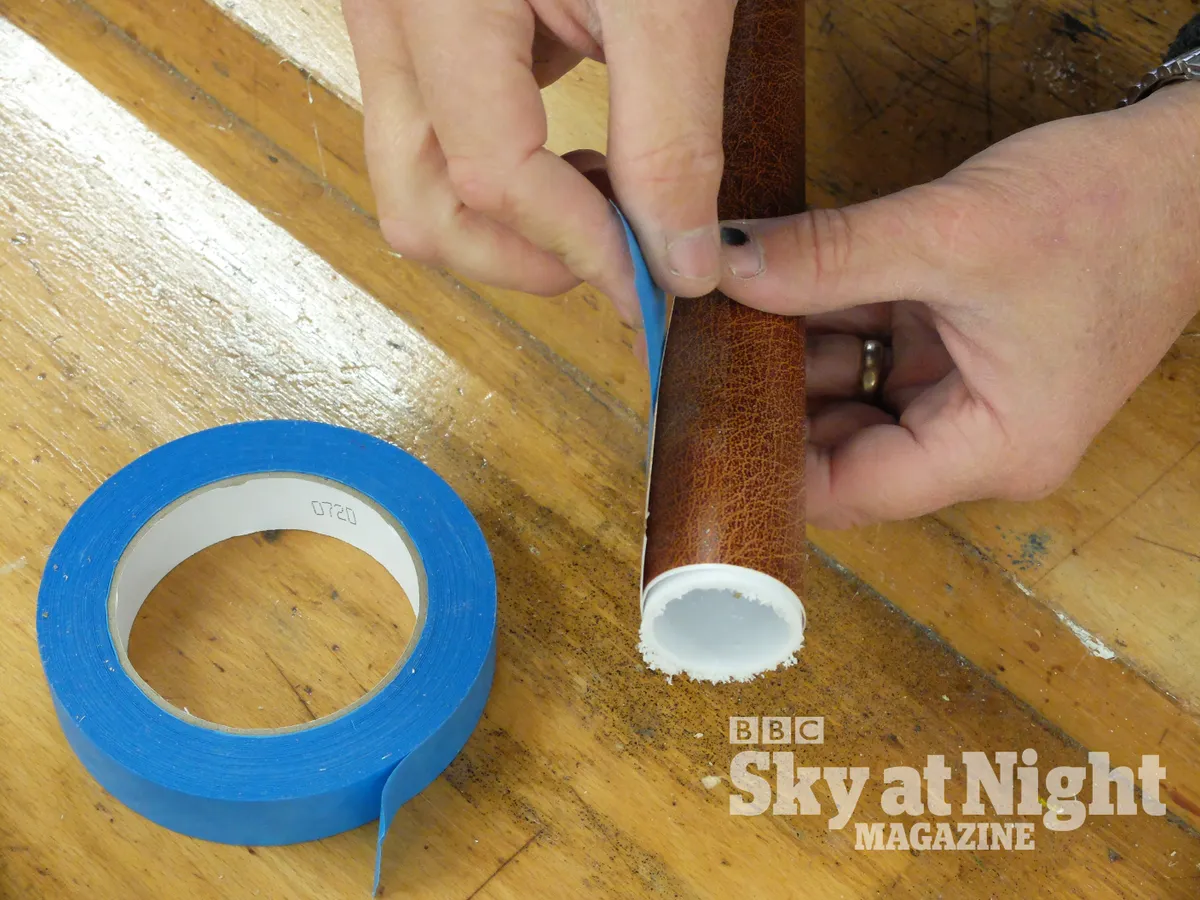
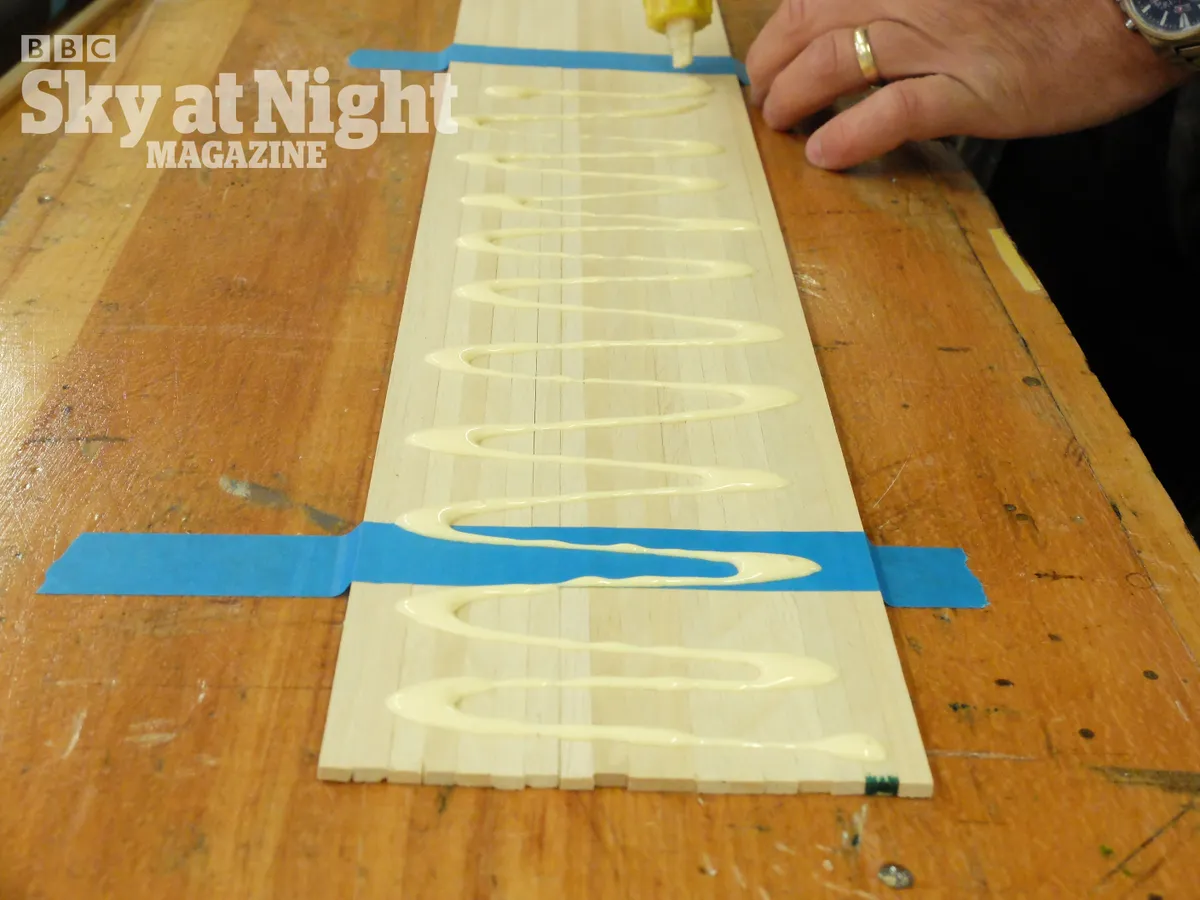
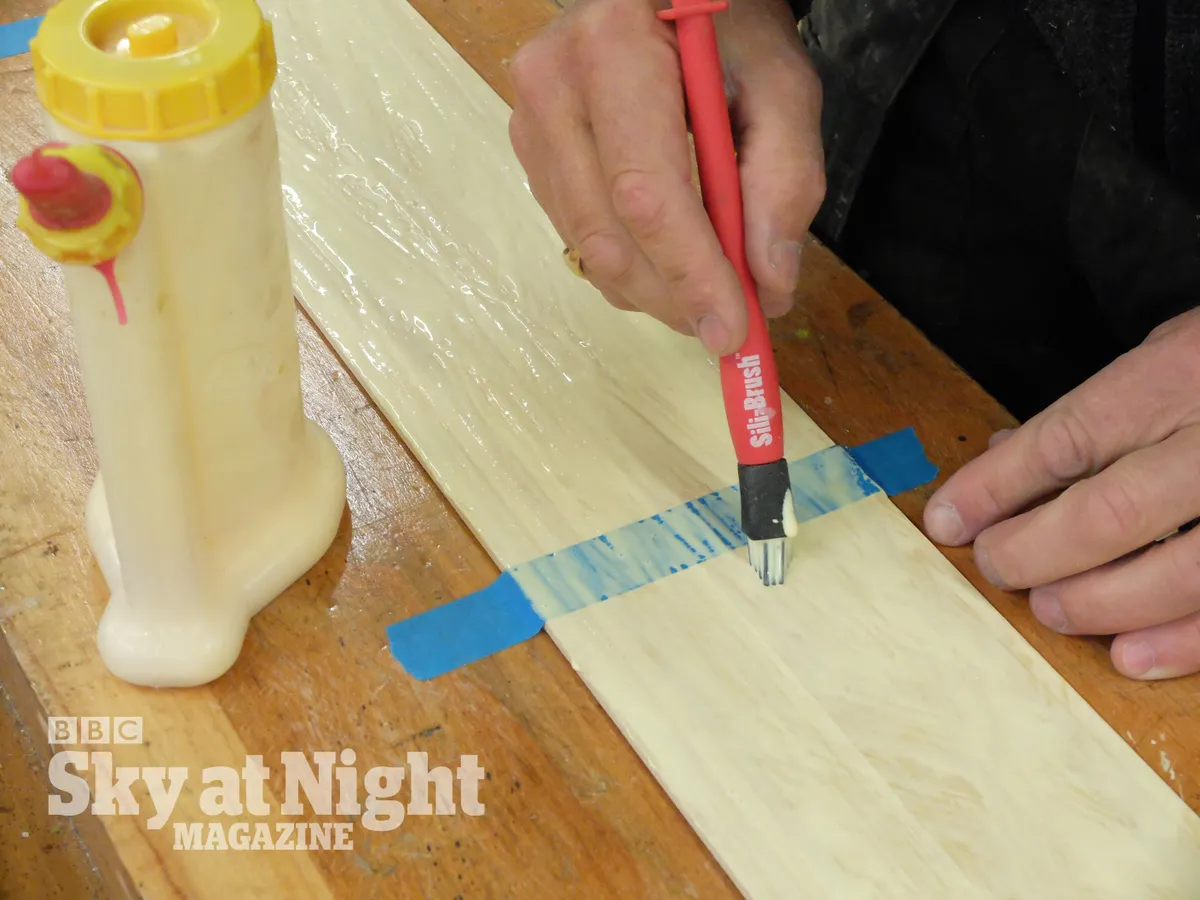
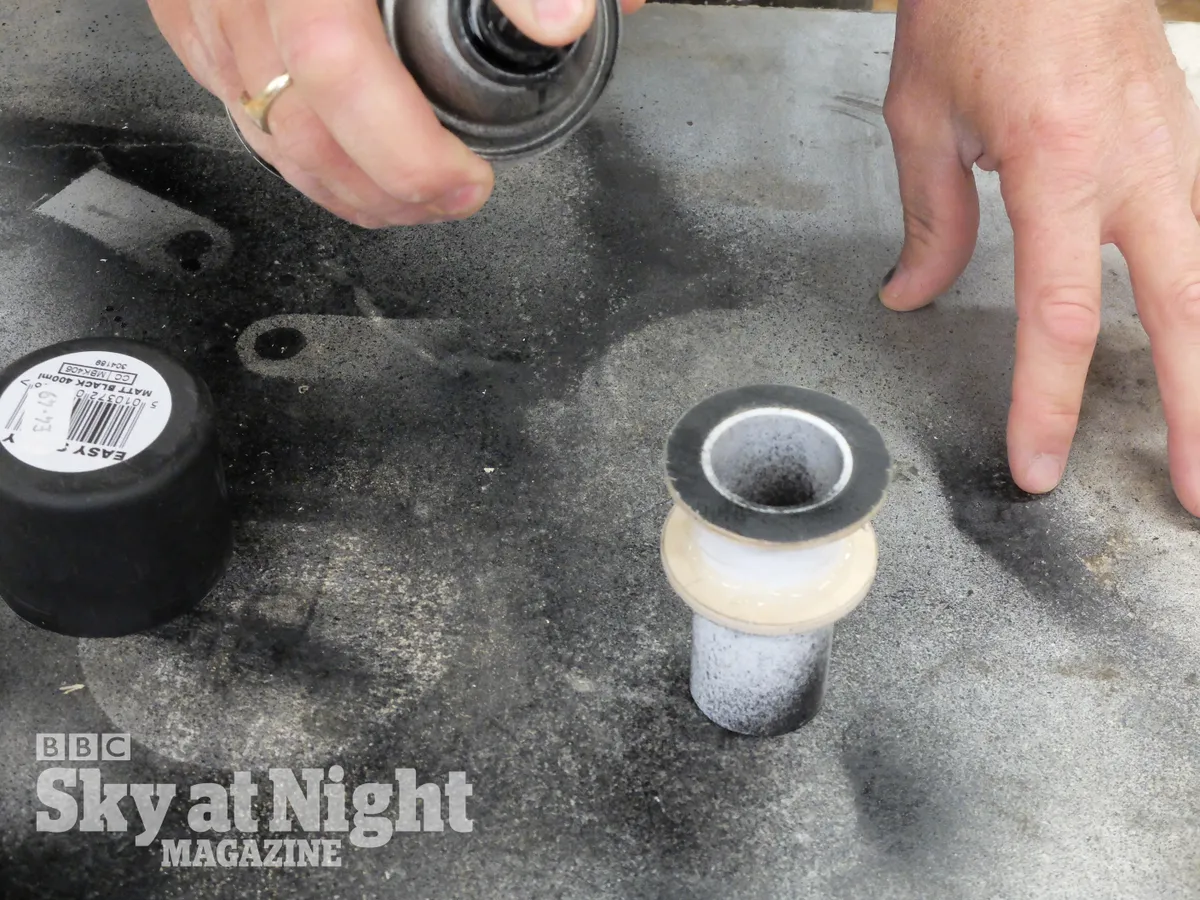
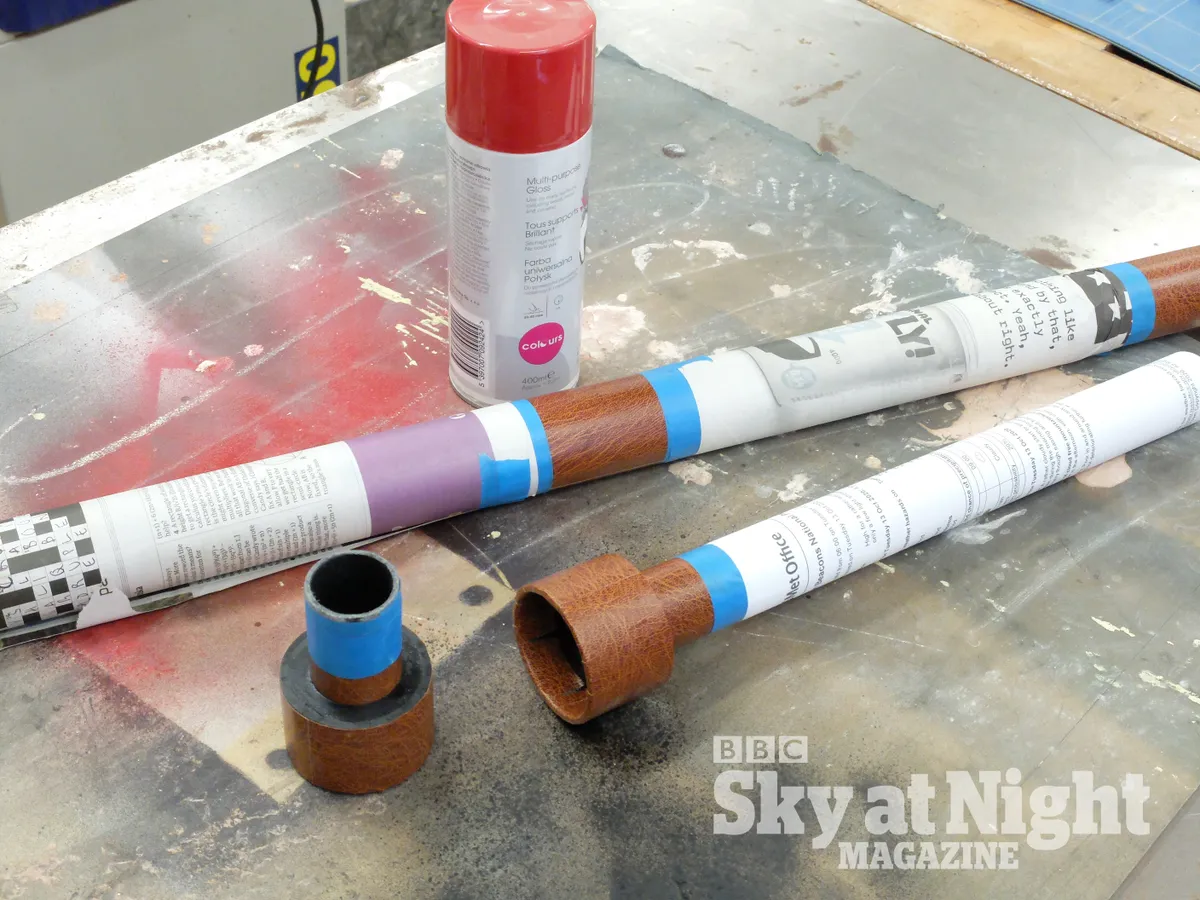
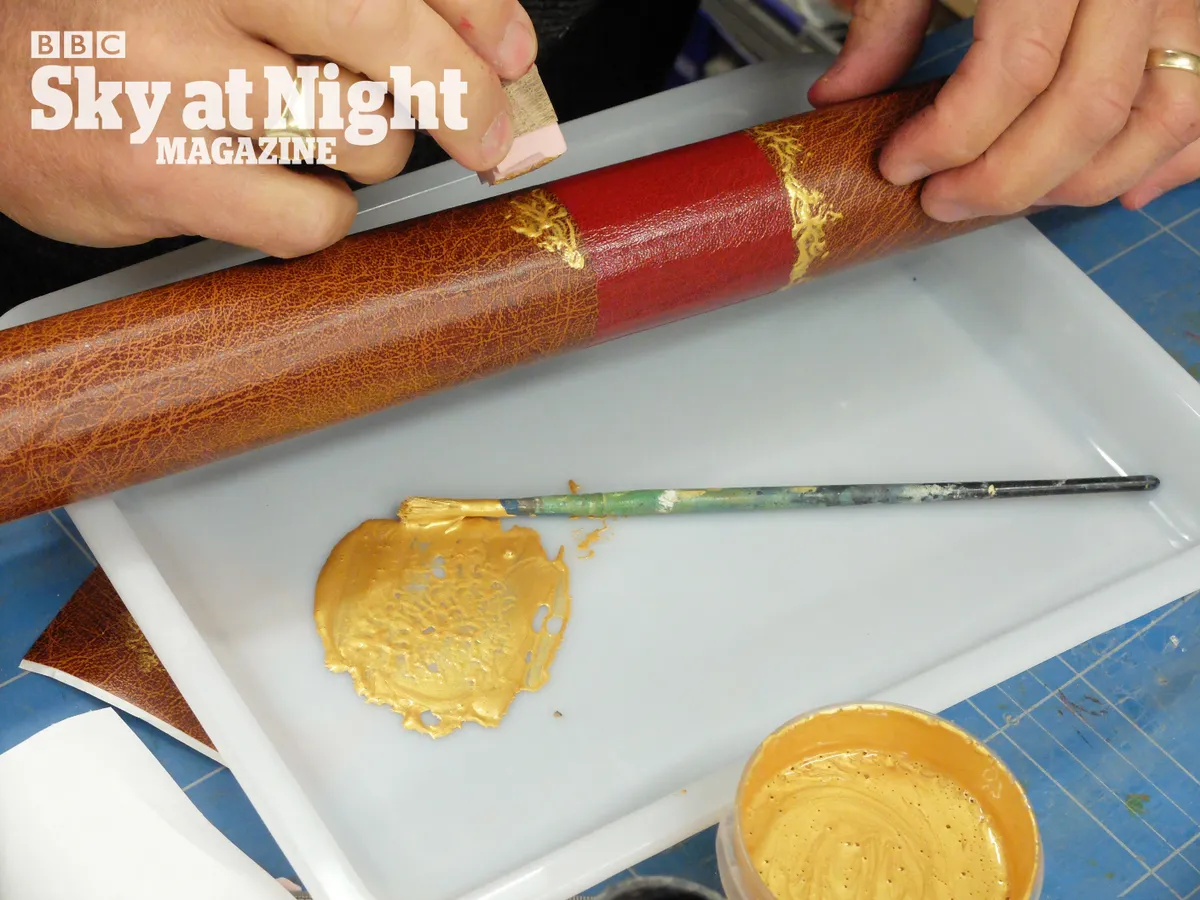
The tube is formed by long, thin strips of wood joined together with a resin and is covered with red leather decorated in gold. In our telescope we have used similar strips of wood and filled the gaps with wood filler.
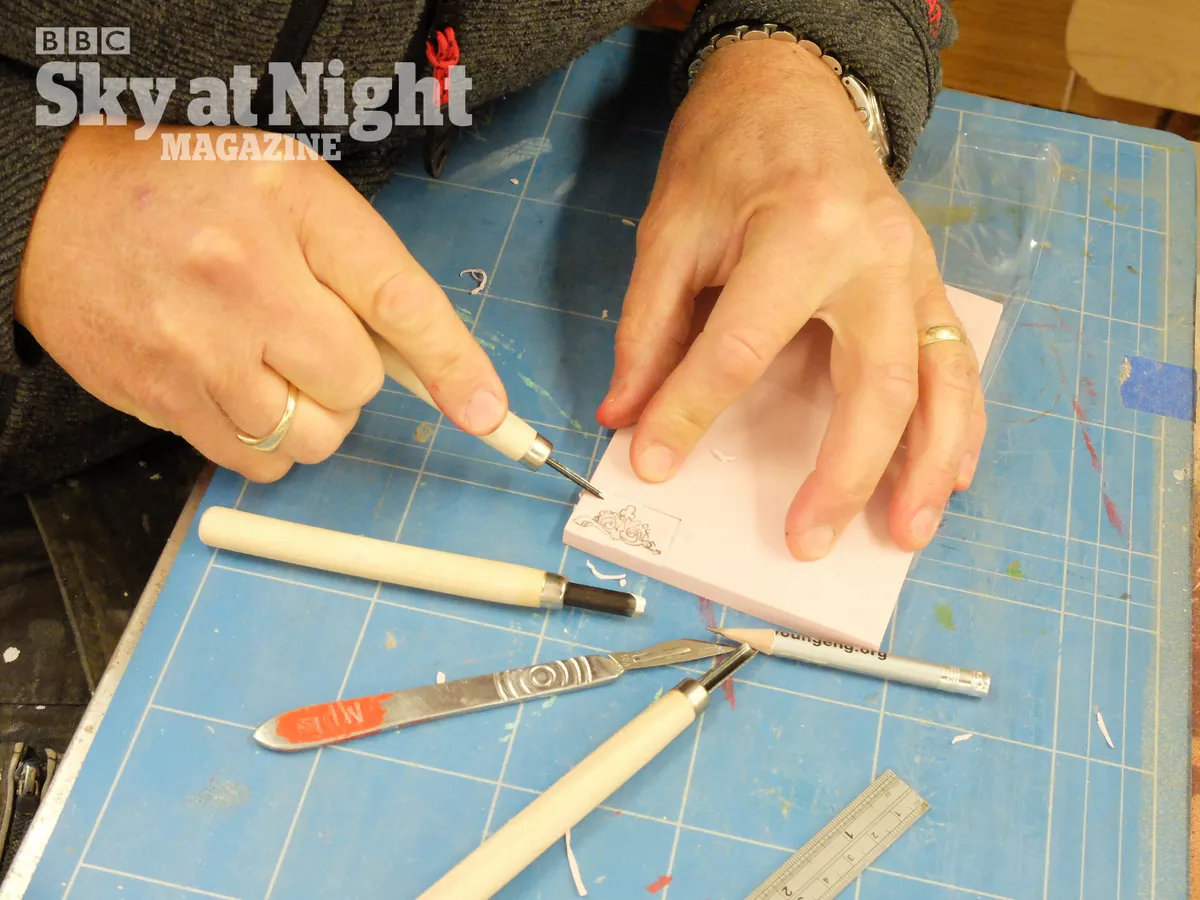
After rubbing down, we used a sticky-backed vinyl with a leather effect as a finish (leatherette) and decorated it with gold paint.
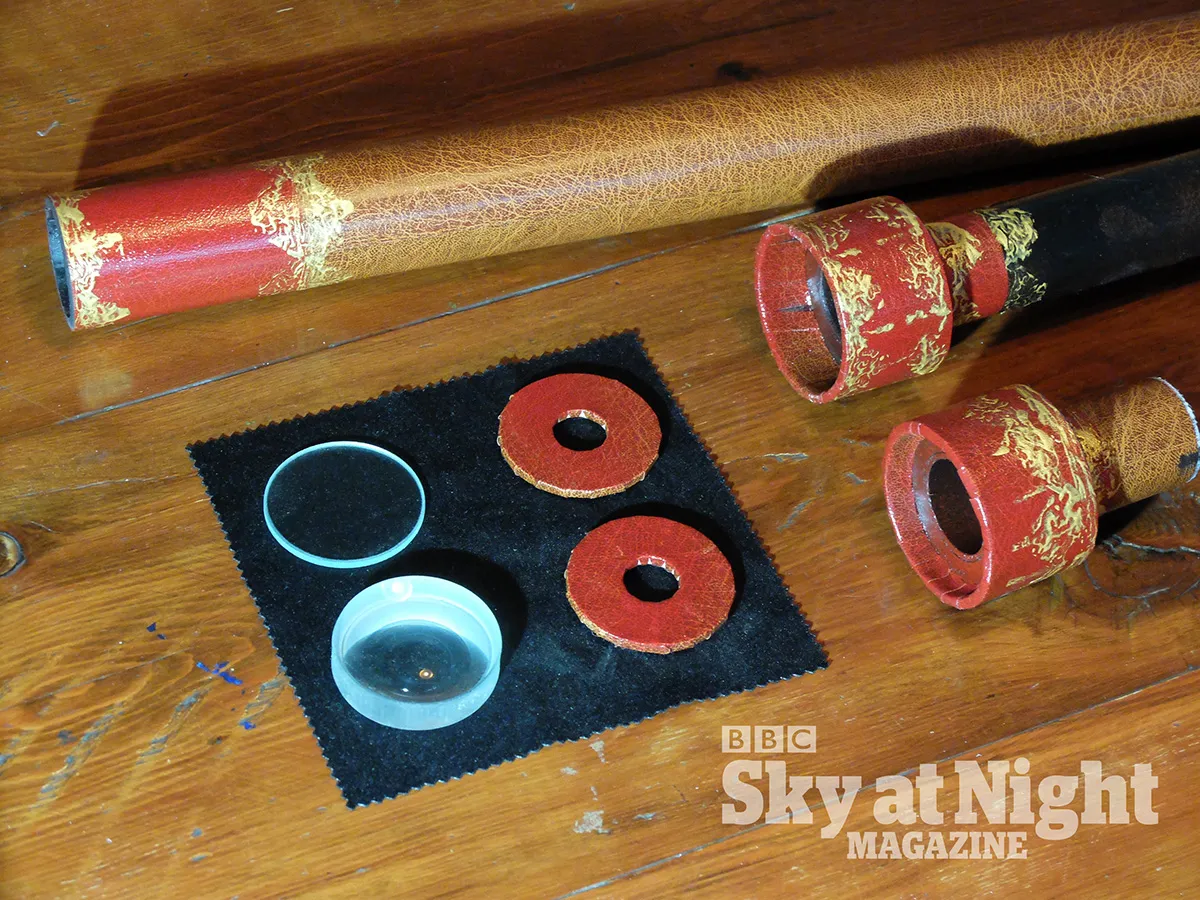
The original objective lens is a plano-convex type (flat one side with a bulge on the other), with the convex side facing outwards. Its specifications include a diameter of 37mm, an aperture of 15mm and a focal length of 980mm.
For our project we found a very reasonably priced 50mm-diameter double convex lens with a focal length of 1,000mm, and we reduced the aperture to 15mm with a ‘lens ring’ to replicate the original.
Galileo’s original eyepiece was lost and was replaced in the 19th century by a biconcave eyepiece (curved inwards on both sides); with a diameter of 22mm and a focal length of –47.5mm (a diverging lens).
We chose a biconcave lens with a 50mm diameter (again, we reduced the aperture) and a focal length of –50mm.
This results in a magnification of 20x; the original telescope was 20.6x so we are very close, although our tube is about 25mm longer.
If you can't find these exact lenses, then you can adapt the design to work with other focal lengths by following the steps below.
It's also worth noting that biconcave lenses will always have a negative focal length, however many suppliers do not include the minus sign in their listings.
We mounted our finished scope on a simple tripod to test it, and although it is tricky to point it without a finderscope, we eventually managed to observe some features on the Moon and also saw a coloured (but blurry) disc of Mars.
Throughout the project, it was awe-inspiring to consider how so much pioneering work was achieved with such an instrument.
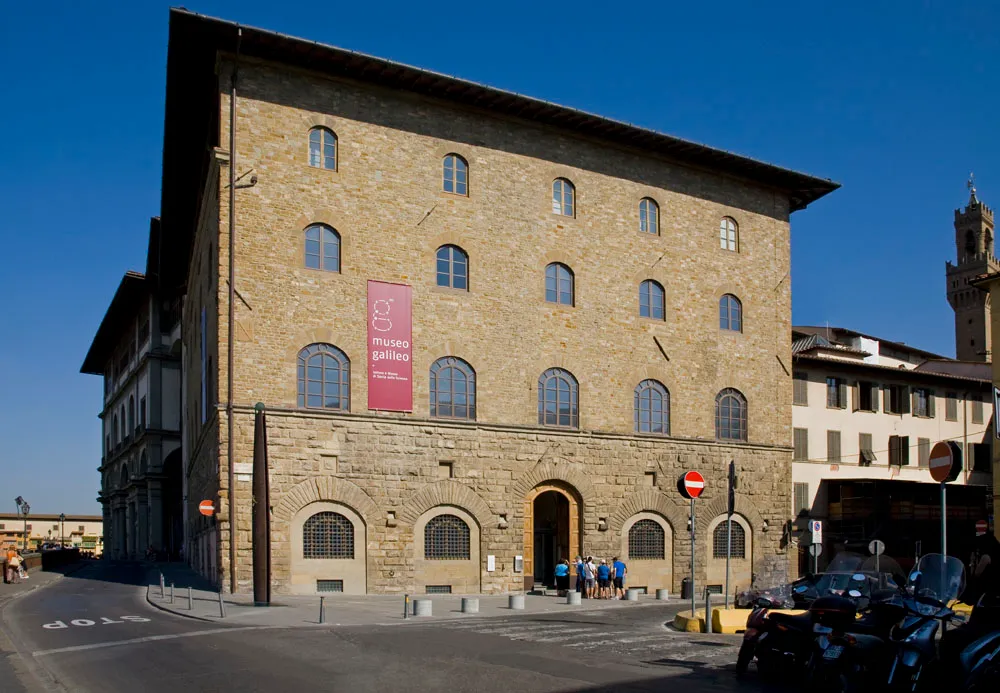
Should you wish to see it for yourself, Galileo's original telescope resides in the Museo Galileo in Florence, Italy.
For more projects like this, visit our DIY Astronomy page.
Images to help with your build