Averted vision is the technique of looking out of the corner of your eye to see faint objects more clearly. Training the eye to use ‘averted vision’ will enable you to see much more of the night sky.
The eye is a remarkable detector but, unlike a CCD camera used for imaging, long exposures are not an option.
To see really faint objects you need to understand its limitations and the tricks that can be employed to coax the maximum out of its ‘short exposure’ capability.

A few people seem to have truly exceptional night vision but, in the main, this is very rare.
If you can’t see the faint objects that others can it will be down to a number of factors: local light pollution, impatience or inadequate dark adaptation (more on this below).
As well as choosing the right level of magnification, collimating your telescope and realuminising your mirrors, mastering the art of averted vision by training your eyes will help you get the most out of your time observing the night sky.
How does the eye see?

The eye has two types of detector within the retina, the thin layer of cells that lines the back of the eyeball.These are called rods and cones.
The rods are the low light detectors, whereas the cones allow full colour, high-resolution eyesight.
The central 1° of the retina, the fovea, is packed with cones, and you are using them to read this sentence.
Your brain creates the illusion that the whole page is sharp, but in fact you are only seeing a few letters at a time at high-resolution and in full colour; your eye muscles are zipping everywhere else to create the illusion.

The electrochemical signals from the retina’s detectors travel via cells known as ganglion cells on their way to the brain.
In the high-resolution, full colour, centre of the retina, one ganglion cell connects to one cone.
But, as you go further out and low-light rods dominate, there may be 100 rod detectors passing their electrochemical signal into just one ganglion cell; it’s a case of grouping them to improve the signal-to-noise ratio.
Not surprisingly, with so many rod detectors teamed up, resolution suffers badly.
While the foveal cones can resolve a 60th of a degree (one arcminute), the teamed-up rod system, well away from the centre, may only resolve 20 arcminutes.
That’s not much finer than the size of the Moon, as seen with the naked eye.
How does averted vision work?

There is an optimum, ultra-sensitive, rod-packed region of the retina that you can bring into play.
The eye is about four astronomical magnitudes (40 times) more sensitive at this crucial point than at its centre.
So if you can hold, say, a 10th magnitude star steady in the visual centre of a 12-inch reflecting telescope’s field, you’ll be able to hold a 14th magnitude star steady on the rods 12° off centre.
For more info on magnitudes and what they mean, read our guide to stellar magnitude.
To get to this sensitive area, you have to look to one side of the faint astronomical object you’re trying to see: place the object you’re looking at roughly 8° to 16° away from the eye’s centre. 12° is a good average value for the best part.
At first this will seem incredibly difficult, but it will improve with practice.
This 12° offset should be arranged so that you appear to place the object nearer to your nose than the side of your face in the field of view.
The reason for this strange requirement is that the eye has a blind spot where the optic nerve leaves the retina, and this blind spot is on the side of the eye, away from the nose.
What is dark adaption?

When you first go outside and look through the eyepiece you will probably not see anything. This is because you are not ‘dark adapted’.
When the human eye is plunged into darkness, two things happen.
Firstly the pupil dilates (expands) to its maximum diameter. In young people this may be 7mm (0.2 inches) or so, but for astronomers in their 80s it may only be a few millimetres across.
This is not a big problem at the telescope though, as the higher magnification produces a narrower beam of light which can pass through a small pupil.

The second development to happen in darkness is that the amount of the chemical rhodopsin in the retina increases dramatically, by many thousand-fold.
So the combined effects of rhodopsin and using averted vision amounts to over 100,000 times more sensitivity than your central vision had in a fully illuminated room before you stepped outdoors.
Dark adaption – waiting for the rhodopsin to do its job – cannot be rushed. You need to wait 40 minutes or more to feel the full effect.
It also means you cannot go indoors use a torch or look at your phone! A good way around this is to use red light, which won't spoil your dark adaption. If you are an iPhone user, read our simple trick that will enable you to turn your iPhone screen red using a shortcut.
What you'll need to try averted vision
Dark location
")
Even if you live in a light polluted area, you can shield the site you observe from by blocking out neighbouring lights with intelligent positioning and by using fence panels as shields. Or, you can travel to one of many dark-sky locations in the UK and beyond, provided it is safe to do so.
Eyepieces
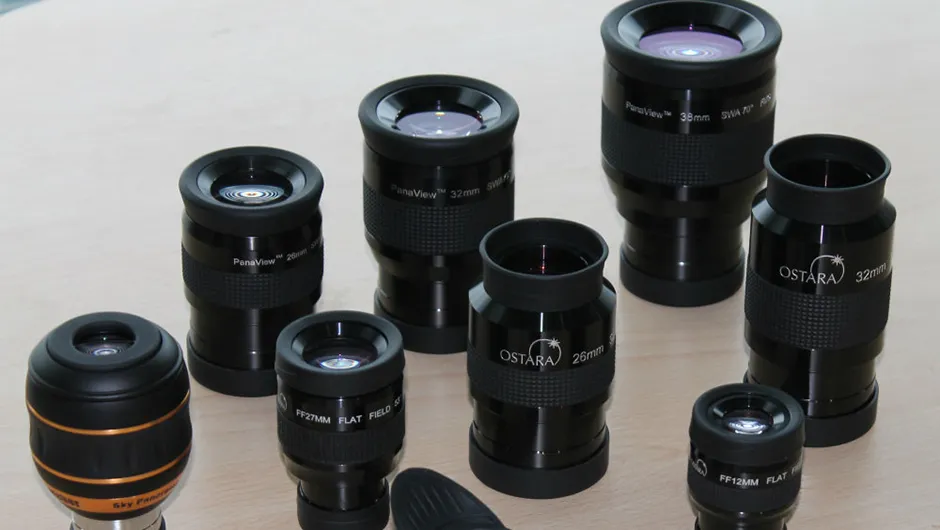
A set of high-quality eyepieces will maximise your chances of seeing faint objects. You need low-, medium- and high-power eyepieces for finding the field, homing in, and for high-power scrutiny respectively. Eyepieces with a good rubber eyeguard to exclude stray light are essential.
For more info, read our beginner's guide to eyepieces.
Star Charts
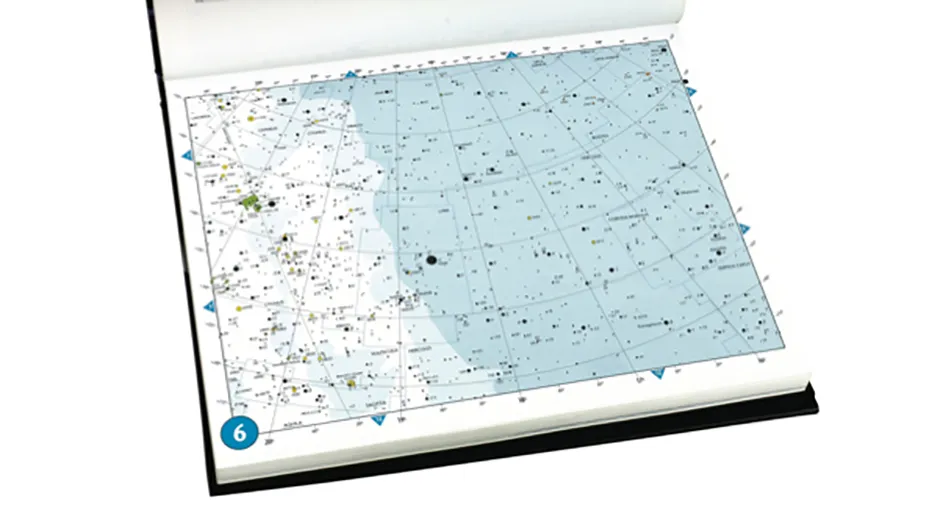
A set of star charts matching the appearance of your chosen target at each eyepiece magnification will maximise your chances of success. Charts for variable stars can be located on the AAVSO website. Alternatively, you can use free planetarium software such as Stellarium.
Telescope
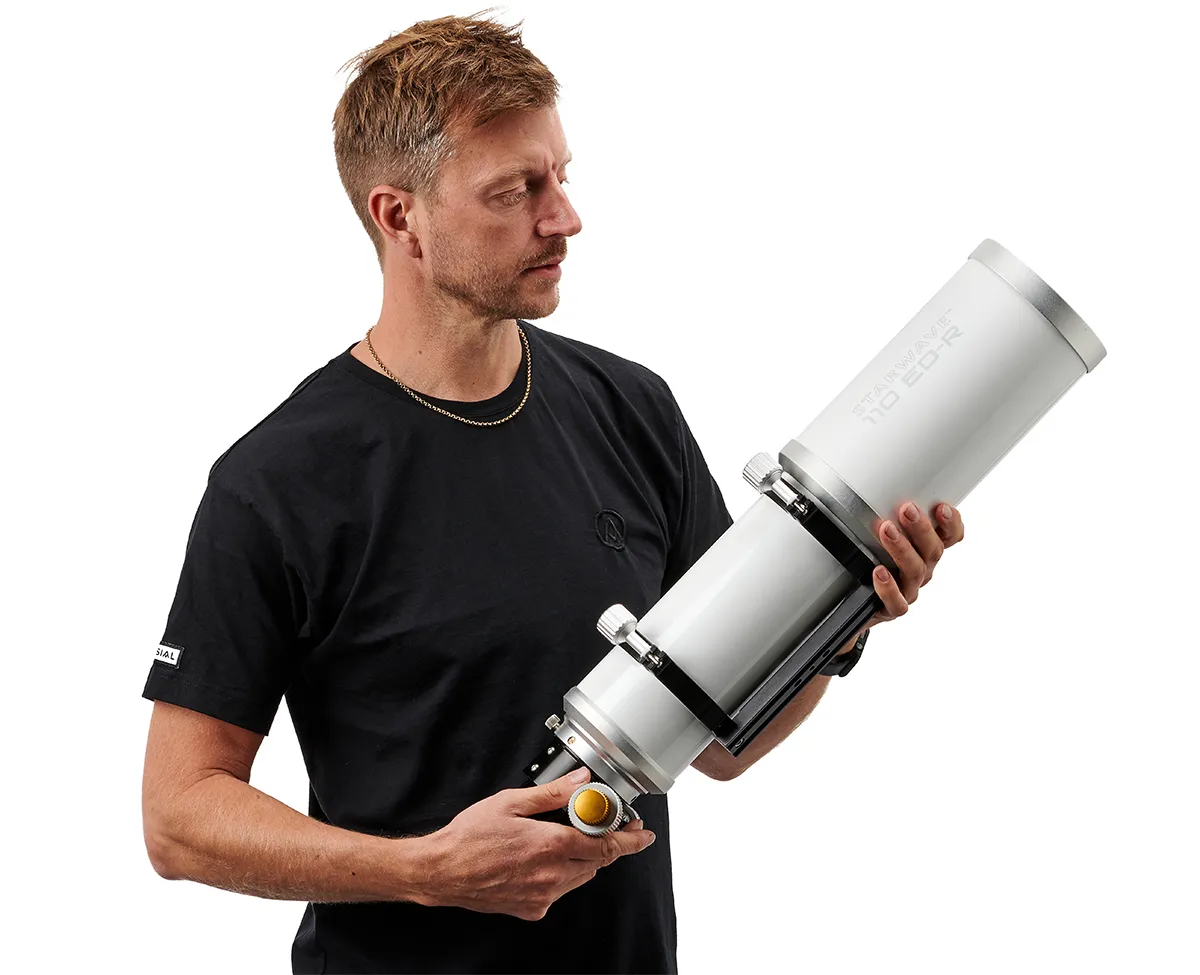
You need a good quality telescope (6-inch or larger) with a fine set of mirrors and high transmission optical coatings. It’s also vital that your telescope is accurately collimated.
Weather forecasts
The best crystal-clear nights are often when a cold front or a northerly air stream moves down the country. Access to weather satellite pictures from the Met Office can be invaluable. Read our guide on how to predict the weather for astronomy.
A step-by-step guide to using averted vision
Step 1
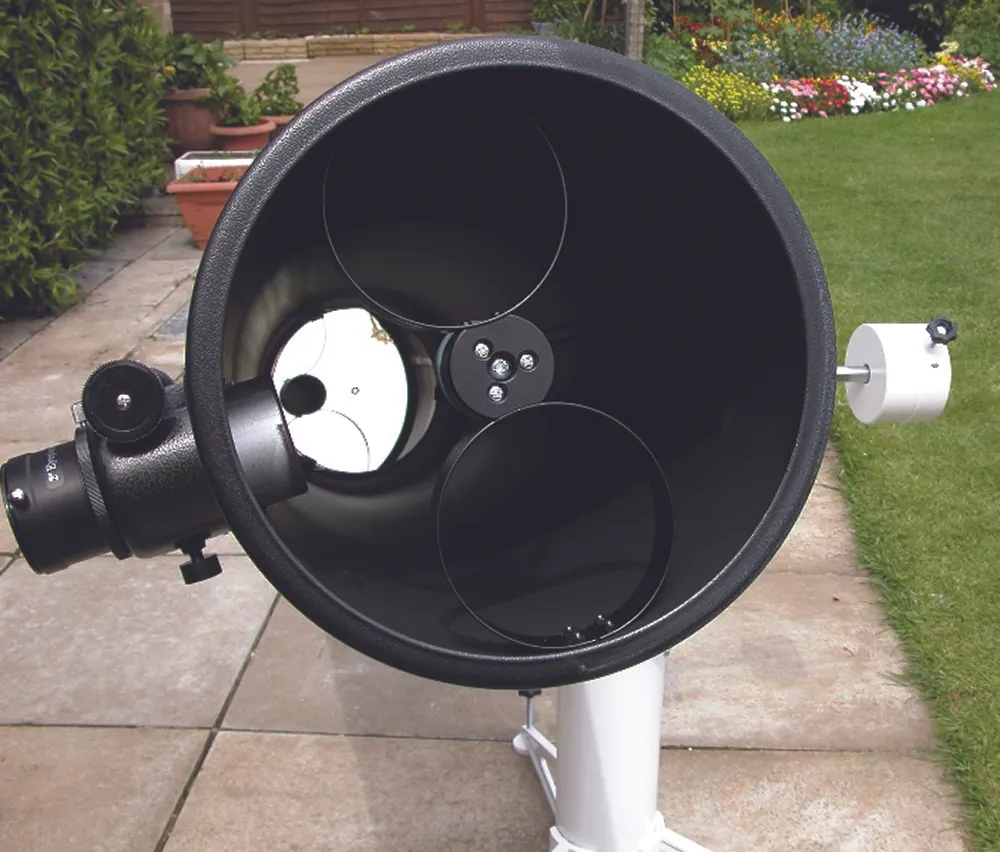
Check your telescope is in good working order, with clean optics (realuminised if necessary) and that no stray light is able to get in. If you have a Newtonian, the inside of the tube should be painted matt black.A long dew cap will also minimise the stray light getting in.
Step 2
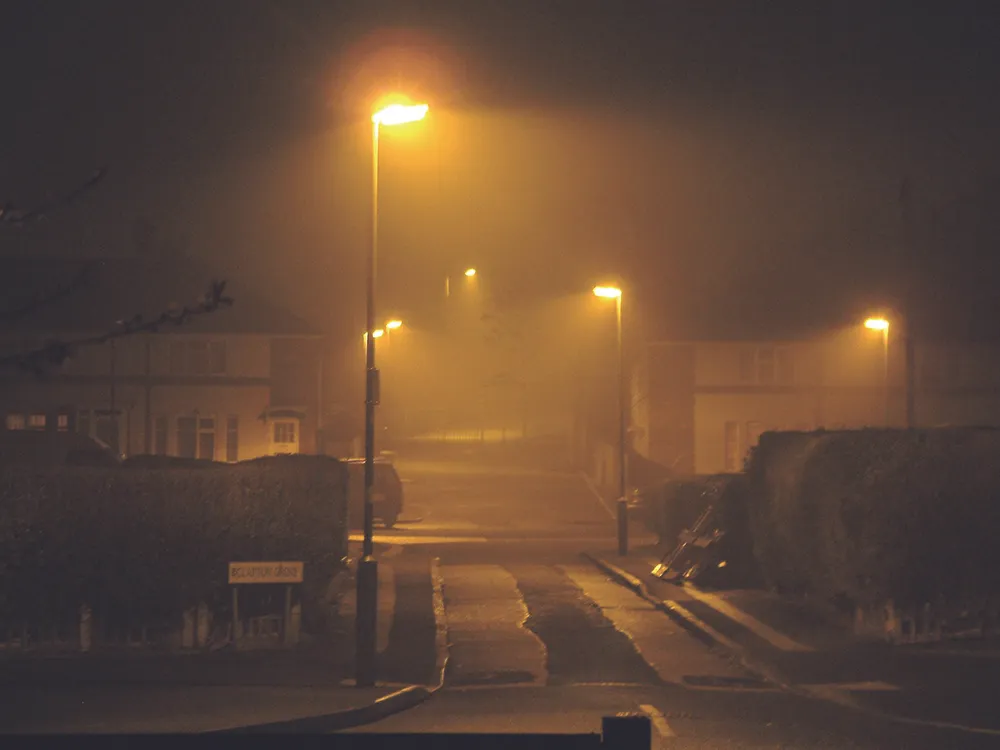
If your telescope is portable, work out which part of your garden or observing site is darkest. There should be no streetlights or security lights visible from the eyepiece position. If your telescope is fixed, consider erecting fence panels to shield yourself from the polluting light.
Step 3
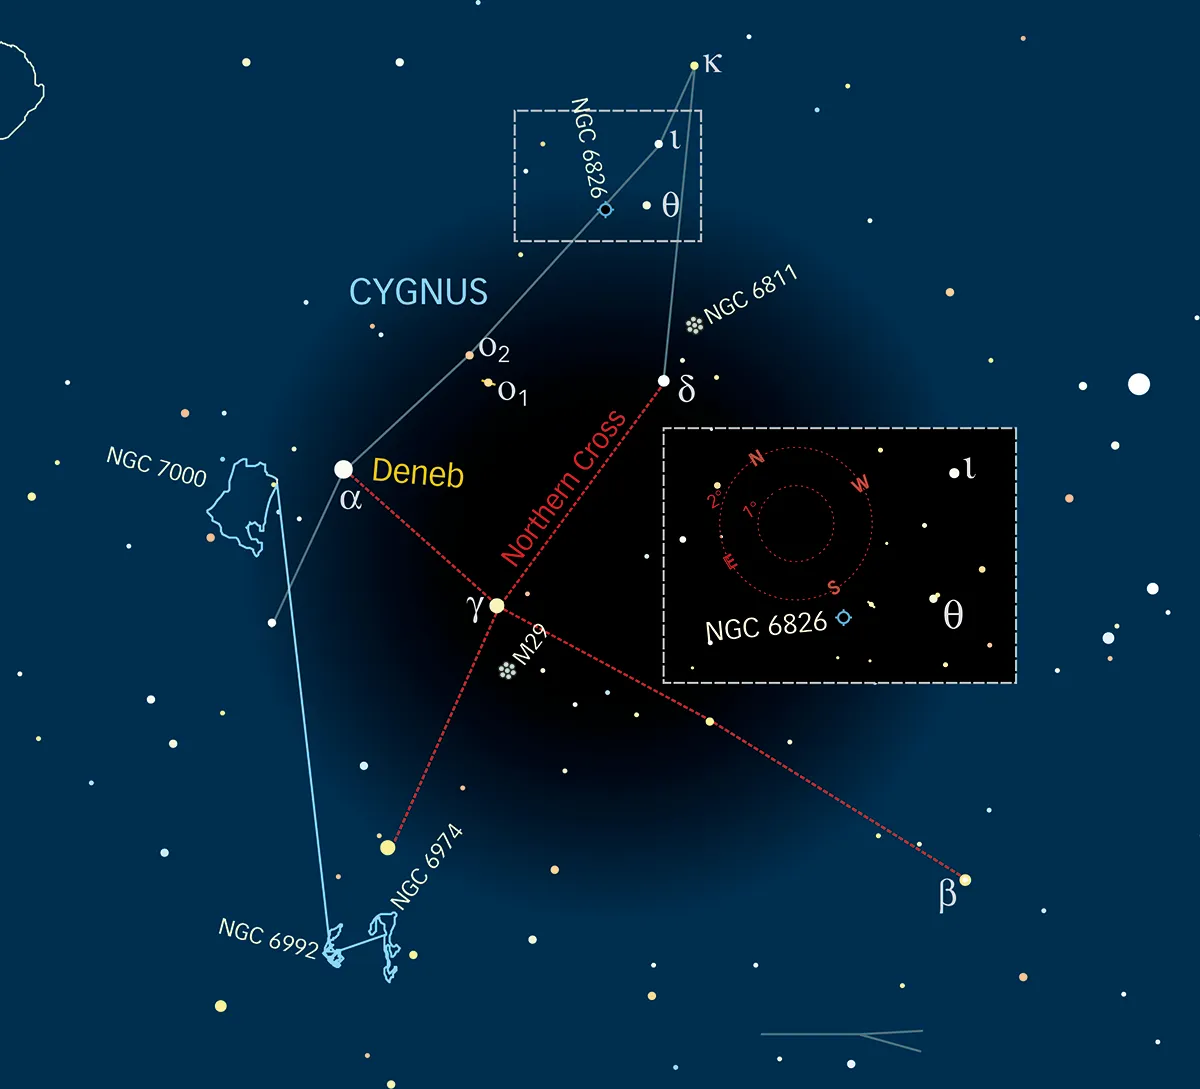
Find a sky chart showing the Blinking Planetary Nebula, NGC 6826. This nebula, in Cygnus, is almost overhead at midnight GMT in mid-July. The central star is at RA 19h 44m 48s, dec. +50˚ 31’ 31”. It is 5° north of delta (δ) Cygni and 0.5º east of a distinctive pair of 6th magnitude stars.
Step 4
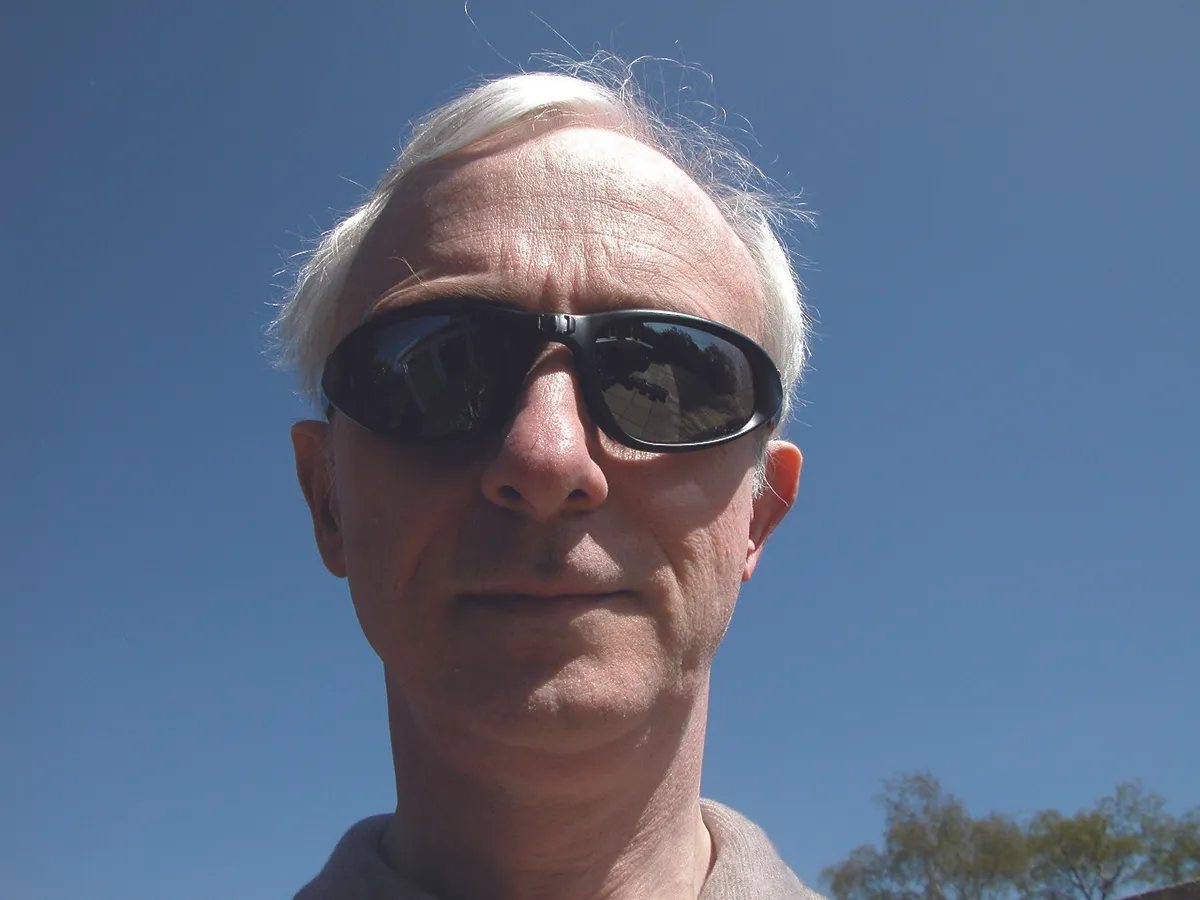
If the weather forecast looks favourable for your night of viewing and you know that the Moon will be out of view in the night sky, try to minimise your exposure to direct sunlight during daylight hours. If you do venture outdoors during the day, it’s a good idea to wear sunglasses to protect your eyes.
Step 5
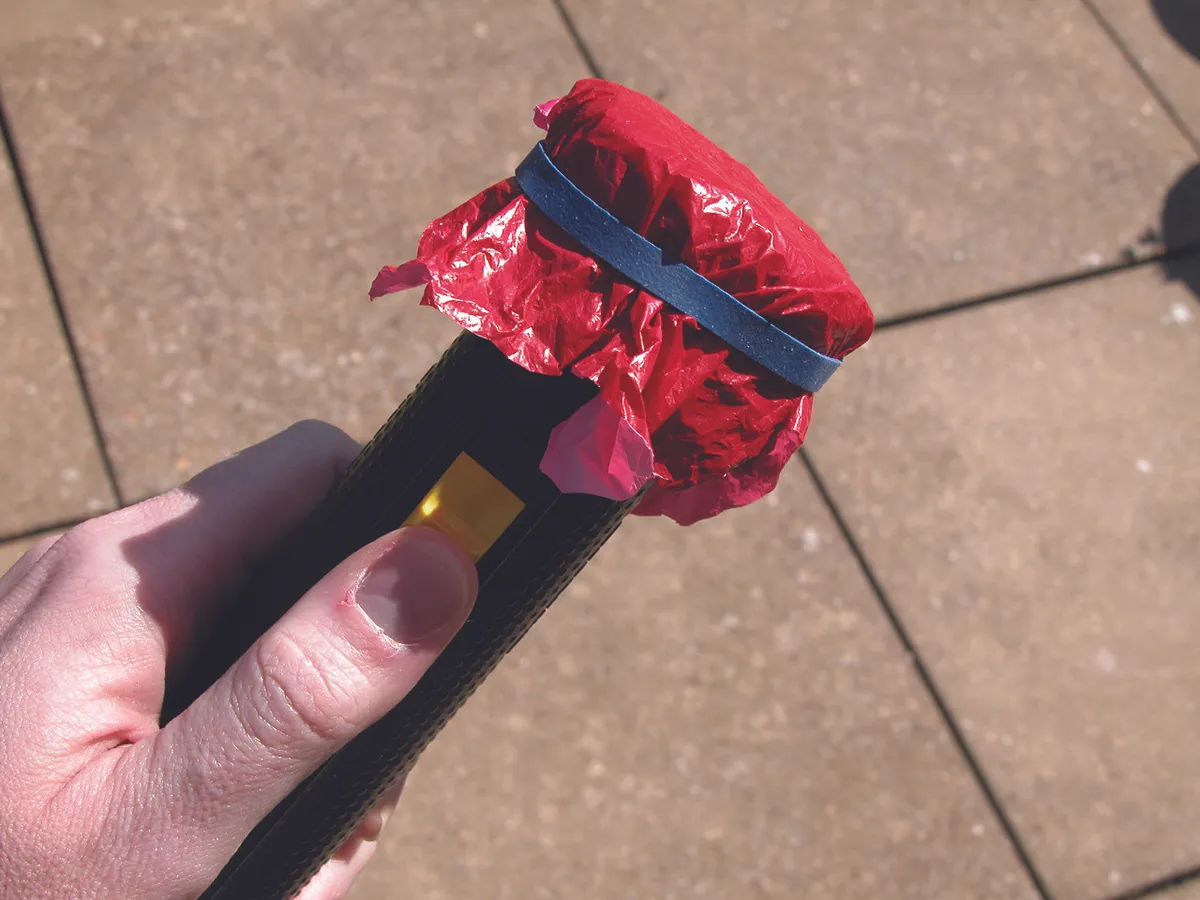
If the skies are clear that night, spend 40 minutes dark adapting before attempting to view any faint object. Do not point your telescope at anything bright. If you don't have a red light torch, a red bicycle light or a red film over a conventional white torch works well as a star chart illuminator, and won’t wreck your night vision.
Step 6
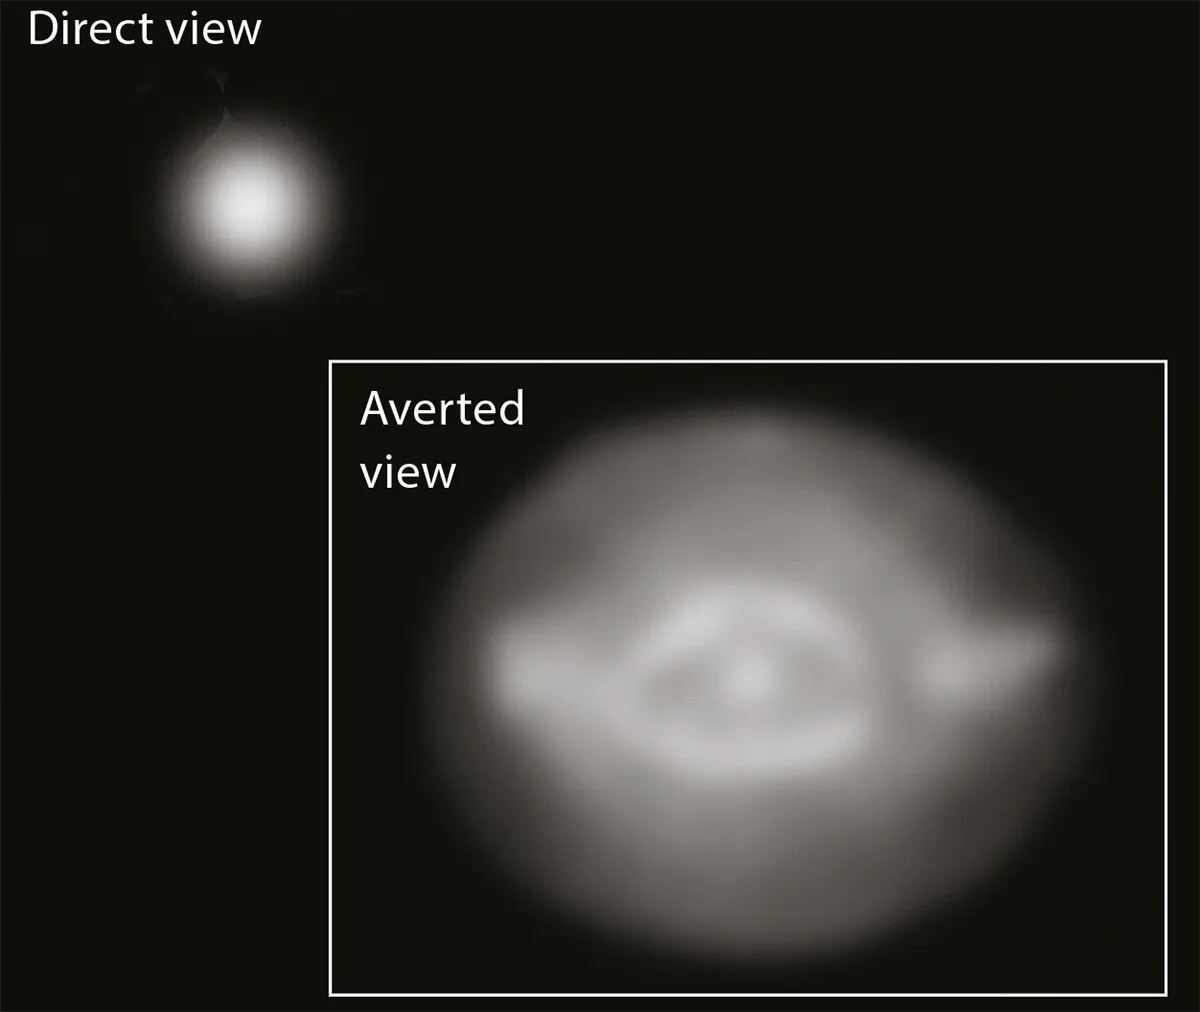
Locate the Blinking Planetary Nebula by using Go-To for NGC 6826 or by finding delta (δ) Cygni and moving 5° north. If you look directly at the central star at, say, 150x magnification, you will only see the star. If you look to one side, by the correct amount, you will only see the nebula. You are then successfully using averted vision.
This guide originally appeared in the July 2007 issue of BBC Sky at Night Magazine.

