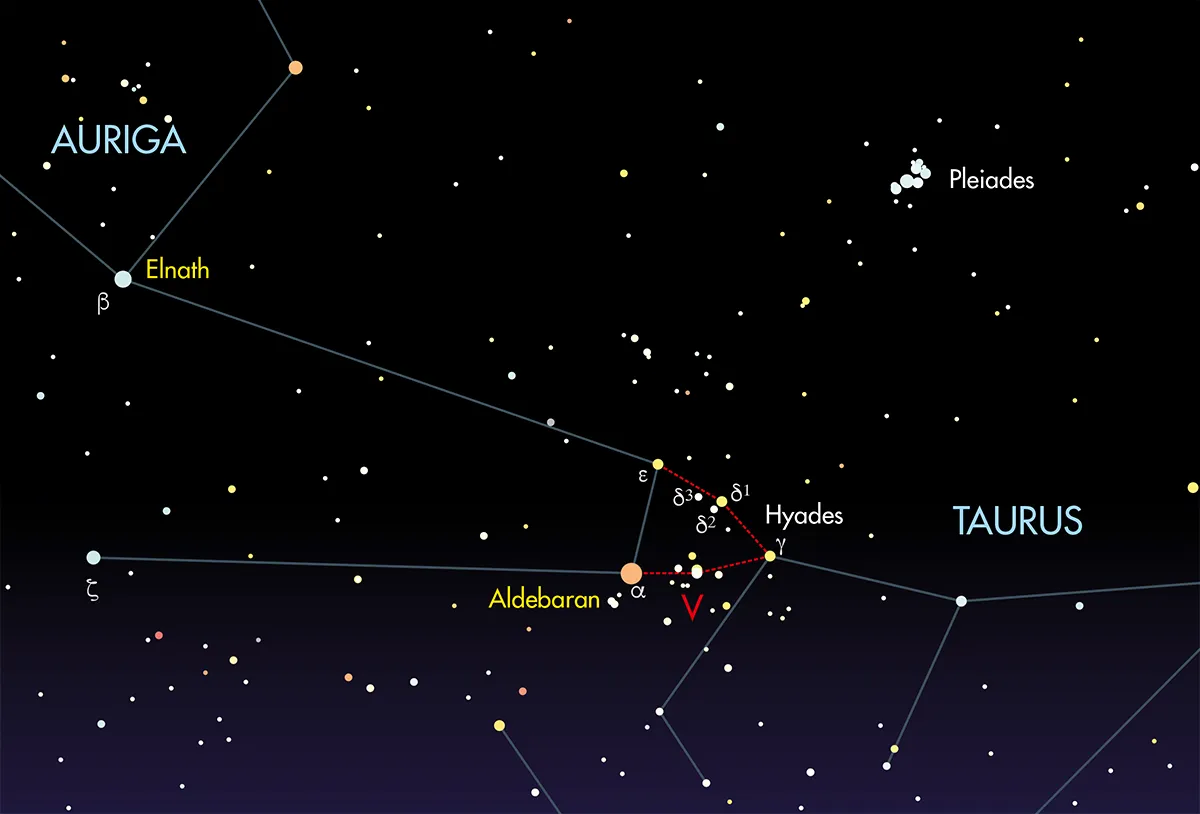
The Hyades open star cluster is a prominent deep-sky object in Taurus.
It’s easily found by extending Orion’s Belt up to the northwest, where eventually you’ll arrive at the bright orange star Aldebaran (Alpha (α) Tauri).
Although mag. +0.9 Aldebaran isn’t actually part of the cluster, it appears to sit prominently within the sideways V shape formedby the Hyades, marking the end of the V’s southern arm.
From here, it’s relatively easy to make out the rest of the shape, even under skies suffering from light pollution.
The Hyades is a large, sideways, V-shaped cluster at the heart of Taurus and like the Pleiades, requires a low power eyepiece to see it properly.
If exploring the Hyades with a telescope, take a look at doubles 80 and 81 Tauri, Delta-3, Struve 545 and 559.
If you're using a larger aperture, take the time to explore Sharpless 2-239, a 13th magnitude oval-shaped reflection nebula.
And just to the north of the Hyades is NGC 1555, known as Hind’s Variable Nebula.
This nebula will appear like a faint glow to the west of 10th magnitude star T-Tauri, varying in brightness thanks to T-Tauri’s variability.
Follow our guide below for tips on how to photograph the Hyades star cluster. For more advice, read our beginners' guide to astrophotography.
And if you love capturing images of the night sky and would like to see them featured in BBC Sky at Night Magazine, don't forget to send us your images.
Photographing the Hyades open cluster

The Hyades is a large object to deal with photographically. The northern arm of the V is the longest, measuring 4.1º.
This inherently places limits on the photographic setup you can use if you want to capture the V in its entirety.
For a non full frame (eg, APS-C) DSLR, you’ll need a lens with a focal length of at least 190mm; for a full frame camera the minimum lens focal length is 300mm.
Such lenses will allow you to capture the entire V shape, but the fit will be tight.
Fitting and composition are important elements that can really help lift an image from average into something special.
Sometimes, just managing to get a large object in frame can be such a relief on its own that the fine nuances of composition are forgotten.
However, putting the time and effort into thinking about the composition can transform a clinical astro shot into one with a great deal of aesthetic punch.

The Hyades is supposed to represent the head of Taurus, as the Bull charges eastwards across the sky.
With this in mind, the best composition would seem to be to offset the cluster to the right of frame, assuming the apex of the V is to the left.
This essentially gives Taurus somewhere to charge into.
If you frame the shot correctly there’s another treat on offer too, because off to the east of the V is NGC 1647, a smaller and fainter open cluster that makes a great comparison object when revealed next to the Hyades.
One of the problems associated with strong star shapes occurs when the exposure goes deep.
There are lots of stars in and around the Hyades cluster, many of which belong to the cluster itself, but others which are merely line of sight.
Increase the exposure depth too much and you’ll bring out many of these stars and lose the V shape that makes the Hyades so distinctive.
A careful treatment of the brighter stars, actually keeping the exposures quite short, will help preserve the beautiful colours on offer.
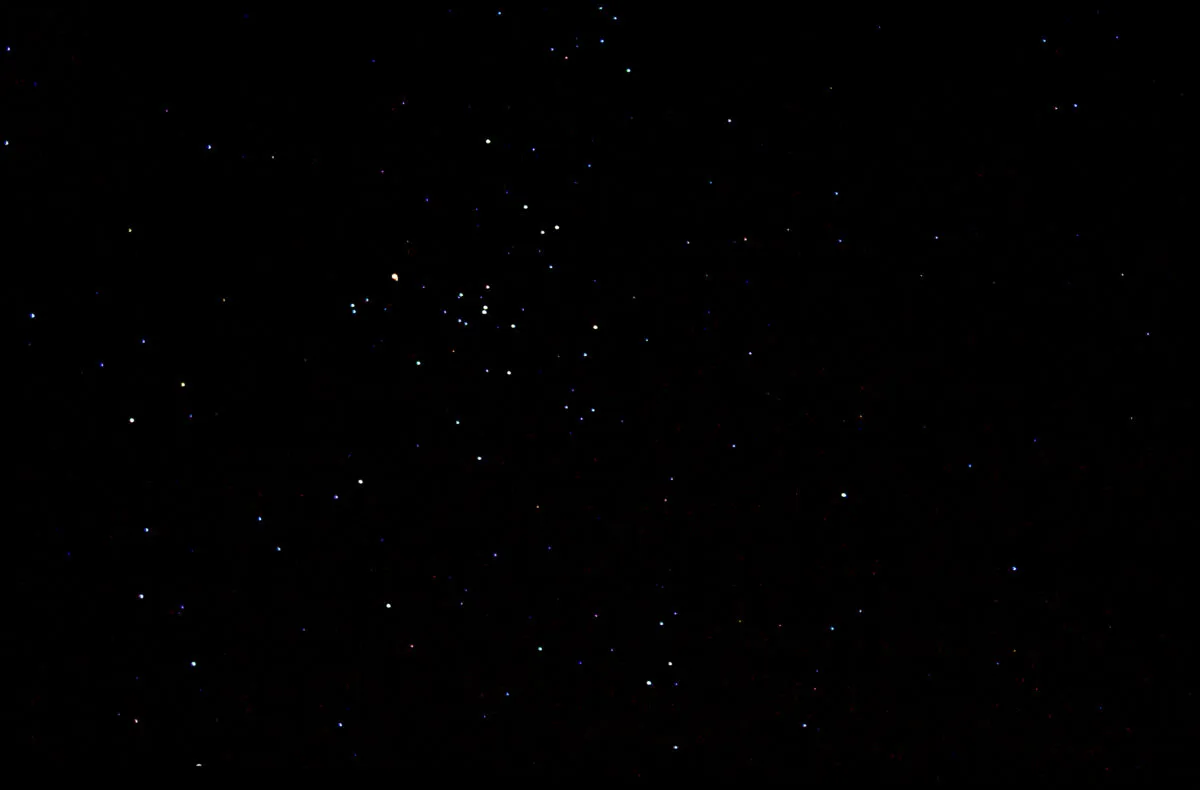
Being a bright cluster, photographing the Hyades is an interesting exercise for both experienced and beginner astrophotographers.
It’s something that can be imaged using very simple setups, including those using non-tracking fixed tripods.
A good example of creative composition is to let the cluster trail though the field of view.
Keep the length of trailing to just a few minutes and the character and shape of the cluster should remain intact.
If you want to attempt longer tracked exposures, creative techniques such as stopping a camera lens aperture down to create diffraction spikes can produce some interesting effects on the brighter cluster members and, of course, bright Aldebaran.
Our step-by-step guide below shows some useful information to help you capture the best shots of this beautiful but often over-looked cluster.
Photographing the Hyades, step-by-step
Step 1

If you want good framing, you need an appropriate lens; we would recommend one that gives you a frame covering 10º along its longest edge. For non full frame DSLRs, a 120mm lens will achieve this. For full frame sensors, a 200mm lens works well. If you don’t have these size lenses, choose one you have that is less than these values.
Step 2

If you use a lens which gives at least a 10º edge dimension, the V of the Hyades will fit comfortably within the frame. If you place the star HIP 21251 (marked above) at the centre of the frame and align the southern arm of the V so it is more or less parallel to the bottom frame edge, the whole of the Hyades and NGC 1647 should fit in nicely.
Step 3
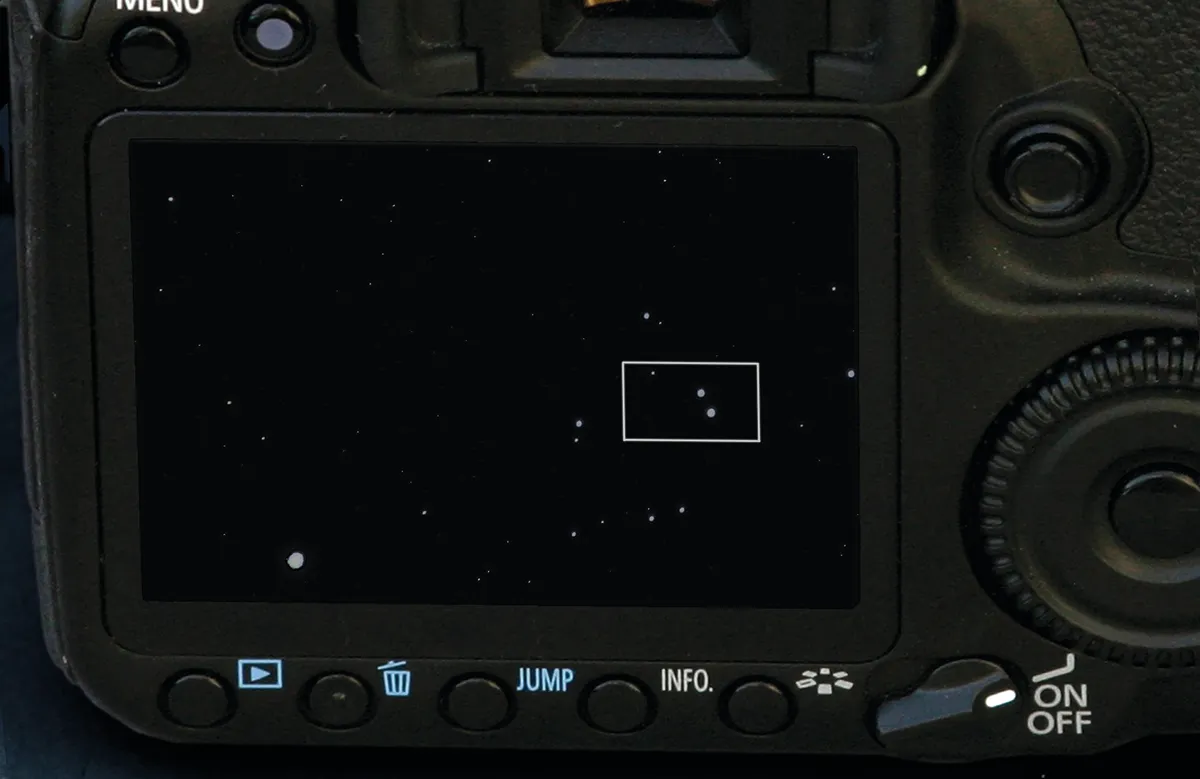
One major advantage of imaging bright clusters is the good selection of stars available for focusing. Live view works really well here. At mag. +0.9, Aldebaran is a good choice as is the optical double of Theta1 (θ1) and Theta2 (θ2) Tauri, which are 1.8º west and slightly south of Aldebaran. Take your time to achieve as accurate a focus as possible.
Step 4

A deep exposure taken under transparent skies will reveal many faint stars and subtle dust regions; but under average UK skies much of this will be hidden. If using a tracking mount, reduce ISO to around the 200-800 mark to retain tonal quality. For fixed setups use an ISO of 800 to 1600. Set the lens to the lowest f/number, then close it by a few stops.
Step 5

Your maximum exposure length will depend on your setup, tracking accuracy and sky quality. Experiment using exposures of 30 seconds, 60 seconds, etc. Stacking your shots will help reduce noise. For fixed mounts use the 500 rule: the maximum non-trailed exposure is 500 divided by the lens focal length. As ever, use a remote shutter cable.
Step 6

If you don’t have a tracking mount, you can still obtain interesting shots of the Hyades. One easily achievable shot is to set the camera’s ISO to 400 and the aperture to f/8, and expose for a few minutes. The cluster stars will trail through the frame. Keeping the trails relatively short will help preserve the original shape of the cluster so it remains recognisable.
This guide originally appeared in the December 2017 issue of BBC Sky at Night Magazine.


