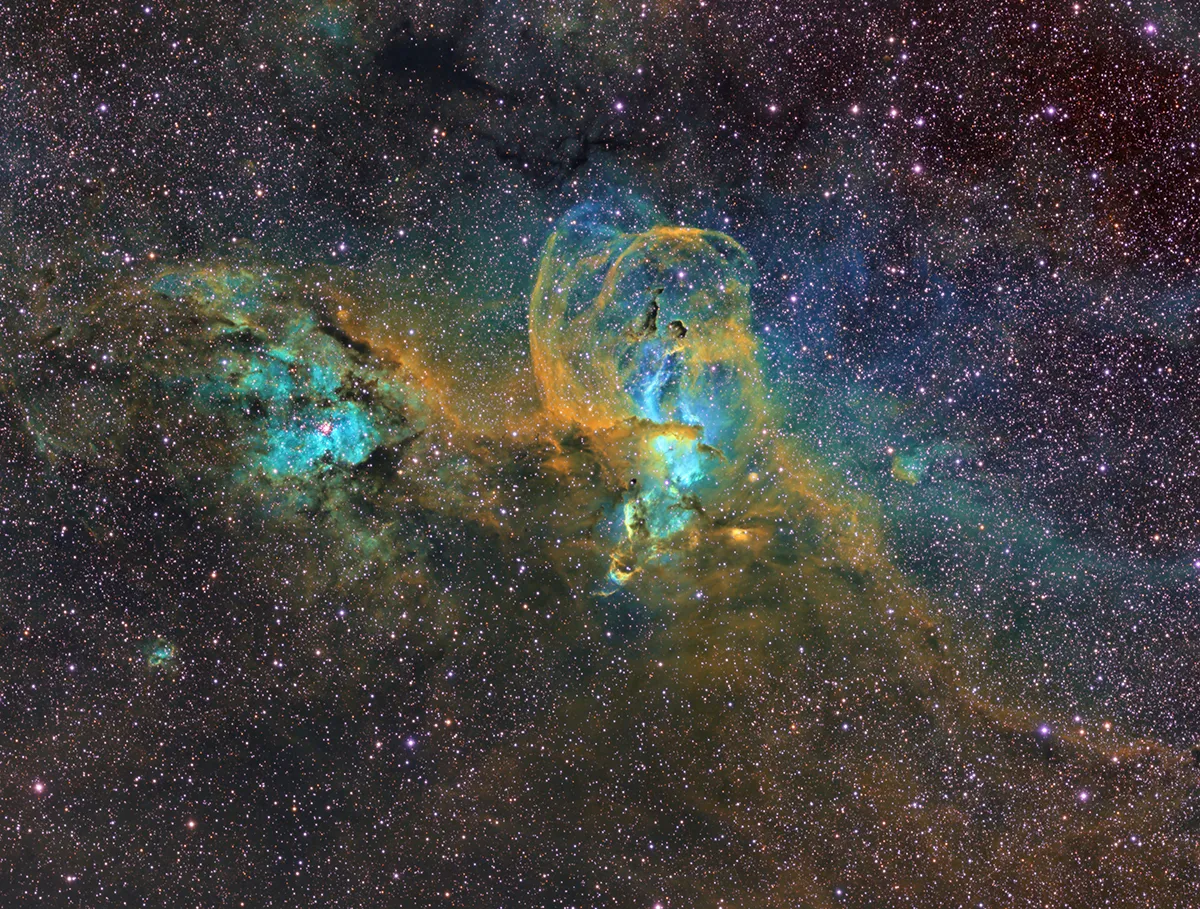
With the exception of targets like open star clusters, stars are generally not the main feature of astro images. In fact, their presence can hinder us from teasing out nebulae and similar objects of interest.
While some programs like Photoshop offer techniques to partly get around this, there is a plug-in that makes it much easier.
In this article we'll will look at the benefits of using StarXTerminator.
The plug-in StarXTerminator, by Russell Croman, has been trained to recognise and eliminate stars from an image, by using ‘machine learning’ (artificial intelligence).
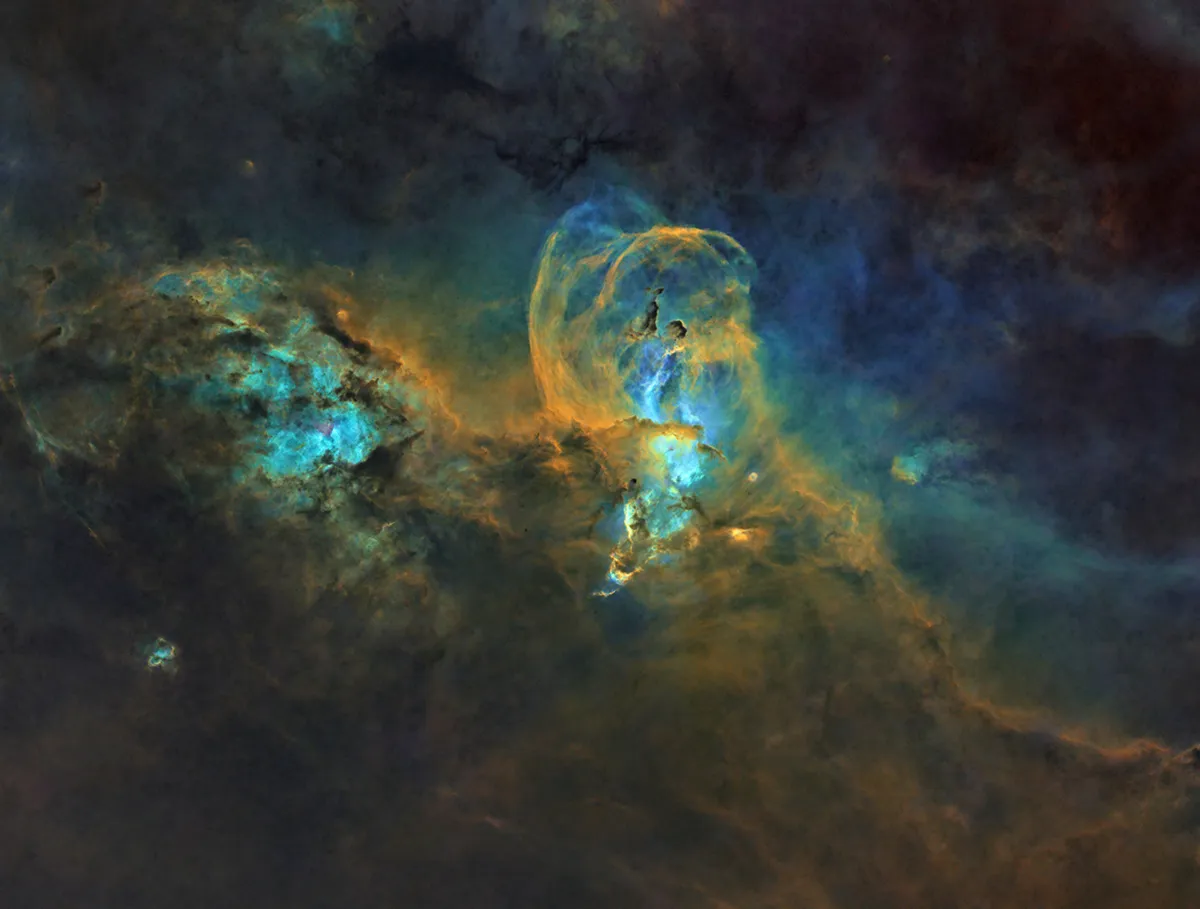
Once these have been removed, the image can be processed with full attention paid to the target. When the processing is complete, the stars can be put back in, or left out.
The starless software revolution itself began with StarNet++, a free script for PixInsight.
Several years later, StarXTerminator, a commercial plug-in, built by Croman’s RC Astro, was introduced for Photoshop (and PixInsight).
The software is compatible with Windows, macOS and Linux operating systems, and a free 30-day trial is offered (see www.rc-astro.com/resources/StarXTerminator).
The difficulty of removing stars from astrophotos
Why are stars such a challenge? For starters they are already bright, so you can damage them by ‘stretching’ (boosting) dimmer elements of the picture.
Also, unlike the rest of the image, stars do not require sharpening or noise reduction – the removal of unwanted artefacts.
If you are trying to process nebulae that lie within the Milky Way, it can be tricky to enhance their dim tendrils due to the stars in the field.
You’ll find that removing the stars makes processing so much easier.
Using masks to remove stars
In the past, the process of separating stars from the rest of the image was achieved by using a ‘mask’.
Think of the way a house painter uses masking tape to protect wood trim where new colour is unwanted.
Likewise, applying a virtual mask to an image allows the processor to protect specific elements (eg, stars), so that work performed on other elements doesn’t adversely affect them.
This may include noise reduction, sharpening and colour saturation.
While masks do this quite well, Photoshop doesn’t offer a way to make a star mask.
In the past, Photoshop Actions– automated sets of procedures – could be created by advanced users to select the stars, but these involved multiple iterations of several processes and only did a fair job.
The StarXTerminator plug-in for Photoshop removes stars at the press of a button!
After purchasing or downloading the free trial of StarXTerminator, the files must be placed in Photoshop’s Plug-insfolder per the instructions in the included PDF.
After opening the plug-in within Photoshop’s Filter menu (‘RC-Astro’) and entering the key sent by email, you’ll need to download the latest version of the neural network by clicking Download AI.
At the time of writing, Version 9 had just been released. With each revision, the neural network is trained further with image data from different optical systems.
This makes the program better at recognising stars of all shapes and sizes, and preventing damage to non-stellar structures.
While it’s recommended that you run StarXTerminator in the workflow, it does a great job at any stage, even on final images.
With a TIFF image open in Photoshop, you can duplicate the background layer twice.
From the Filter menu, run StarXTerminator on the top layer. Duplicate this layer, then make it invisible by turning off its ‘eyeball’ icon.
Next, set the lower, duplicate starless layer’s blend mode to Subtract, and merge this layer with the one below using the keyboard command Ctrl + E, or the Merge Down command in the Layers menu.
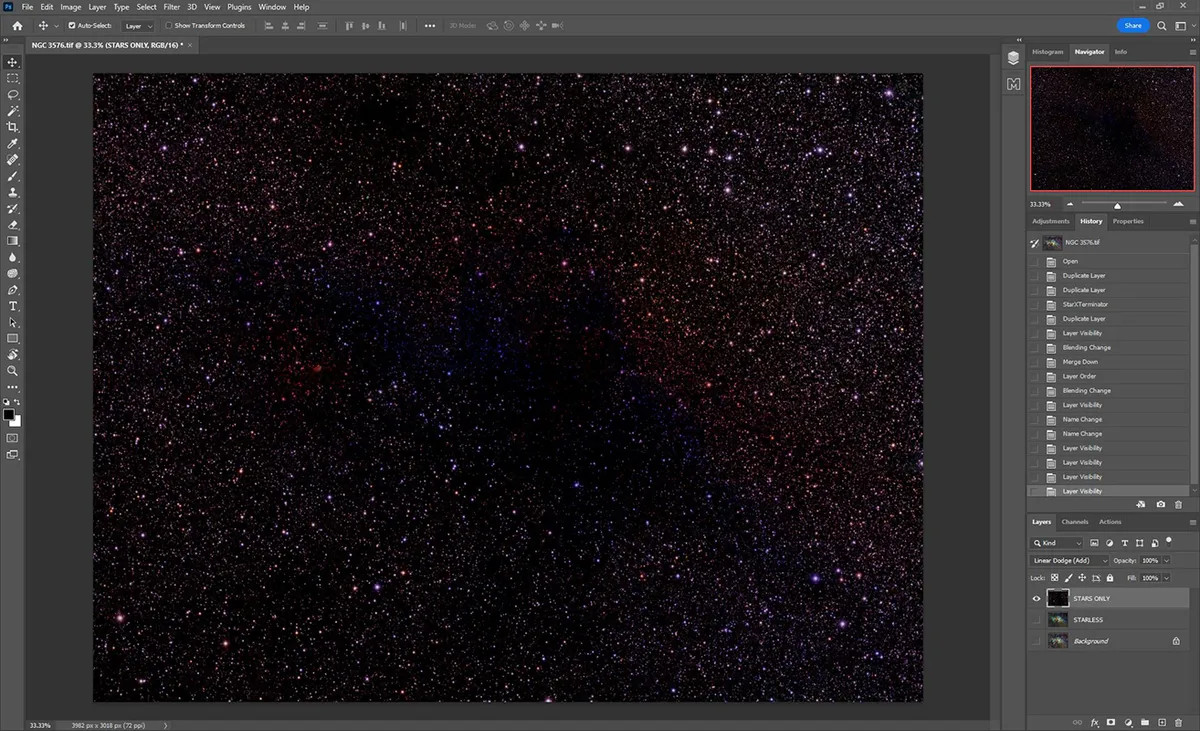
This is now the layer with the stars alone. Next, drag it to the top and set the blend mode to Linear Dodge (Add).
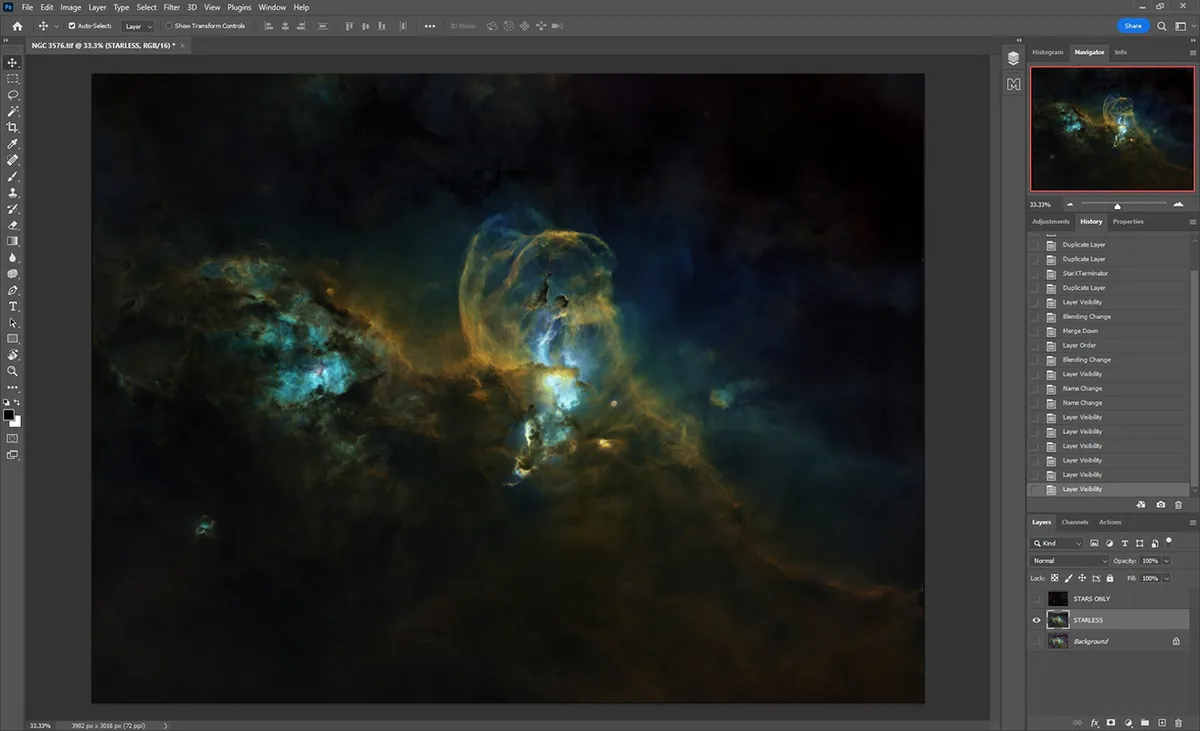
You should now have three layers: the original Background photo (bottom), the Starless version (middle) and the stars themselves, Stars only (top).
To work on the Starlesslayer, activate it by clicking on it, and be sure the ‘eyeball’ icon is switched on.
You may wish to briefly turn off the Stars only layer to get a better look at what you’re doing.
With the stars out of the way, the nebula or galaxy in the middle layer can be enhanced in various ways.
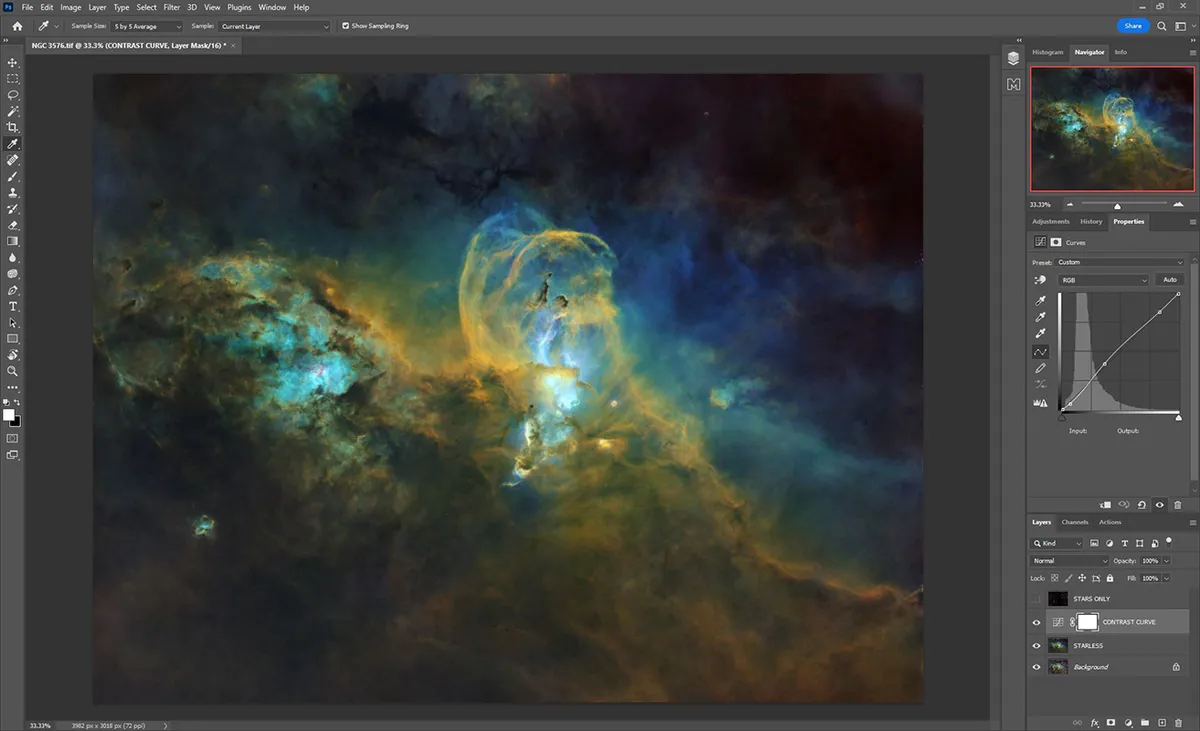
The image above shows a Curvesadjustment, which is used to boost a nebula’s brightness and contrast.
When the processing is complete, the layers are flattened to include the stars, or not: it’s your choice!
3 quick tips for removing stars from astrophotos
- Drag and drop the background layer to the ‘+’ sign in the Layers panel (twice) to duplicate itbefore applying StarXTerminator
- If your final image will be starless, you can apply StarXTerminator directly to it without the need for additional layers
- Photoshop’s Clone Stamp Tool or Spot Healing Brush Tool can eliminate any large starsor halos that remain
This guide originally appeared in the July 2022 issue of BBC Sky at Night Magazine.