If you want to make your images of a solar eclipse stand out, you’ll have to go the extra mile, and a bit of image processing can really help make for a dramatic eclipse photo.
If you stack your images of a total solar eclipse you can enhance detail in the Sun’s corona, and in this guide we'll show you how.
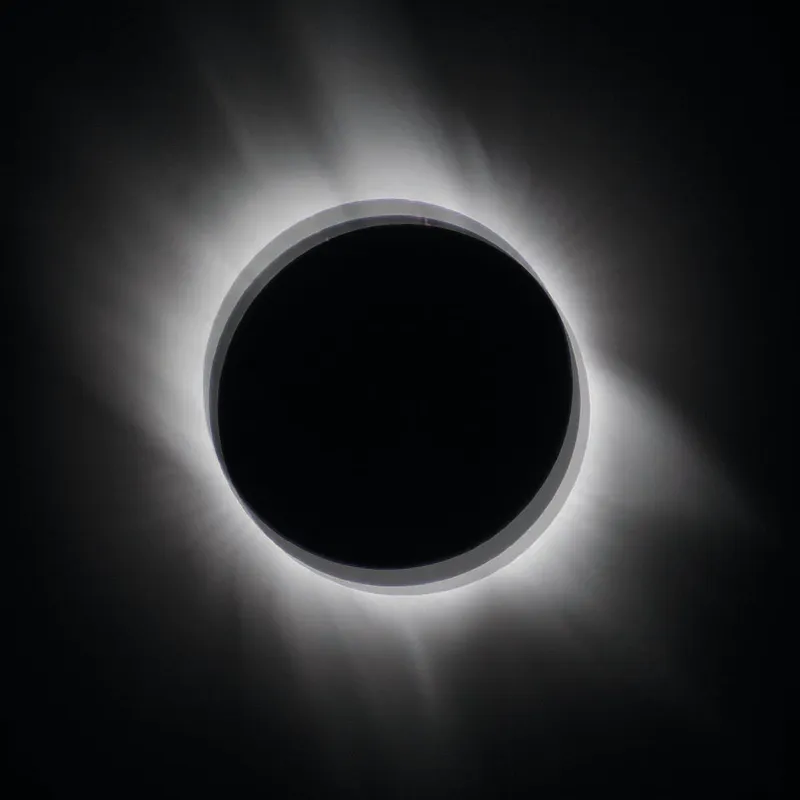
Capturing the corona
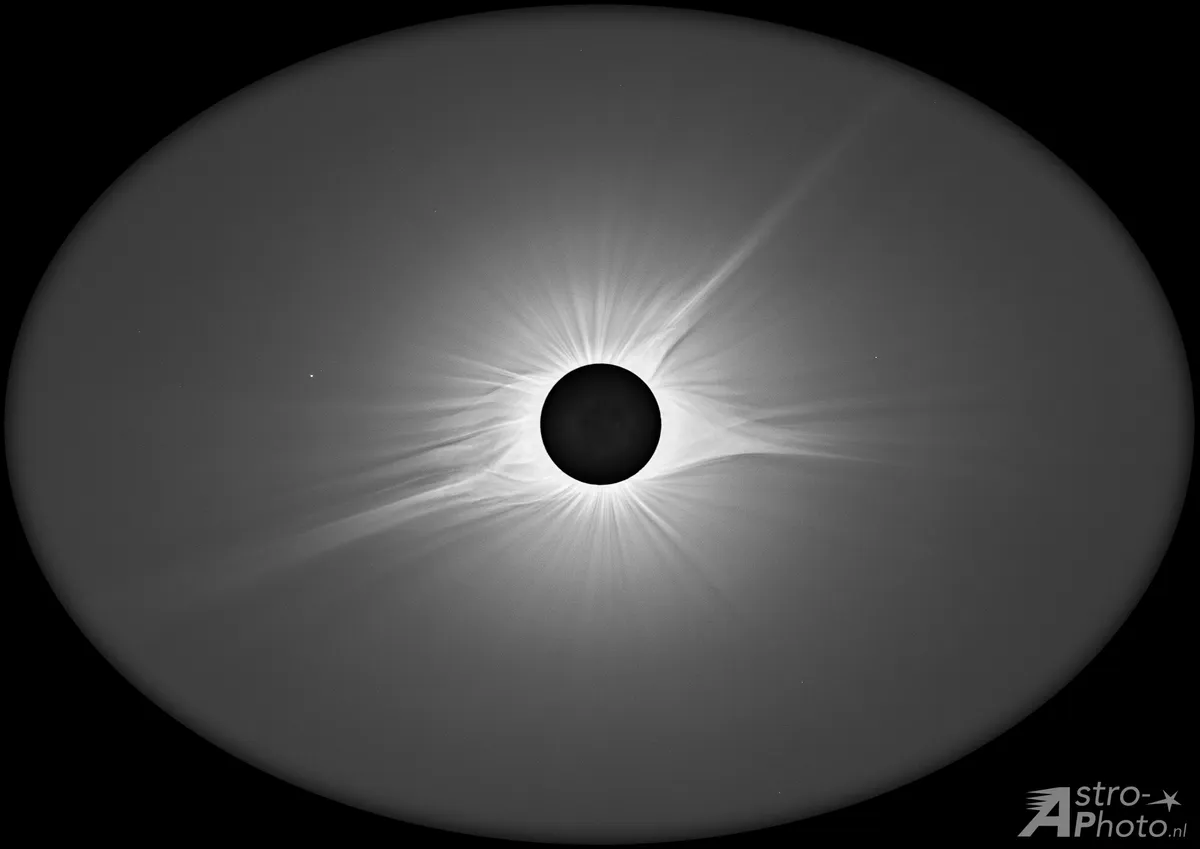
The corona is made up of the bright inner corona and the dimmer outer corona.
While our eyes are excellent at handling the difference in brightness, cameras are not.
This difference in brightness is called dynamic range.
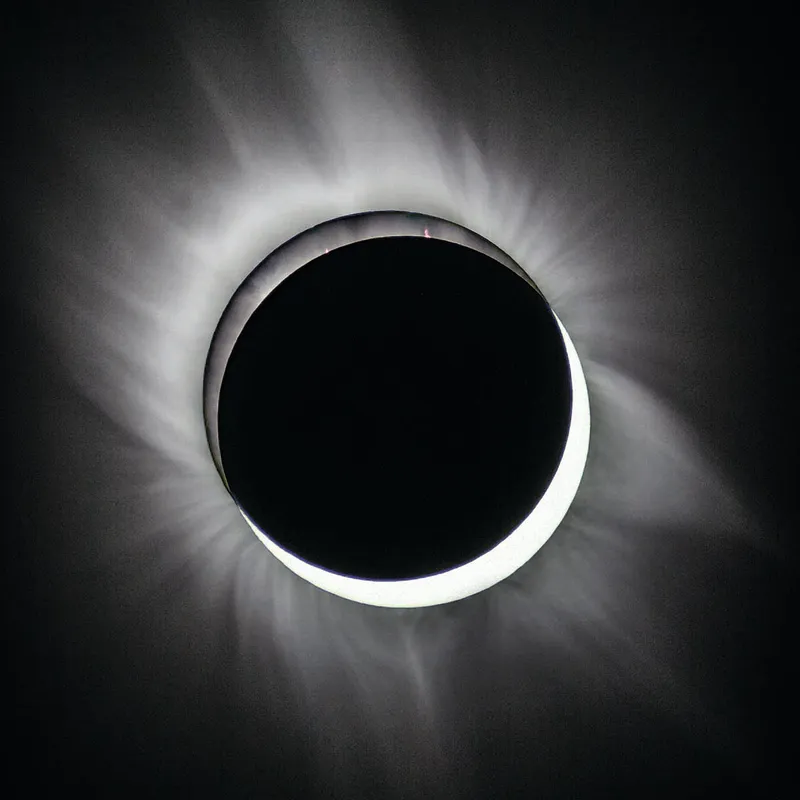
Here we outline a method to achieve high dynamic range (sometimes abbreviated to HDR) for your eclipse photos using three photos taken in Libya in 2006.
They were captured using a Canon EOS 20D DSLR attached to a Bresser 70mm refractor.
We shot in RAW mode to achieve the best image quality.
The telescope wasn’t motor-driven, which adds to the challenge of stacking the images, but we’ll also show you how to align your photos in Photoshop to overcome this problem.
Process eclipse images individually
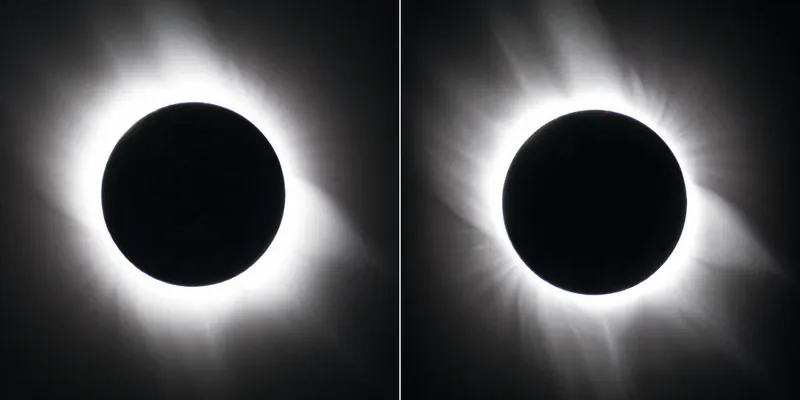
Choose several photos of solar eclipse totality that have different camera settings.
Preferably, you want images of the inner and outer corona.
It is a good idea to process each photo individually before stacking them.
Our recipe for preparing each image starts with opening them in Adobe Bridge.
Right click on your first image and select Open in Camera Raw.
Set the clarity slider to +75 to show the finer detail of the corona and the shadow slider to +10 to enhance it.
ave the file by clicking Done and repeat for all the photos you will be stacking.
Already you should see a big improvement in each of your individual photos.
Now we are ready to stack the images to bring out even more detail.
Get stacking
Open Adobe Bridge and select each of the prepared images by holding down Ctrl and left-clicking each image.
Click Tools > Photoshop > Load Files into Photoshop Layers to open them in Photoshop.
They will be visible on the right-hand side as separate layers.
In the layers tab on the right-hand side, highlight each layer by holding down the control button and single-clicking them.
Make them smart objects by clicking Layer > Smart Objects > Convert to Smart Object – doing so preserves the original photos and allows us to edit the images without reducing their quality.
We are now ready to stack.
Click Layer > Smart Objects > Stack Mode > Objects > Mean. We have now stacked the images and taken the average of the exposures to give the best result.
If your photos were captured with a setup that included a driven mount, they should be perfectly aligned. You’re done!
If your setup did not track with the motion of the sky, then you will have a clear problem. The stacked images won’t line up over each other.
Aligning the layers
Thankfully there is a way to fix this alignment issue.
It can be a little tricky to follow, but it’s easier than lugging a tracking mount halfway across the world.
In Photoshop’s layers channel, highlight each layer by holding down Ctrl and left-clicking it.
Above the highlighted layers, in the Blending mode drop-down menu (which is Normal by default), select Difference.
This will guide you in lining up your images.
In the layers channel, turn off the visibility of every layer except for the top one.
You can toggle visibility of any layer on and off by pressing the eye icon beside it.
Highlight the second layer from the top only (hold Ctrl and left click) and then make it visible. The difference between the pictures should now be apparent.
Use the move tool (find it in the toolbar on the left) to drag this second layer over the top one so as to leave no difference.
You can also do this by holding down Ctrl and using the arrow keys.
Repeat the process for every layer. Make sure that only the top layer and the layer you are moving are visible.
Also make sure that the layer you are moving is the only layer highlighted.
Once every layer is aligned, select each one (hold Ctrl and left click) and change the Blending Mode back to Normal.
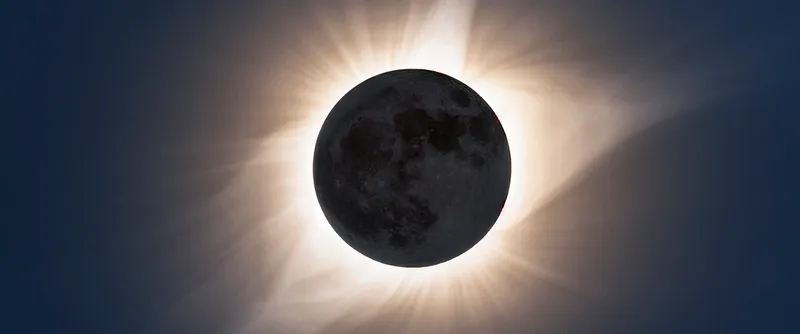
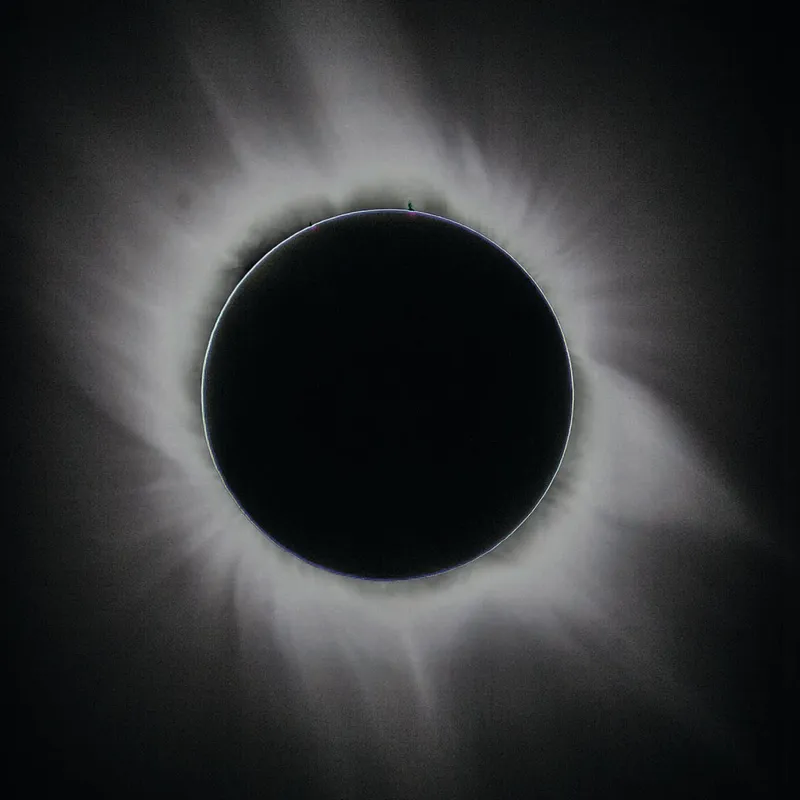
Finally, you have the eclipse image you were looking for.
Have you captured an image of a total solar eclipse? Don't forget to send us your images!
This guide appeared in the September 2017 issue of BBC Sky at Night Magazine.