Photographing a total eclipse of the Sun is exciting, and if you're planning on capturing a photograph of the April 8 eclipse, in this guide we'll show you how to produce a beautiful image of totality.
To make the most of a total solar eclipse requires some pre-planning, and there are things you can do to make it as enjoyable and stress-free as possible.
If you’ve never photographed a total solar eclipse before, trying to catch everything that happens may be overambitious.
Only tackle what you’re comfortable with and do plenty of rehearsals, as then you’ll be able to fully enjoy the day.
And if you do want to photograph totality during the April 8 eclipse, make sure you are in the right place with our path of totality map.
First, let’s think about kit.
Equipment to photograph the April 8 eclipse
Find out more in our guide on how to photograph the Sun.
Camera
Many different imaging devices can be used to photograph the April 8 eclipse, but the demands of travelling to a specific location typically mean self-contained units like DSLRs are popular.
Plenty of charged batteries and SD memory cards are a must, as well as a reliable remote shutter-release cable to avoid shaking the camera.
A back-up camera body is also handy if you have one, just in case!
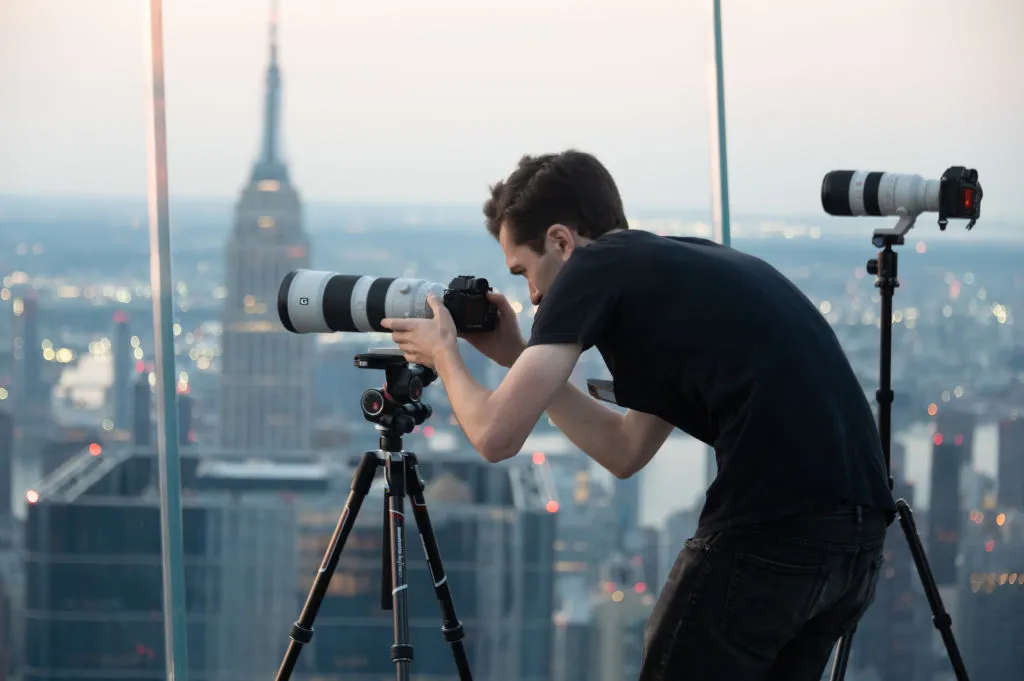
The big kit decisions are usually which lenses to use and how to mount the camera.
Lens
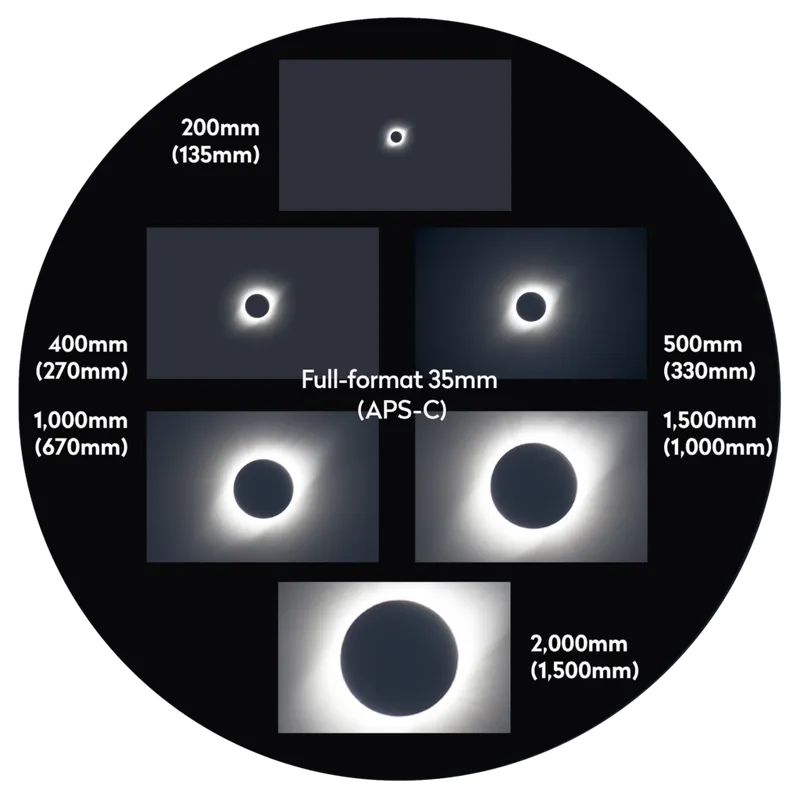
Lens focal length dictates image scale: a long focal length gets you close in on the eclipse, but it means you’ll have to keep everything centred.
It also restricts coverage of peripheral sky targets such as stars, planets and the solar corona.
A short-focal-length, wide-angle lens allows you to capture the bigger picture, but if it’s too wide it will produce a rather tiny eclipsed Sun.
Mount / tripod
Your choice of mount is usually dictated by travel restrictions, a simple tripod being easier to carry than a heavy equatorial mount.
Both work for an eclipse, but a tripod will require constant adjustment to keep the target centred.
The most important thing here is to choose a stable and easily adjustable mounting solution.
Solar filter
One essential piece of equipment is a solar safety filter.
This can be a DIY variety made from certified solar safely film, or it can be pre-bought.
Bear in mind that the filter has to be both securely fitted and quick to remove during totality.
Before using any solar filter, it’s important to check that there are no pinpricks letting through light; it’s a good idea to have a backup in case of damage.
You must also, of course, wear certified eclipse glasses to protect your eyes. Find out more about this in our guide on how to make sure your solar eclipse glasses are safe.
Your solar filter must be fitted during both partial phases and so must be replaced after totality – it’s very easy to forget after the excitement!
Settings
If you're going to photograph the April 8 solar eclipse, here are some settings suggestions. All values are for general guidance. Local sky conditions may affect exposure times.
- ISO 100 at f/8
- ISO 200 at f/11
- ISO 400 at f/16
- For partial eclipse (using solar filter ND5.0): 1/500s
- For Baily's beads: 1/4,000s
- For the chromosphere: 1/2,000s
- For prominences: 1/1,000s
Inner corona
- To 0.1 solar radii: 1/250s
- To 0.2 solar radii: 1/60s
- To 0.5 solar radii: 1/15s
- To 1.0 solar radii: 1/4s
Mid to outer corona
- To 2.0 solar radii: 0.5s
- To 4.0 solar radii: 1s
- To 8.0 solar radii: 4s
For exposure times for different ISO and f/numbers visit www.mreclipse.com/SEphoto/SEphoto.html
Stages of a solar eclipse
There are three distinct stages to a total solar eclipse:
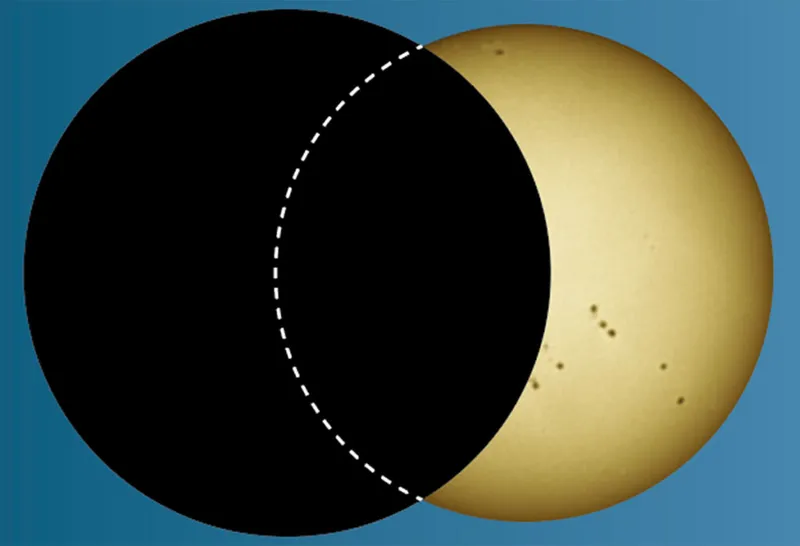
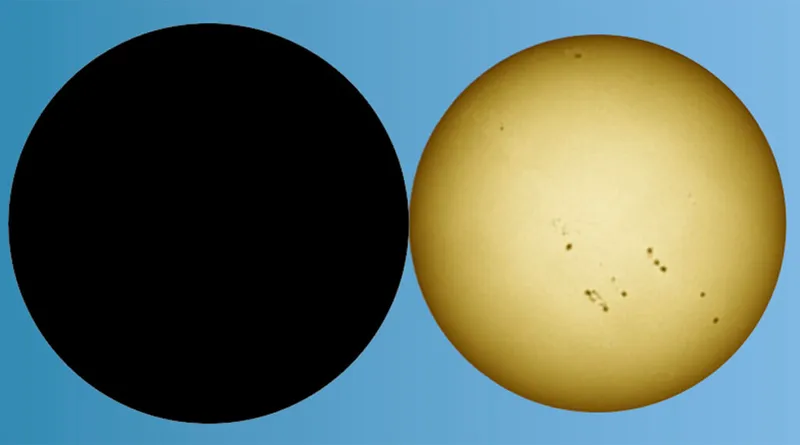
- Initial partial phase
- Totality
- Second partial phase
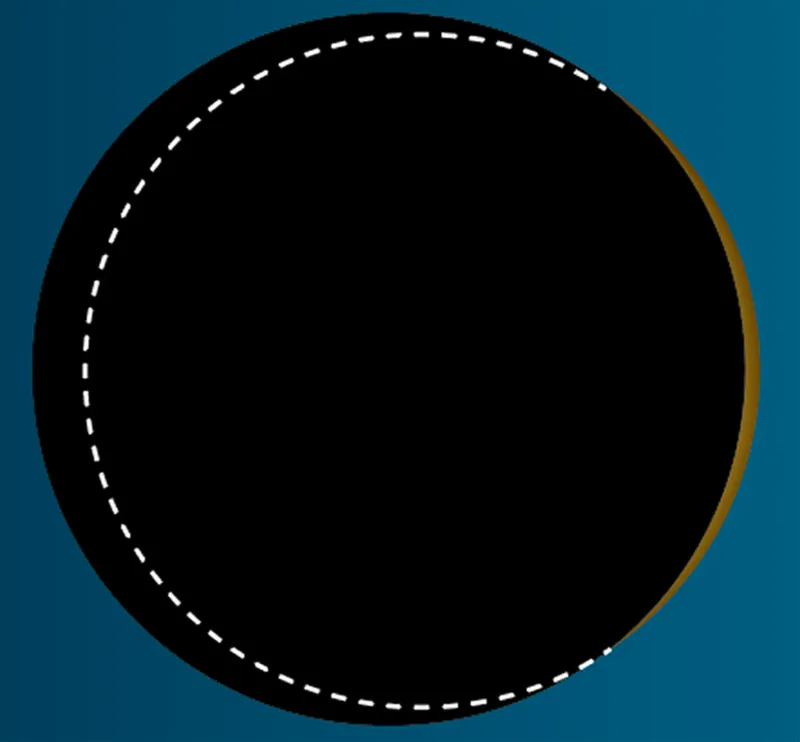
The stages are, in theory at least, determined by eclipse contacts.
The initial partial phase runs from first to second contact; totality from second to third; and the last partial from third to fourth contact as the eclipse ends.
The reality is slightly fuzzier.
The partial phases are mirrors of one another, both requiring a solar filter to be used.
Focus accurately, using any visible sunspots or else the Sun’s edge.
Use a lowish ISO and, if using a lens as opposed to a telescope, set its f/number to around 8–11.
Adjust the exposure to deliver a bright but not over-exposed Sun, using the camera’s histogram or over-exposure meter to check this.
Take shots at pre-defined intervals, but don’t set the interval so short that you’ll be tied to your camera.
Don’t forget that you want to enjoy the experience too!
Photographing the eclipse stages
First contact
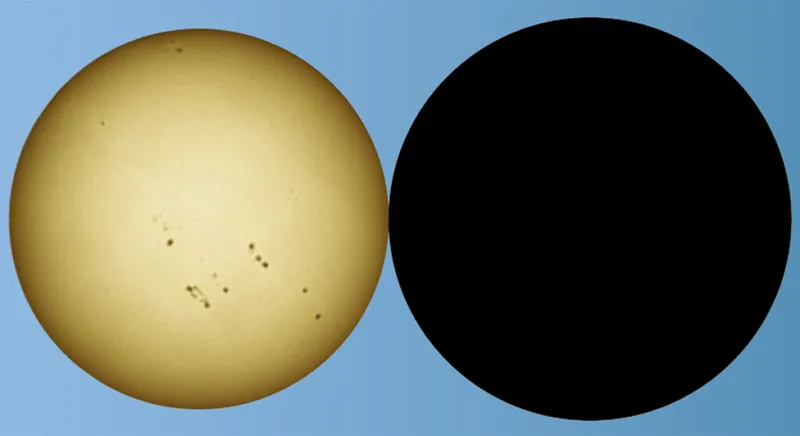
Make sure your solar filter is fitted (it can only come off for totality) and your exposure set correctly as the show begins
Partial phase
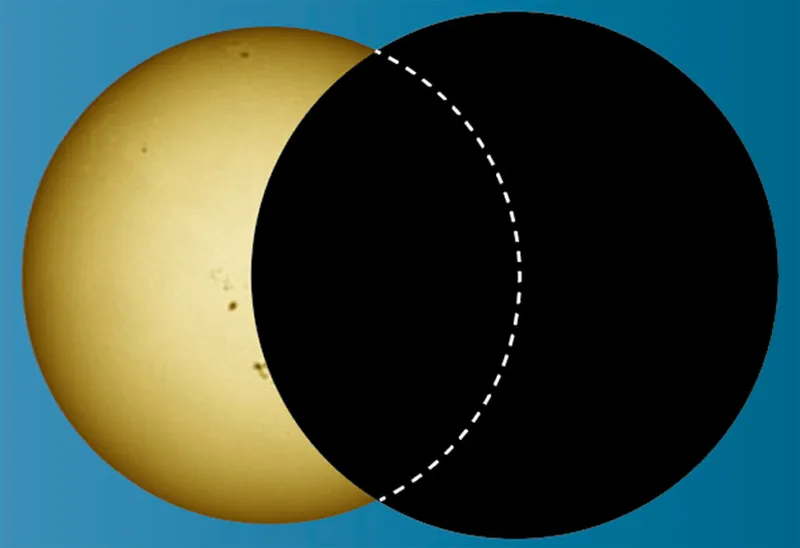
A good time for shots of the crescent cast through a pinhole, eg a colander
Second contact
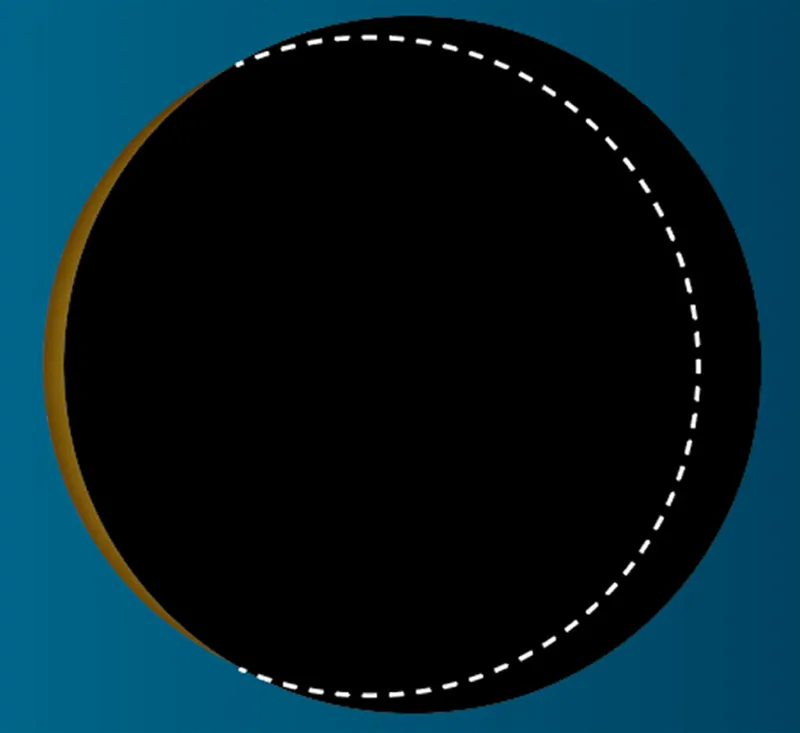
Baily’s beads, diamond ring effect and the chromosphere
Totality
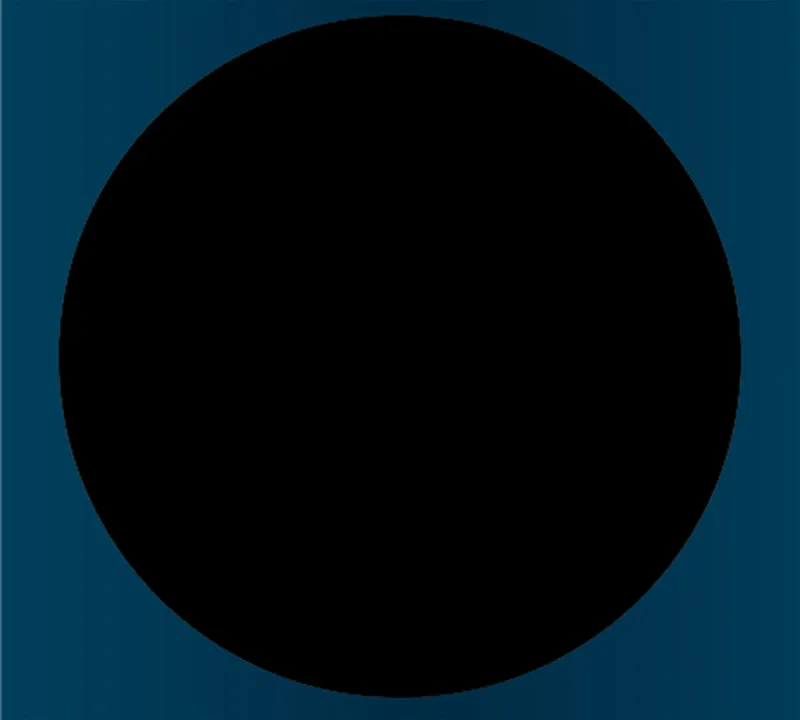
The corona, prominences, stars and even planets appear
Third contact
A second chance to get Baily’s beads and a diamond ring
Partial phase
An opportunity to attempt shadow bands and to capture the scene around you
Fourth contact
After the Moon’s last moment of contact with the Sun, full daylight returns. The show is over
Photograph the total solar eclipse on April 8
The ‘zone of panic’ describes the central portion of the eclipse, from just before to just after totality.
This period contrasts dramatically with the relative calmness of the partial phases.
With lots of phenomena happening in quick succession, you’ll need mental focus and dexterity to see and capture them.
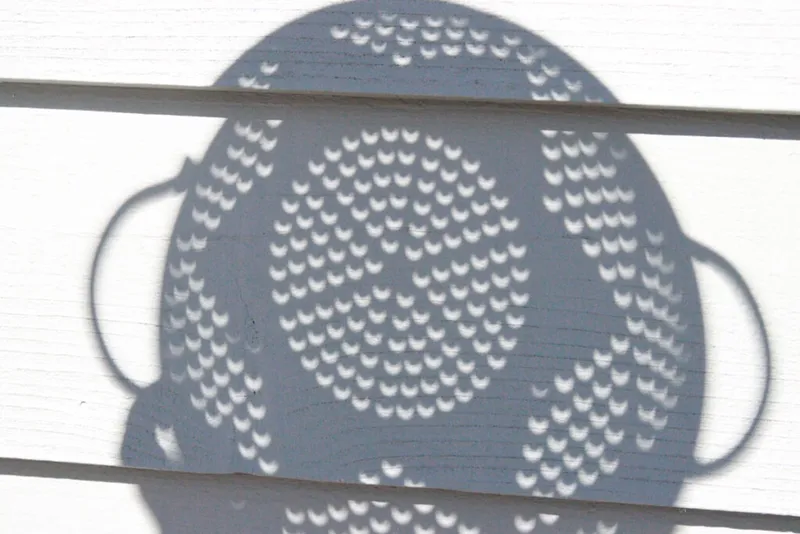
A popular image to capture during the latter stages of the initial partial phase (or during the second partial phase, if you miss it the first time!) involves a piece of card or an object with one or more 1–2mm holes in it.
This is used to cast a shadow onto a piece of white card, each hole producing a tiny eclipsed Sun image.
Colanders and tea strainers are ideal for this, and you can find out more about these techniques in our guide on how to safely observe a solar eclipse.
Another to try is as the Sun’s crescent becomes thin; it then acts as a curved slit of light, causing shadows to appear sharp in one direction and fuzzy at right angles to that direction. Both are easy to photograph simply using a smartphone.
A large white sheet laid on the ground or mounted on a sunlit wall improves chances of seeing shadow bands – subtle, rippling waves caused by the light of the almost-totally-eclipsed Sun passing through Earth’s atmosphere.
A smartphone in video mode should catch them, although they can be very subtle.
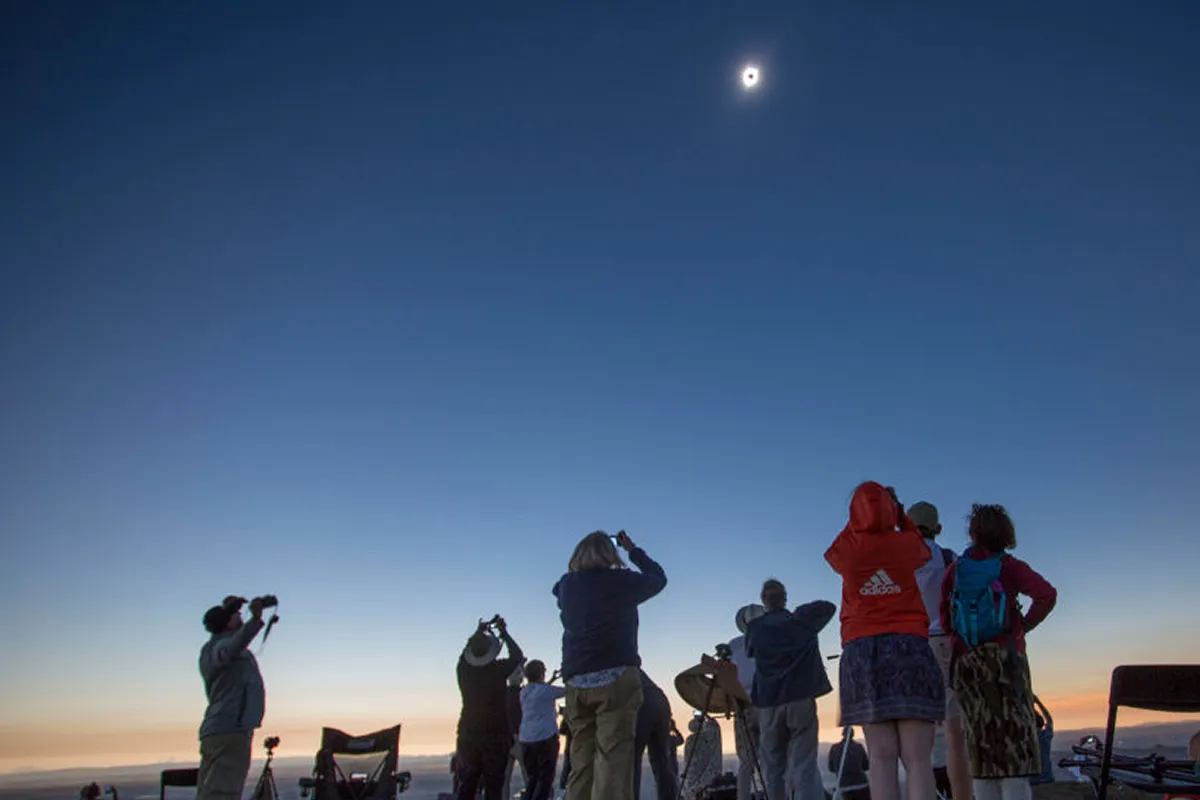
Remember too if you're using a smartphone to photograph the April 8 eclipse, that a smartphone is great for the scene around you, including your fellow eclipse chasers, and is something that will really help capture the experience.
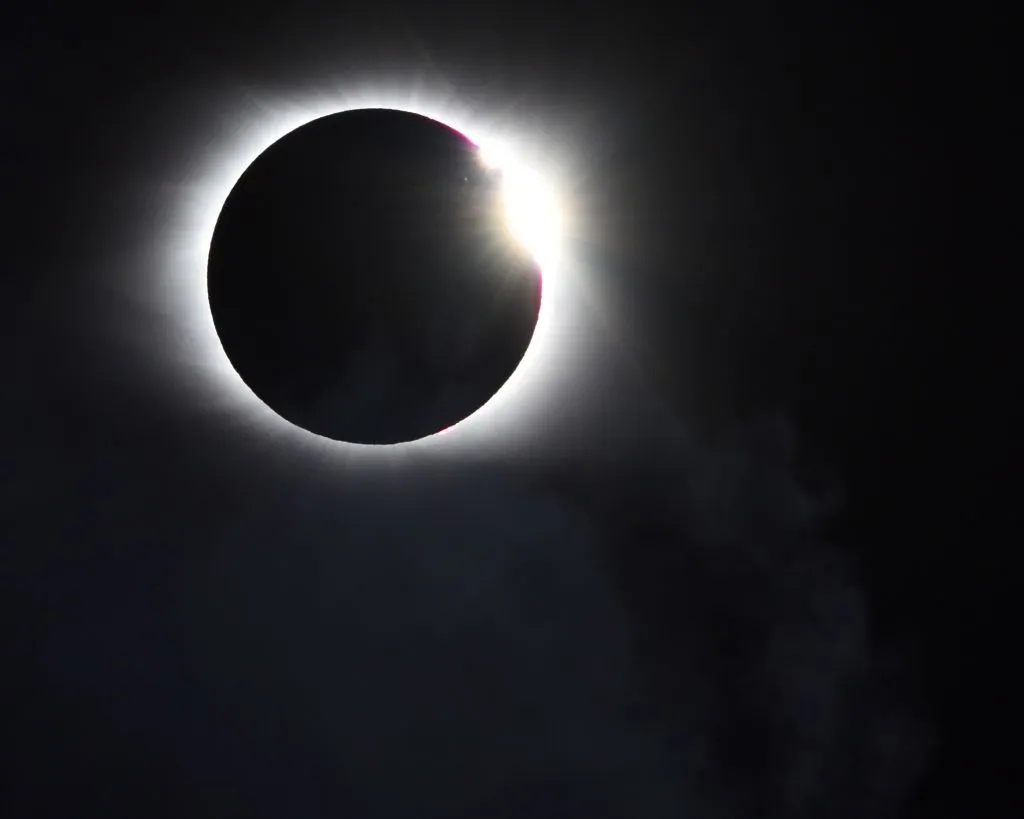
Baily's beads and diamond ring
As we approach totality, the cusps of the Sun’s crescent close strikingly fast.
As they do, tiny star-like points called Baily’s beads appear where the Moon’s rough edge allows sunlight to pass.
As totality approaches (or ends), it may also be possible to see the approaching and receding shadow in the clouds and on the ground, especially if you’re viewing from an elevated position.
This is subtle, but can be photographed by capturing a large swathe of the sky.
As the beads disappear, the largest produces an intense light, the ‘diamond’ in the famous ‘diamond ring’ effect.
The solar filter needs to come off from just before the appearance of the first diamond ring; remember to replace it just after the second, at the end of totality.
A lowish ISO is important to do the intense colours of totality justice.

As the Moon totally hides the Sun’s photosphere, solar prominences may be seen projecting off the edge of the Sun.
These have an exquisite deep red-pink colour that may be seen visually as well – don’t forget to look!
After the first ‘diamond ring’ fades, also look out for the arc of red-pink light from the solar chromosphere.
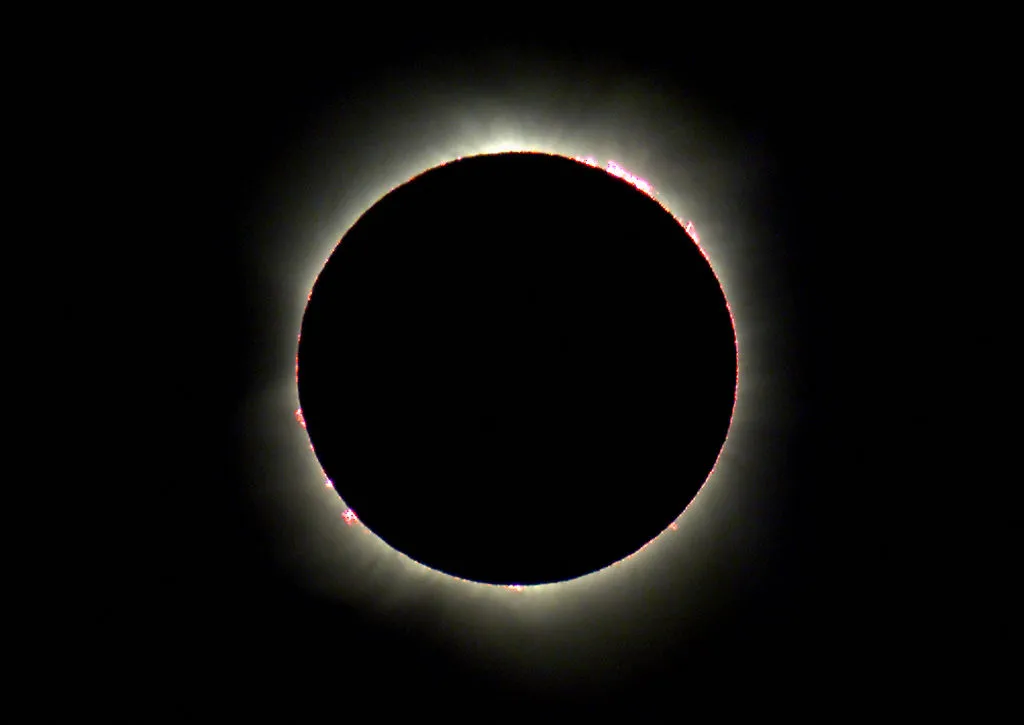
This doesn’t last long, but it can also be caught at the end of totality. During totality, no part of the Sun’s surface is visible and this is when the corona can be seen and photographed.
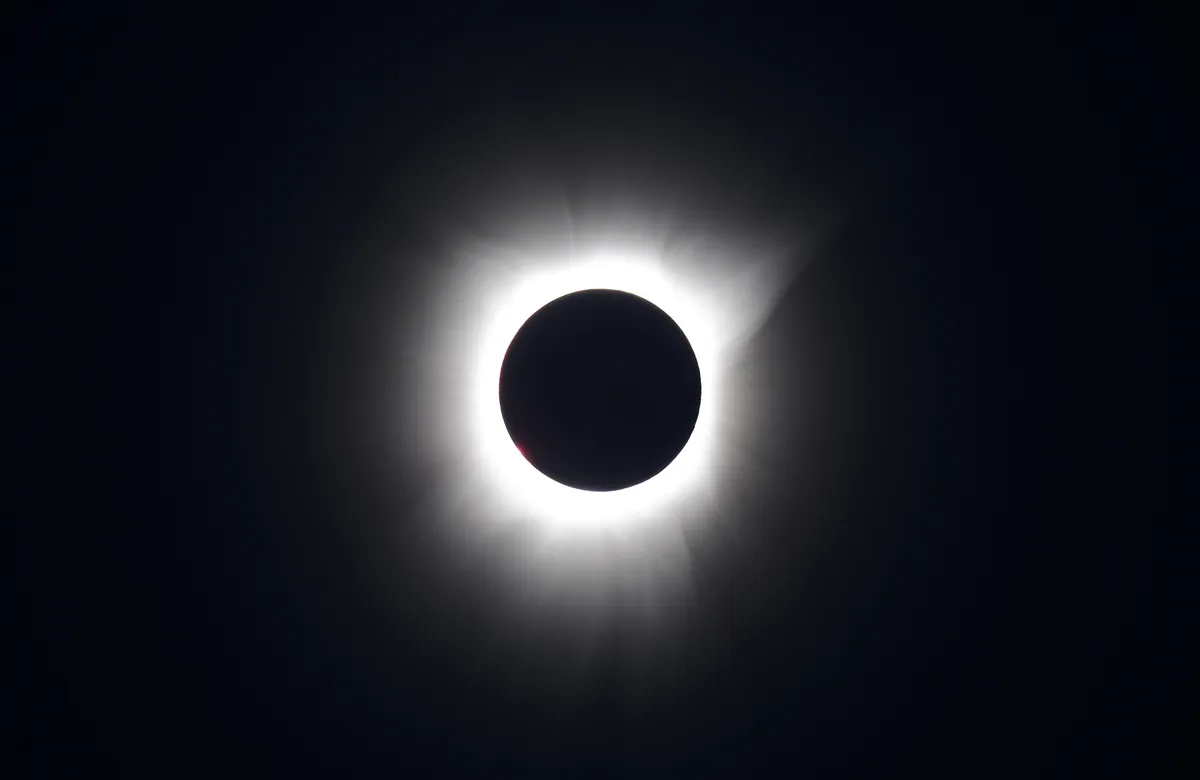
Capturing the corona
The Sun’s corona can extend from the Sun for many solar radii.
A shorter focal length, offering mid- or wide-angle photographic coverage, is recommended to capture it.
As the April 8 2024 total solar eclipse occurs near solar maximum, when solar activity is heightened, expect the corona to surround the eclipsed Sun like the petals of a flower.
Near solar minimum it has a more linear appearance.
Bracketed exposures, where you take a range of exposures in succession, are recommended for capturing the corona.
Use shorter exposures for the inner corona and longer ones of up to several seconds for the long outer streamers.
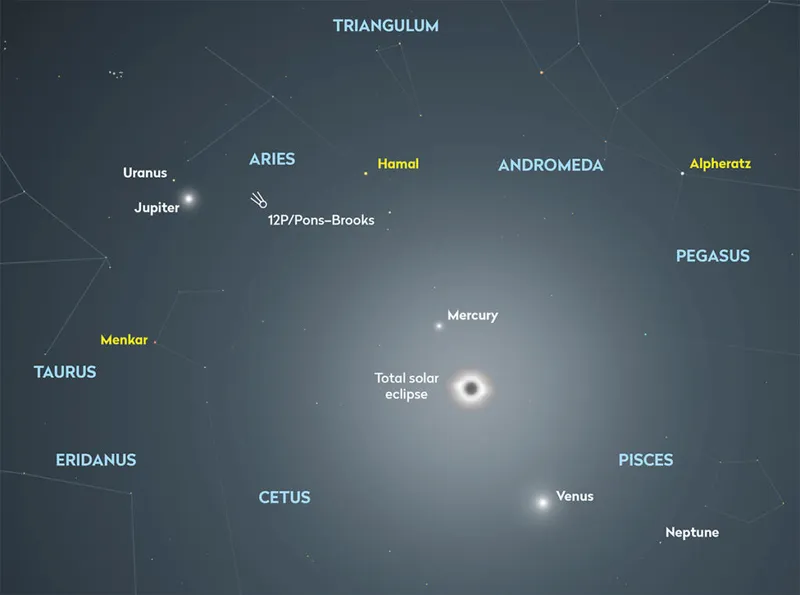
Longer exposures should also pick up sky objects such as stars, planets and possibly even comet 12P/Pons–Brooks during the April 8 eclipse.
A longer exposure may reveal detail on the Moon’s disc due to ‘earthshine’, when the Moon’s night side is illuminated by the light of Earth.
By using high-dynamic-range composition techniques, for example layer masking, you could merge the bright inner corona with fainter outer streamers.
This involves opening the different corona exposures as separate layers in a layer-based editor such as Photoshop, with the shortest exposures at the bottom.
Align all images, hiding all but the lower two layers.
Create a blurred layer mask in the upper visible layer to reveal correctly exposed detail from the lower layer.
Once done, make the next layer up in the stack visible and repeat.
However you observe, record and photograph the April 8 eclipse, make sure you relax and enjoy the experience. Such events are precious and last in your memories for a very long time.
Have you captured a photograph of the April 8 eclipse? Don't forget to send us your images!
This guide appeared in the April 2024 issue of BBC Sky at Night Magazine.
