The concept of lunar and planetary orbits can be difficult for beginners to grasp.
This simple flat model will help you to introduce these ideas by showing that the Moon is in orbit around Earth, but the Earth–Moon system is also orbiting the Sun.
The model is easy to make using just one sheet of A4 card, some paper fasteners and a dash of artistic flare.

Although Earth and the Moon in our model are the correct sizes relative to each other, it goes without saying that the size of the Sun and the distances between the bodies are not to scale.
If they were, our Sun would have a diameter of 10.9 metres, the distance between Earth and the Moon would be 2.76 metres and the distance between the Sun and Earth would be 1.2km.
If the Sun and Earth were the correct sizes relative to the distance in our model, the Sun would have a diameter of approximately 2mm and the Earth a diameter of approximately 0.018mm.
The surprising size of these numbers is a great teaching opportunity, conveying the fact that space is big!
Models and diagrams commonly used to show our Solar System are never to scale because the relative sizes and distances are far too large.
There are several more learning outcomes from creating this project.
When drawing Earth, there is much to learn about the geography of our home planet – not just the shapes of the continents, but also why some areas are very green and lush while others are brown and arid.
There are many photographs of Earth as seen from space online, so choose one that shows the continent where you live.

Sketching the lunar surface
When drawing the lunar surface features, you are creating an astronomy sketch of a full Moon, a skill that is extremely useful as an astronomer.
There is an opportunity here to talk about why the lunar maria are darker in colour and how craters and their ejecta rays form.
Finally, when you draw the features of the Sun you can look online at photos from the Solar Dynamics Observatory (see below), taken at different wavelengths that day, and choose your favourite.

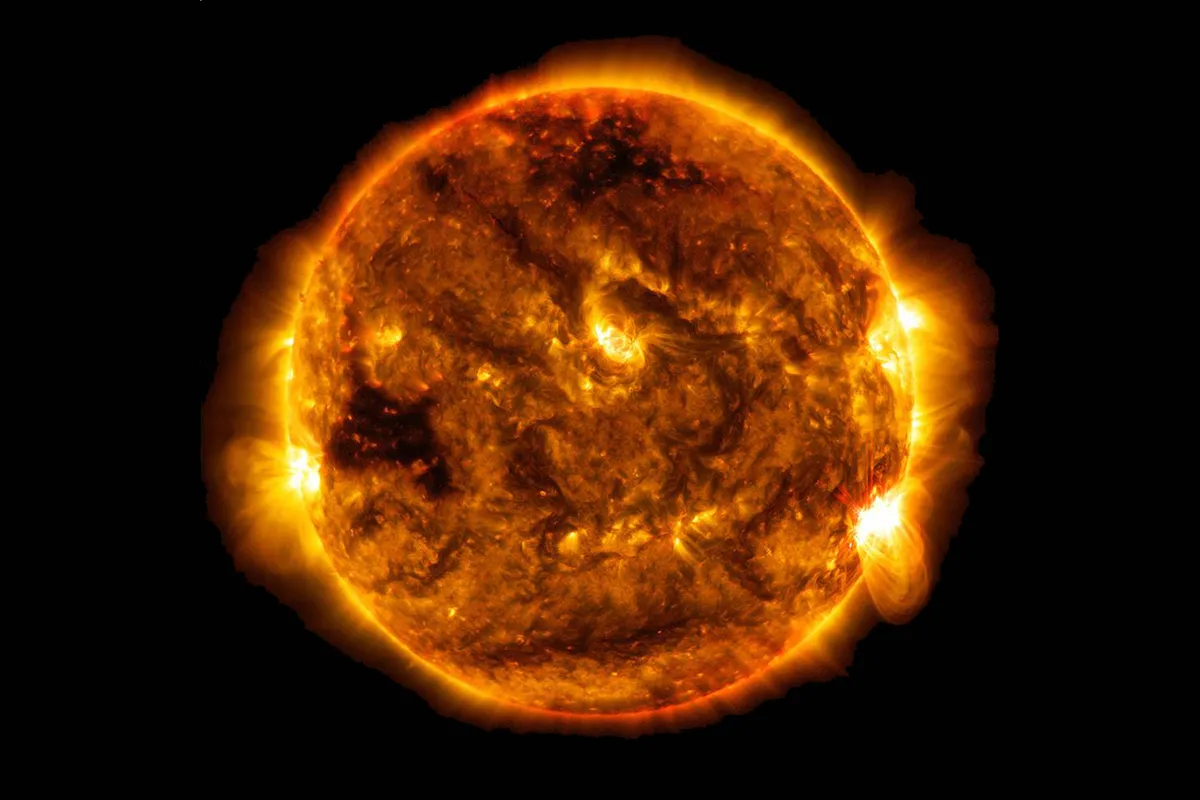
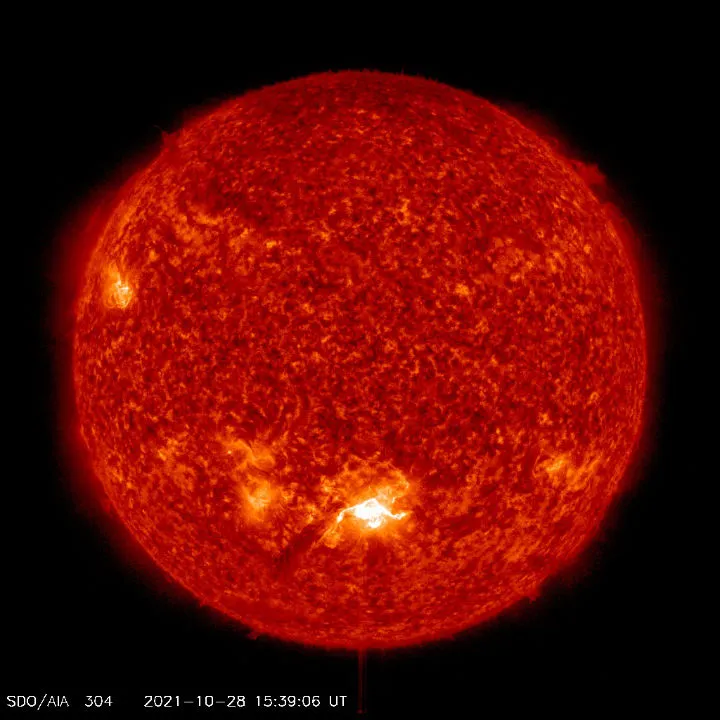
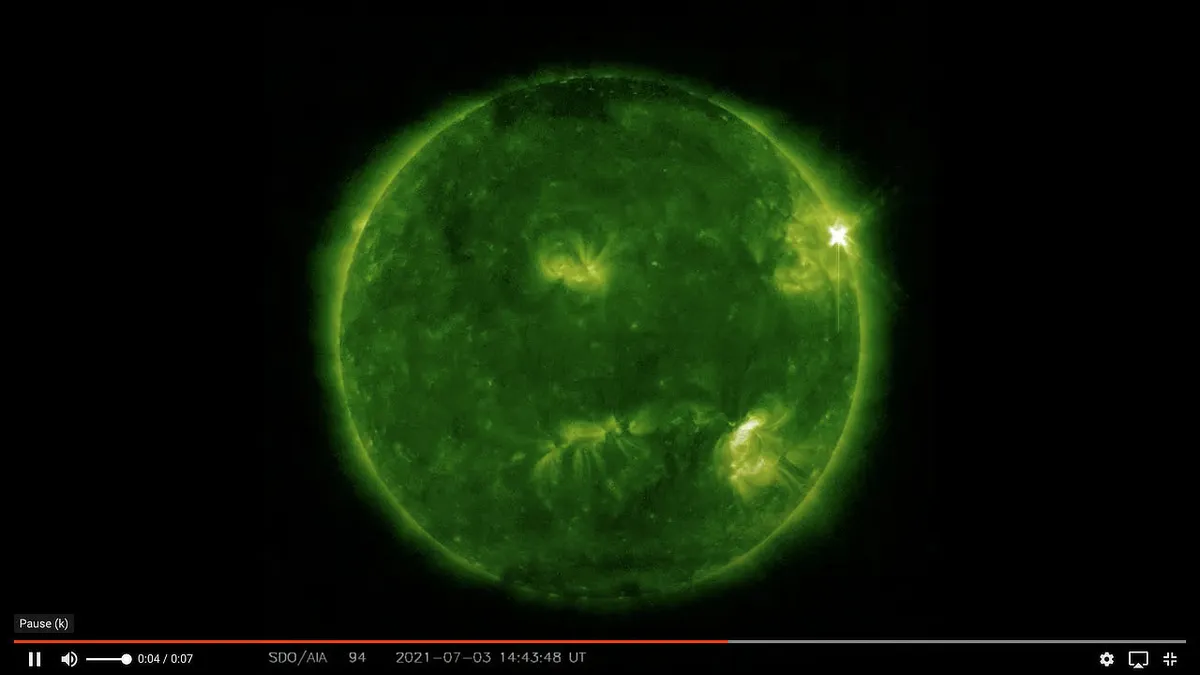
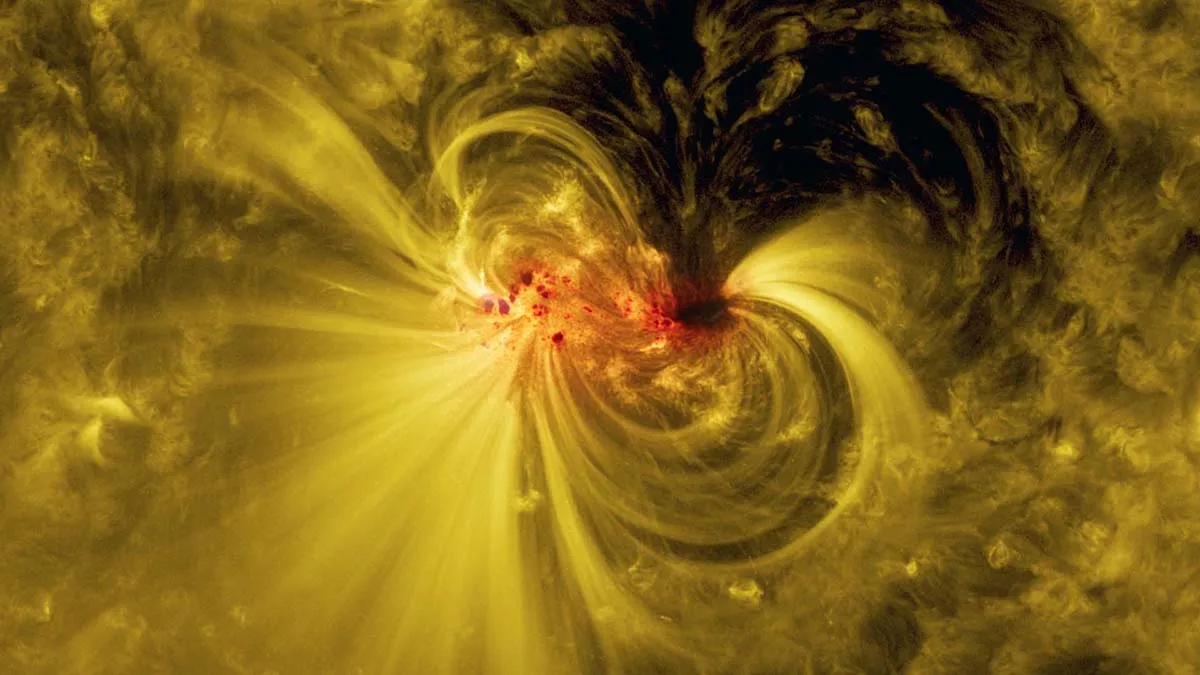
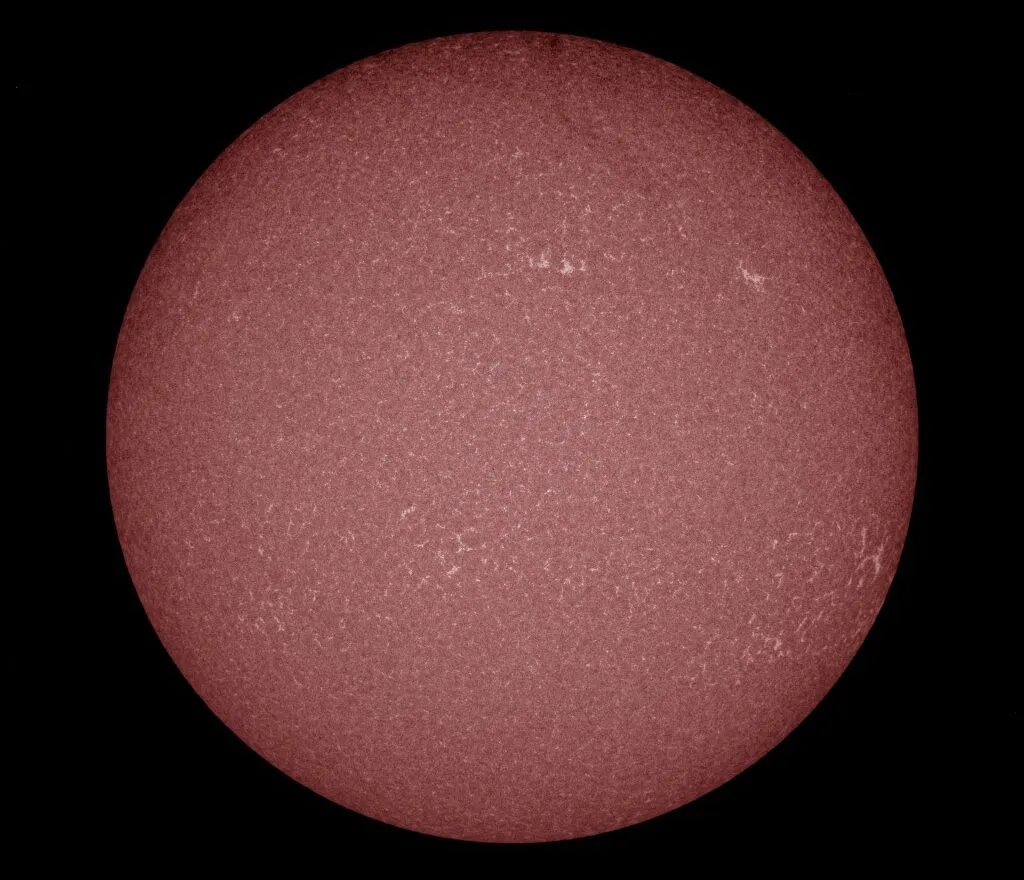
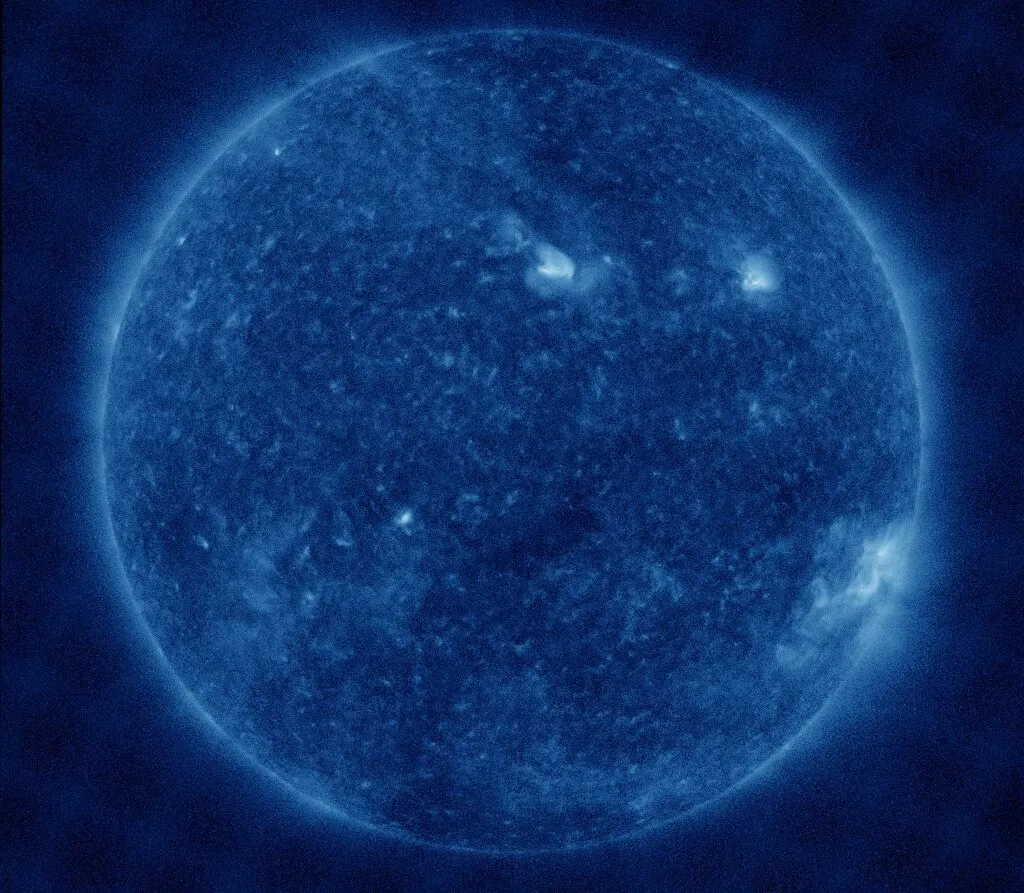
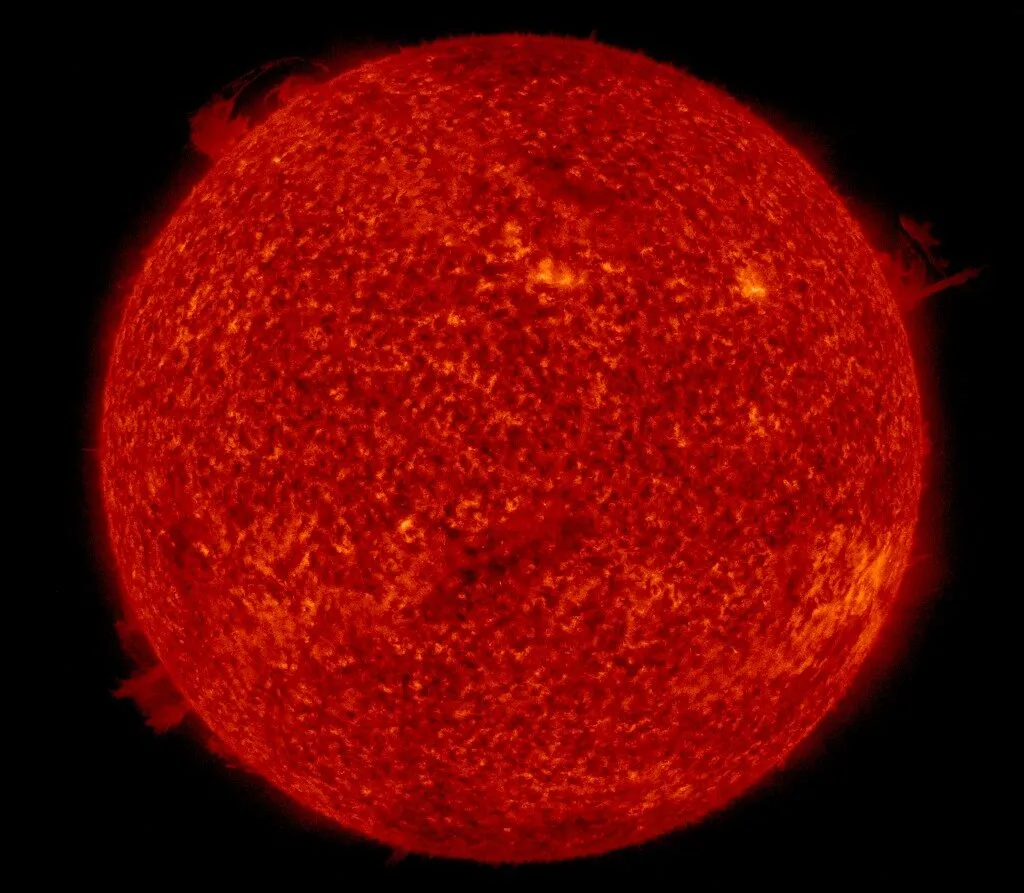
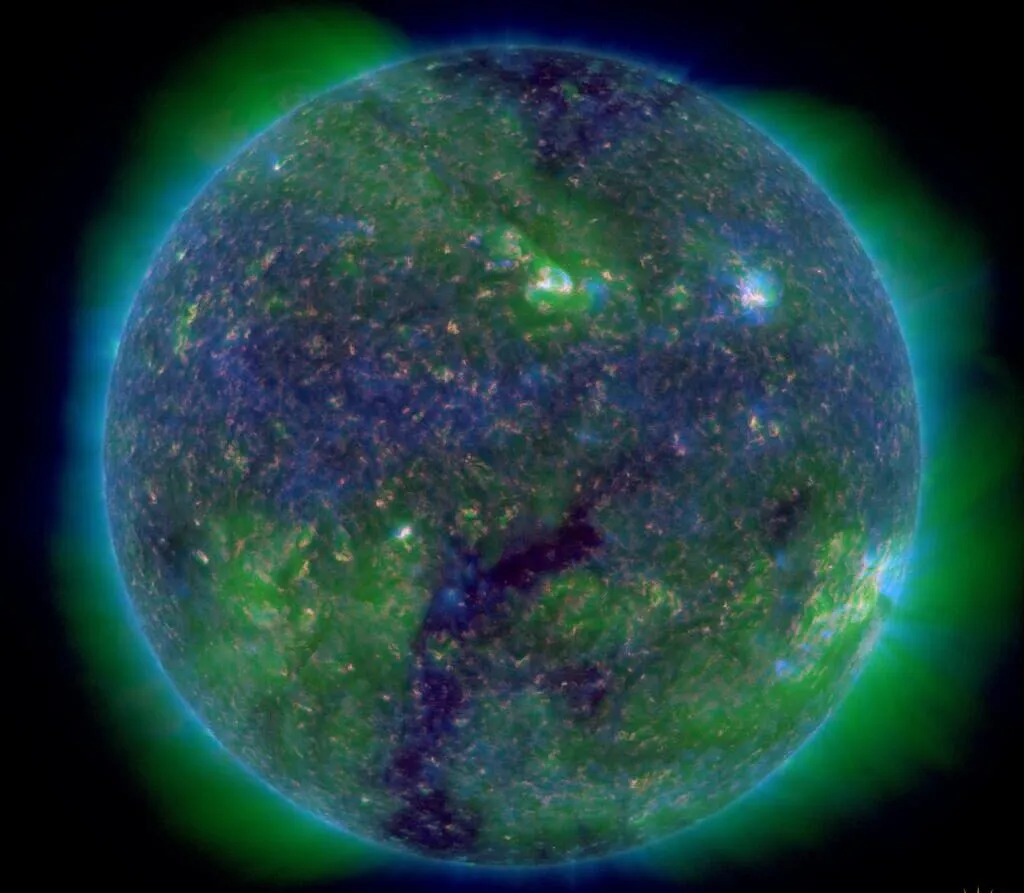
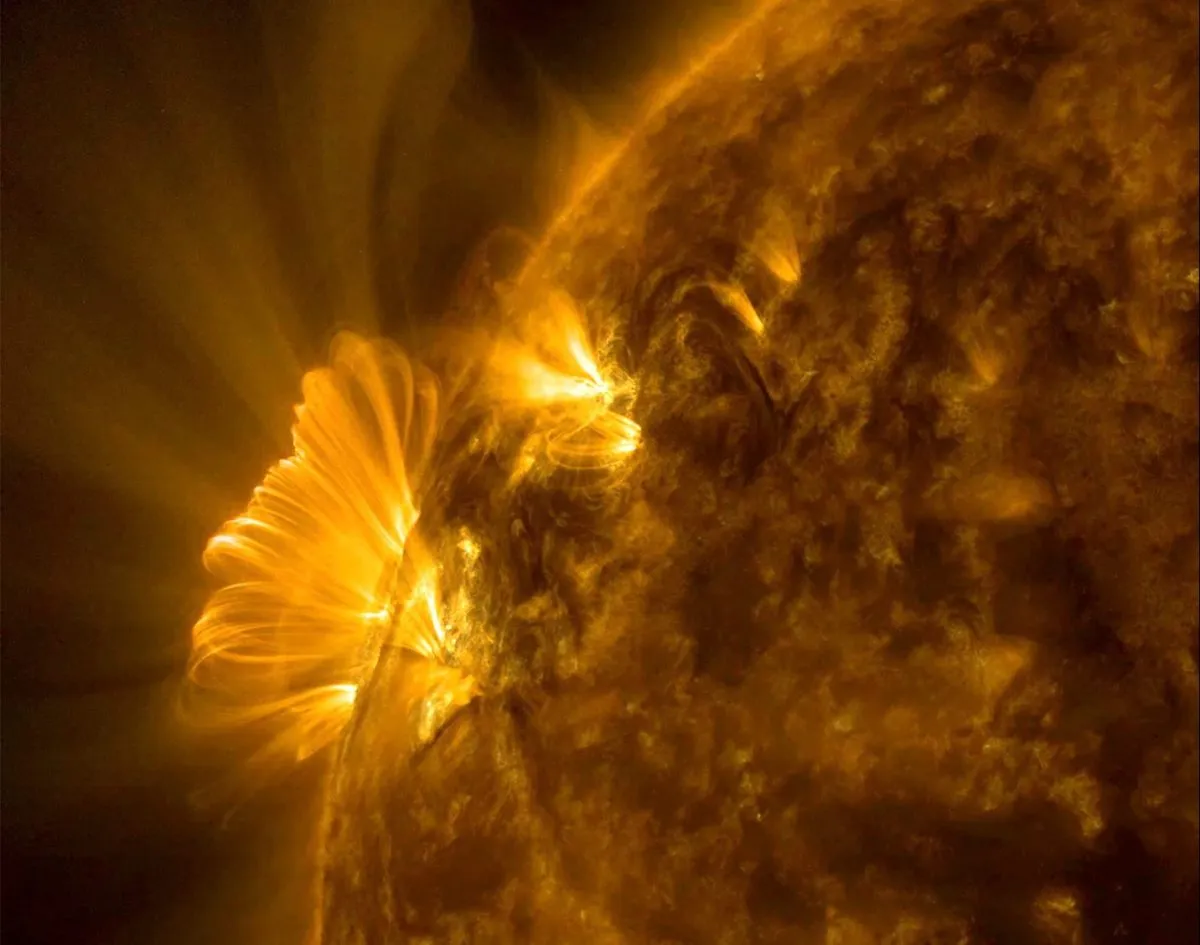
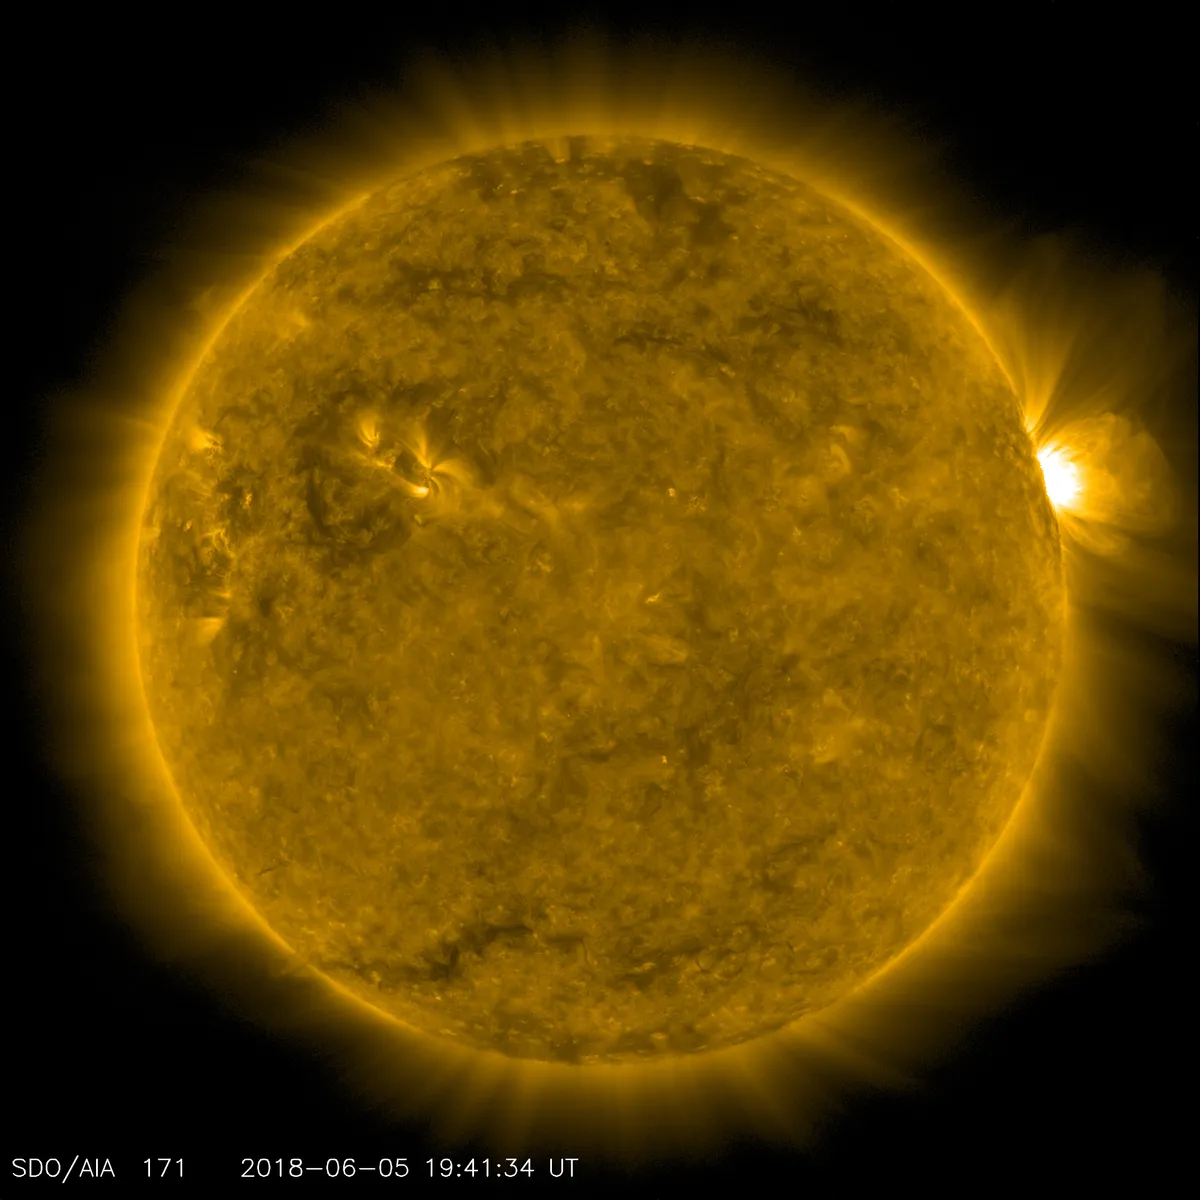
There is so much to learn when studying solar features photographed at different wavelengths and it shows what a dynamic place the Sun is.
Drawing those solar features is more astronomy sketching practice.
Once it’s made, you can use this model to demonstrate how the Sun, Earth and Moon spin on their own axes and how the orbits of the Moon and Earth would look if we observed them from above.
All three of these bodies rotate on their axes in a counterclockwise direction, and Earth’s and the Moon’s orbits are also counterclockwise.
You can also use the model to demonstrate the position of the Sun, Earth and Moon during different phases of the Moon.
The lamination step is optional, but laminating the pieces will make your model more robust and easier to keep clean, so you’ll be able to enjoy it for longer.

Tools and materials
- 1 x white A4 card thick enough to hold its shape, but not too thick (we used 240gsm card)
- Pair of compasses for drawing 2.5cm, 10cm and 15cm circles. If you don’t have compasses, just draw around circular household objects of a similar size
- Coloured pencils or felt-tip pens, and HB pencils for drawing and colouring the features on the Sun, Earth and Moon
- Paper fasteners. We used small, coloured ones but any will do
- 1 x A4 laminating sheet and a laminating machine (optional)