Everyone on the planet sees a slightly different night sky, and making the effort to travel to a distant location will sharpen your astronomy skills. Get closer to the equator or travel to the opposite hemisphere and you’ll see strange stars and unfamiliar constellations.
Solar and lunar eclipses, comets and the aurora borealis and australis (the Northern and Southern Lights) are only visible from specific places on the planet at certain times.
Meanwhile, meteor showers (particularly the Perseids in August), the Milky Way, zodiacal light and the stars themselves are at their clearest from the tops of mountains in dark and distant lands; there’s a reason why most of Europe’s major telescopes are at high altitudes in Chile and Hawaii.
If you're planning on pitching a tent, read our guide on what to take on an astronomy camping trip.
What to take on an astronomy holiday
- Local maps
- Binoculars
- Travelscope
- Red light head torch
- Warm layers & gloves
- Flask of hot drink
- Sky map & observing list
- Portable battery for smartphone
- Planetarium app in night mode
Should you take a telescope? That depends on what you plan to do, but prioritise 10x50 binoculars, which are far more travel friendly. If you're not sure what sort to bring, read our guide to the best binoculars for astronomy.
If you need magnification, consider visiting an observatory during a public observing session (book ahead), a public star party, or private organised astronomy activities.
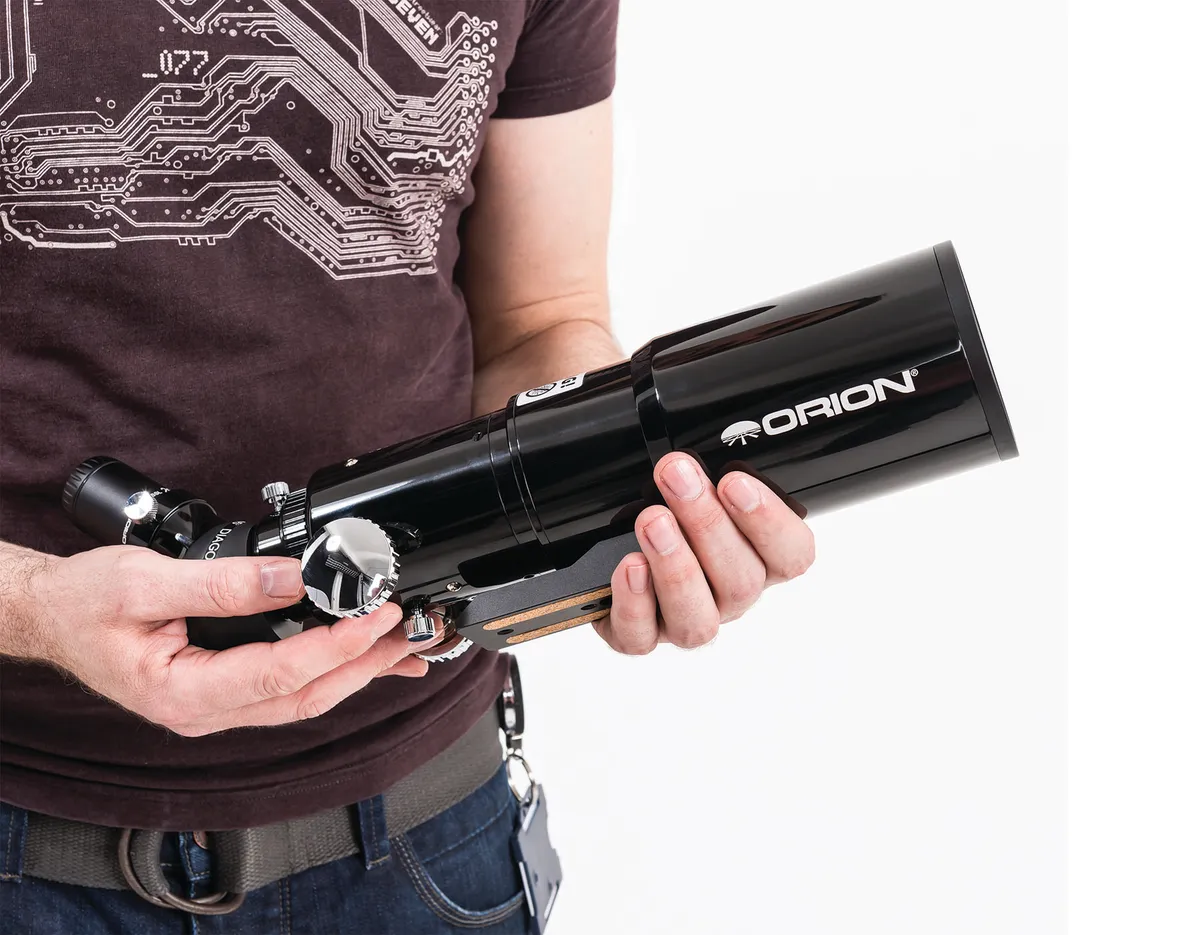
Choosing your travel telescope
The aeroplane-transportable travel scope is something of a Holy Grail among amateur astronomers, but there are some great options.
In terms of magnification, it’s best to tone down your ambitions and go for something that’s small, lightweight, easy to carry and simple to set up.
Most so-called ‘backpack telescopes’ mean trading in portability for magnification; typically these are small 3- or 4-inch refractors.
Another option with similar magnification (and often made by the same brands as telescopes) are spotting scopes, largely because they use compact and portable camera tripods, and are designed for the outdoors.
However, if you’re interested in deep-sky objects and need more magnification, the more compact Schmidt-Cassegrain or Maksutov-Cassegrain telescopes is likely to be more suitable, though these require a vehicle.
On a dark-sky driving holiday or an eclipse cruise, taking a telescope is relatively easy.
Dedicated travel scopes tend to have cases that offer lots of protection, but if you intend to take one in its original box, wrap your telescope in plastic and place soft materials such as a fleece jacket or blanket around it to fill up the space.
If you're looking for a new travel scope, read our guide to the best telescopes for astronomy travel.
Taking your telescope on the plane
If you’re flying with optical equipment, don’t check it in. It’s just too risky.
Always carefully pack binoculars in hand luggage in their carry case, preferably with other soft items around them to secure them in place, and to protect them from bumps.
The same goes for the eyepieces, though as many other accessories as possible should go into the hold.These include mounts, counterweights and especially tripods, which tend to attract attention during security checks.
Once you’re on the aircraft try to wedge your equipment in between other luggage in overhead lockers to stop it moving about during the flight.
Check whether you can use a site for astronomy
If you’re going to an organised star party or an observing session at an observatory, there will be no problem with permissions.However if your plan is to venture into the wilderness, do try to check who owns the land.
It’s best to assume nothing – land ownership laws are vastly different the world over – but internet map searches can help you scout a location from afar.
You can find local businesses, often listed with a phone number and website; get in touch with the owners, who will probably know the status of the land.
Local astronomy clubs are also a great resource for tried-and-tested viewing locations – and they may even accompany you (not to mention provide larger telescopes than you can reasonably carry across the world).
Setting up your telescope safely
If you plan to observe using a telescope somewhere relatively remote, visit in daylight beforehand to scout out the site.
Check for barriers across car parks; the site may have a curfew.
From an observing perspective it’s also worth checking your location on the Photographer’s Ephemeris, which will tell you exactly where on the horizon the Sun and Moon will rise and set.
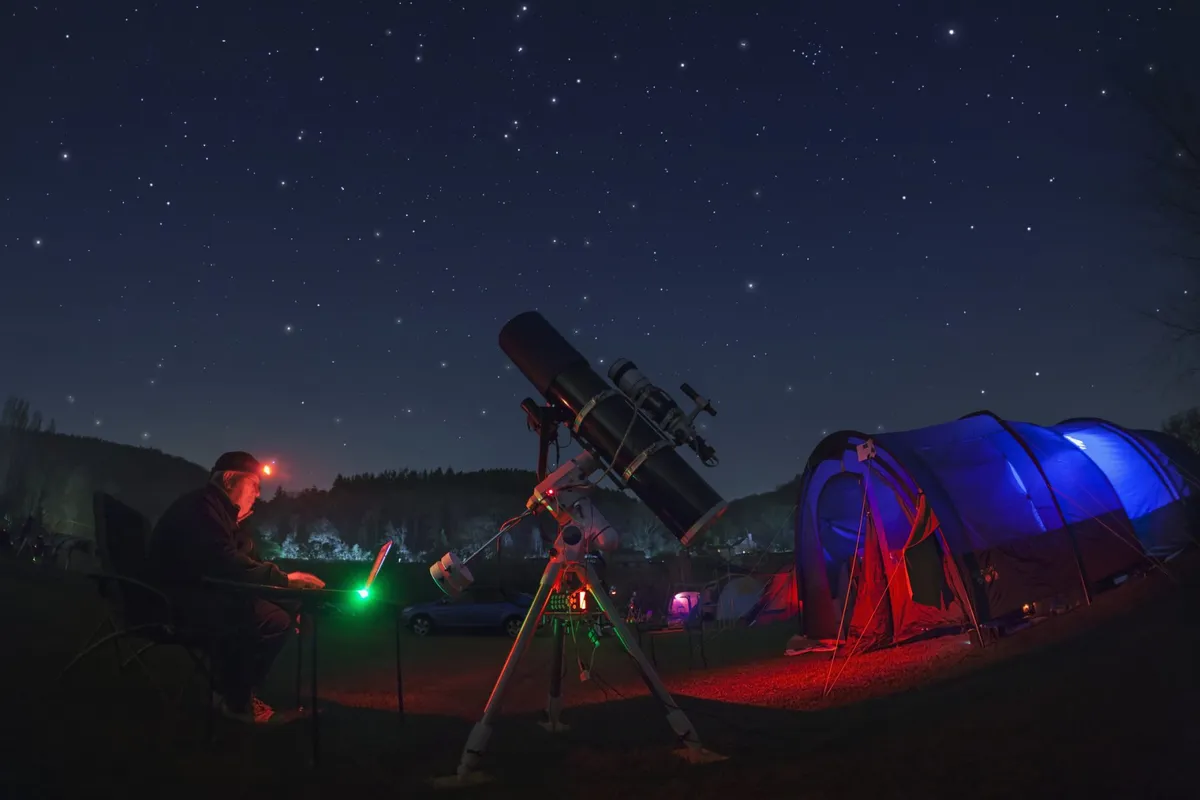
Set up half an hour before dusk so that your eyes adapt to the dark, leaving your telescope untouched with its lens cover on to help prevent dew.
Always take extra layers and hot drinks whatever the temperature during the day, particularly if you’re on high ground.
Make an observing list
The best way to keep motivated is to have your observing list easily accessible, and to move logically through it.
If there’s some cloud, don’t despair; wait 30 minutes and it may have completely blown over.
It’s best to combine some of your favourite sights (which may be in radically different places in the sky if you’ve travelled south) with targets that you’ve never seen before, or compete with a friend to see who can find an object first.
When the cold digs in and your target constellations, clusters and galaxies have set, kill your night vision by switching-on your head torch to help you clear-up properly.
If you don't already, it might be a good opportunity to start keeping an astronomical log book.
Jamie Carter is the author of A Stargazing Program for Beginners.