This month’s project is Moon phase calculator, a mechanical instrument that ‘calculates’ and displays the predicted phase of the Moon for any chosen day of the year.
Our design uses a GT2 timing belt and pulleys – commonly used in printers and readily available online – to generate the movement
And we have provided downloadable plans and extra photos and diagrams below, so the build should be straightforward.
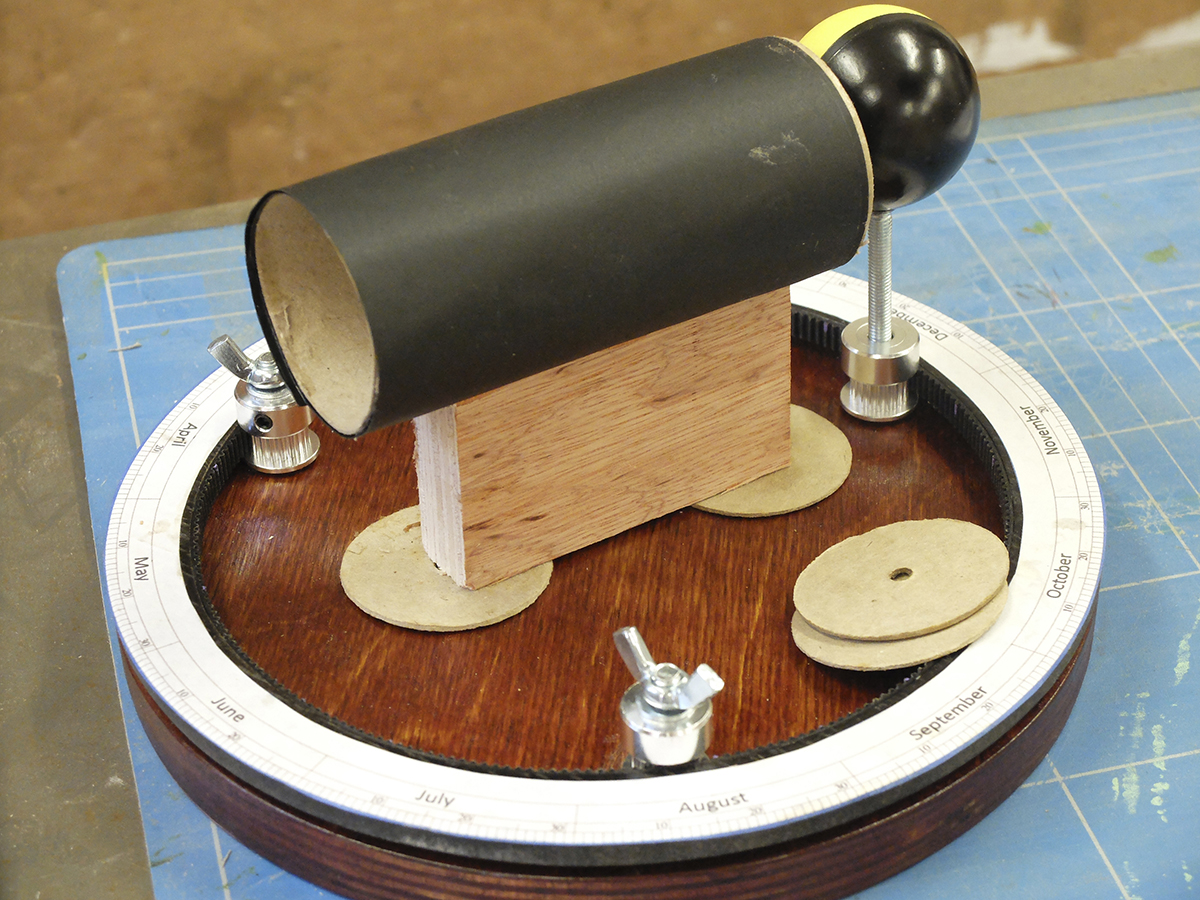
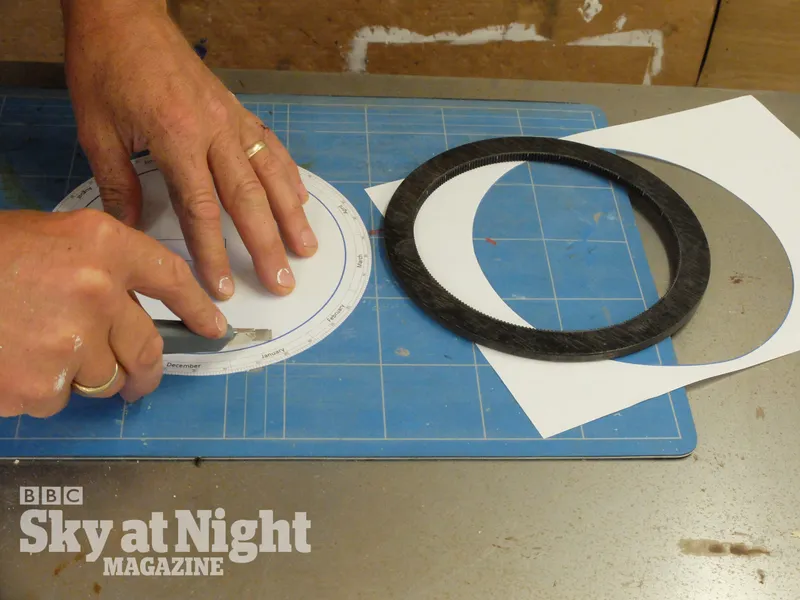
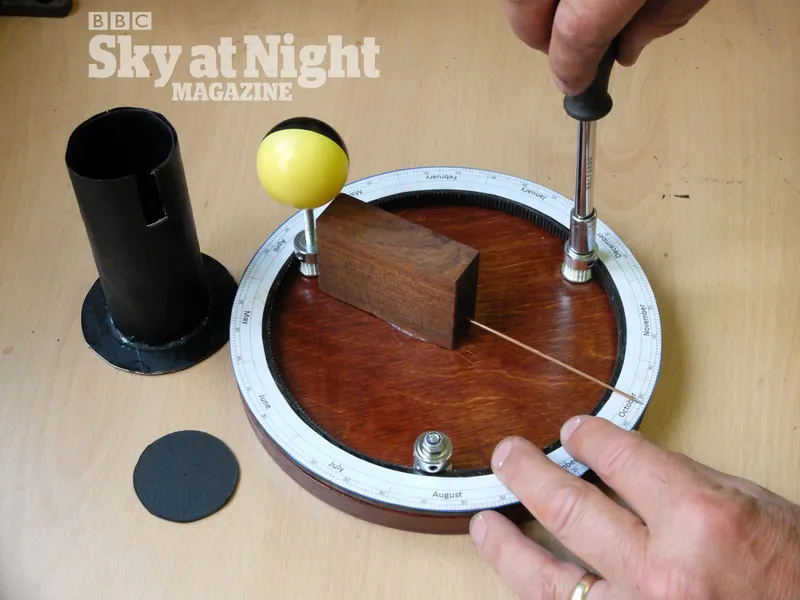
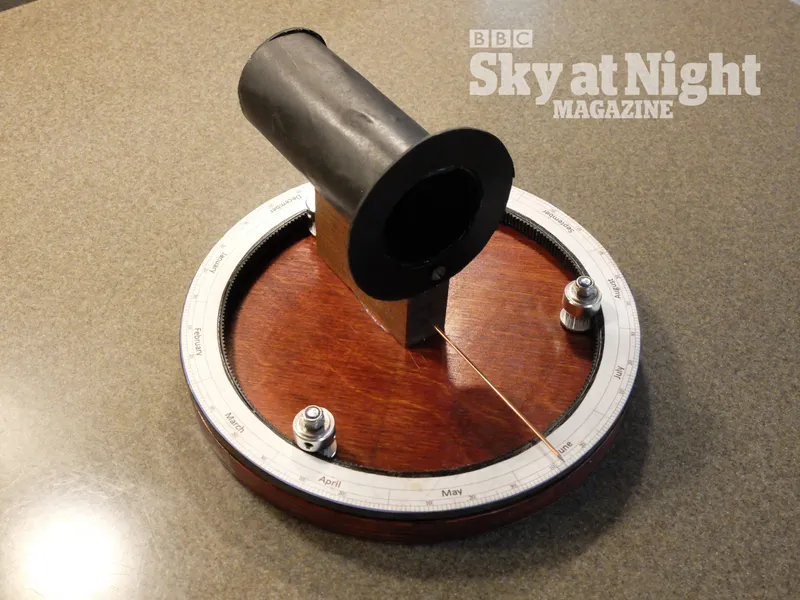
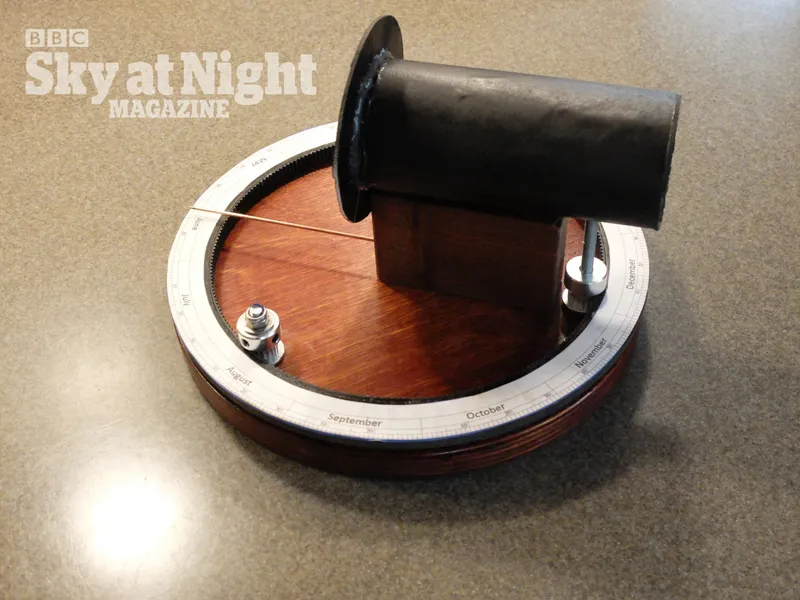
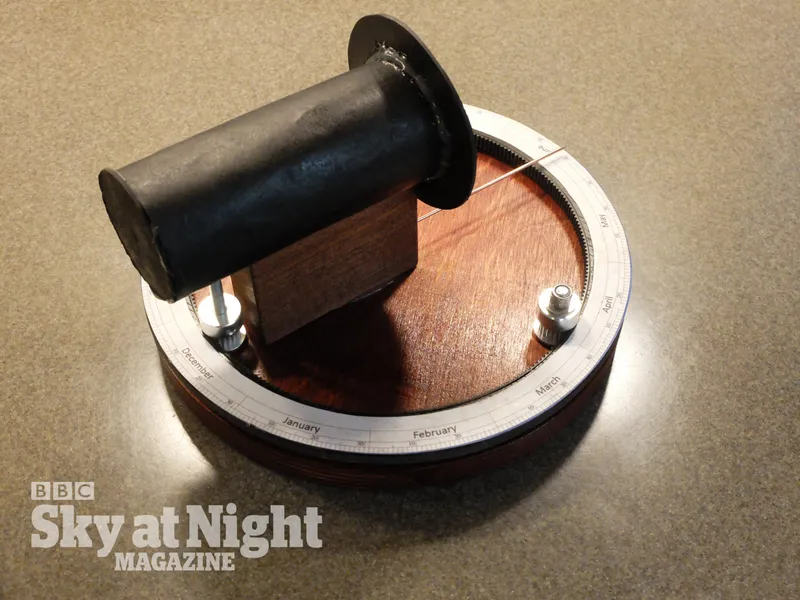
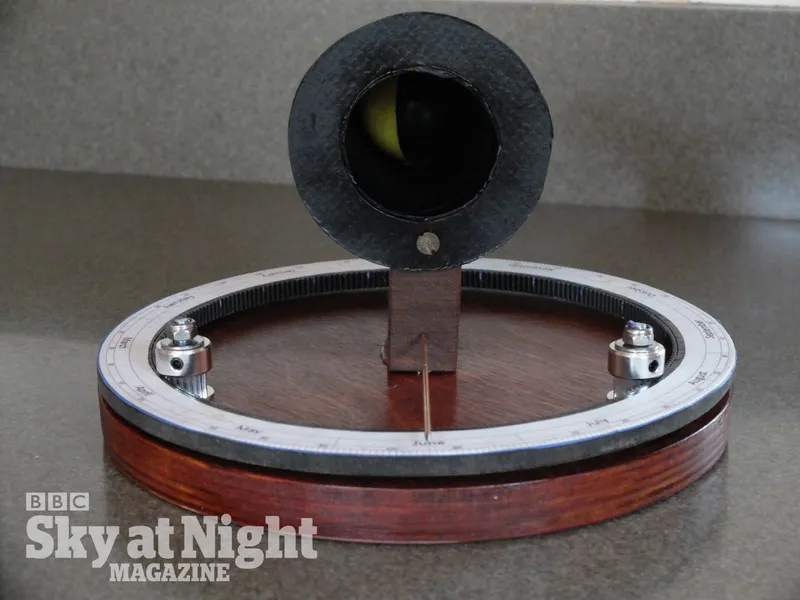
To use the Moon phase calculator turn the year ring so that the wire pointer aligns with the date you are interested in.
When you then look into the viewing tube you will see that the painted Moon ball has turned to reveal the predicted phase.
For more astronomy advice, read our guide on how to observe the Moon.
Extra materials to aid your build
- Lunar phase calculator plan (PDF)
- Lunar phase calculator plan - annotated (PDF)
- Lunar phase calculator base drawing (PDF)
- Lunar phase calculator year ring plan (PDF)
- Lunar phase calculator dial template plan (PDF)
- Lunar phase calculator year dial inner surface finishing - annotated (PDF)
- Lunar phase calculator year dial inner surface finishing - (PDF)
- Lunar phase calculator pulley screw details - annotated (PDF)
- Lunar phase calculator pulley screw details (PDF)
Gallery


Tools and materials
To build your Moon phase calculator, you will need:
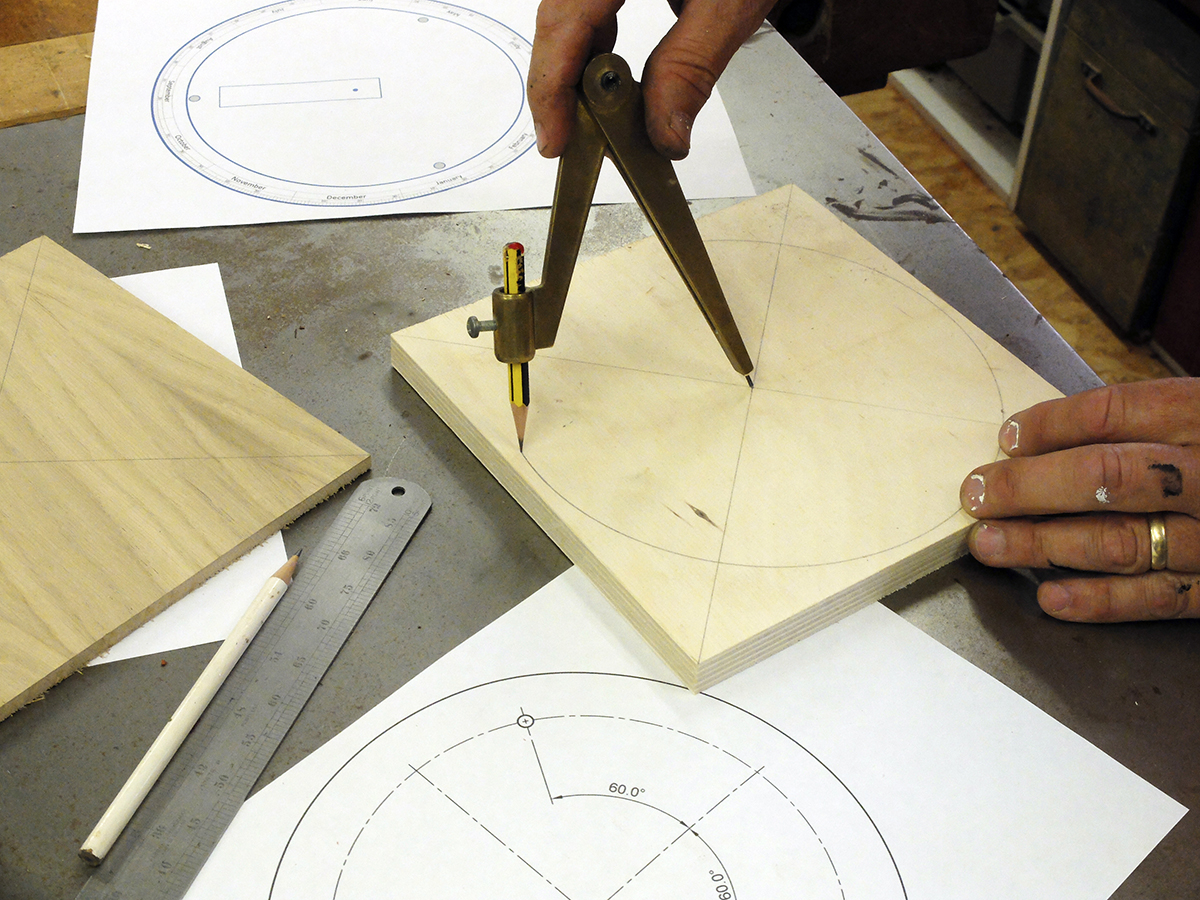
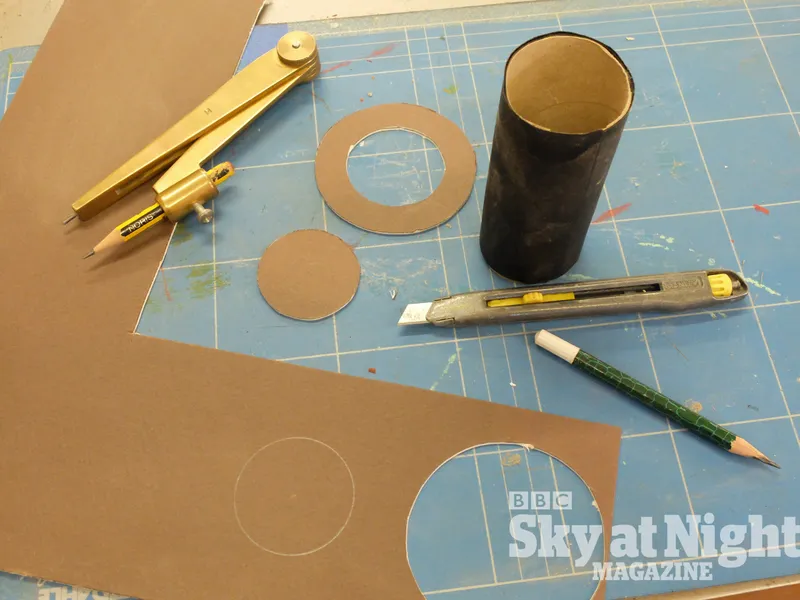
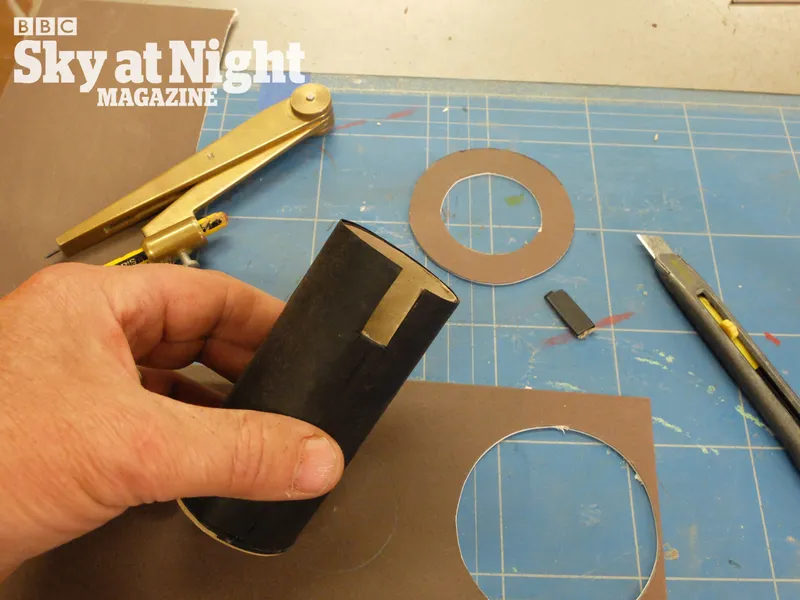
A ruler, compasses, pencil, coping saw, drill and range of bits, and a small sanding drum attachment
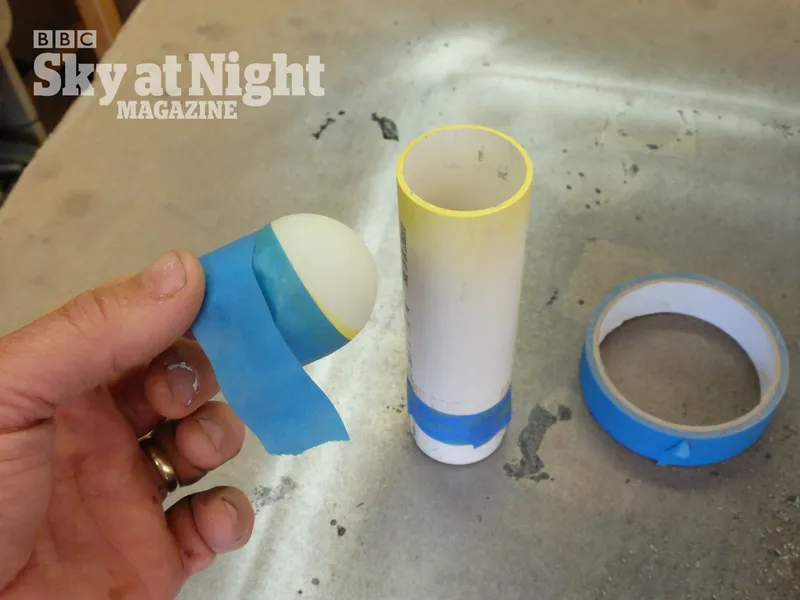
A sheet of 6mm MDF or plywood (200 x 200mm), a piece of board for the base, softwood offcuts for the sanding jig and tube stand, a table tennis ball for the Moon, a cardboard tube, plus a thin, stiff wire for the pointer.
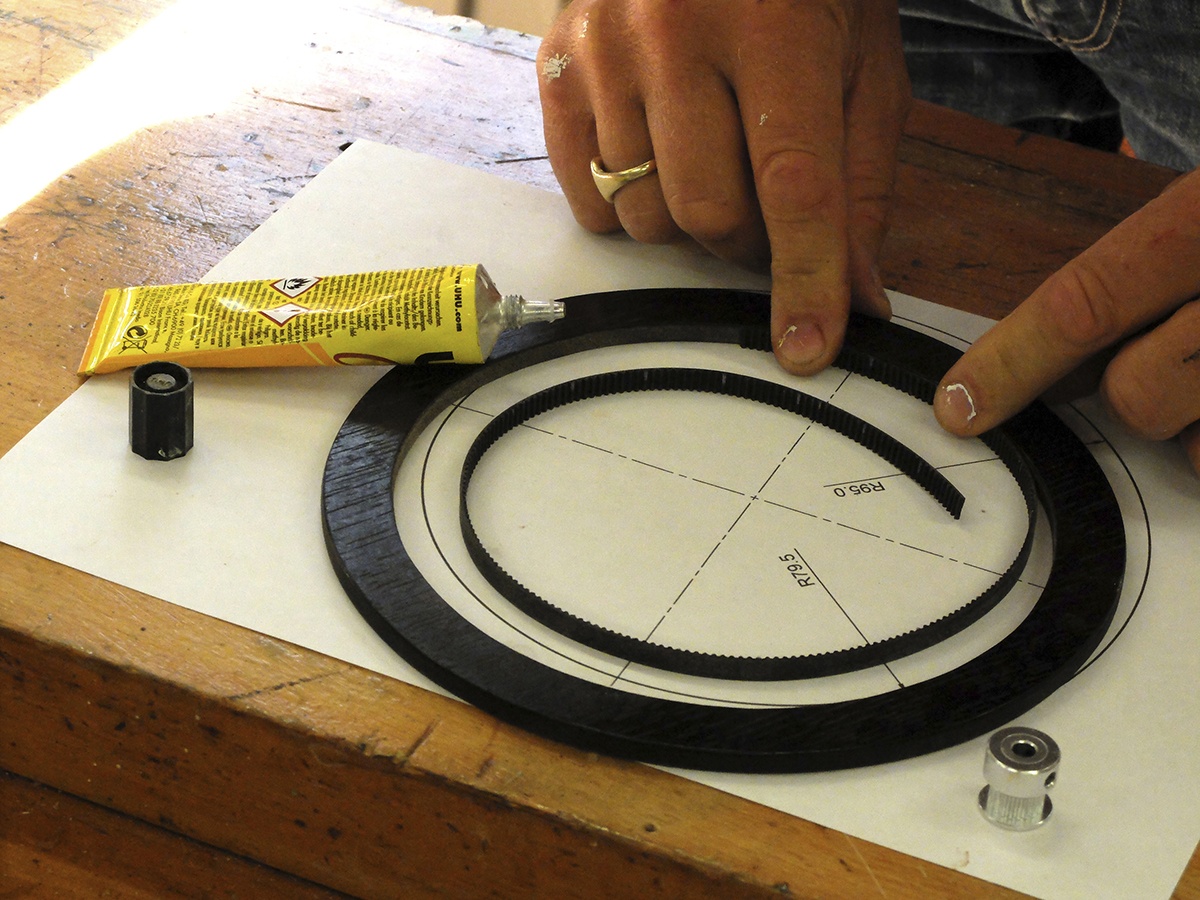
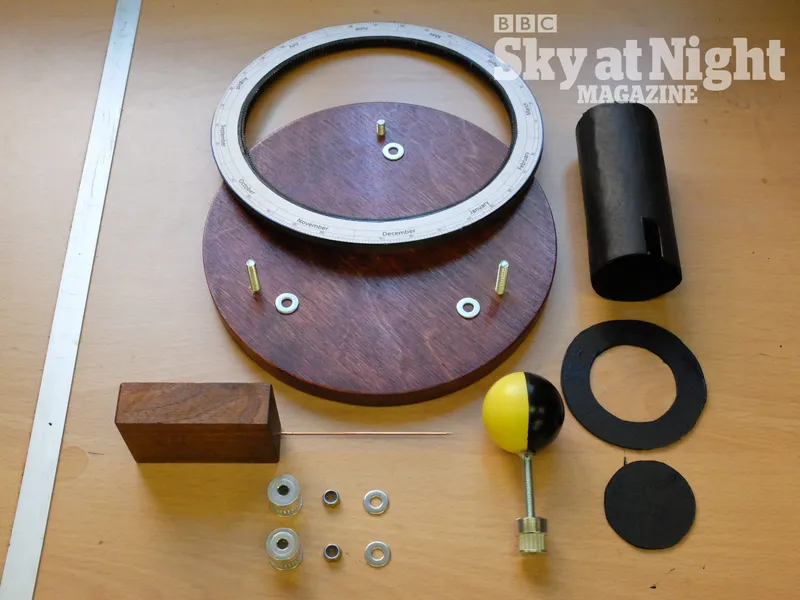
Sundries include four M5 screws (40–50mm long), two Nylock nuts and five washers, three GT2 drive pulleys (with 20 teeth), a length of GT2 6mm-wide timing belt cut to 247-teeth (500mm long) and glue
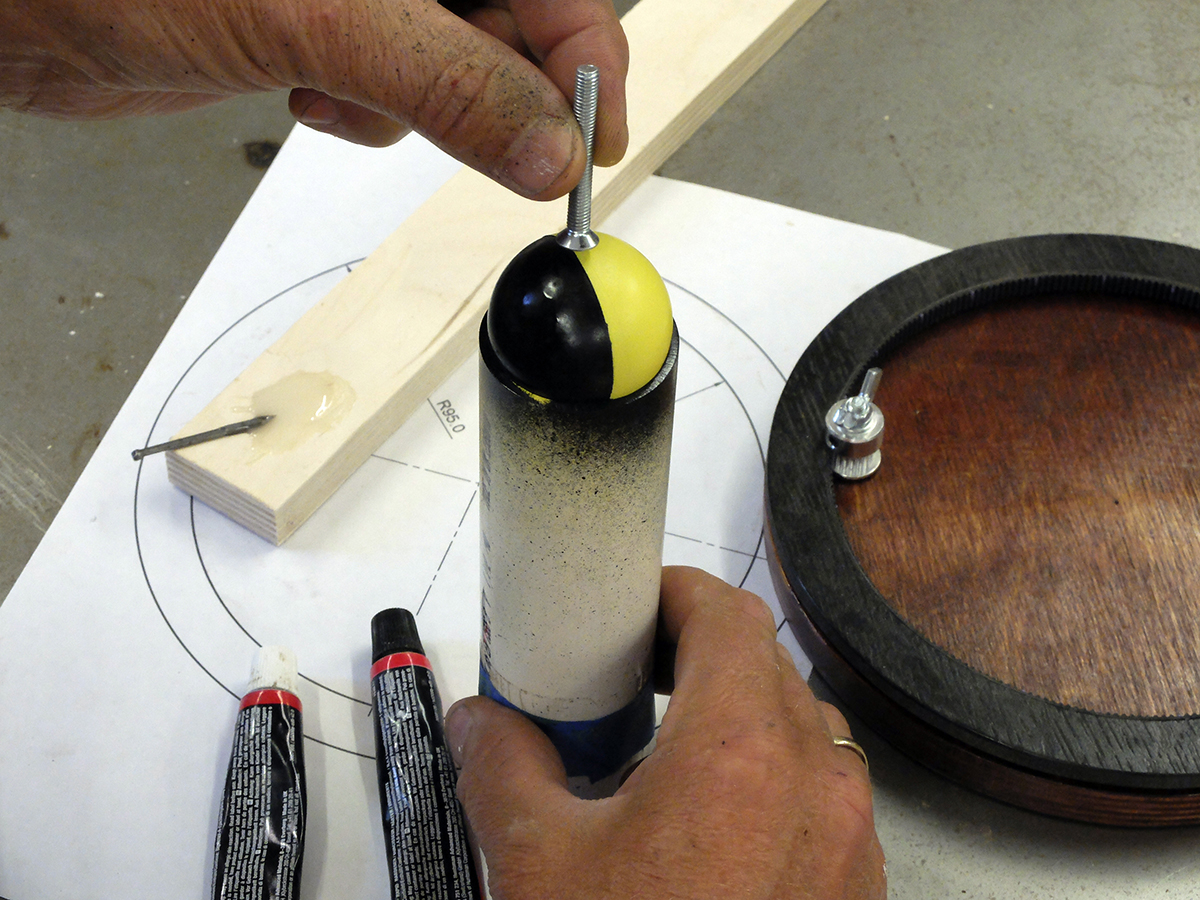
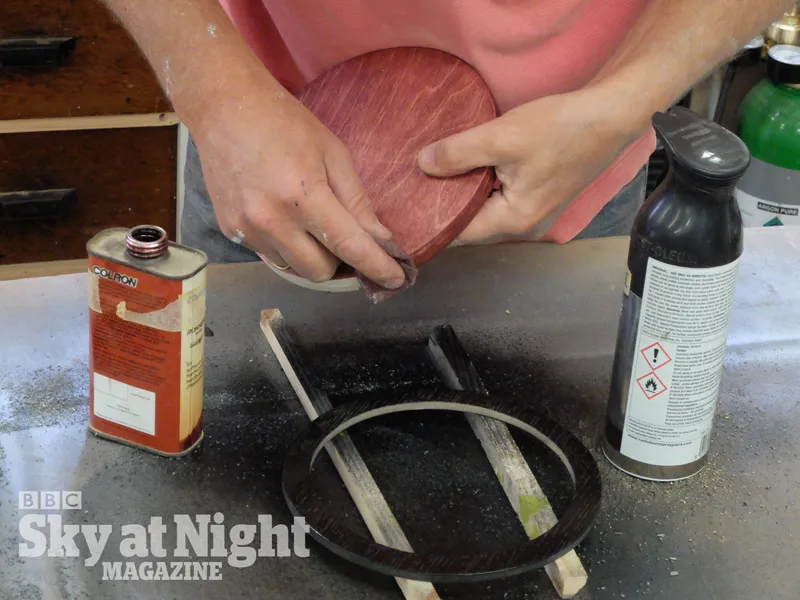
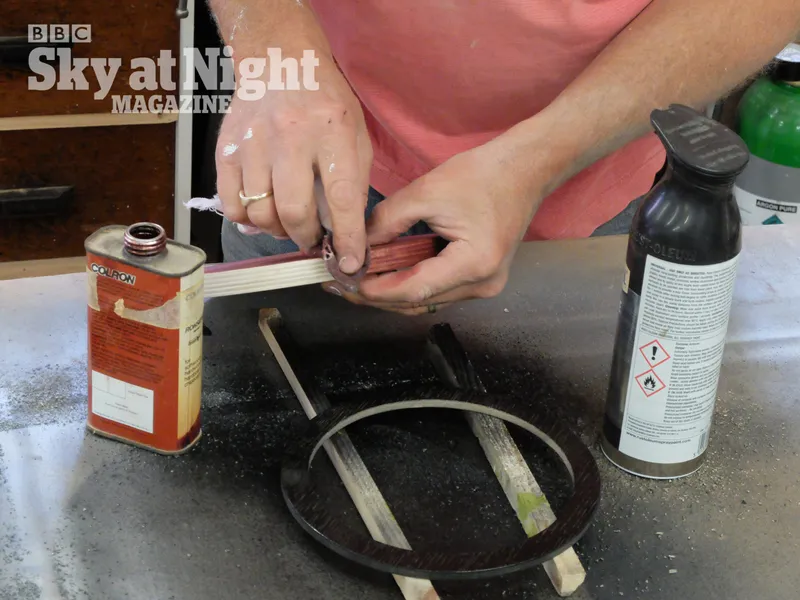
υ For the finish you’ll need wood stain, matt black spray and yellow paint
Phases of the Moon
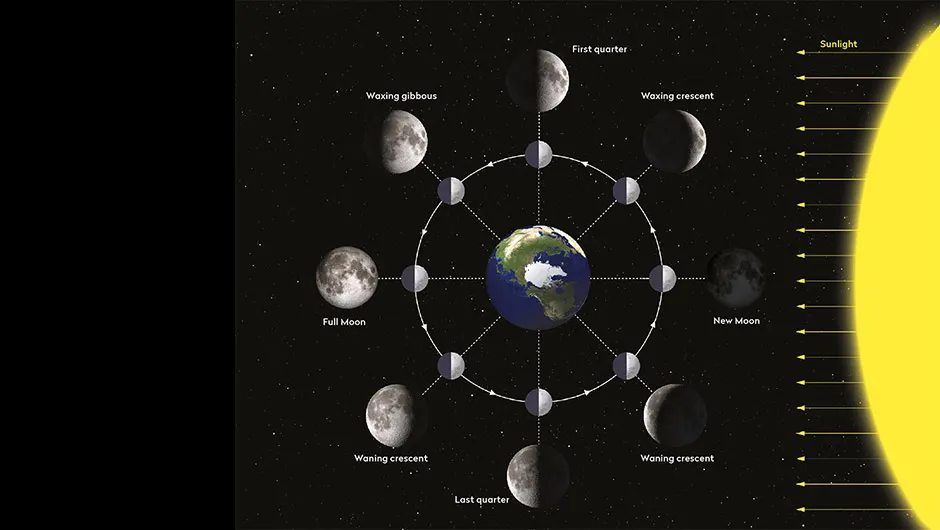
The real Moon’s phases take 29.53 days to complete their cycle from new Moon through the waxing phases to full Moon, then the waning phases back to new Moon.
This means there are 12.36 phases in one year of 365 days.
The year ring of our Moon phases calculator has 247 teeth on its inner circumference, driving the 20-tooth Moon pulley.
This ratio of 12.35 to 1 is very close to the real ‘phase-to-year’ ratio.
The slight difference might require a small adjustment if you fast-forward several years ahead, but once you know (or observe) the date of a new or full Moon, it is easy to re-calibrate the instrument.
Notes on building the calculator
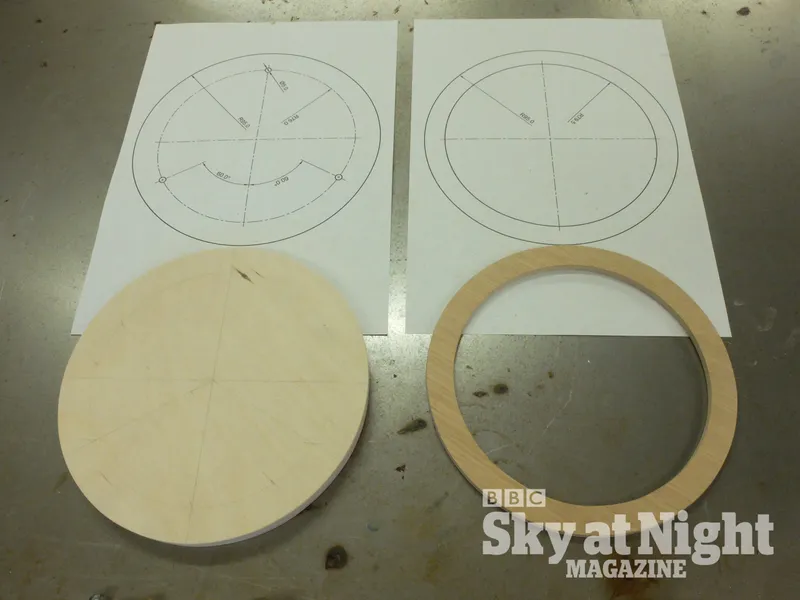
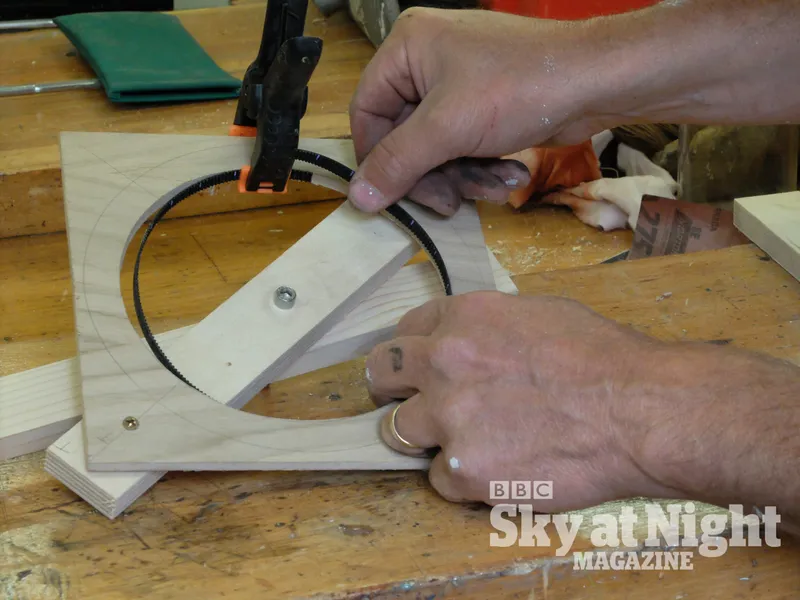
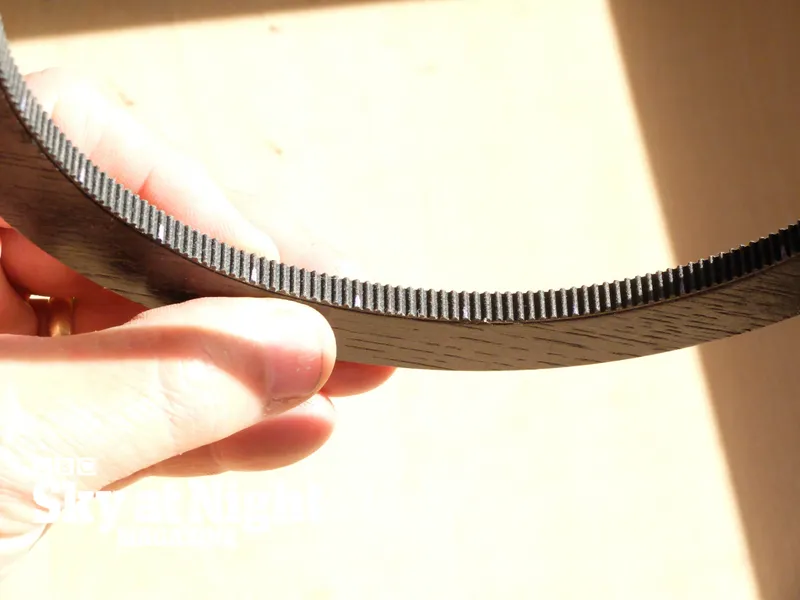
The trickiest part of the build is producing the smooth circular hole inside the year ring.
If you have a router with a compass attachment this isn’t too hard, but sanding by hand after cutting with a coping saw requires some care.
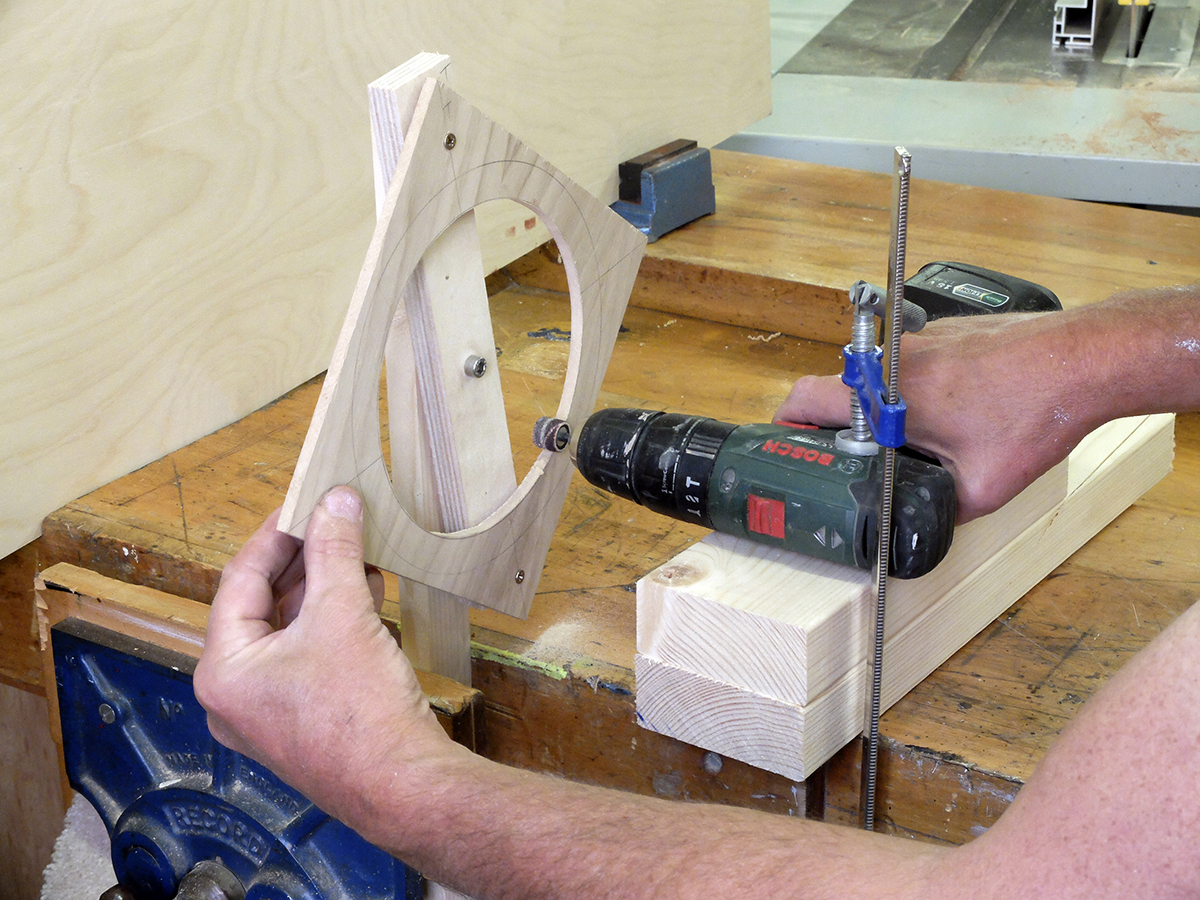
We devised a simple jig to hold our board after cutting out the approximate inside shape.
The jig can be held in a vice or clamped to a bench so that the board revolves about its centre.
You gently turn the board while a small sanding drum, fitted into an electric drill – held or clamped so the sander just touches the inside of the hole – smooths the surface.
We found it easy to make small adjustments to achieve the calculated internal diameter of 158.6mm, so that a section of belt with 247 teeth fitted perfectly.
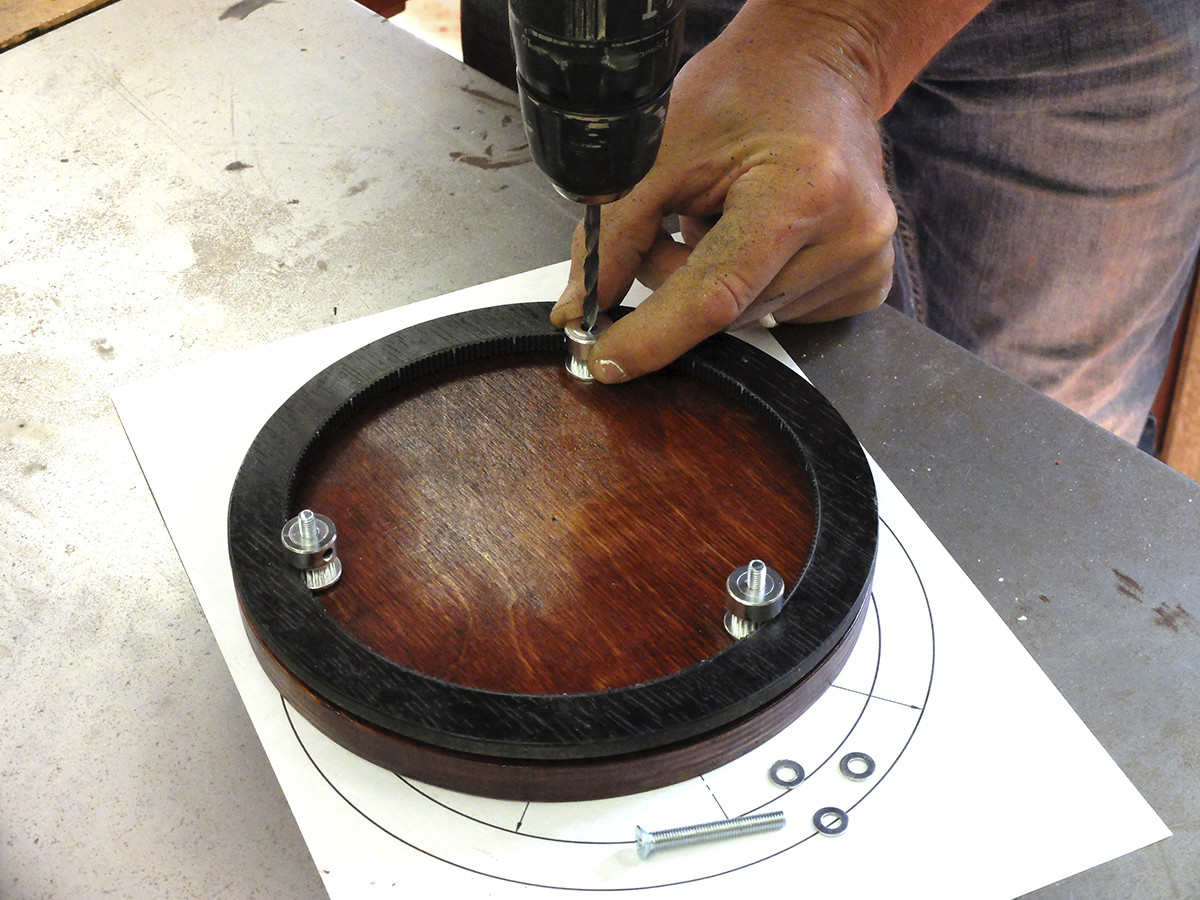
One of the pulleys, turned by the belt, is attached to the Moon ball.
The other two pulleys turn freely and are only used to guide the year ring and keep it in contact with the Moon pulley.
It’s best to drill the holes in the base for the two guide pulleys after fitting the Moon pulley, as you may need to make small corrections to ensure they will all turn smoothly.
We hope you enjoy making and using your lunar phase calculator; you may even wish to customise it by adding some decoration or using more sophisticated materials.
The calculator is great for planning observations, such as when you need a moonless night.
As well as its practical applications it’s an interesting talking point and looks good enough to display.