Taking good care of your astronomy gear and treating it with respect is common sense.
Precision equipment responds well to a bit of TLC, and ensuring that components like your focuser operate smoothly, or that nothing gets knocked to put your optics out of alignment, should be normal practice.
Keeping dust covers on the equipment when not in use, storing it in a dry but well-ventilated area and waiting for it to dry out before storing it are all measures that you should take to keep your pride and joy in tip-top condition.
But what if, despite your best efforts, your optics do end up with dust, stains or fingerprints on them?
Should you clean them, and if so, how?
A little bit of dust is not a major issue, because as soon as you remove your dust covers, tiny particles will start to settle on exposed optical surfaces.
or the most part, these can be left alone: even for imaging purposes, these particles will be too far from the focal plane to cause problems.
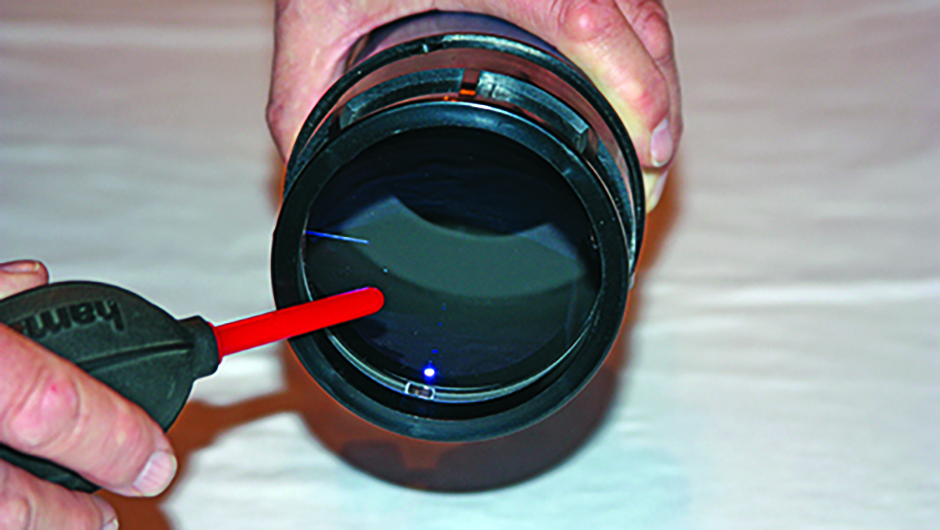
However, if they do concern you, they can be easily removed with the use of a high-power blast from an air blower bulb.
You should remove the brush and dispose of it, as the brush hairs can deposit grease and debris from previous cleaning sessions, causing more problems than they cure!
Air blower - A high-power bulb air blower with the brush attachment removed – used to shift loose dust particles without touching the lens surface.
Alcohol - A small bottle of isopropyl alcohol to dissolve stuck-on debris and greasy marks.
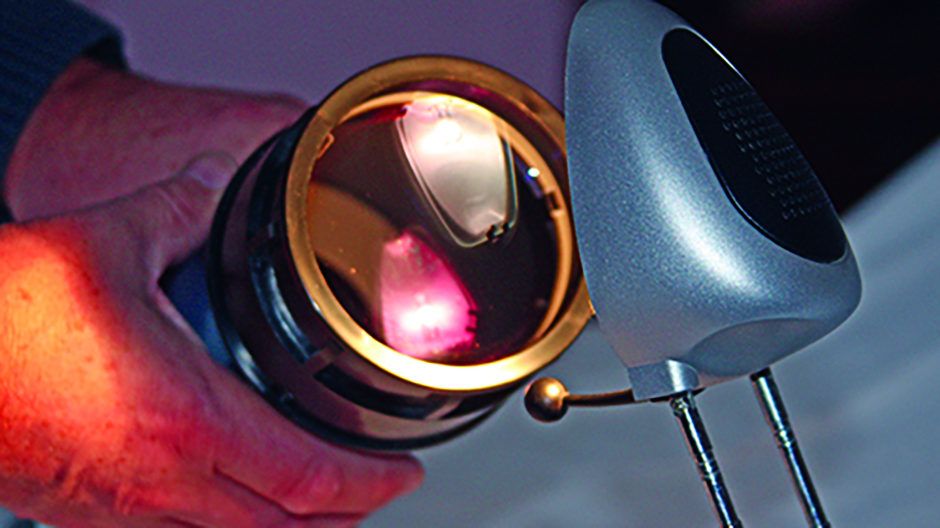
Lamp - A bright reading light to allow close examination of the lens surface.
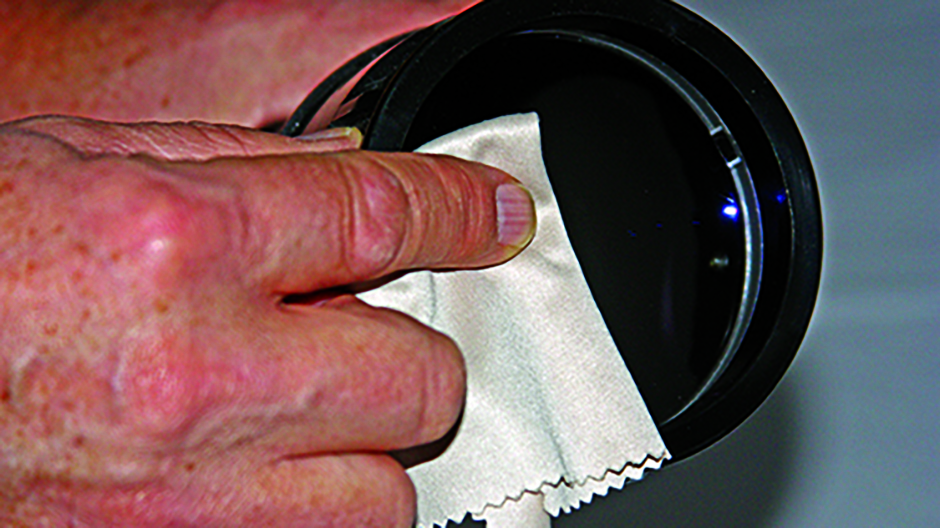
Lens cleaning cloth - A special micro-fibre cloth to remove any smearing left by the tissue and alcohol, and to give the lens surface a final polish.
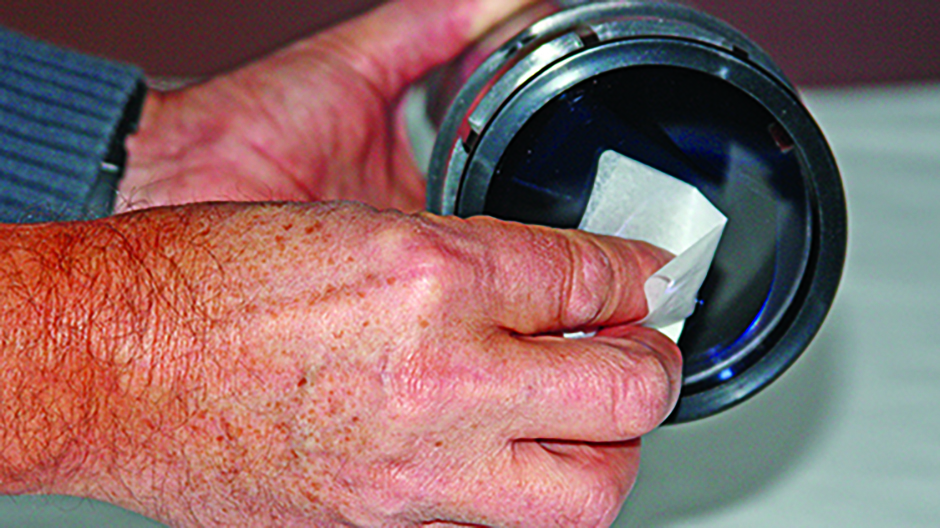
Lens cleaning tissues - Disposable lens cleaning tissues to apply the alcohol without leaving any lint behind, while carefully cleaning the lens surface with no chance of scratching it.
Grime-busting
Moisture from the typical air conditions in which you use your refractor can dissolve some particles, such as pollen, so that when they dry, they can be well and truly stuck to your delicate lens surface.
If this happens, you will have to use more than just the blower bulb to deal with them.
Fingerprints and other greasy substances can also accumulate on the lens, and when this happens, it really is time for a clean.
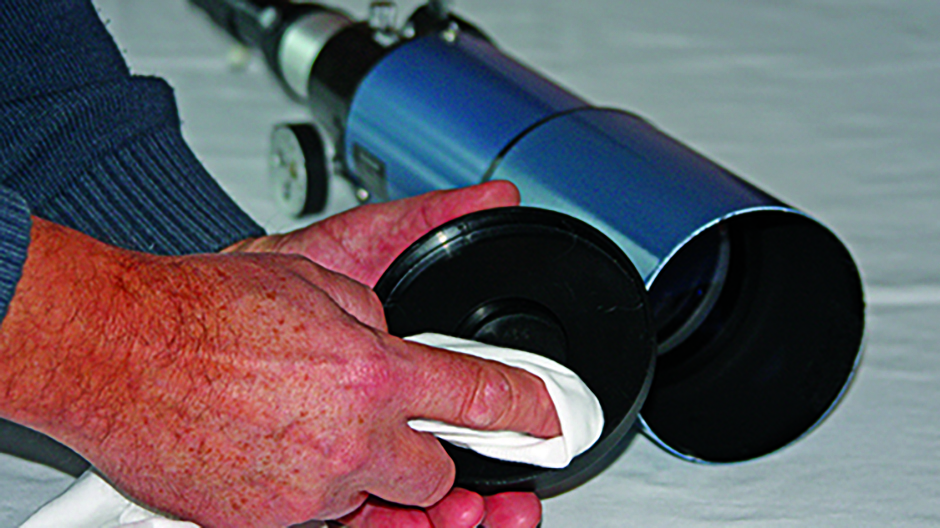
You will need unencumbered access to your lens’s surface, so start by retracting your dew shield, or removing it altogether if it’s not retractable.
Having used the high-power blast of air technique to remove as much dust as possible, grease and other contaminants can be removed using a proprietary lens cleaning kit, available from any good photographic shop.
The main components of these kits are isopropyl alcohol, lens cleaning tissues and a micro-fibre cloth.
Use a reading light or good natural light to examine the lens surface carefully and identify the problem areas.
A clean start
To use the cleaning kit, remove a lens cleaning tissue from the pack and add two drops of the isopropyl alcohol to it.
Gently wipe the lens surface, starting from the centre and moving carefully outwards, being especially careful not to touch the lens with your fingers.
Don’t let any of the fluid accumulate on the edges of the lens surface, and never apply the fluid directly to the lens.
Excess alcohol could end up inside the lens cell through capillary action and dissolve any lens cement present in the construction of the lens cell.
Throw this tissue away and use a fresh tissue to soak up any residue.
Re-examine the lens surface to check for any greasy smears and if there are any, use a fresh lens cleaning tissue impregnated with another two drops of the alcohol as before.
Throw this tissue away as well.
Finally, very carefully polish the lens surface with the micro-fibre cloth, using a pristine area of the cloth.
The design of a refractor is essentially a closed tube, so it is unlikely that dust or other material will be deposited on the rear surface of your telescope’s primary lens.
If this happens, the lens cell can be removed carefully, provided you can mark its original position in some way.
However, we would advise against this unless you know exactly what you’re doing.
If you get it wrong, you could seriously upset the alignment of the optical elements and end up with a telescope that’s damaged as well as dirty.
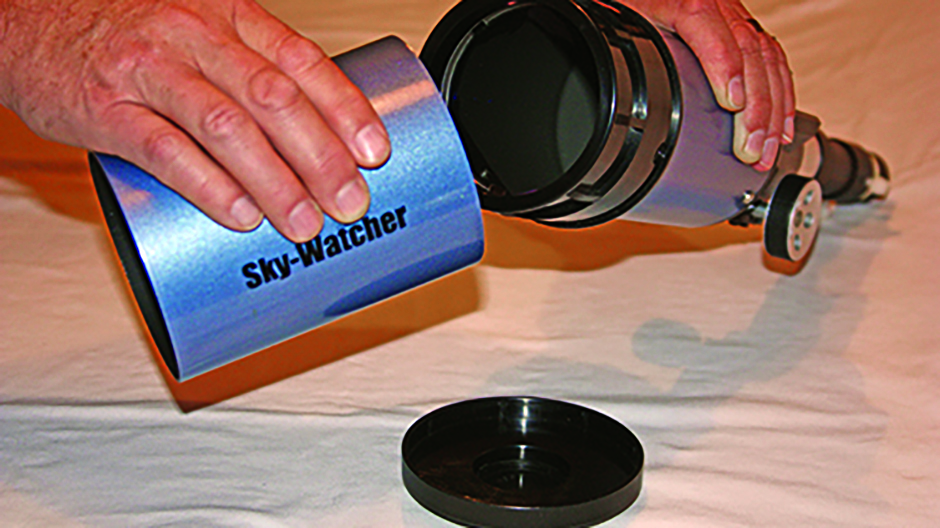 Clean refractor step 1[/caption]