Have you ever wanted to photograph a meteor shower?
In the following guide we'll show you how to take advantage of annual meteor showers and capture an image of one for posterity.
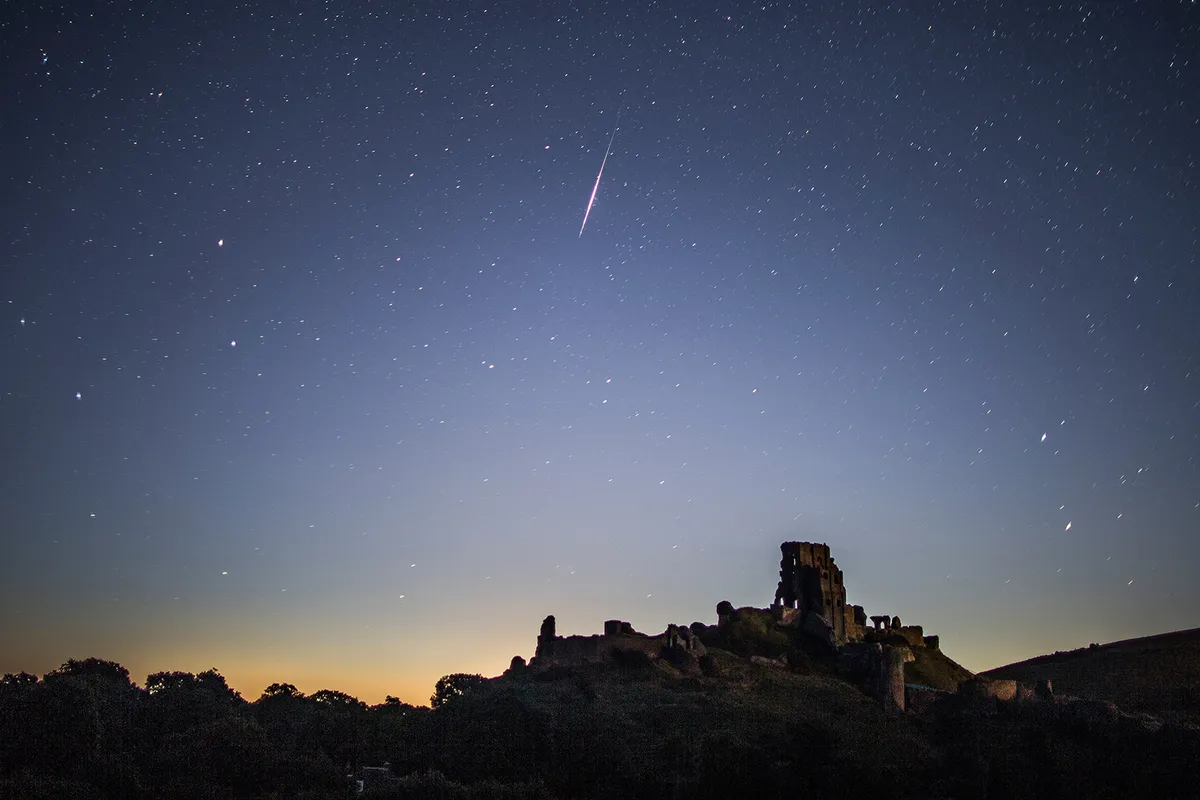
July and August are arguably the best time to see meteors.
The reason for this is undoubtedly the presence of the Perseid meteor shower, which peaks just before mid-August.
This is not the only active meteor shower at this time of year. Others include the Lyrid meteor shower, the Southern and Northern Delta Aquarids, the Southern and Northern Iota Aquarids, the Alpha Capricornids and the Kappa Cygnids.
Although less active than the Perseids, it’s the overlap of each shower’s activity that not only helps to raise the number of visible meteors but gives you the best possible chance to take some truly stunning photographs.
For more advice, read our beginners' guide to astrophotography and find out when the next meteor shower is taking place.

Why do meteor showers occur?
Understanding why meteors happen also helps you to make your pictures that little bit more special.
They occur when a small particle called a meteoroid, which is typically the size of a grain of sand, gets pulled towards Earth. Its first encounter is with our atmosphere.
Friction causes the meteoroid to heat up and, when its boiling point is reached, it begins to vaporise.
Molecules from the vaporised particle interact with the atmospheric molecules and temporarily raise them to an excited state.
They don’t stay like this for long, though, and when they return to normal they give off energy in the form of light.
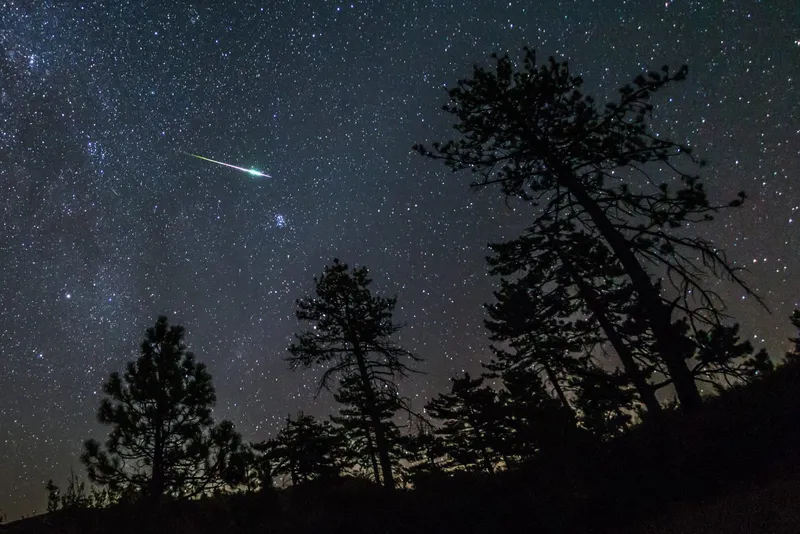
From the ground we see the light given off from these interactions in the form of a meteor trail.
The ‘burn-up’ process, called ablation, typically occurs at a height of around 96km (60 miles).
The trail leaves behind it a tube of ionised molecules which can persist for many minutes.
If you look carefully at the sky following a bright meteor, it’s sometimes possible to make out this tube while it glows subtly against the background of night.
This is known as a meteor train: particularly bright examples can last for several seconds.
Find out more about the science of meteor showers in our guide What causes a meteor shower?
Photographing meteor showers
Meteor photography isn’t actually that hard to do. You need plenty of patience but, once set up, the process of catching a meteor on camera is a waiting game – a bit like celestial fishing.
There are several prominent showers throughout the year. There include
- Lyrids in April
- Perseids in July and August
- Orionids in October
- Leonids in November
- Geminids in December
Selecting a camera for meteor photography
The first thing to consider when photographing meteor showers is your camera. As you need good sensitivity, a changeable field of view and longish exposures, a DSLR is the best tool for the job.
For help with this, read our guide to the best equipment for photographing meteors.
You’ll also need to cover a fairly large part of the sky: opt for a normal photographic lens with a focal length of 18-35mm if you’re using a non-full-frame camera, or a focal length of 28-50mm if you’re using a full-frame model.
The lens needs to be opened fully so that it’s set at its lowest f/number: f/2.8 is good, f/2.0 excellent, but f/1.4 is close to perfect. It also needs to be pre-focused at infinity and have autofocus turned off.
The focal length of the lens determines the field of view, with shorter focal lengths delivering the widest.
Meteors can appear anywhere in the sky, so you’d think that the best lens would be the one with the shortest focal length, but unfortunately this is not always the case.
The sad reality is that trails can look a bit puny in really wide-angle shots.
On the other hand, a wide-field lens comes into its own if a long-trailed fireball passes through the field of view. In this instance, a lens with a longer focal length may only catch part of the trail.
The simple fact is that a wider lens will catch more meteors than a narrower one, but a narrower lens will typically give better results.
This epitomises the main issue with meteor photography: every shot you take is a compromise.
Meteor shower photography: tips and techniques
When photographing meteors, your camera should be set to be very sensitive, with an ISO value of around 1,600 or 3,200.
These higher levels typically generate a fair bit of noise, but will also record more trails.
There’s no point in capturing an aesthetically pleasing image of the sky if you don’t record any meteors in it.
When film was used for meteor photography, it was common for astro imagers to use exposures of 10-30 minutes.
When using modern digital devices, exposures are best kept relatively short, around 30 seconds.
The easiest way to do this is to simply set the exposure time to 30 seconds (the maximum value for most DSLRs) and the shutter mode to continuous.
Holding the shutter button down then makes the camera take 30-second exposures, one after the other, until the button is released.
A lockable remote shutter release is the simplest way to keep the button depressed.
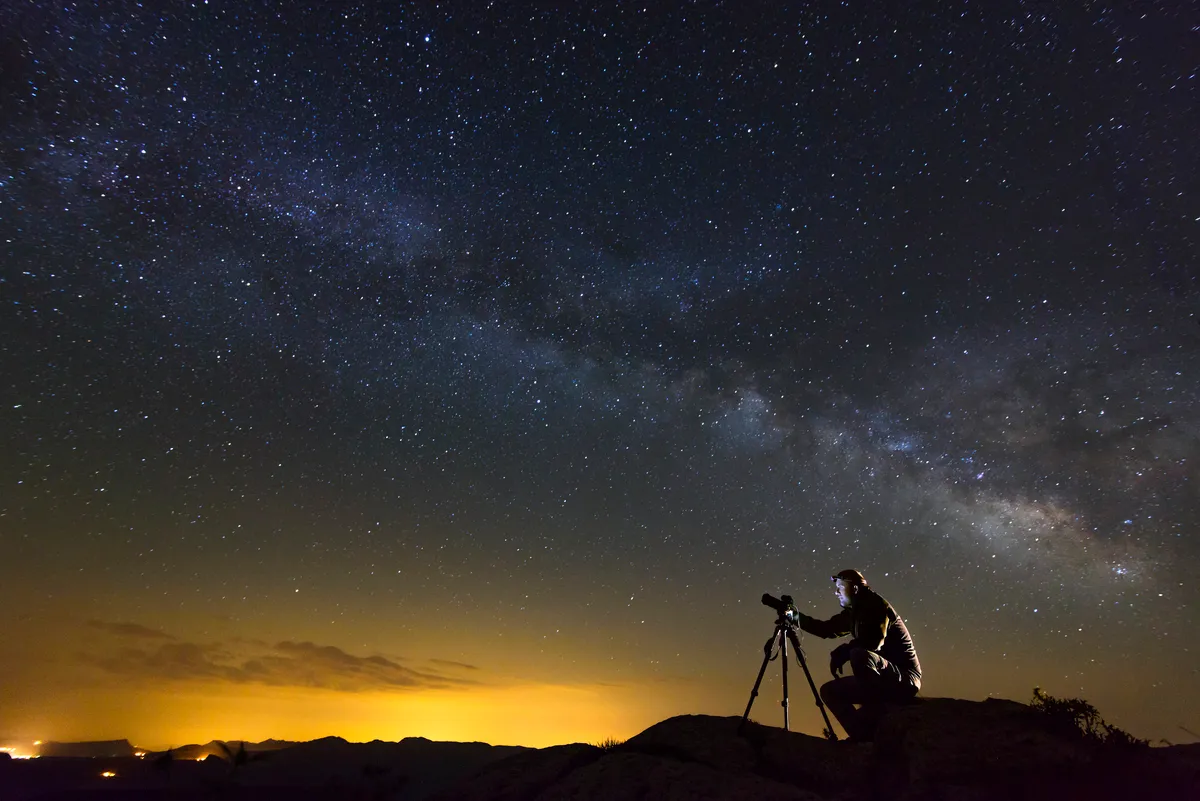
Selecting a mount for meteor shower photography
As far as mounting the camera goes, if you want to keep the same patch of sky in the frame, you’ll need to put the camera on a driven equatorial mount, perhaps piggybacked on a telescope.
Placing the camera on a fixed tripod works just as well, but in this case the stars will pass through the frame over time. If you keep your exposures short, they shouldn’t noticeably trail.
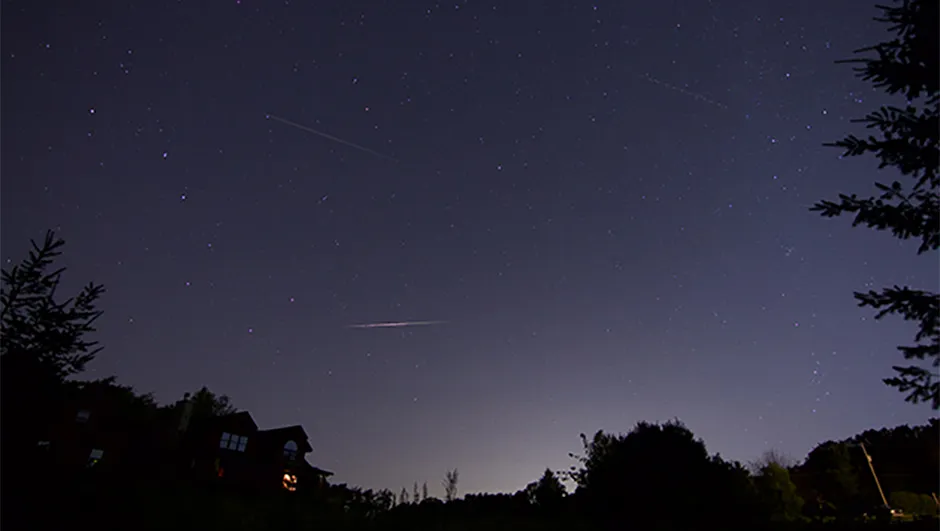
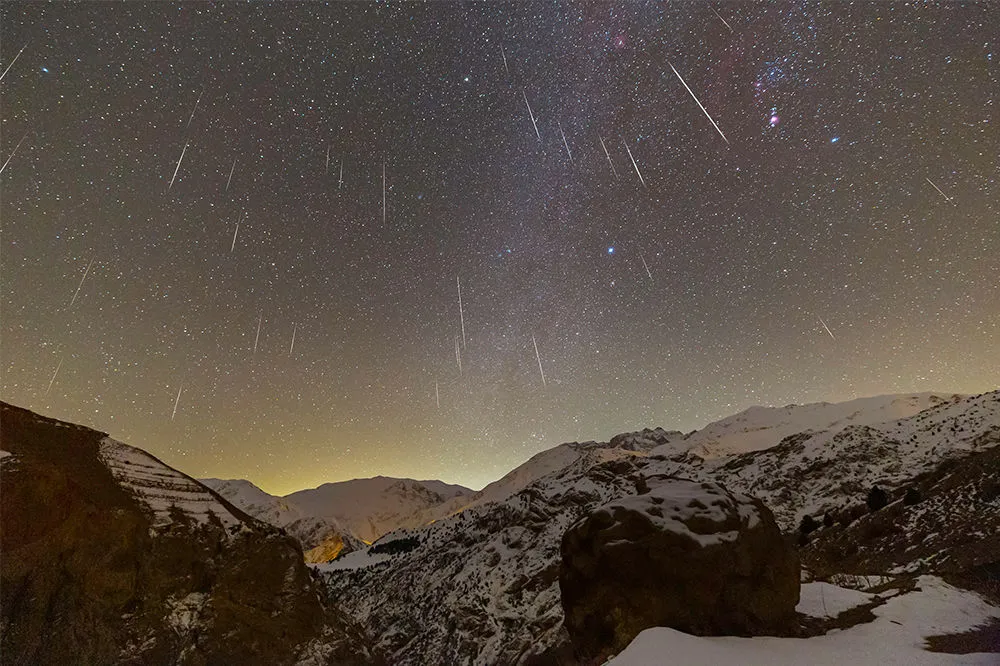
Finally, you’ll need to decide where to point your camera. If you aim it at the shower’s radiant, the meteor trails will be short; if you train your lens farther from the radiant, they’ll appear longer.
One good technique is to place the radiant close to the middle of either of the frame’s short edges.
This way any shower meteors are travelling along the long edge of the frame, so they’re less likely to move out of shot.
This perspective also shows you where the meteor trails come from in the sky.
A good rule of thumb is to point the camera so it’s aiming about 60° above the horizon.
At this angle it’s not looking through the murky layers of atmosphere that would dim meteor trails, but still pointing through a thick enough layer so that you see more meteor trails than you would looking directly overhead.
Of course, some will pass above you, but as we've said, meteor photography is all about compromise.


