By star-testing a telescope you'll be able to judge how well made or collimated (aligned) the lenses or mirrors are. You can then use the results to fine-tune the optics and squeeze the most out of your scope for perfect views.
To carry out a star test you need to observe a bright star with your telescope and a high-magnification eyepiece, looking at the star when it’s in focus, when it’s inside focus and when it’s outside focus. The patterns of concentric rings that the star makes reveals the state of your scope’s optics.
The star should be high in the sky so that atmospheric effects don’t cause it to twinkle too much. If the stars are twinkling heavily, don’t bother with a star test because you won’t get good enough results.
More DIY astronomy:

Wait for a night of good seeing instead. A tracking mount is handy for keeping the test star in the field of view through the night.
If you don’t have a tracking mount, you can observe Polaris (the Pole Star) as it hardly moves. On the flip side, Polaris isn’t particularly high or bright.
Use an artificial star to star test
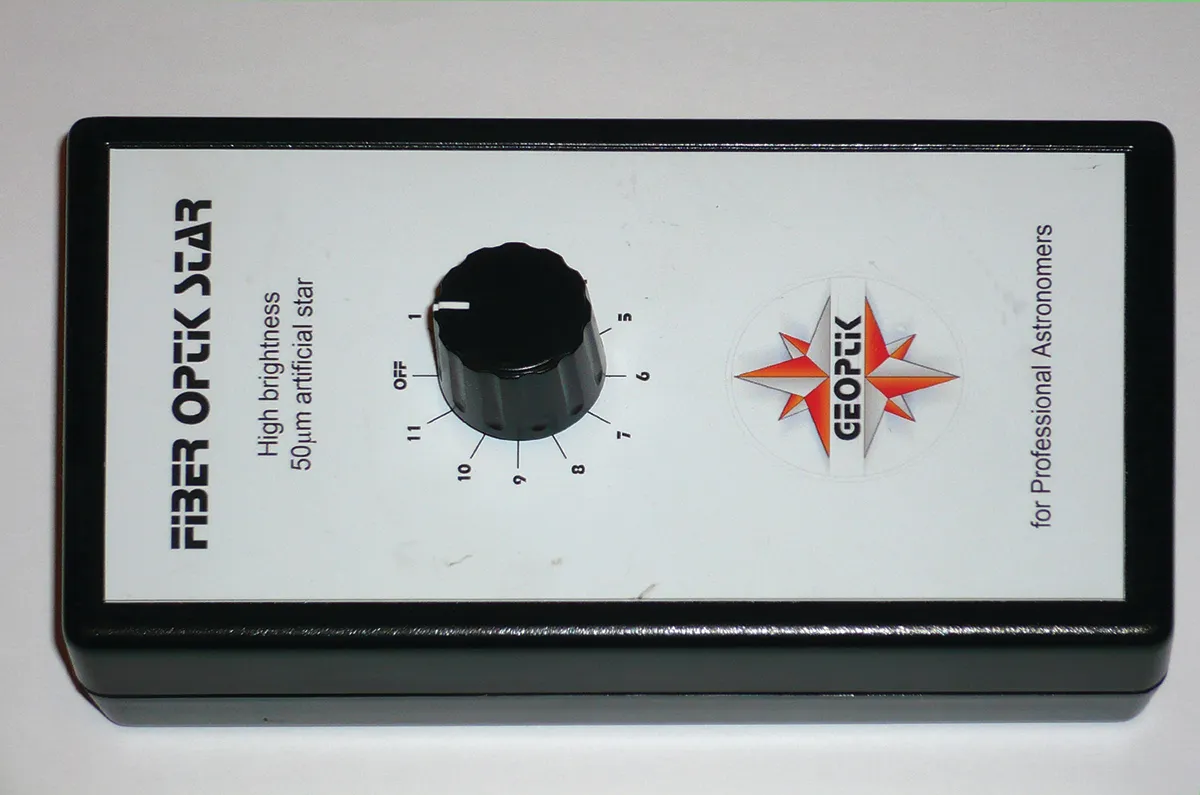
Alternatively, you can do a star test in any kind of conditions using an ‘artificial star’. This is a piece of kit that uses a white LED and a small length of fibre-optic cable to make a star-like source of light.
Place it 25 to 50m (80 to 160ft) from the end of the telescope and you can star test even when it’s cloudy.
Use a webcam to star test

Another way to get round an unforgiving atmosphere is to make your star test observations with a webcam and then take as long as you want analysing them on a computer indoors.
A freeware program such as K3CCDTools can extract images from a webcam movie file so you can grab the images quickly when, for instance, the sky briefly clears during a night of passing cloud.
How to star test

Before you begin star testing, make sure the telescope has cooled down to the ambient air temperature. This will take at least an hour after setting up.
You’ll be able to tell if the scope needs more time to cool if you can see streaks and streamers ‘bleeding’ away from the out-of-focus view of your star. These are caused by air currents inside the scope’s tube distorting the view.
If you’ve got a reflecting telescope, you also need to make sure that it’s collimated. For more on this, read our guides on how to collimate a Newtonian or how to collimate a Schmidt-Cassegrain.
You’ll know that your reflector is properly collimated when the out-of-focus concentric rings of a bright star are perfectly aligned, one inside the other.
If the concentric rings are grouped to one side then your telescope will need adjusting.

You are now ready to begin star testing. Adjust the focuser so that it’s at inside focus, then move it through the point of focus to a similar point outside focus.
Note the pattern of the concentric rings that appear at inside focus. In a perfect star test the pattern the rings make should be identical to those outside focus – see the example above.
This shows that your telescope is free of aberrations. You should also look at how clear the rings are, because this shows how smooth your mirror is. If the telescope has ideal optics, the rings should be clearly defined.
You’re looking for the same things whether you’ve got a reflector or a refractor. The only difference is that reflectors show a dark ring near the centre of the concentric ring pattern, which is due to the secondary mirror.
Refractors won’t have this, so there will be fewer rings in their out-of-focus ring patterns.

We’ve described a perfect star test, but this hardly ever happens. It’s very likely that your scope will show signs of aberration.
One of the most common is astigmatism. You’ll know that the objective mirror or lens of your scope has this if the concentric ring pattern looks elliptical rather than circular and its long axis moves through 90º as you move throughthe point of focus.
It’s often caused by the mirror clamps being too tight, which distorts the mirror. Ease them off a bit to fix the problem.

A star test also reveals a feature of a telescope’s optics known as spherical aberration. It happens because the outer parts of the mirrors or lenses don’t bring light rays to the same point of focus as those hitting the centre.
Some telescopes have this aberration – usually cheap, poor quality ones – making faint objects hard to see. If the effect is bad it can make pin-sharp views impossible.
There are two types of spherical aberration: over-correction and under-correction.
Over-correction is when the concentric rings inside focus are diffuse and not well defined, while those outside focus are sharply defined.
Sharp rings inside focus, together with misty rings outside of focus, shows under-correction.
The bigger the difference between the inside- and outside-focus patterns, the greater the aberration.
If the outer ring has little spikes, like whiskers, radiating from it, it shows that the mirror has a ‘turned-down edge’. One way of combating a turned-down edge is to place a circular mask around the end of your scope, blocking off the outer few millimetres. This will remove the effect from the pattern that you see.
A star test is a great way to learn more about your scope and make the night sky look even better.
What you need to star test your telescope
1
Artificial star
Consider using this device, which allows you to star test and collimate your scope on cloudy nights. It can cost a fair bit, but you can make one by taping a piece of foil over a white LED torch and making a tiny pinprick in front of the LED.
2
Mirror mask
If you’re testing a mirror, reducing its aperture by placing a circular ring of card about 5mm wide over the end of the scope will help you detect the presence of an optical fault known as a ‘turned-down edge’.
3
Webcam (optional)
A webcam can help in a star test because you can see the images large on your laptop’s screen and you can capture an image to look at later on. The free version of K3CCDTools software helps you do this. You can download it from www.pk3.org/Astro/
4
High-power eyepiece
You’ll need an eyepiece that gives you a magnification of about 1.6x the aperture of your telescope. For example, for a 150mm (6-inch) telescope, you’d need an eyepiece that gives you a magnification of 240x.
To work out which eyepiece will give you this magnification, find the focal length of your telescope and divide it by the focal length of the eyepiece.
If your 150mm-aperture telescope has a focal length of 1,200mm, you’ll need to divide the focal length (1,200mm) by the magnification (240x) to get the eyepiece’s focal length, which turns out to be 5mm.
If you don’t have a short focal length eyepiece, you could use a 10mm eyepiece and a 2x Barlow lens.


