In this tutorial we'll show you how to make your own pinhole camera and trace the path of the Sun across the sky.
In doing so, you'll be creating a solargraph: a long-exposure star trails type image, but rather than tracking the night sky rotating around the north celestial pole, it shows the path of our Sun.

Solargraphy is an easy branch of astrophotograpy to get involved in, and one that delivers impressive results for little effort – so long as you are prepared to wait.The solargraph capture you see above had an exposure time of six months.
A pinhole camera can be easily made at home using readily available materials. After this reading this article, you’ll be able to use it to produce your own record of the Sun’s progress.
If you're interested in more summertime activities, read our guide to daytime astronomy.
Tools and materials for making a pinhole camera
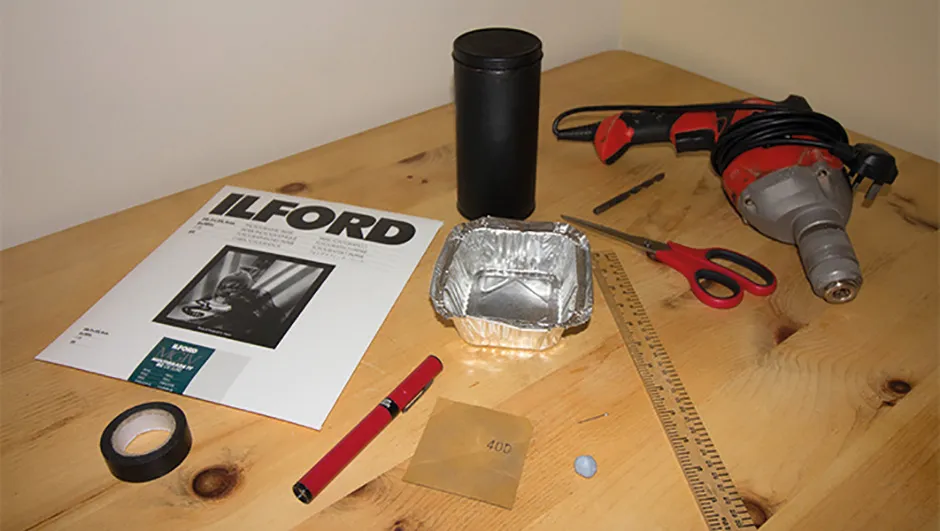
- Scissors
- Ruler
- Emery paper
- Straight pin
- Drill
- Suitable container (tall, cylindrical ones are good for solargraphy)
- Aluminium foil
- Photographic paper
- Black tape
- Matt black paint
- Computer with flat-bed scanner
Safety
When doing any form of solar observing or solar photography, you need to consider the risks, as looking at the Sun without proper equipment can damage your eyesight.
The form of solar photography we're describing here is completely safe.
A pinhole camera does not have a lens in it that can refract, focus and intensify sunlight. This means it can be safely left pointing directly at the Sun for the duration of the exposure.
It is also not necessary for anyone to look at the Sun when using this technique.
All that's required is a knowledge of which general direction in the sky the Sun is going to be when choosing a suitable site for the camera.
You may be concerned about privacy, seeing as each exposure can last for months at a time.
This is not an issue either, as people do not show on any of these long exposure images unless they remain still for the duration of the capture – which given the time periods involved, would be quite an achievement.

Processing your pinhole image
You can use any sort of photographic paper in your pinhole camera, and this is readily available from any retailer that sells photographic supplies.
Photographic papers, being of low sensitivity, are ideal for long exposures and usually perform very well for solargraphs.
No chemical processing is necessary after the exposure is completed; the paper negative is simply scanned into a computer using a flat-bed scanner.
Once you have done this, you can use processing software to invert, flip or rotate the scanned image, or enhance the solargraph if desired.

Where to put your pinhole camera
Your completed pinhole camera can be sited almost anywhere, but get permission from the site owner and be sure not to trespass on anyone’s property when choosing a location.
Also consider which direction you aim the camera. In the northern hemisphere, it's best to avoid pointing the pinhole north, as it will see very little direct sunlight.
The exception is if you are planning on capturing a ‘reflected’ solargraph, for example from window glass or a mirror-windowed building.
In the southern hemisphere, it's best to avoid pointing the camera south for the same reason.
Locations well-lit by sunlight, whether that be direct or reflected, will give the best results in terms of foreground detail.

How long to leave it
Exposures don’t have to last for months. They can be as brief as a few hours for a short solargraphy trail.
That said, results are usually more impressive when they are exposed for longer periods.
A three-month exposure, say from an equinox to a solstice or vice versa, is a good duration. This will expose a lot of trails onto the solargraph.
However, a relatively short duration solargraph of only a few days can also produce excellent results.
When you scan solargraphs exposed on black and white photographic paper it can produce a nice colour tint.
So, why not have some fun making your very own solargraphy pinhole camera?
It could provide you with a unique photographic memory of the Sun’s apparent path through the sky at home or at one of your favourite places.
Making a pinhole camera: step-by-step
Step 1
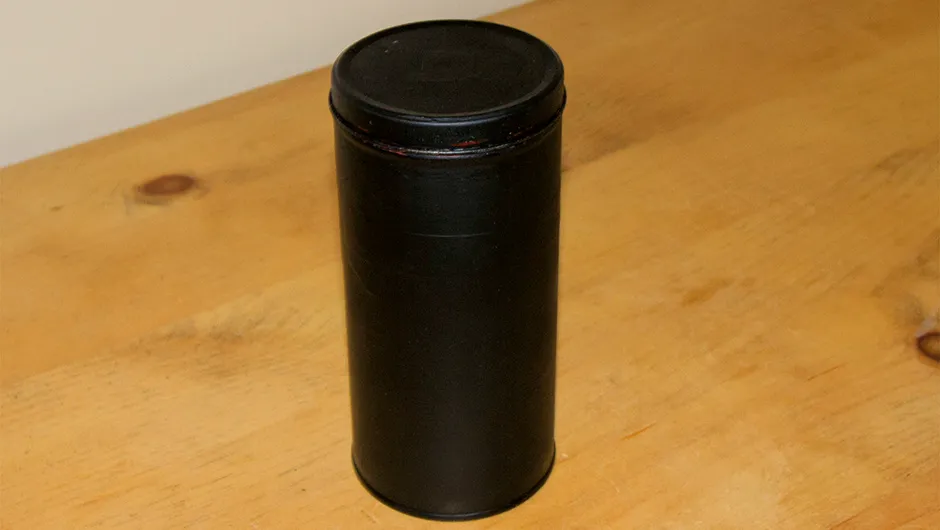
Choose a weatherproof container unless you are going to place the camera indoors.
Drill or cut a 6mm hole in the container.
For solargraphy, it is best for the hole to be closer to the top; ours was cut 4cm from the top on this container.
Step 2
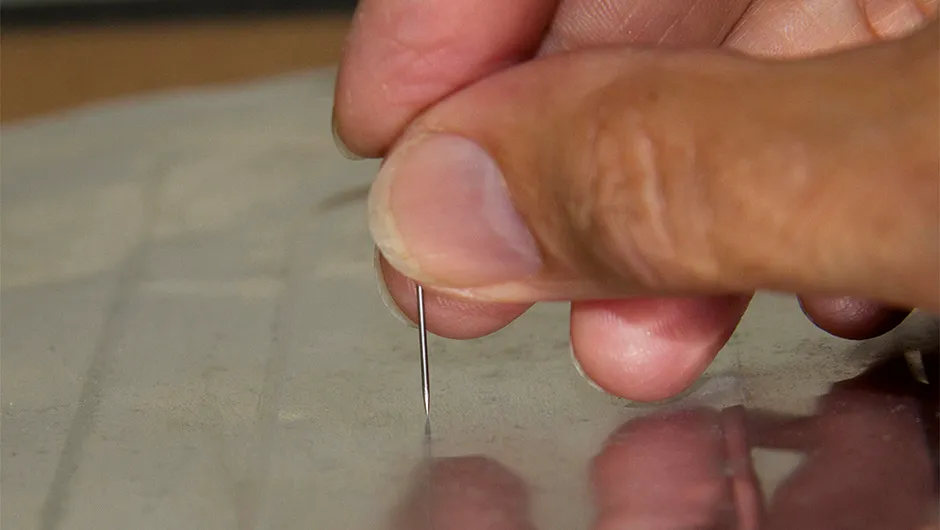
Use a pin to make a hole in a small square of aluminium foil.
This is where the light from the view will project through onto the photo paper inside.
Mask off the pinhole with black tape, then tape it over the outside of the container so it lines up with the drilled hole.
Step 3

Paint the inside of the container with matt black paint or line it with black card to minimise any unwanted internal reflections.
Make sure the pinhole is not covered.
Affix a small patch of black tape over the pinhole to act as a shutter.
Step 4
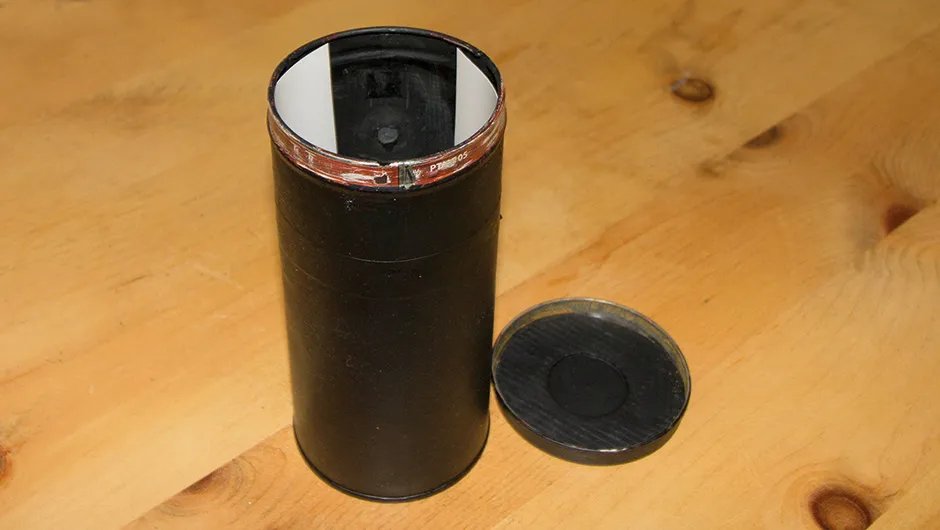
Under dimmed lighting, cut the photo paper to fit the container.
Use it to line the inside of the container, with the emulsion side facing inwards and centred facing the pinhole.
Once inserted, seal the top so the container is lightproof.
Step 5
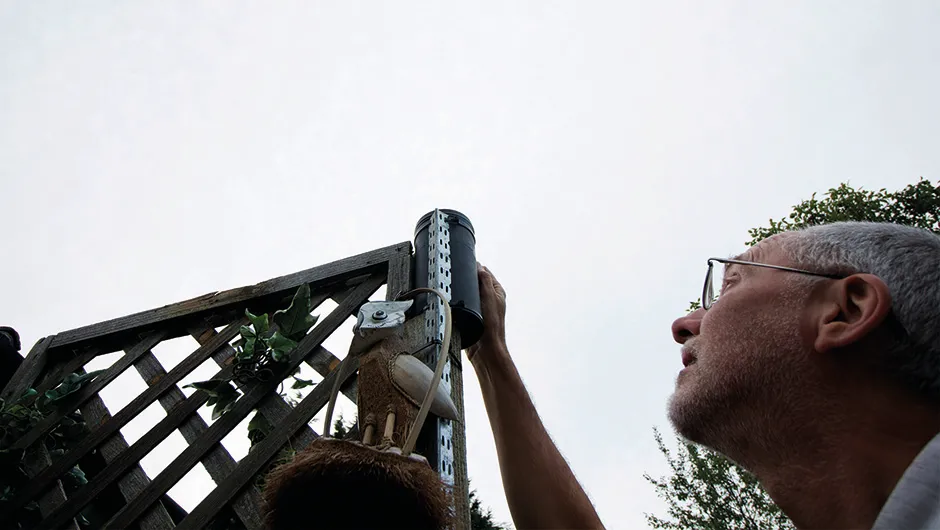
Choose a location with a good view of the Sun’s path across the sky.
Make sure the container is located somewhere where it will be safe and you have permission to set it up.
Remove the tape from the pinhole to begin the exposure.
Step 6
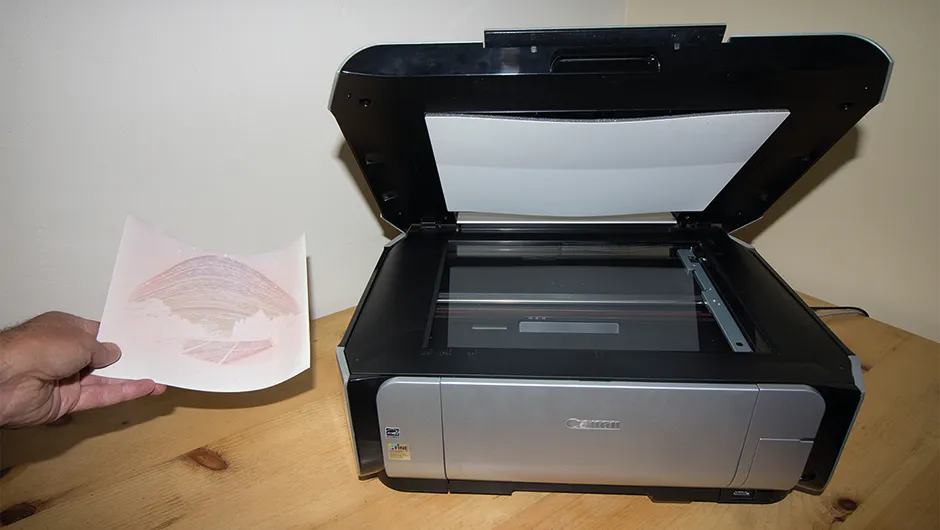
After a suitable length of time, cover the pinhole and retrieve the camera.
In dimmed light, remove the photo paper and scan it on a flat-bed scanner to produce the solargraph.
Use photo-editing software to enhance the image if desired.
If you have a pinhole camera, share your images with us by emailing contactus@skyatnightmagazine.com

