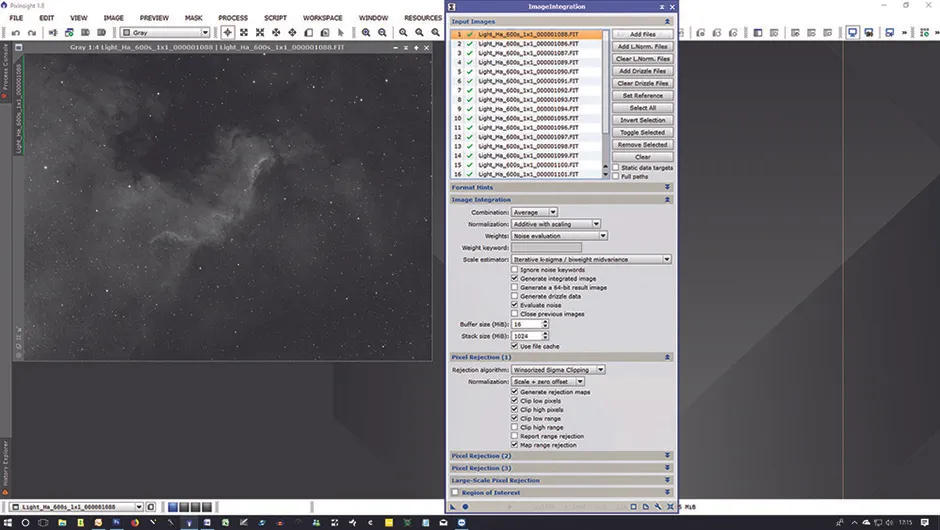
In astrophotography, stacking, also known as integration, is all about increasing the signal-to-noise ratio (SNR) of your images; in other words, increasing the signal that you do want and reducing the noise you don’t.
Every image you capture contains both signal and unwanted noise.
Over time the noise level grows at a slower rate than that of the signal so very long exposures produce higher signal-to-noise ratios resulting in smoother, cleaner, more detailed images.
However, there are limits to the exposure lengths you can achieve in astrophotography.
These limits are set mainly by: the accuracy of your mount’s tracking; the amount of light pollution and atmospheric conditions at your location; the sensitivity of your camera; the focal ratio of your telescope; how bright the object is you’re imaging; and the risk of exposing your image until the pixels over-saturate.
Meanwhile, images captured at too short an exposure will fail to pick up the very dimmest details in your target.
Instead of long exposures, then, astro imagers shoot as many similar images of their target as they can and then combine them into a single image using stacking.
There is no hard and fast rule for the number of images required for the process but typically a batch of around 20 images is ideal, though any number over five will yield noticeable improvements.
What is stacking in astrophotography?
Unwanted noise in a typical image tends to be random across different exposures whereas the desired signal is consistent.
When a set of images is stacked, the individual image values are averaged, which means that the random noise overall diminishes but the signal remains constant.
This means that the ratio of the signal to the noise increases, resulting in a much cleaner, more detailed image with a smoother background.

What is dynamic range?
As well as striving to increase the SNR of their images, astro imagers also aim for a wide dynamic range.
Dynamic range is the spread of brightness levels from the dimmest recorded light value that can be captured to just before pixels become saturated.
Objects with a wide dynamic range include the Andromeda Galaxy and the Orion Nebula, with their intensely bright cores and much fainter outer regions.
A single image of these could easily reach saturation on the brightest areas before the dimmer details have registered at all.
But when you stack several unsaturated images together, the dimmer values accumulate into higher values, bringing fainter objects over the bottom limit of the dynamic range (in other words, you can start to see them), while at the same time the brighter values increase as well.
Stacked images, therefore, display a wider dynamic range.
To take advantage of this seemingly win-win process, a few additional steps need to be carried out.
Noise isn’t limited to the quality of the signal received by the sensor.
There are unwanted signals generated by the camera’s sensor itself; thermal noise as the sensor warms up during long exposures; variations in pixel-to-pixel sensitivity; shadows caused by dust particles; and vignetting of the light cone.
This additional degradation of the image is tackled by a process called calibration, which involves capturing extra one-off frames that are included in the stacking process to ‘subtract’ noise.
A useful piece of jargon to know at this point is that all the individual shots of your target image are called light frames when it comes to the calibration process.
Once the images have been calibrated, they need to be aligned with one another before the stacking.
The calibration, alignment and final stacking processes can be easily carried out using specialist astronomy-based image processing software.
DeepSkyStacker is an excellent free program but other commercial image processors like Astroart, Astro Pixel Processor, MaxIm DL, Nebulosity and PixInsight are worth considering.
As ever, your best bet is to start small, experimenting with a few frames on easy objects, and work up from there. Because mastering stacking is a key skill when it comes to truly awesome deep-sky images.
Understanding calibration frames
Your starter’s guide to calibration frames – what each one does and how to create them.
1
Bias frame
What it is used for -Removing the readout signal from you camera sensor – even when a pixel has not received any sort of signal there is still variation in how the camera reads data off the sensor
How you produce one -Cap the telescope and take the shortest exposure possible
2
Dark frame
What it is used for-Correcting the variable dark current generated in each pixel as the sensor warms up during long exposures that can produce what are known as ‘hot pixels’.
How you produce one- Cap the telescope and take exposures that match the length and temperature of your image captures (which are known as light frames).
3
Flat frame
What it is used for-Correcting the variable light sensitivity of pixels across the sensor; correcting vignetting and removing the shadows cast by dust particles.
How you produce one- Capture an image while the telescope is pointing at a uniformly illuminated light source with the focus set at the same position used for the light frames.
