Photographing constellations is a great way to start taking astrophotos. You’ll capture some captivating images and get your bearings at the same time.
And it's not just constellations that make recognisable patterns in the sky. Asterisms, such as the Plough - also known as the Big Dipper - in the constellation Ursa Major, make good, identifiable photo subjects.
These familiar groups typically consist of the brightest stars in a constellation and miss out the fainter stars that make up its main shape.
For a more in-depth look at nightscape photography, read our guide on how to photograph stars. Read our beginner's guide to astrophotography or visit our dedicated web page for more astrophotography guides.
Another one to look for is the Sickle in Leo, which looks like a back-to-front question mark. The swarm of stars that is the Milky Way makes for a good target too, especially during the summer and early autumn, when the band of our Galaxy cuts across the night sky.
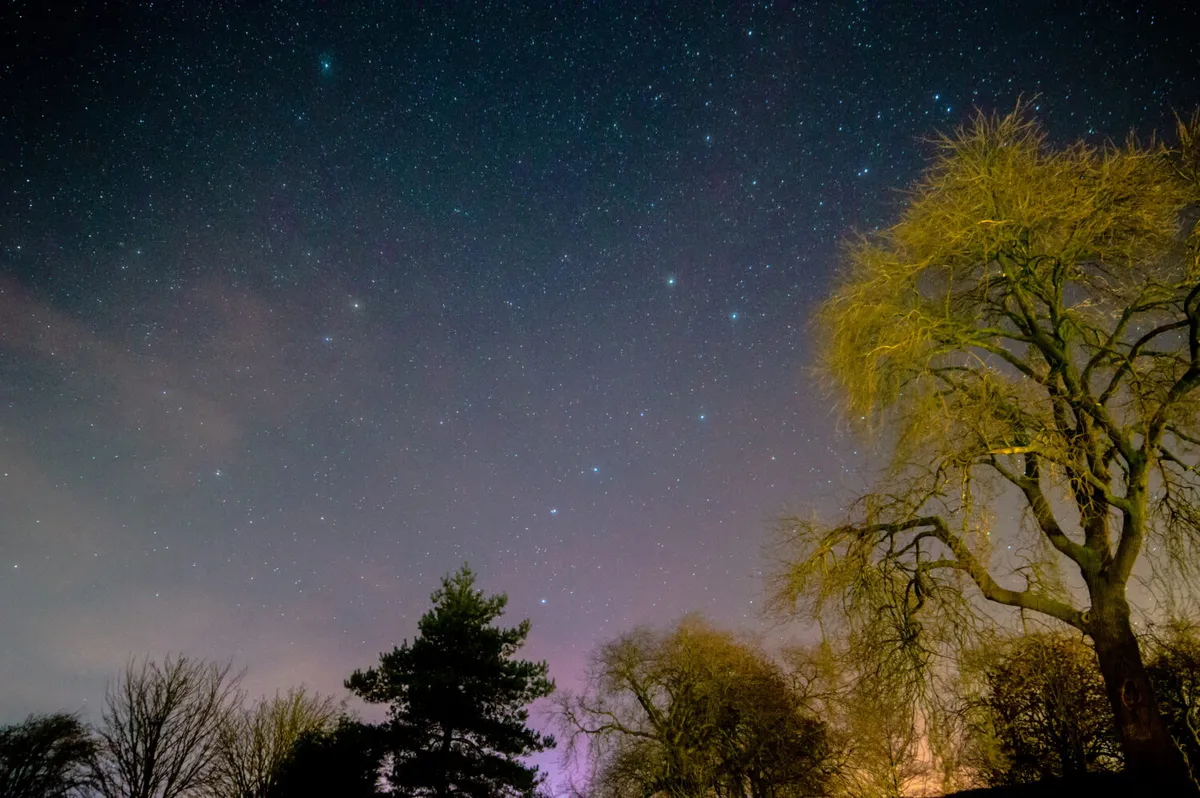
When they’re high in the sky, the constellations are ideal if you’re after an uncluttered photograph. But they can also look great when they’re near the horizon, either rising or setting.
Adding a foreground object into the frame can really enhance the look of your nightscape photos too – experiment with houses, trees and your surrounding landscape.
Depending on what time of year it is, there are a range of constellations worth capturing, read our guides to the best summer constellations and the best winter constellations.
How to photograph a constellation
Follow our step-by-step guide below to take a photograph of a constellation in the night sky. And for a detailed guide to imaging the Plough asterism in the constellation Ursa Major, scroll down further.
Choose your subject and position
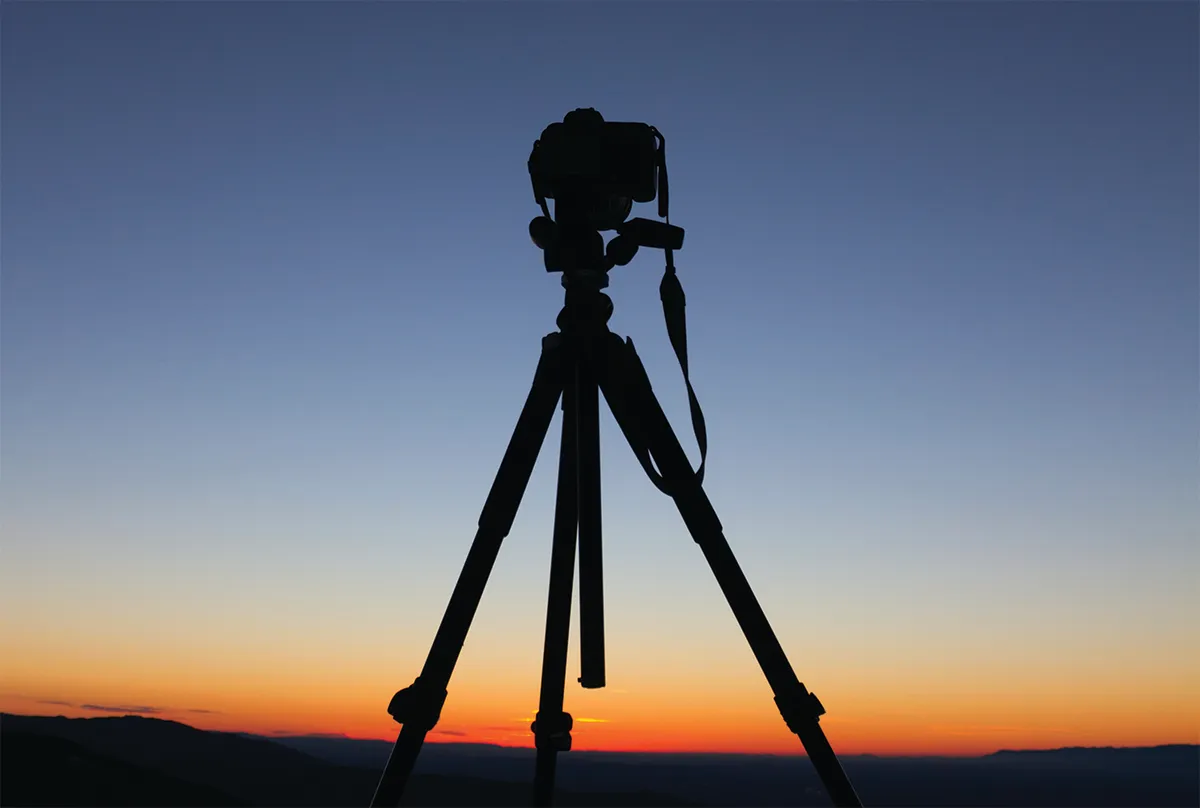
Choose the constellation you want to photograph and point your camera to frame the subject nicely. To orientate the constellation in the frame for a better composition, you may need to adjust the tripod legs as well as the tripod head, which the camera sits on.
Find the sharpest focus
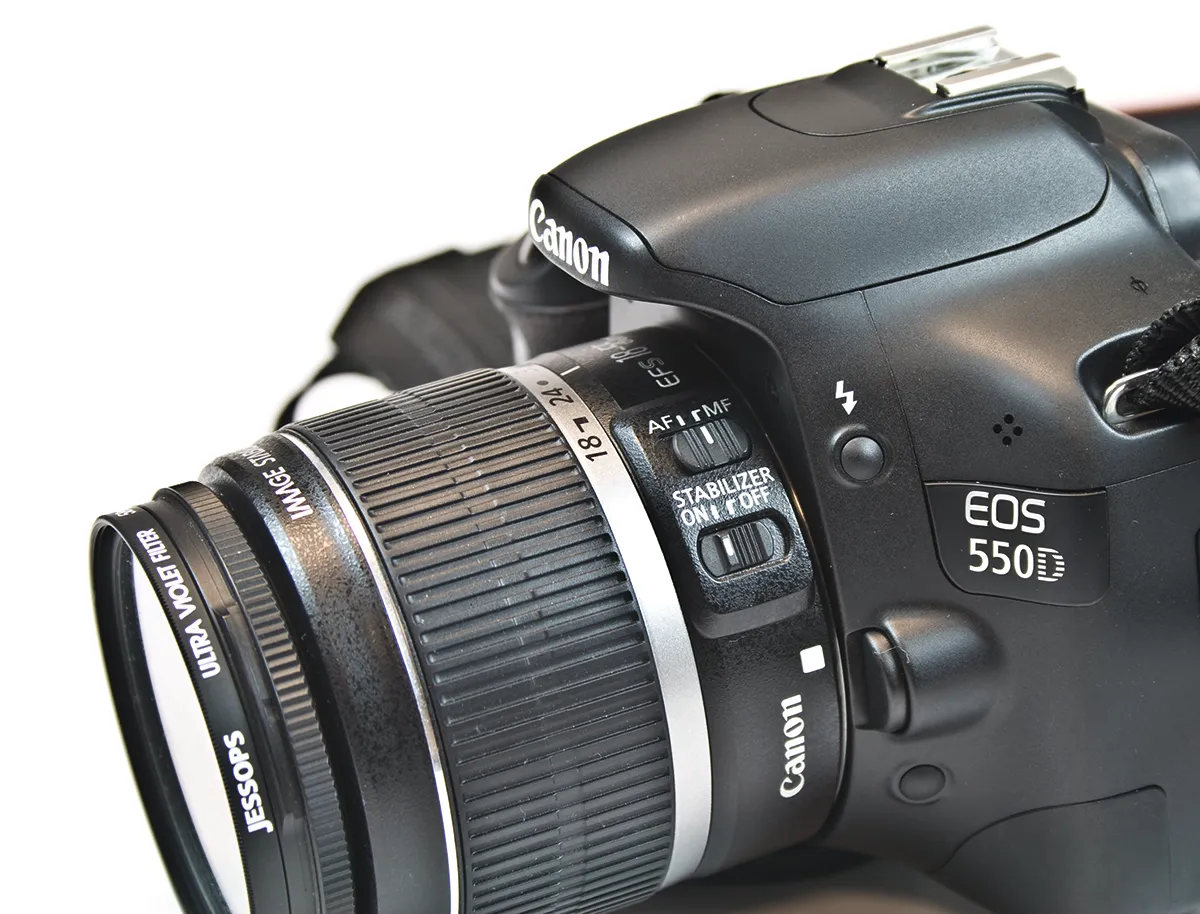
Carefully check the focus and if you’ve used autofocus recently, turn it off. Take several test shots and then zoom in on them using the live view screen to judge whether the focus setting you’ve used has sharpened the stars.
Adjust the camera settings manually

Put the camera in manual or ‘M’ mode, and use the menu to set the ISO and exposure, plus any picture adjustment settings. Make sure you’ve turned off the flash and that there won’t be any automatic noise reduction routines active, which can remove fainter stars.
Capture and review images
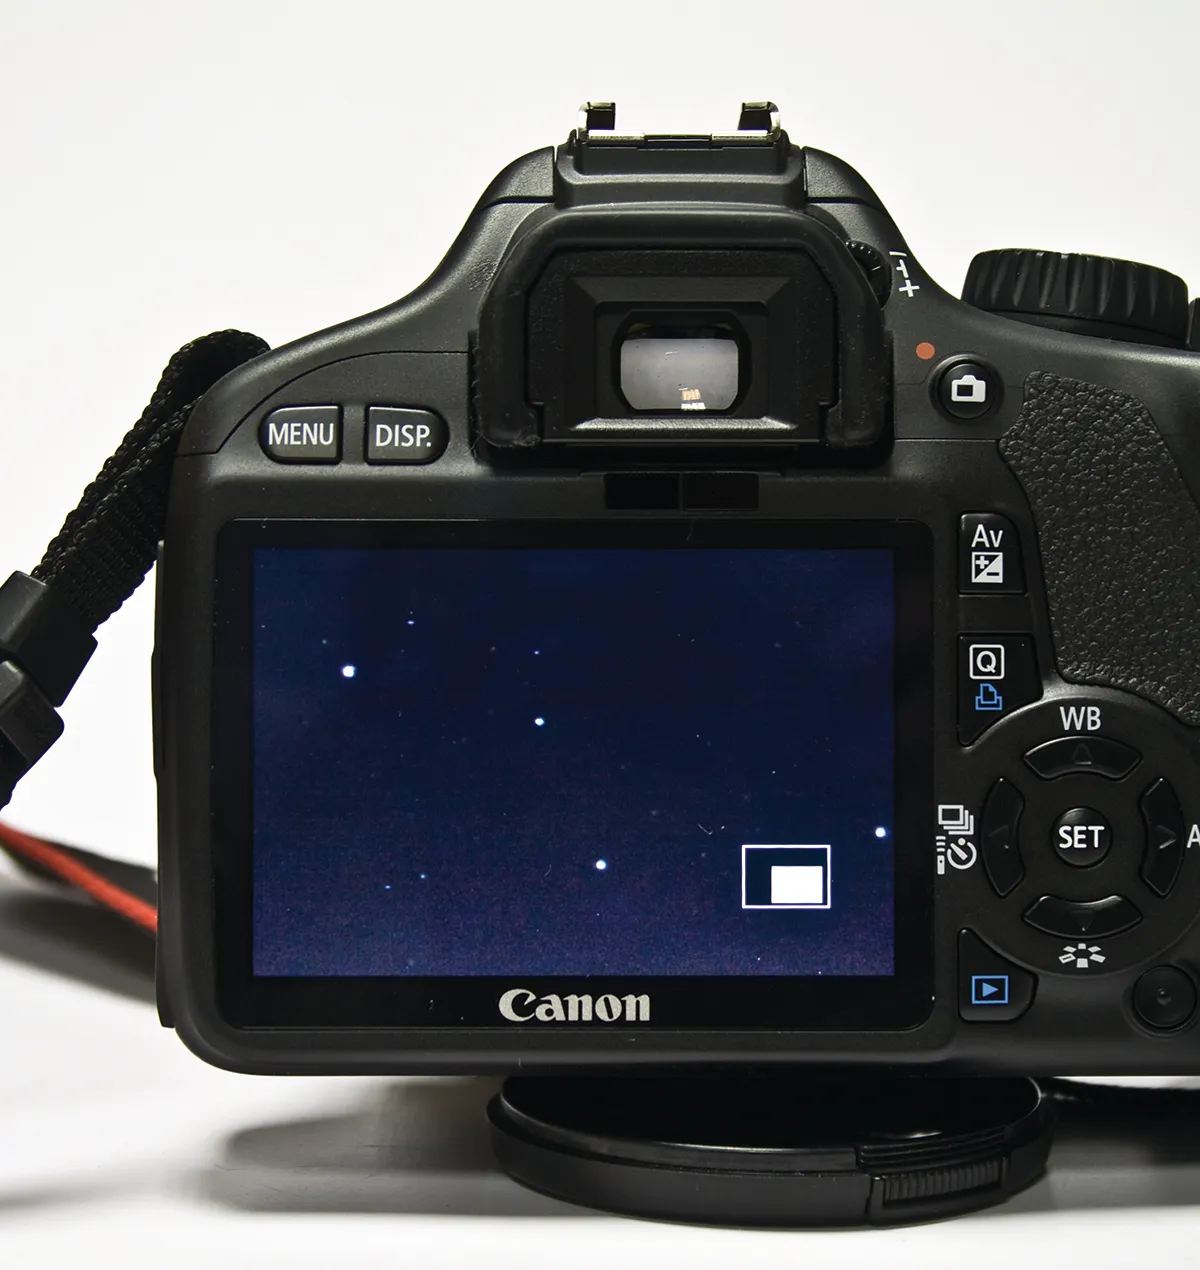
Take your image using the shutter release cable and review it for sharpness with the zoom function. Consider the brightness of the sky and check whether the stars are trailed. If they are, take another image with a shorter exposure time and open the aperture one f/number wider.
Photographing the Plough: step-by-step
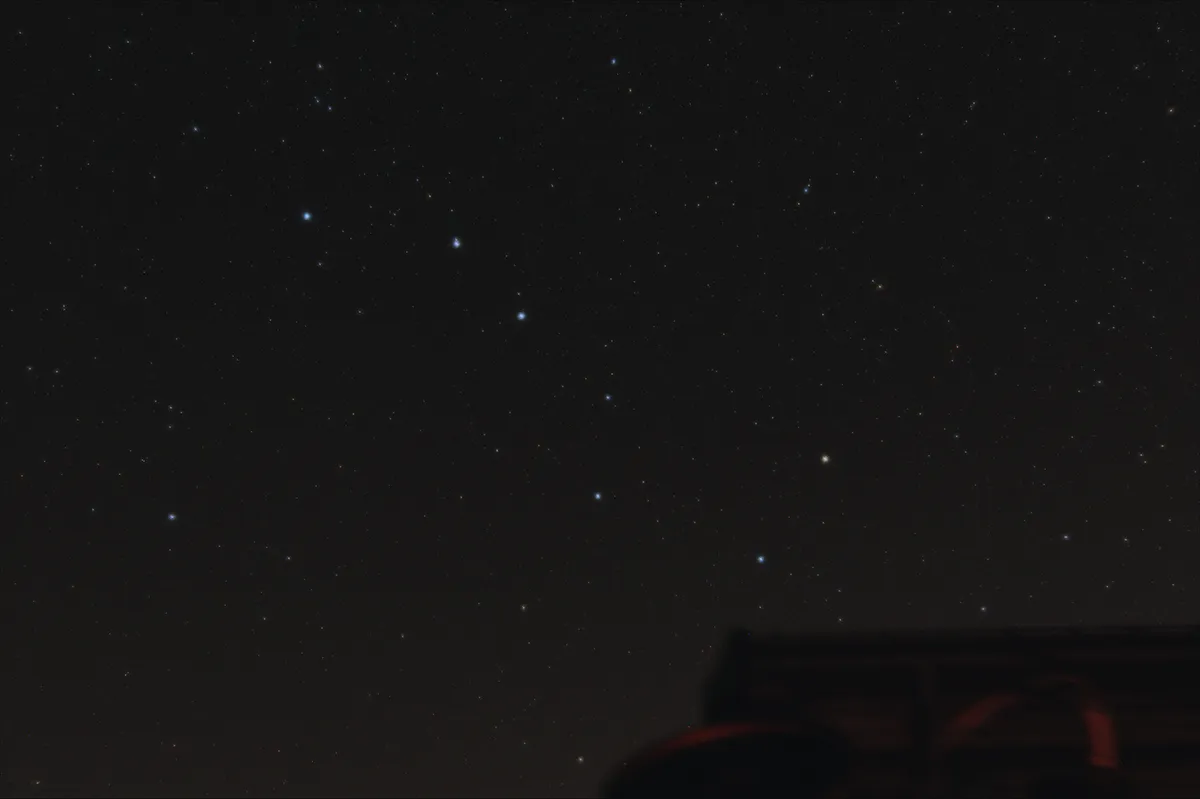
So what's the best way to take a picture of the Plough? Follow our simple steps below and capture this beautiful asterism in the Ursa Major constellation.
- Mount your camera on a tripod and attach the remote shutter release.
- Set the aperture to its widest setting (the smallest f/number).
- Choose an ISO setting of 400 and a shutter speed between 10 and 30 seconds.
- Press the shutter release to take the picture.
- If you need to use the bulb setting, use a watch to keep track of exposure time so you know when to release the shutter.
- Review your image on the camera’s live view screen, using the zoom function to see whether the stars in the image are sharp.
- If the stars are blurry, try making the aperture smaller by one full f/number and increasing the exposure time.
- To capture more stars you can increase the ISO, but remember that if you’re photographing from a light-polluted area, increasing the imaging chip’s sensitivity will also increase the amount of orange streetlight glow that’s picked upin the photo.
Pete Lawrence is an experienced astrophotographer and a co-presenter of The Sky at Night. Paul Money is BBC Sky at Night Magazine's Reviews Editor.


