Dark frames play an important part in the production of quality deep-sky images, removing unwanted noise artefacts. It is all too easy to forget about calibrating your astrophotos, yet the rewards far outweigh the extra time required to do so.
As your camera’s sensor warms up during long exposures required for deep-sky imaging, the temperature increase is misinterpreted as light, producing thermal noise that is overlaid on your image data.
Longer exposures generate greater levels of thermal noise, especially with DSLR cameras as these don’t have the benefit of a Peltier cooling system to keep them at a temperature many degrees below ambient.
Thermal noise has two different forms: an overall mush of noise and the more obvious ‘hot pixels’ that show as bright dots of light.

How do dark frames help?
Dark frames – that is, frames taken with the same settings as your main image frames but with the lens cap on – can help you to deal with this problem in astrophotography.
It is important that dark frames should match the parameters used for capturing your deep-sky images with regard to exposure length, ISO number (where appropriate) and temperature.
This ensures that the noise profile of the two image types can cancel one another out during the calibration process, thus removing the thermal noise to a large extent.
The exposure length and ISO are easy to replicate, but temperature is harder to match with a DSLR camera than with an astronomical CCD that has Peltier cooling.
With a DSLR camera you should capture your dark frames in similar ambient conditions to your image frames, ideally during the same imaging session.
If your CCD has set-point cooling you can use what are known as ‘library darks’.
These are a set of dark frames taken at some previous time that can be re-used again and again, although you should refresh them every six months or so to compensate for ageing in the sensor.
Store a range of dark frames taken at different exposure lengths to ensure an accurate match to subsequent image frames.
Aim to capture 16-30 dark frames for conversion into a single master frame to average out the noise artefacts and increase the signal to noise ratio.
This ensures that the dark frame doesn’t add any unwanted noise of its own to your images.
Download your dark frames from a camera in exactly the same way as your image frames so, in addition to holding a facsimile of the thermal noise profile of your sensor, dark frames also hold the bias data for your sensor.
As both bias frames and dark frames need to be subtracted from your images during calibration, you can also use your dark frames to bias correct your images.
However, if you are calibrating with flat frames, a set of bias frames will still be required to calibrate the flats.

Although there are numerous programs that can be used to apply dark frames, here we’re going to concentrate on two popular packages: DeepSkyStacker (free) and MaxIm DL (commercial).
In DeepSkyStacker, select the calibration files along with the image data files by clicking, in turn, Open Picture Files > Dark Files; Flat Files; Dark Flat Files; and finally Offset/Bias Files.
Of course, if you are only applying dark frames, you can ignore the other calibration sets.
The chosen data files are then selected for the final processing by clicking on Check All.
DeepSkyStacker’s default parameters work very well, so simply select Register Checked Pictures and tick the Stack After Registering check box.
Finally, click OK to calibrate and stack the images.
MaxIm DL uses a two-part process in which the dark frames are first stacked to produce master darks, which are then applied to the image frames automatically prior to stacking them.
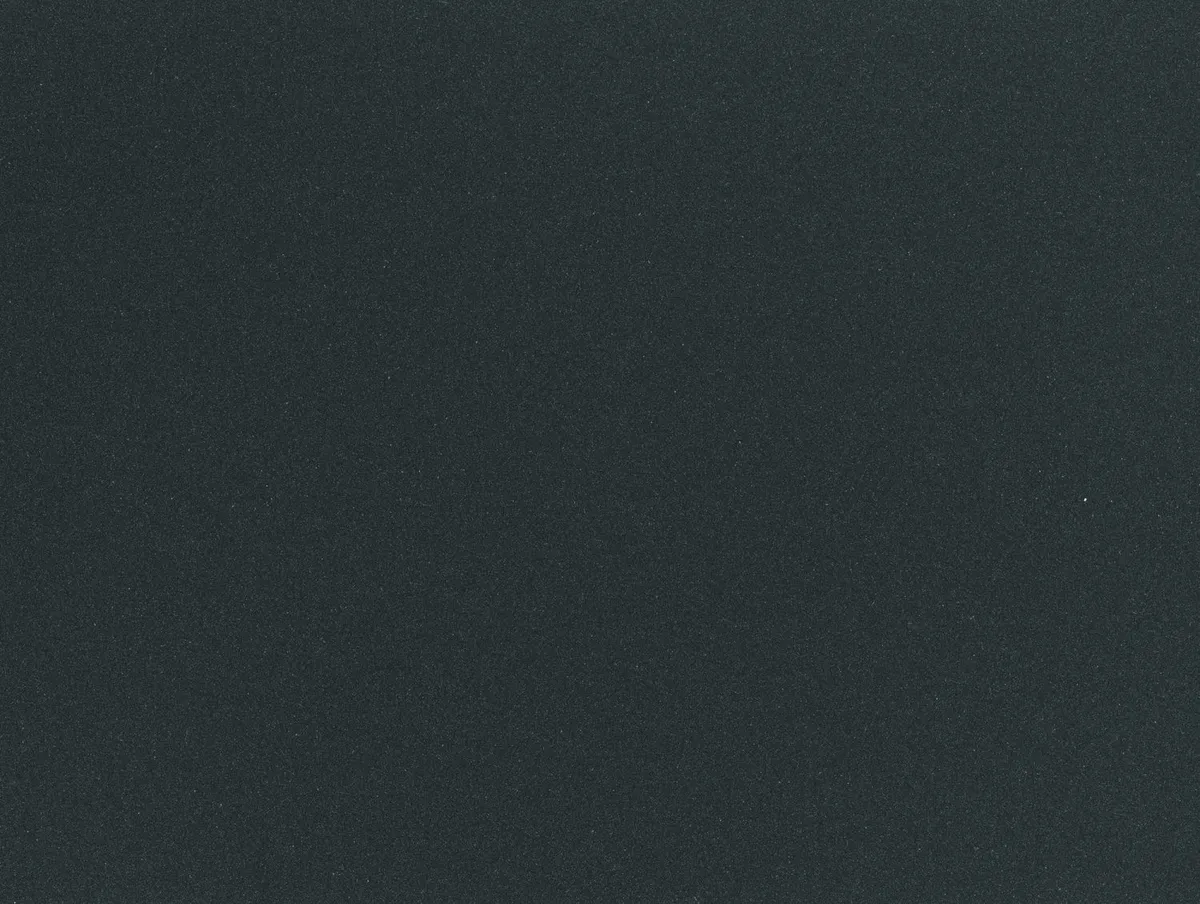
A typical dark frame displays random noise; a master dark frame is considerably cleaner. Click Process > Stack > Add Files, choose the files you want to process, tick the Auto Calibrate check box.
Then click on the Align tab and choose Auto – Star Matching. Navigate to the Combine tab and choose SD Mask.
Finally click the Go button.
This article originally appeared in the December 2015 issue of BBC Sky at Night Magazine.
