Capturing deep-sky images isn’t just about using a camera, mount and telescope – equally important is the processing of turning your hard-won data into a masterpiece that you are proud to show to other people.
This process starts with calibrating your images to remove noise and other unwanted artefacts.
The technique of applying flats causes the most angst among astro imagers, yet when correctly used they can transform your photos.
Flats can remove the dark shadows cast by dust motes, correct the light fall-off towards the edges of the field of view caused by vignetting and will compensate for variances in pixel sensitivity across the camera’s sensor.
Flat frames must themselves be calibrated and stacked to avoid the risk of introducing artefacts of their own.
So, the first stage in applying flats is to calibrate them with bias frames, which are image frames taken with the telescope’s dust cap installed and with as short an exposure as the camera will allow.
This calibration removes some of the ‘noise’ generated by the process of downloading the image data from the sensor by a process of subtraction.


You should collect around 20 flats, but instead of applying these to your images you should stack them into a single ‘master’ flat frame.
Using a master flat speeds up the process of calibration but also increases the signal-to-noise ratio, ensuring that your flat doesn’t impart any unwanted noise of its own.
The manner in which the flat frames are calibrated, stacked into master frames and finally applied to the image data depends on the software in use.
For example, MaxIm DL produces all its calibration master frames in advance by selecting Process > Set Calibration and then choosing the folder that contains the calibration files.
Once selected, simply clicking on the Replace W/ Masters button will produce a complete set of master bias, dark and flat frames automatically depending on the contents of the folder.
In DeepSkyStacker on the other hand, the calibration files are selected along with the image data files by clicking Open Picture Files and selecting in turn, your image, dark files, flat files, dark flat files and finally, offset/bias files from their respective folders.
The individual files are then enabled for further processing by clicking on Check All.
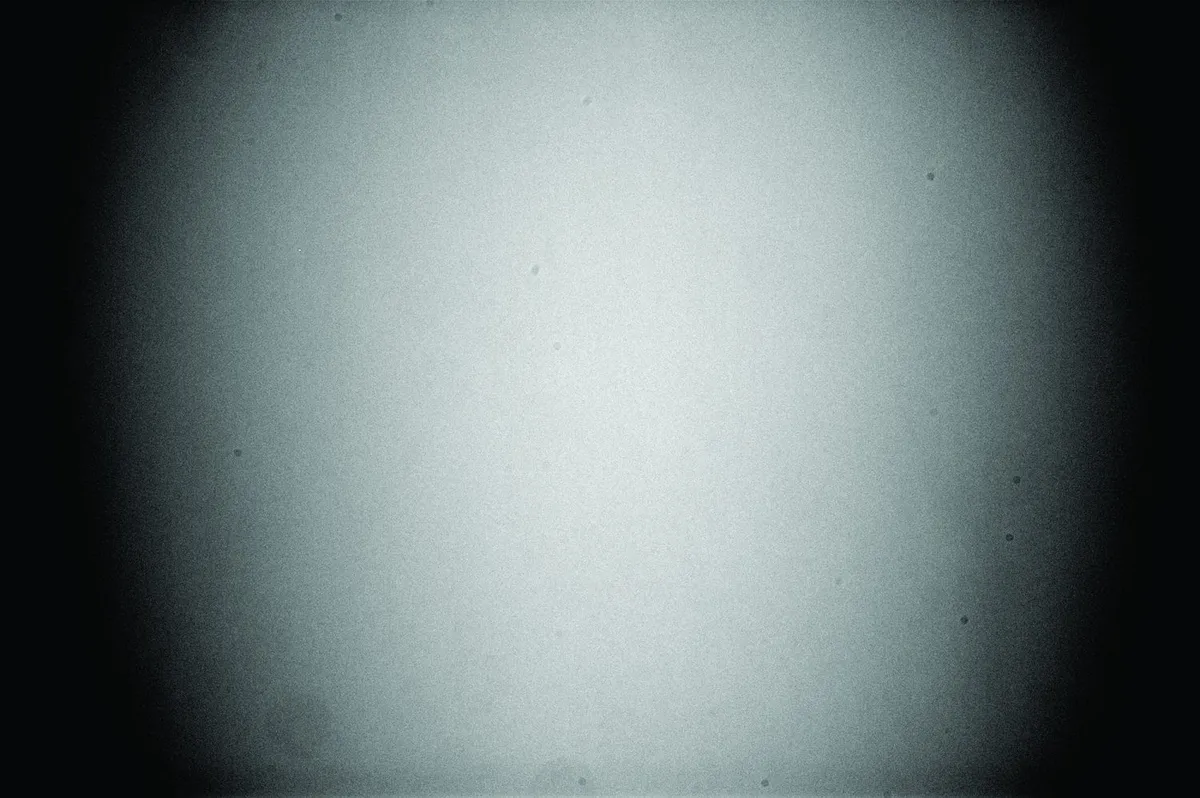
The 1.34-second flat frame shown above exhibits both large and small dust shadows – the smaller blemishes indicate dust particles close to the sensor and the larger ones the particles farther away from it.
The light fall-off to the edges of the field of view can be very clearly seen, but so too can the relatively low signal-to-noise ratio.
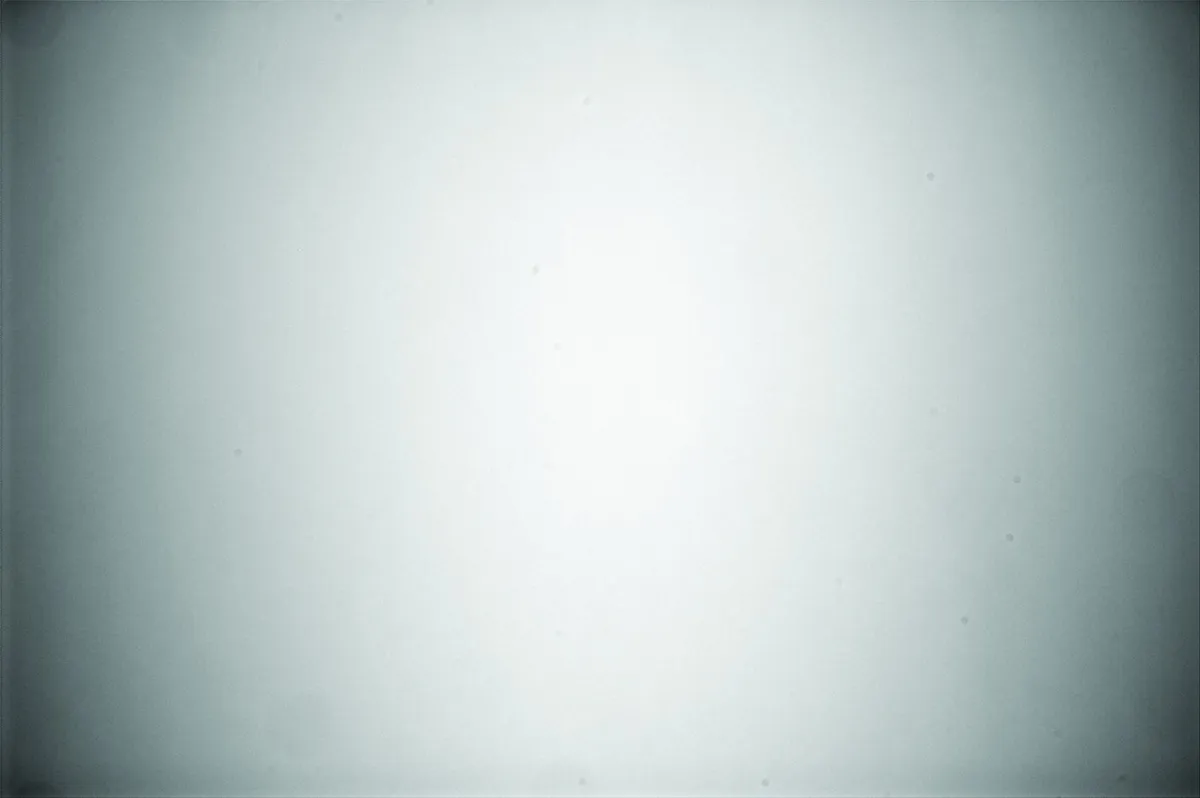
The image below it shows a master flat frame, and the improvement is clearly visible.
This master flat is comprised of 20 individual exposures, each of which has been bias frame subtracted before stacking.
As a result it is much smoother and has a considerably higher signal-to-noise ratio, just right for calibrating the image data without adding any noise of its own.

With a master flat now prepared, this can be applied to the image data, however, whereas bias and dark frames are subtracted, flat frames are divided into the image data by a complex piece of mathematics that is taken care of by the image processing software.
Using MaxIm DL, the flat calibration is automated within the stacking process.
Select Process > Stack > Add Files and then choose the files you want to process by browsing to their folder.
Tick the Auto Calibrate check box, click on the Align tab and choose Auto – Star Matching.
Click on the Combine tab and choose SD Mask, and finally on the Go button.
The image frames will be calibrated and stacked to produce your single image that you can save as a 16-bit TIFF file ready for final processing in Photoshop or another image processing package.
If you are using DeepSkyStacker, the default parameters work very well. Simply select Register Checked Pictures and tick the Stack After Registering check box.
Finally, click on the OK button to produce the calibrated and stacked image ready for further processing.

As you can appreciate, flat frames are a very important part of image processing.
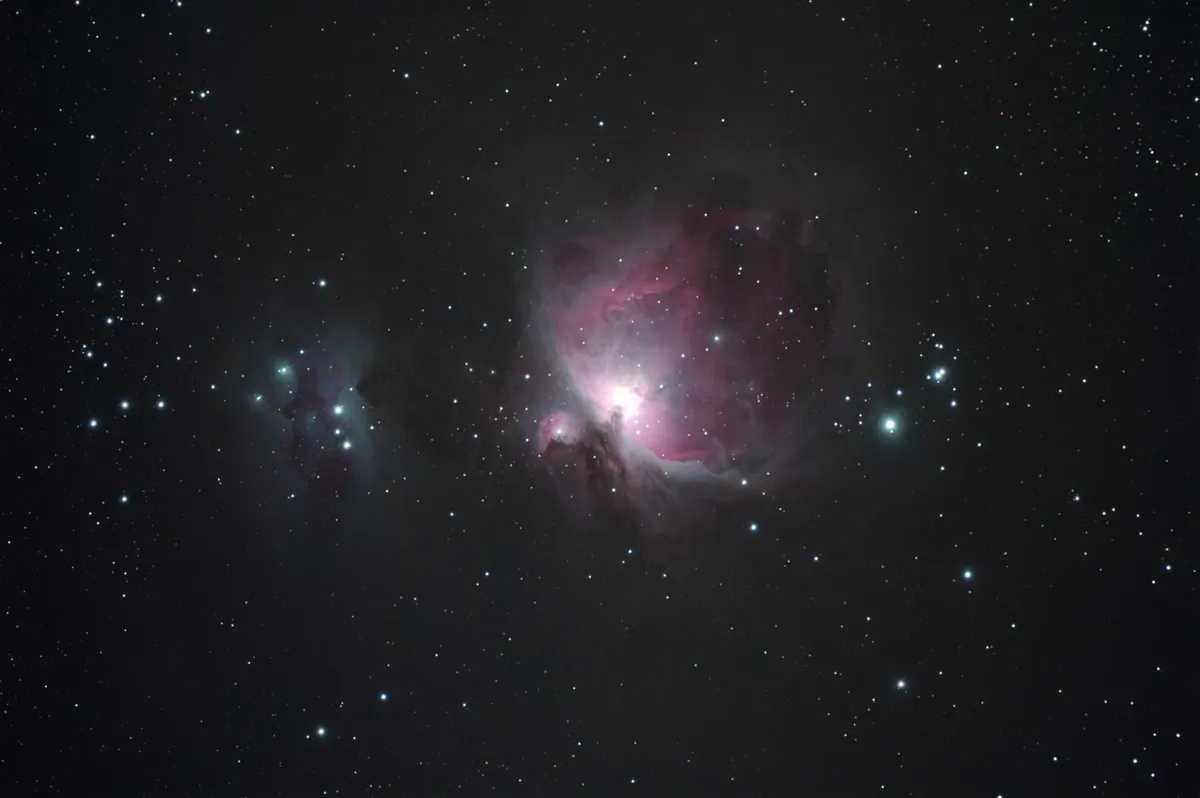
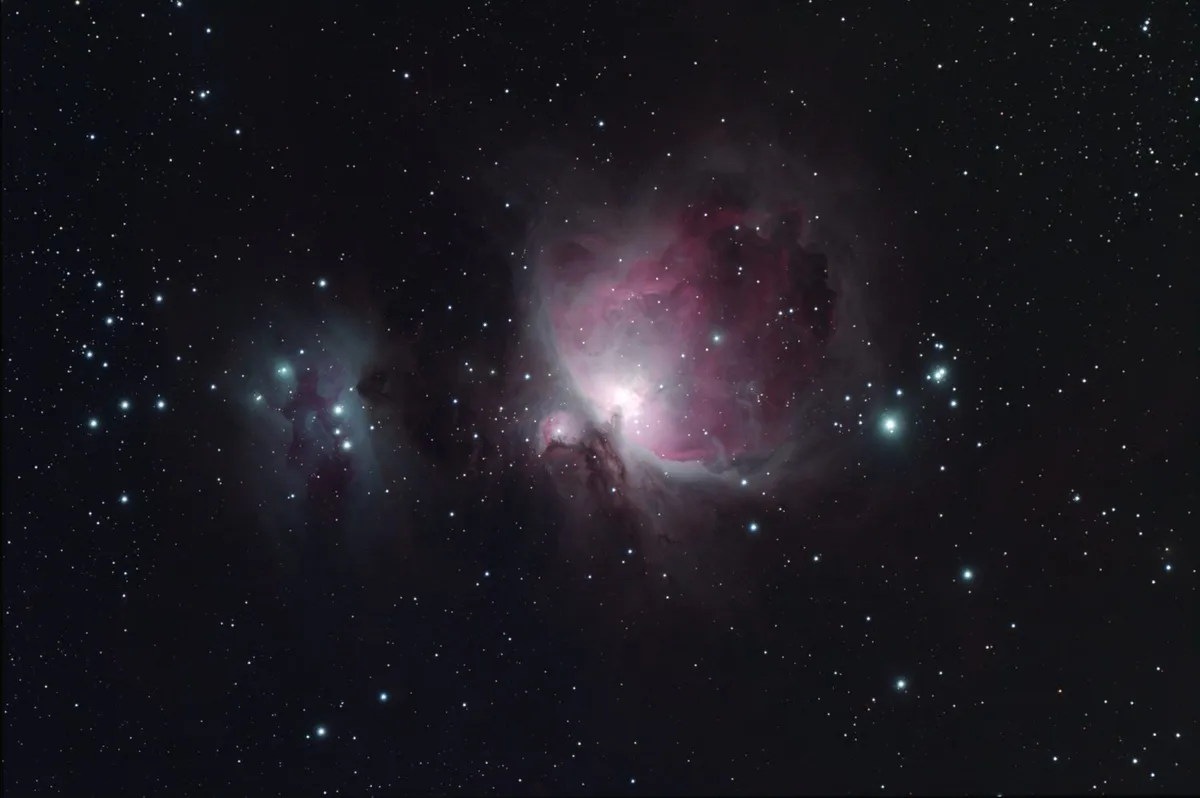
The three stages of our image of the Orion Nebula in this guide reveal how much they can improve your shots, finally allowing you to bring out impressive detail in Photoshop as seen in the image at the very top.
This article originally appeared in the November 2015 issue of BBC Sky at Night Magazine.
