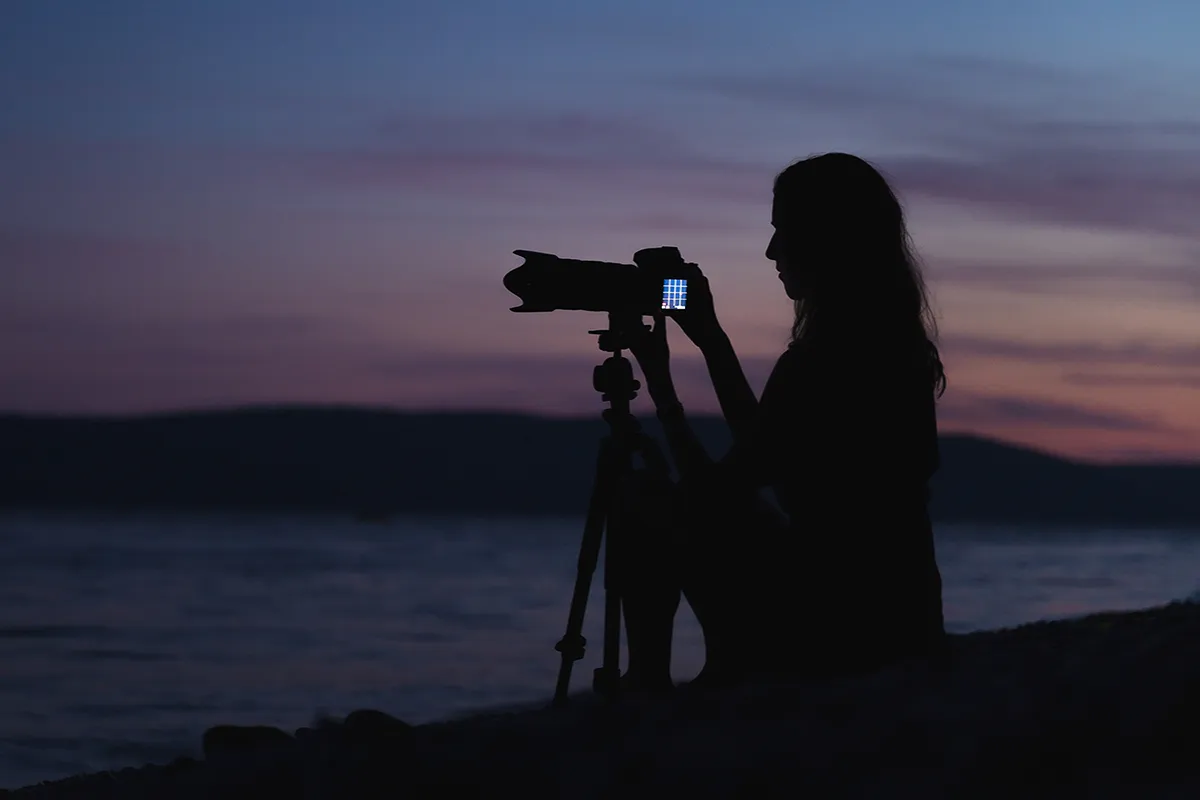
DSLR cameras are great for astrophotography. They’re highly adaptable and entry- and mid-level models are reasonably affordable thanks to an active secondhand market.
And, as I’ll explain, they’re easy to attach to a telescope in place of the lens.
For more advice, read our guide on how to use a DSLR and how to do astrophotography with a DSLR, or discover our pick of the best astrophotography cameras.
While a camera lens might allow widefield astrophotography, attaching a DSLR to a telescope lets you get close up to plenty of subjects, and will display them in a whole new light.
The telescope’s long focal length is the secret ingredient.
Furthermore, camera lenses are designed for daylight conditions rather than night skies.
This means, among other things, a lens can distort astrophotos by introducing curved stars towards the edges of an image, or colour distortions so that stars show colour fringing.
Most telescopes are suitable for pairing with a DSLR.

However, longer focal lengths can be tricky for beginners as they highlight tracking inaccuracies with the mount, such as an incorrect polar alignment.
Some reflecting telescopes will not achieve focus with a camera attached, so it is always best to check online forums and reviews to see whether the model is suitable for your DSLR.
Standard DSLRs are manufactured for use during the day, but their settings can be optimised for low-light and night-time conditions.
Whether yours will make a good astro camera depends on a few key things: it should have a ‘Bulb’ setting that allows exposure times to be manually set, a live view function to help star focus, and the ISO setting should be adjustable.
Don't forget your T-ring and nosepiece!
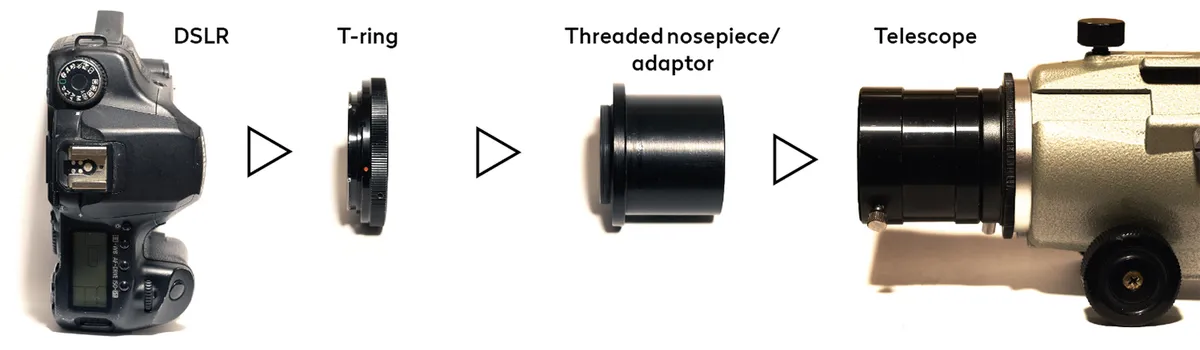
The two things you need to attach your DSLR to a telescope are a ‘T-ring’ and a nosepiece.
T-rings are manufacturer-specific, so make sure you get the right one for your DSLR.
To an extent, the T-ring you require can also depend on the model of camera. For example, a Canon DSLR with a full-frame sensor will often take the same T-ring as one with a smaller APS-C sensor, but Canon mirrorless cameras have a different lens attachment and so need a mirrorless T-ring.
The next thing you need to do is measure the width of your telescope focuser, where an eyepiece would go.
Most take either 1.25-inch or 2-inch barrels. We recommend, if possible, telescopes with at least a 2-inch as it helps reduce vignetting in your images.
Once you’ve measured the diameter, you should acquire a 1.25- or 2-inch-to-T2 nosepiece.
To attach the camera to your telescope, first fit the nosepiece to your T-ring.
The nosepiece is threaded, so will screw in. Then remove the front cap or lens from your DSLR camera body and attach the T-ring exactly as if you were attaching a
camera lens.
Finally, insert the free end of the nosepiece into your telescope focuser as you would an eyepiece and secure it by tightening the screw(s) located on the focuser.
You’re now ready to start imaging.
Focussing on your target correctly
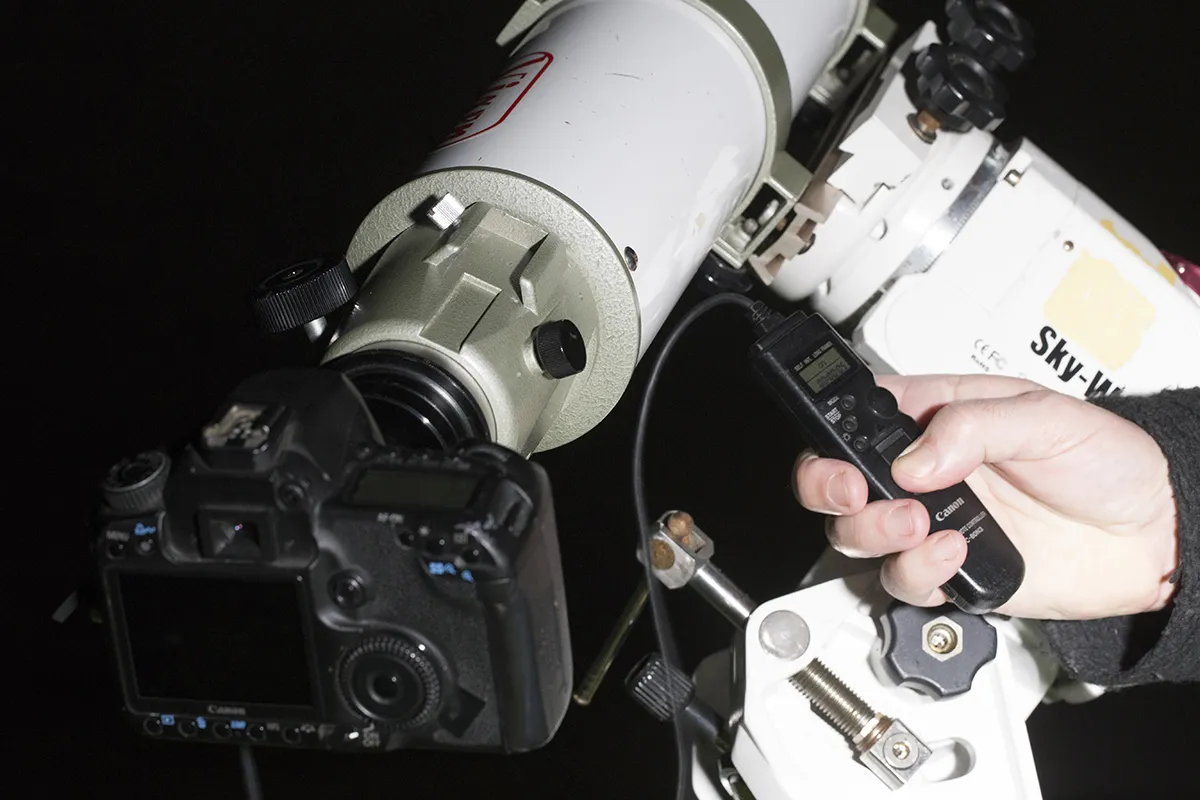
An intervalometer or remote shutter release is an indispensable piece of kit to have.
This affordable accessory lets you fire off multiple exposures without joggling the camera, as well as programme exposure times once in Bulb mode.
Keep this plugged into your DSLR at the start of an imaging session.
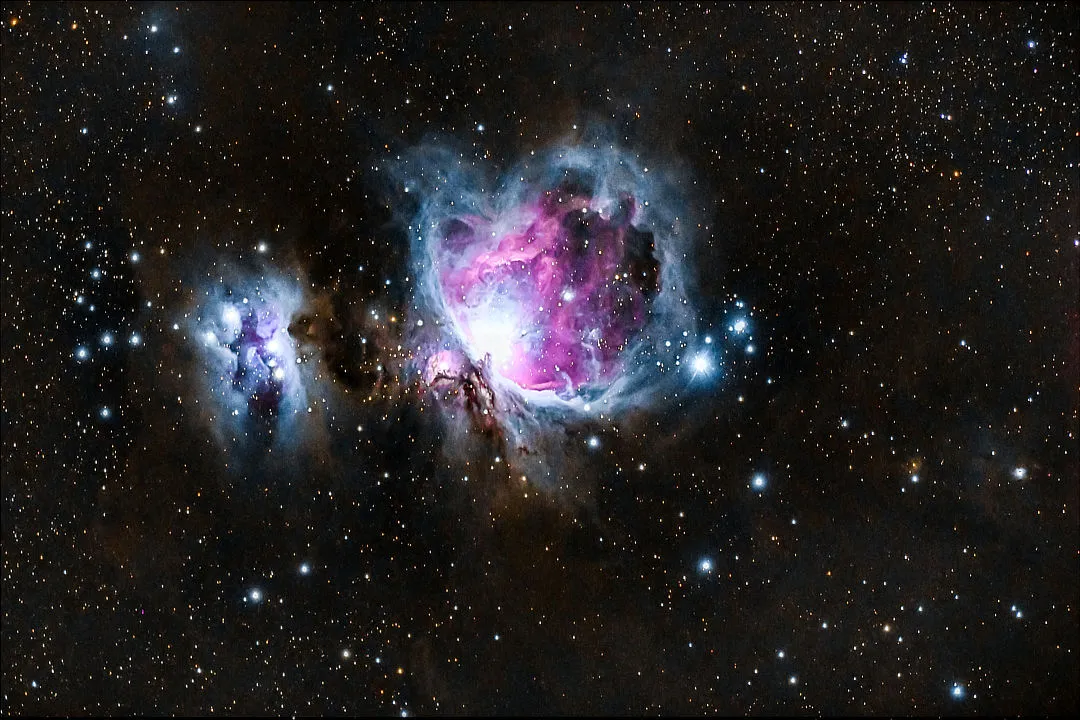
Once basic DSLR settings are understood, it’s easy to use one to capture a range of astronomical objects with a telescope.
We’ll demonstrate with a Canon DSLR on the Orion Nebula, M42.
Useful buttons on a Canon are the ‘Q’ button, which allows you to switch between settings, and the zoom buttons for focus.
Most models have similar buttons and settings.
Before locating an object, focus your stars.
Find a bright star such as Vega or Aldebaran and press the live view button. It should appear on the camera’s screen.
If it doesn’t, the camera is probably very out of focus, so adjust this.
The star should grow or shrink accordingly, and we want it small and sharp.
Use the zoom button to zoom in on the view on-screen and, once satisfied, zoom back out to return it to normal.
Now take a test image to make sure the stars are like pinpricks.
Set the ISO to about 800 and shoot off a short exposure of around five seconds.
Once the stars look good, it’s time to find the Orion Nebula.
Once it’s located, increase the exposure time. Select the Bulb setting and use your intervalometer to set the time to 20 seconds, which should be enough to show the nebula.
Take a test image. Perhaps try increasing the ISO to 1600 and take another – does it look better or worse?
Increase the exposure time to 30 seconds, and then a minute.
The best ISO/exposure combination will depend on your camera, but once this is found you’re ready to start your deep-sky imaging run.
DSLRs can also be used to photograph the Moon.
For this, you want a low ISO setting (start at the lowest and work your way up) and fast exposure times to prevent over-exposed and blurry images.
A camera’s video capability helps, as the high frame rate will cut through Earth’s atmosphere to produce sharper images.
If you’re buying a telescope for DSLR astro imaging, you’ll also need to consider the other equipment required.
For one, telescopes do require a tracking mount – their longer focal lengths show a small section of the sky, so objects and stars move across the field of view quickly.
Depending on the weight of the telescope and camera combined, you may get away with a lightweight, portable mount.Are you an astrophotographer? Send us your images!
This guide originally appeared in the March 2023 issue of BBC Sky at Night Magazine.