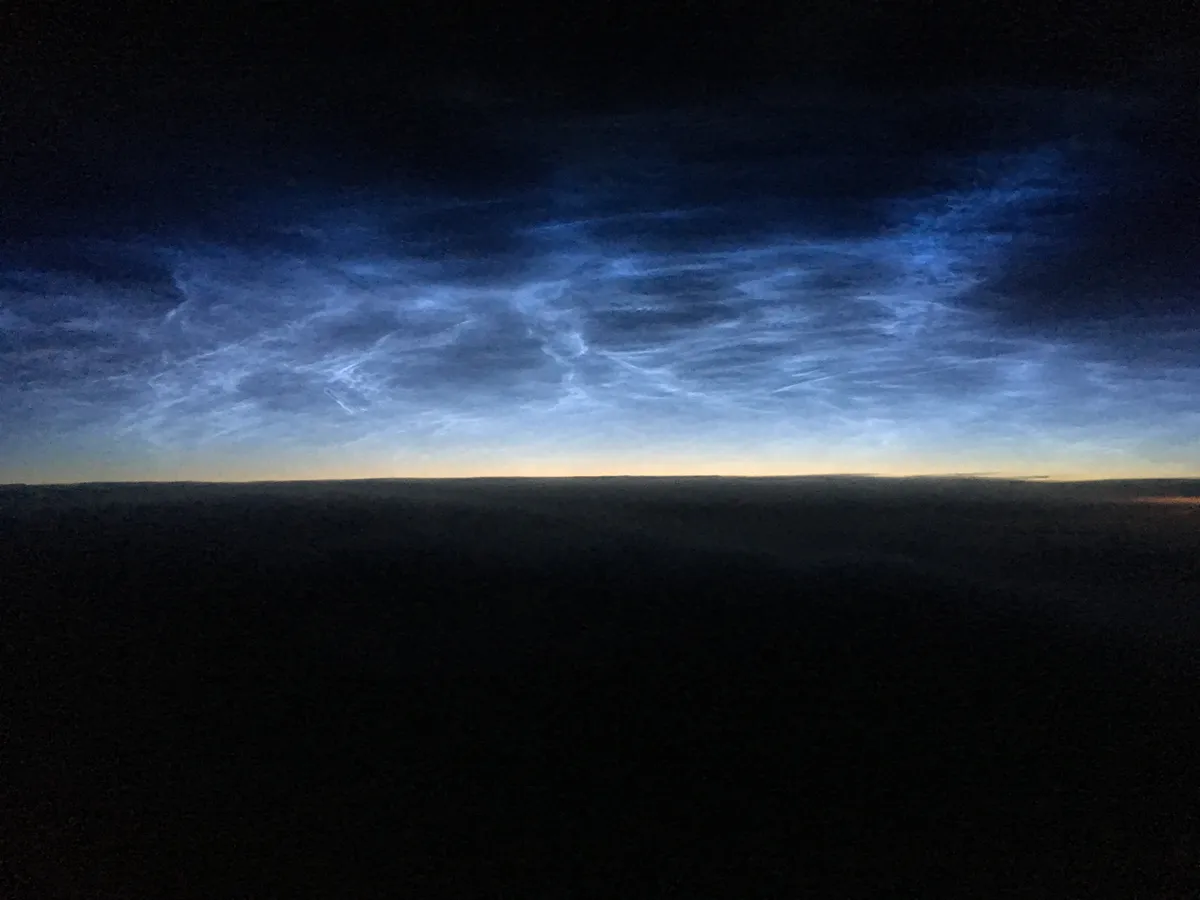
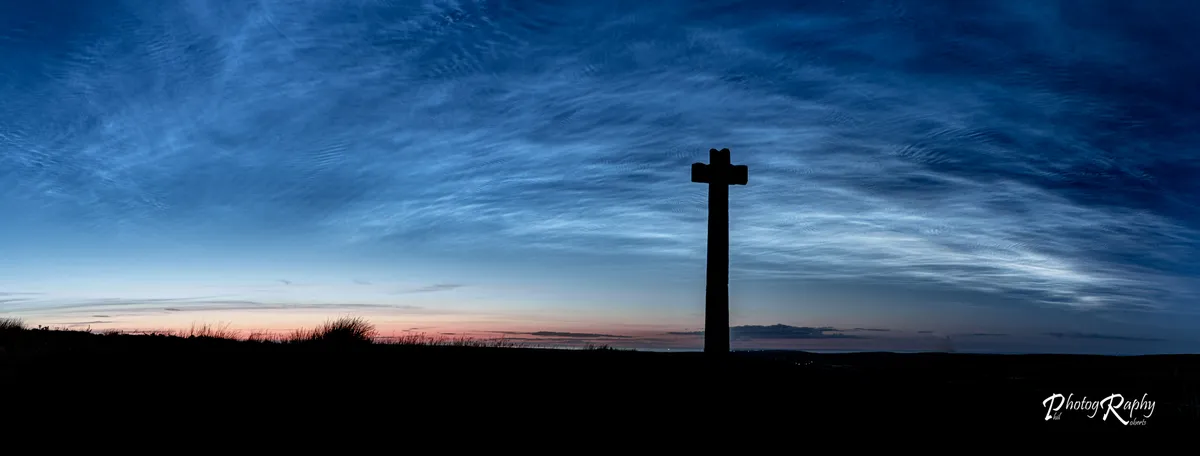
Despite the shorter, brighter nights, the summer skies are far from dull and can offer some remarkable subjects to photograph, including night shining, or noctilucent clouds.
Here we cover how you can easily take, process and produce stunning shots of noctilucent clouds in rather dim and backlit situations to correctly emphasise the details in their silvery tendrils without blowing out the highlights.
Noctilucent clouds evolve rather slowly and the twilight gives you enough light to adjust your settings depending on your camera’s and lens’s abilities.
Once your gear is set up, use the manual setting to set focus at infinity on a bright source of light in the far background (a star or a streetlight).
If your camera has live view, use its built-in zoom.
Since noctilucent clouds occur in a half-light situation, your main challenge will be to get the best dynamic range; in other words, not blowing out the highlights above the horizon while conserving enough data in the shadows to avoid noise!
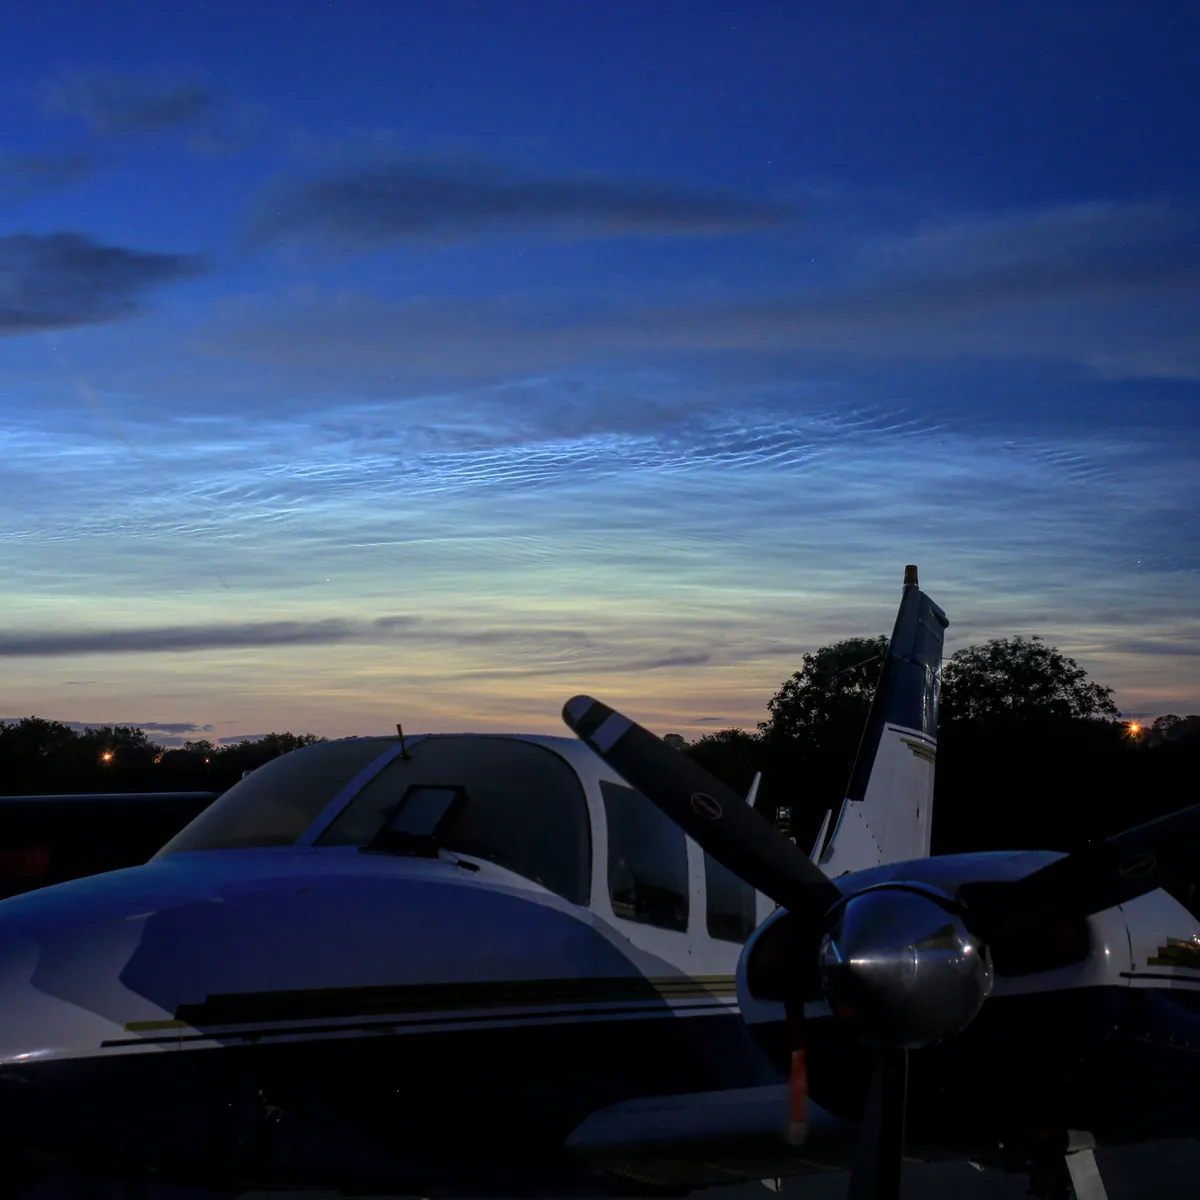
The example picture in this feature was taken with a Sony α7R II camera and a Canon 100mm f/2.8 lens with a shutter speed of three seconds to avoid motion blur while gathering enough light.
The aperture was stopped down to 3.2 to increase sharpness and an ISO of 400 achieved good light levels and minimised noise.
We recommend you take several shots at different settings to improve your chances of getting the right exposure.
Setting the settings

Once back at home, import the RAW pictures from your SD card into your image processing software; we used Adobe Lightroom.
Head over to the ‘Develop’ module (Ctrl+D) and start preliminary general adjustments.
The right-hand side panel acts as a tool box and helps you adjust just about every setting.
We generally go through the adjustment sliders from top to bottom.
Consequently, start by slightly adjusting the white balance but try and keep the colours as natural as possible; raw twilight photos tend towards blue in temperature and pink in tint, so you may need to nudge your ‘Tint’ and ‘Temperature’ sliders the opposite way.
Bump up the general ‘Exposure’ slider until the shot’s correctly exposed without blowing out the highlights.
That might cause you to lose the fine structure in the clouds, so play with the ‘Whites’, ‘Blacks’, ‘Shadows’ and ‘Highlights’ sliders to get the best distribution of light.
The latter can be visualised in the histogram in the upper-right corner (see image below).

You want a histogram that is spread out and drawn slightly to the left, but none of the lines should vanish off the top of the graph.
In the example we increased the exposure to +0.5, the shadows to +15, the whites to +15 and lowered the blacks to –3.
The goal is really to do minor general adjustments to keep a balanced and natural look, so use these sliders carefully.
We would recommend you leave ‘contrast and clarity’ for local adjustments later.
Increase the vibrancy a bit (don’t go over +25) but avoid using the master saturation button just yet.
Head down to the ‘HSL/ Saturation/B&W’ slider and you can increase each colour channel to your liking, especially reds, oranges, yellows and blues to get a nice twilight gradient.
Be careful not to oversaturate by staying below 25. Further down, apply a general dose of luminance noise reduction from +10 to +25 and you can also sharpen a tad (+25).
Finer adjustments
Now use local adjustments to enhance only selected sections of the image.
The ‘Adjustment Brush’ tool can be found in the right-hand column panel.
Apply the first mask by roughly painting out the foreground with a feathered brush.
The mask will appear red so you can see the area to which the adjustments will be applied, as in the image below.

The adjustments sliders for the mask will automatically appear in the right-hand side panel.
Bump up the exposure (+0.1), shadows (+5) and blacks (+5) slightly while reducing the contrasts (–15) to light up the foreground a notch.
Remember to apply some noise reduction as well (+25).
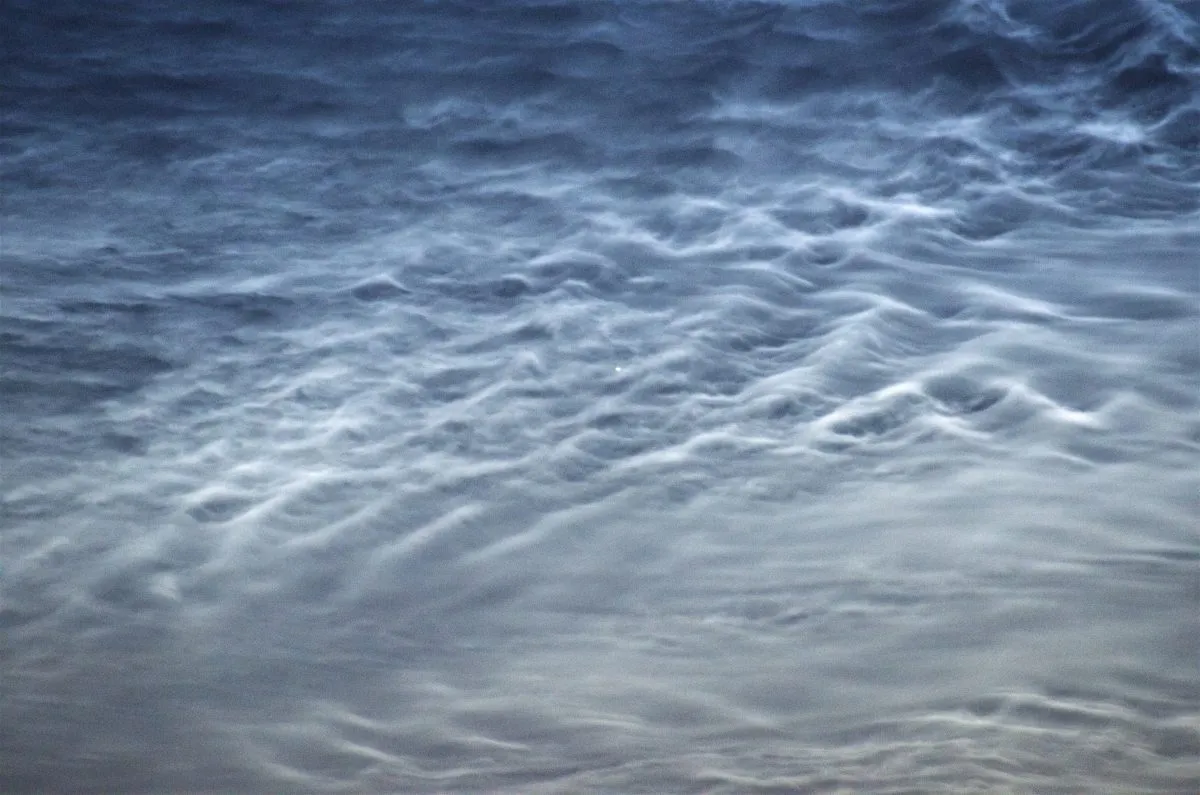
Next draw a second mask for the sky only.
In this one you want to make the noctilucent cloud structure pop out. Increase the contrasts (+20) and the clarity (+25). Finish by applying a slight noise reduction (+5 to +10).

When you’re satisfied with the result, click on ‘file>export’ then select your output location and the quality setting.
We advise you to export two pictures: one as a TIFF to conserve as much quality as possible, and another as a JPEG, which is better for sharing on social media.Everybody loves a great NLC shot.
Have you taken a beautiful noctilucent clouds photo? Share with us via email or on our Twitter and Facebook pages.
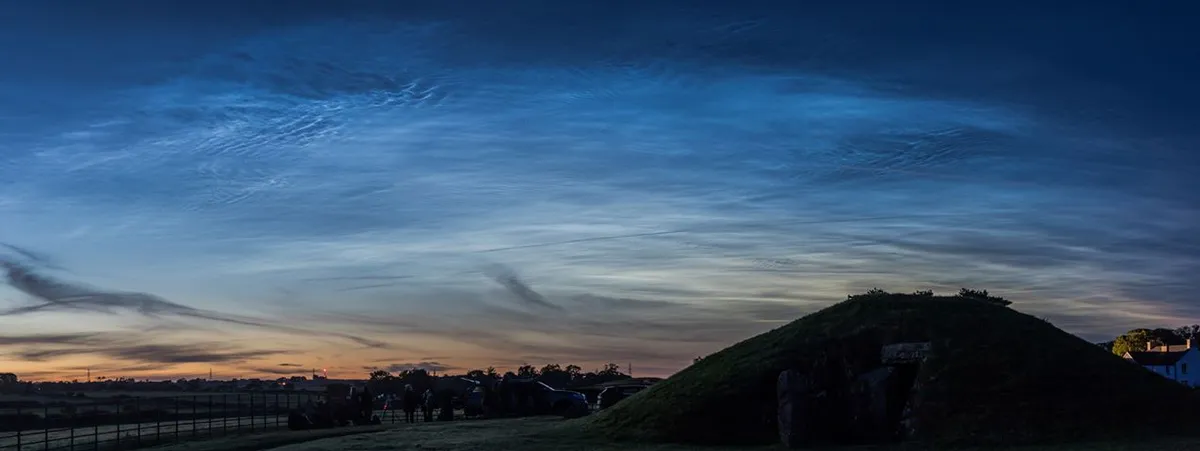
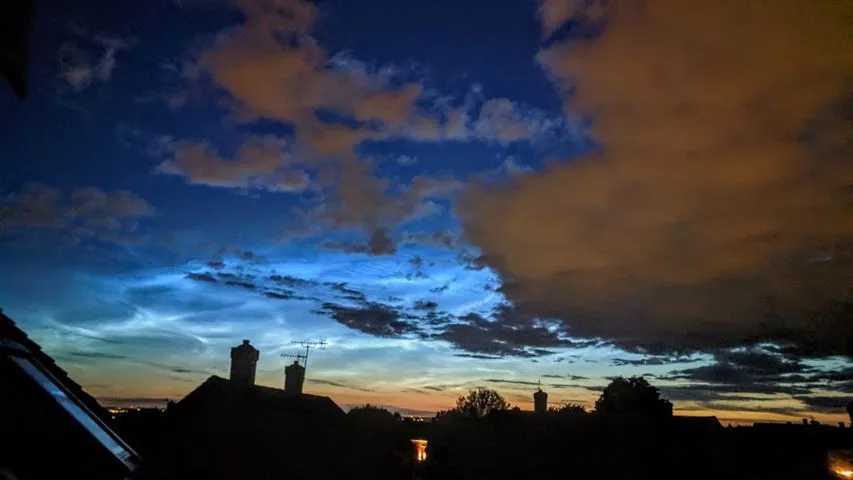
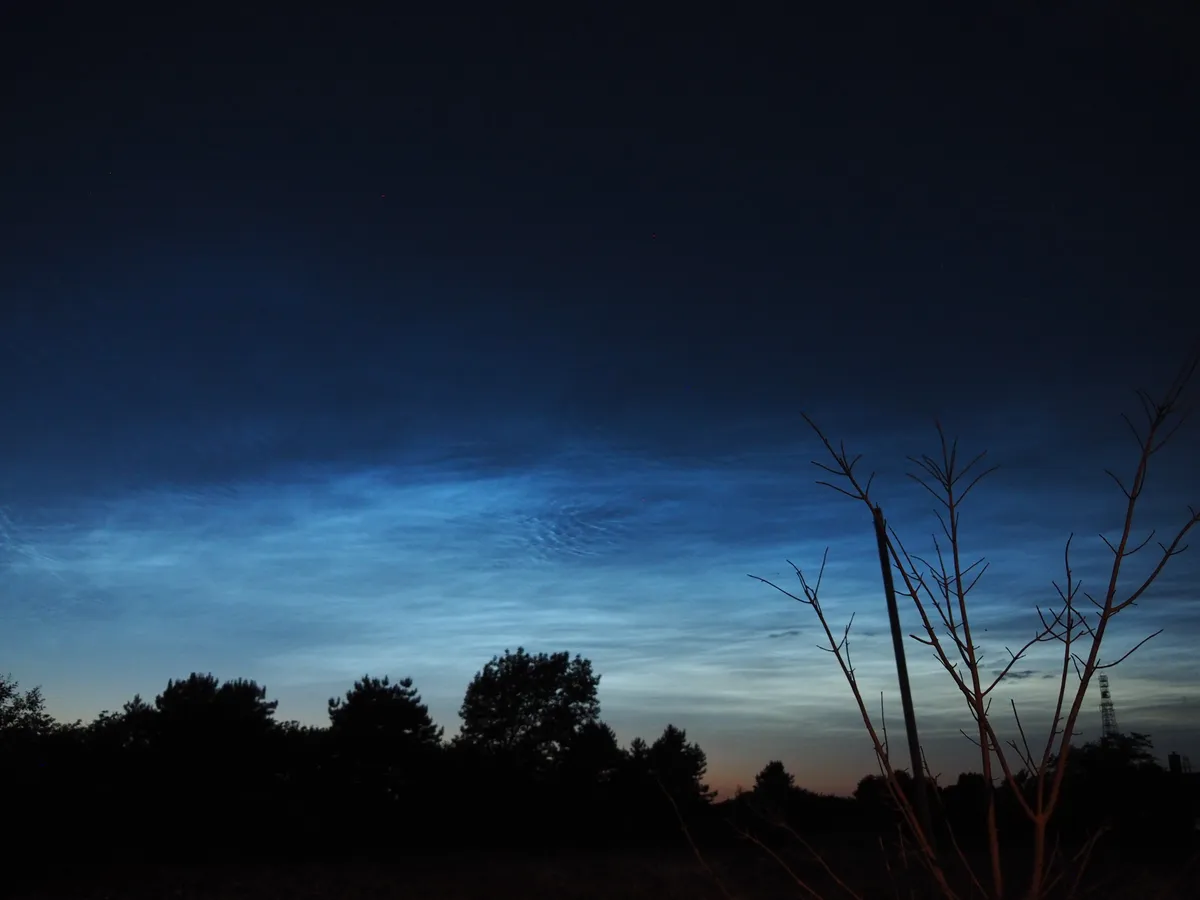
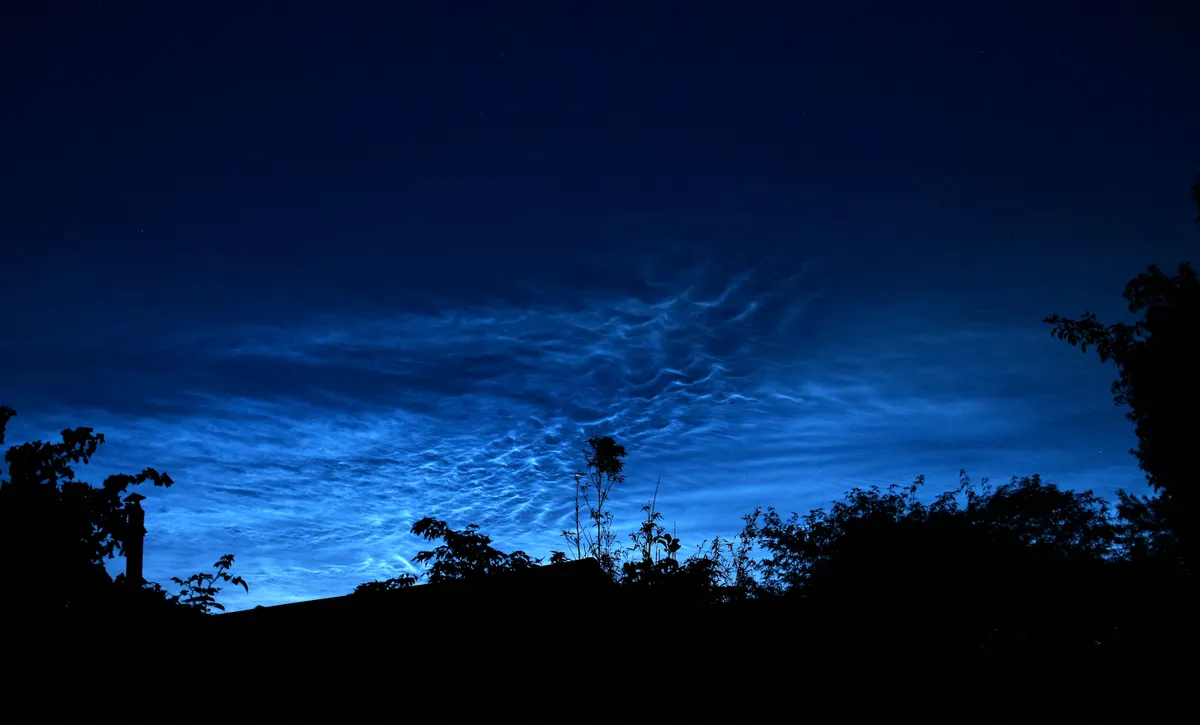
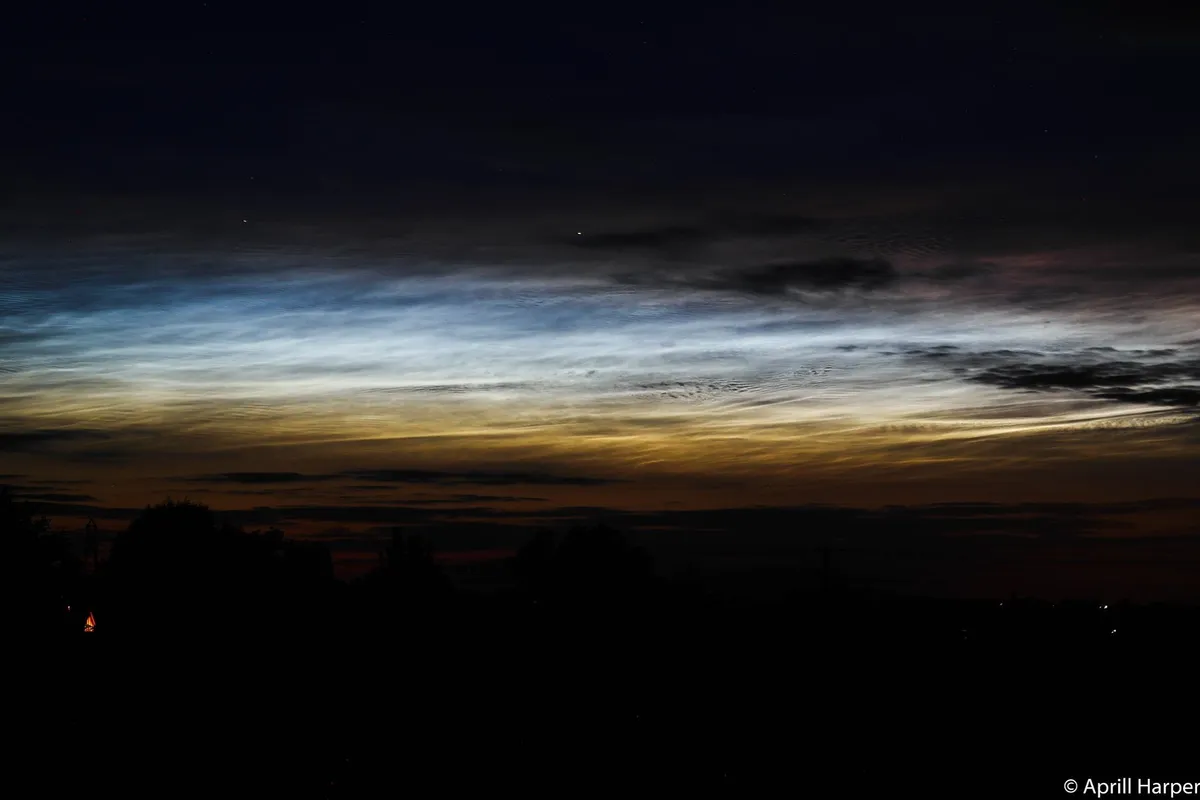
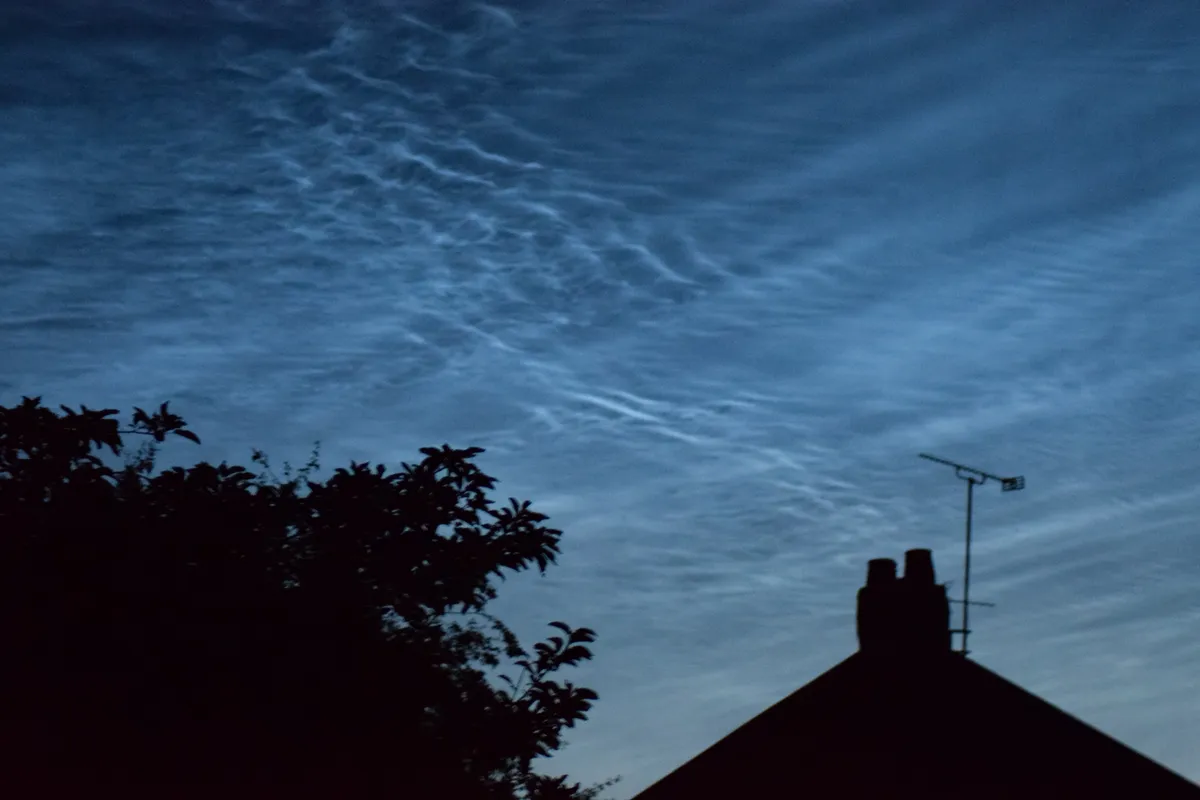
Below is a gallery of some of the best noctilucent clouds images sent in by readers
Adrien Mauduit is an aurora-chaser, astrophotographer and science educator. For more photography tips, follow Adrien on Twitter.