In this guide we'll look at calibration flat frames and how you can master them to improve your astrophotography.
Getting the most out of our deep-sky data is a constant learning process.
Not only do we need to master the complexities of capturing the data in the first place, but the art of image processing is just as important.

Between the data capture and processing stages lie calibration frames.
The two most common types of calibration frame in astrophotography are dark frames and flat frames.
They are integral as they allow us to overcome some of the limitations in our imaging setups, such as sensor noise, dusty lenses and vignetting.
Reducing noise and vignetting allows us to stretch our data further.
While dark frames reduce the noise in an image, flat frames help subtract anomalies in the image train, such as dust bunnies and vignette.
Solving vignetting
Vignette presents as dark edges in the field of view (FOV) or an uneven field illumination
It can be due to lens/mirror design or something interfering with the light path in the image train.
It’s good practice to add calibration frames to all astro images.
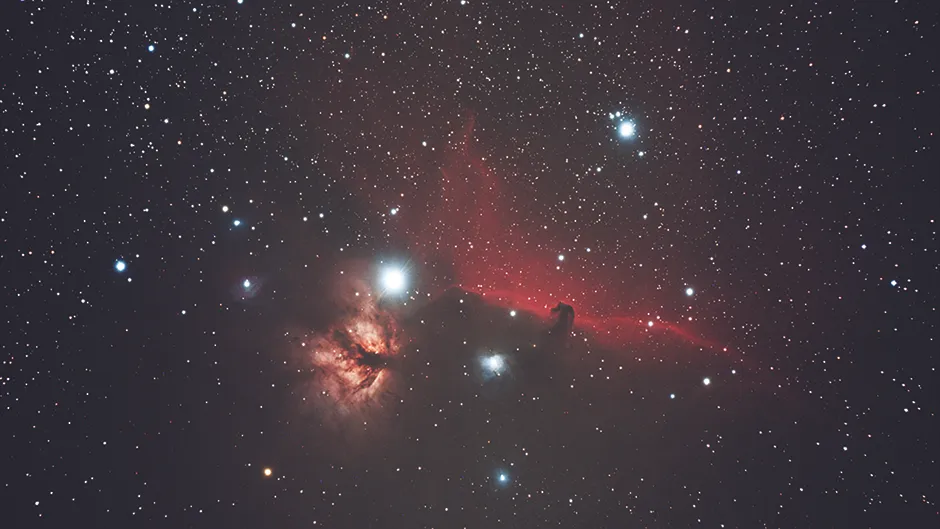
First, we’ll explain how to take these using a DSLR and then we’ll explore how flat frames improve an image of the Sadr (IC 1318) and Crescent Nebula (NGC 6888) region of Cygnus.
There are three main ways to take flat images:
- Using a flat panel
- Using a white T-shirt
- Using a Word document
The best time to take them depends on the method that you use.
Flat frames need to be taken at the exact same focus point as the light frames and with the DSLR set to ‘aperture priority’ (AV).
How to take flat frames
If using a flat panel, these flat frames can be taken directly after focusing and before you start the imaging run.
If using the Word document method, take these once you’ve finished imaging.
Carefully taking the OTA off its mount, carry it indoors, set the DSLR to AV and position the telescope in front of a blank Word document on your computer screen.
Fire off 20–30 frames. Your flat frames should display a bright ring and dark corners.
The white T-shirt method returns similar results, but the frames need to be taken the morning after the imaging session.
Again, leave the focus in place overnight and wait until there’s a bright early-morning sky.
Gently place a white T-shirt over the front lens and secure it with an elastic band.
Using the Sun as a light source, point your telescope towards it and take your flat frames.
Flat frames in practice

Turning to our example image of the region in Cygnus, we started with an unprocessed image without flat frames, stacked using DeepSkyStacker (DSS).
We opened the image in Photoshop (File > Open > stacked file location) and used the Levels function to stretch the data (Image > Adjustments > Levels).
In Levels, we used the dropdown menu to select between red, green and blue channels, dragging the anchor points until they met the histogram (see in the image above).
Data began to emerge, but the corners were clearly dark and there was a bright zone in the middle of the image.
Adding flats to the stack

It was time to re-stack the original images, but this time using our flat frames.
Heading back to DSS, we added our previously captured light frames, then clicked on flat files (see image above).
We navigated to our saved DSLR flat frames and selected them all (clicking Ctrl + A simultaneously), then clicked Check all.
Our calibration files appeared as registered in the bottom window of DSS. We then used DSS to register and stack the images and saved the final result as a TIF file.
With the calibration frames added, we could process our new TIF image.
Reloading in Photoshop, we performed the data stretch again, using the Levels function.

The FOV of our image was now noticeably flat, with the corners as bright as the middle of our image (see image above).
Final adjustments included colour balance (Image > Adjustment > Colour balance), noise reduction (Filter > Noise > Reduce noise)
And the colour range (Select > Colour range) to reduce the size of the stars and produce our final image, which you can see at the very top of this article.
3 tips for mastering flat frames in astrophotography
- If using a white T-shirt, bright clear skies without cloud will ensure an even field of view
- Try the Word document and white T-shirt to see which works best for your setup and images
- Make it a habit to capture flat frames as part of every imaging session
Are you an astrophotographer? Whether beginner or expert, don't forget to send us your images.
This guide originally appeared in the September 2023 issue of BBC Sky at Night Magazine.