All DSLR cameras and many premium compacts are able to capture images as RAW files instead of the more common Jpeg. You’ll find the option in your camera’s image quality settings, and some cameras can capture an image as both types of file at once.
A good way to look at RAW files is as a simple dump of the camera sensor’s data at the moment of exposure.
They offload all image processing to your computer rather than using the camera, giving you complete control over the process.
They’re larger than even the finest Jpeg, as they’re completely uncompressed and contain more information than images in the more common format.
To read a RAW file, you’ll need an image editing program. Adobe, as ever, is the king of RAW decoding, with its Lightroom workflow software making the importing, organising, editing and exporting of files a fast and relatively pain-free affair.

It’s available as part of Creative Cloud subscription packages or as a standalone purchase, but the cheaper Photoshop Elements, Affinity Photo (Mac only) or freeware GIMP (you may need a plug-in) will do the job too.
If your camera came bundled with software from the manufacturer this can be a great choice too, as the software will be perfectly tuned to your chosen brand.
So far, shooting RAW files may sound like more trouble than it’s worth. Larger files take up more space and the need to buy software can put people off.
But there are advantages for astrophotography – one of the biggest being that you have more data to work with.
Jpeg compression creates smaller files but throws away image information in the process, which is known as ‘lossy compression’. You also lose information from a Jpeg due to it being an 8-bit file.
This means each colour channel – red, green and blue – that makes up the image is defined as one of 256 shades for each pixel. Add this up, and you get a choice of 16.8 million colours per pixel, more than enough to make a lifelike image.
RAW files capture up to 16,384 shades per channel, known as 14-bit colour (although some cameras offer 12-bit with 4,096 shades) leading to a massive number of available colours – far more than the human eye can perceive.

Why would you want this? The answer is editing.Shoot in Jpeg and you’re stuck with the in-camera processing settings you had selected at the moment of capture. Shoot in RAW, however, and you can alter them later.
This includes white balance and sharpening, but not ISO, aperture or shutter speed. Because they’re unprocessed, an unedited RAW image may look soft and lacking in contrast when displayed on a screen.
The additional colour information you’ve captured comes into play when you need to alter the exposure – pulling colour data out of the dark areas of an image gives much better results in a RAW file as there’s more initial data to work with.
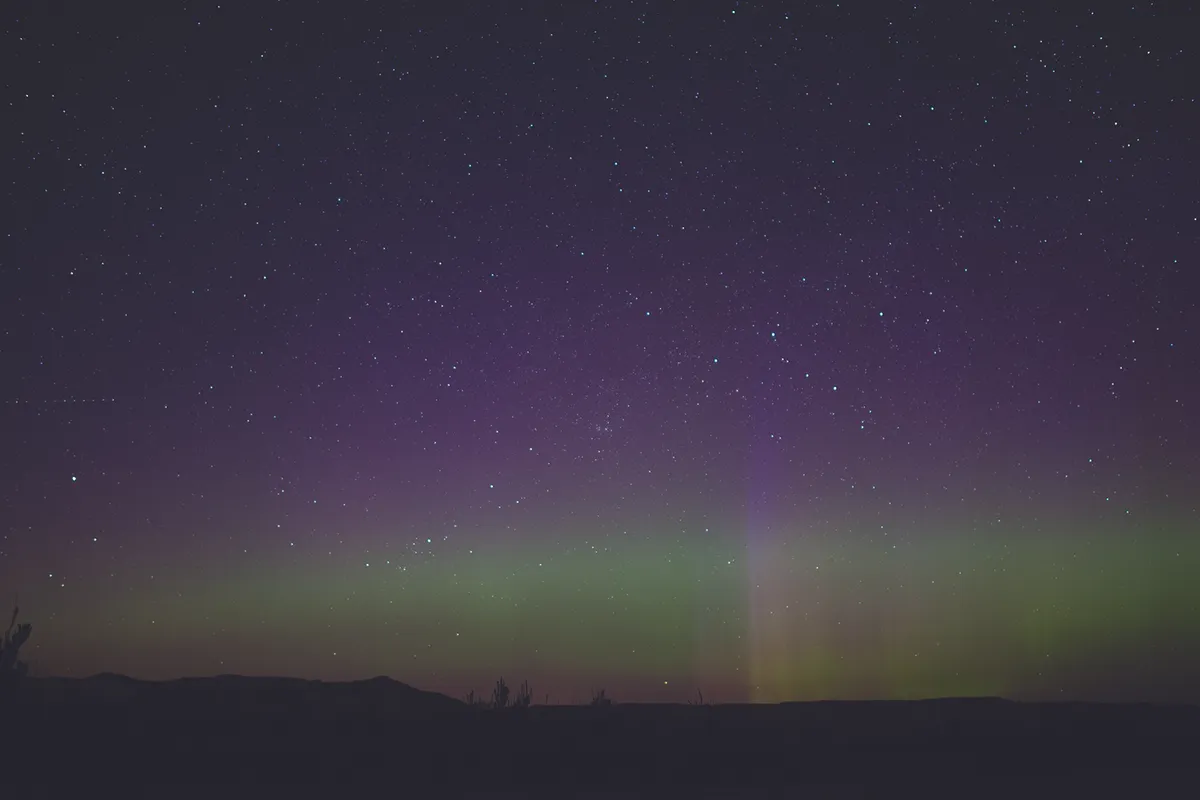
The image of the Northern Lights we’ve used on these pages was shot in southern Canada with an exposure of 15 seconds and an f/1.4 lens, but looked dim initially.
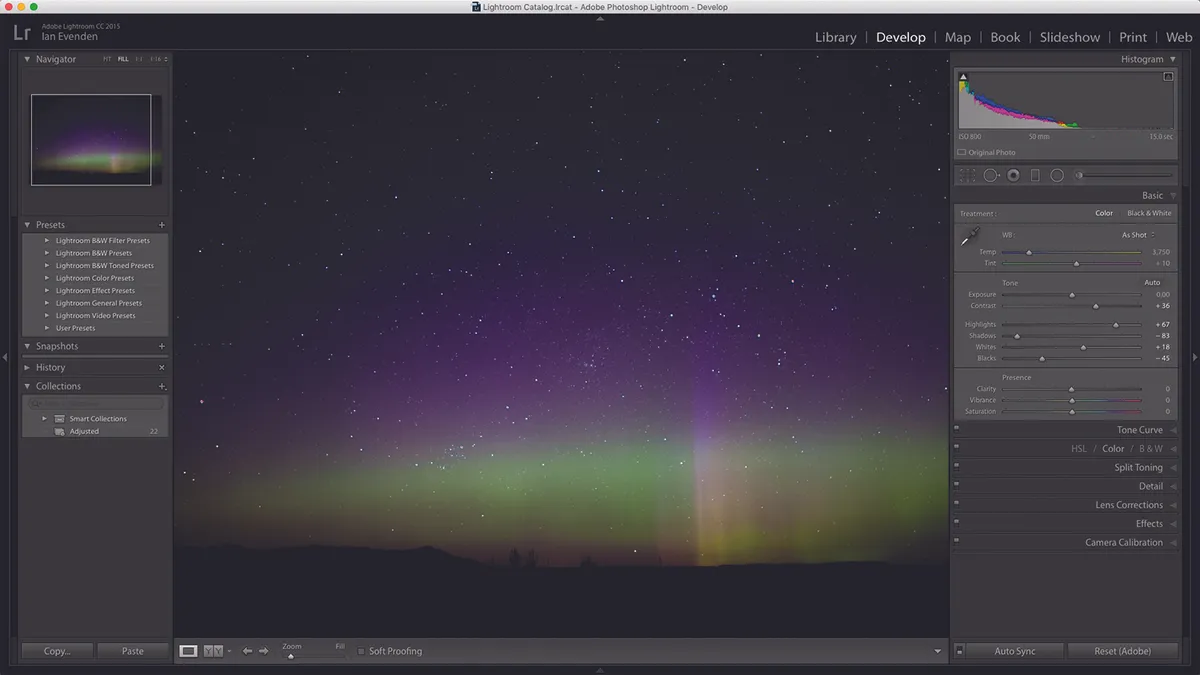
We edited it in Lightroom CC 2015 to bring out the colours of the aurora. But instead of using the Exposure slider to brighten the whole image, we slid the Highlights control to the right to only brighten the lighter parts, and the Shadows slider to the left to darken the dark areas.
After that we used the Saturation slider to bring out the colours. Increasing the contrast improves the definition of the vertical feature rising from the centre-right of the horizon, although it is at the cost of the darker corners in the image.
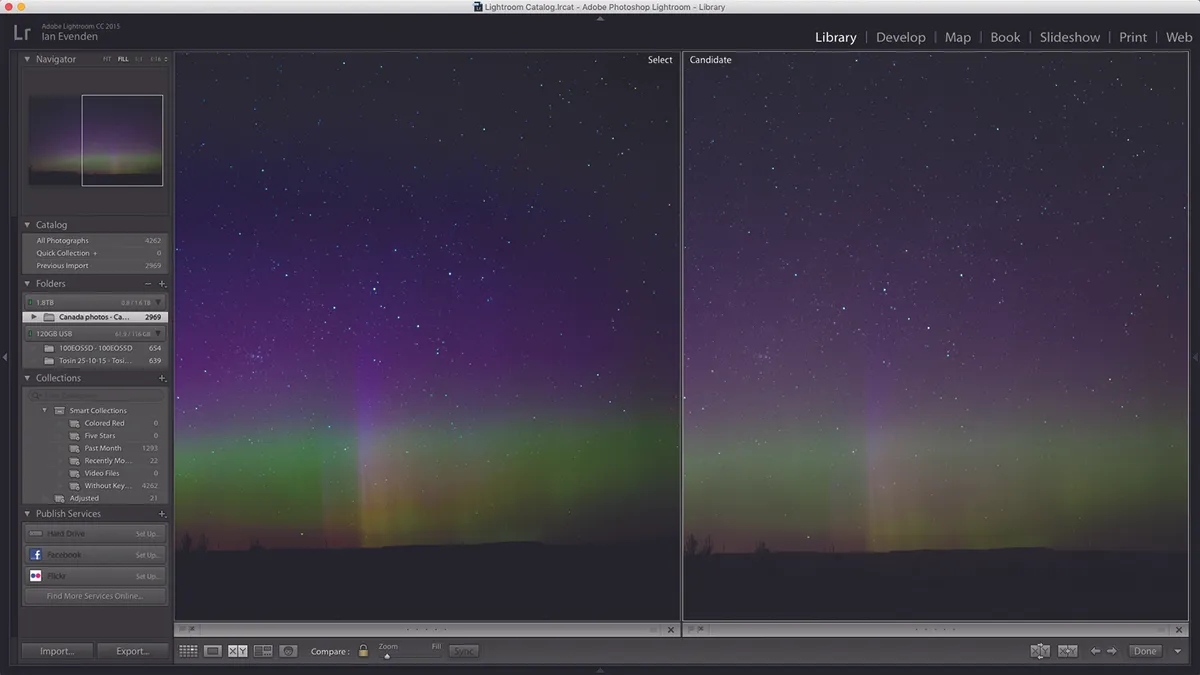
Another benefit of a RAW image workflow is that the master image remains untouched; the adjustments you make are only applied to a new file when you export your image as a Tiff or Jpeg that’s ready for printing or sharing.

You can always return to the master copy, to begin the process all over again.
While these edits would have been possible using Photoshop or another editing program on a Jpeg file, the chances of adding extra digital noise to the image would increase, and the colours of the final photo wouldn’t be as rich.
So, if you don’t mind the extra space needed to store your images, and the extra work needed to process them, switching to RAW can give your astrophotos an extra edge.
This article originally appeared in the January 2016 issue of BBC Sky at Night Magazine. Ian Evenden is a tech journalist and keen astrophotographer.
