Setting up a telescope for the first time can be a daunting experience, but with a bit of practice and a little know-how, it will soon become second nature.
Dealing with the telescope tube is straightforward enough, but we have tips on observing further down (see tips for successful observing the night sky with a telescope).
Even if yours is a reflector or Cassegrain that has adjustable collimation, it’s best not to tinker with it until you gain more experience.
But the next vital element of your setup is the mount, the part that actually holds the telescope.
Click here to find out how to improve your telescope set-up

Telescope mounts
All telescope mounts do the same basic job – they point the telescope at your chosen target – and there are two types: altitude-azimuth (often abbreviated to ‘altaz’) and equatorial.
Altaz mounts have two axes of rotation:
One is vertical, allowing the scope to spin clockwise or anticlockwise
The other is horizontal, so it can be elevated towards an upright position.
Dobsonian telescopes are the most basic form of altaz mount: a rotating base connected to a tilting tube.
Like their tripod-mounted counterparts, Dobsonians don’t need to be aligned with the sky or pointed in any particular direction.

If your altaz mount or Dobsonian telescope has electronic Go-To capability, it will point automatically at whichever night-sky target you choose.
But devices with this capability will need to be aligned to a particular object before use, so a list of targets is usually included in the device’s instructions to help you do this.
Consulting an astronomy app such as Stellarium or SkySafari can also be useful.

Although similar to altaz mounts, equatorial mounts have one axis that’s parallel to Earth’s axis of rotation, enabling the telescope to track the apparent movement of stars across the sky.
This avoids you having to constantly nudge your scope as your target drifts out of view and is useful in astrophotography for capturing long exposures.
In the Northern Hemisphere, we have a convenient star located almost at the point around which the night sky appears to rotate: Polaris, or the ‘pole star’ (also known as the North Star).
This is the star you’ll use to align your equatorial mount.
You should find all the info you need in your mount’s manual, or alternatively read our guide on how to set up an equatorial mount.

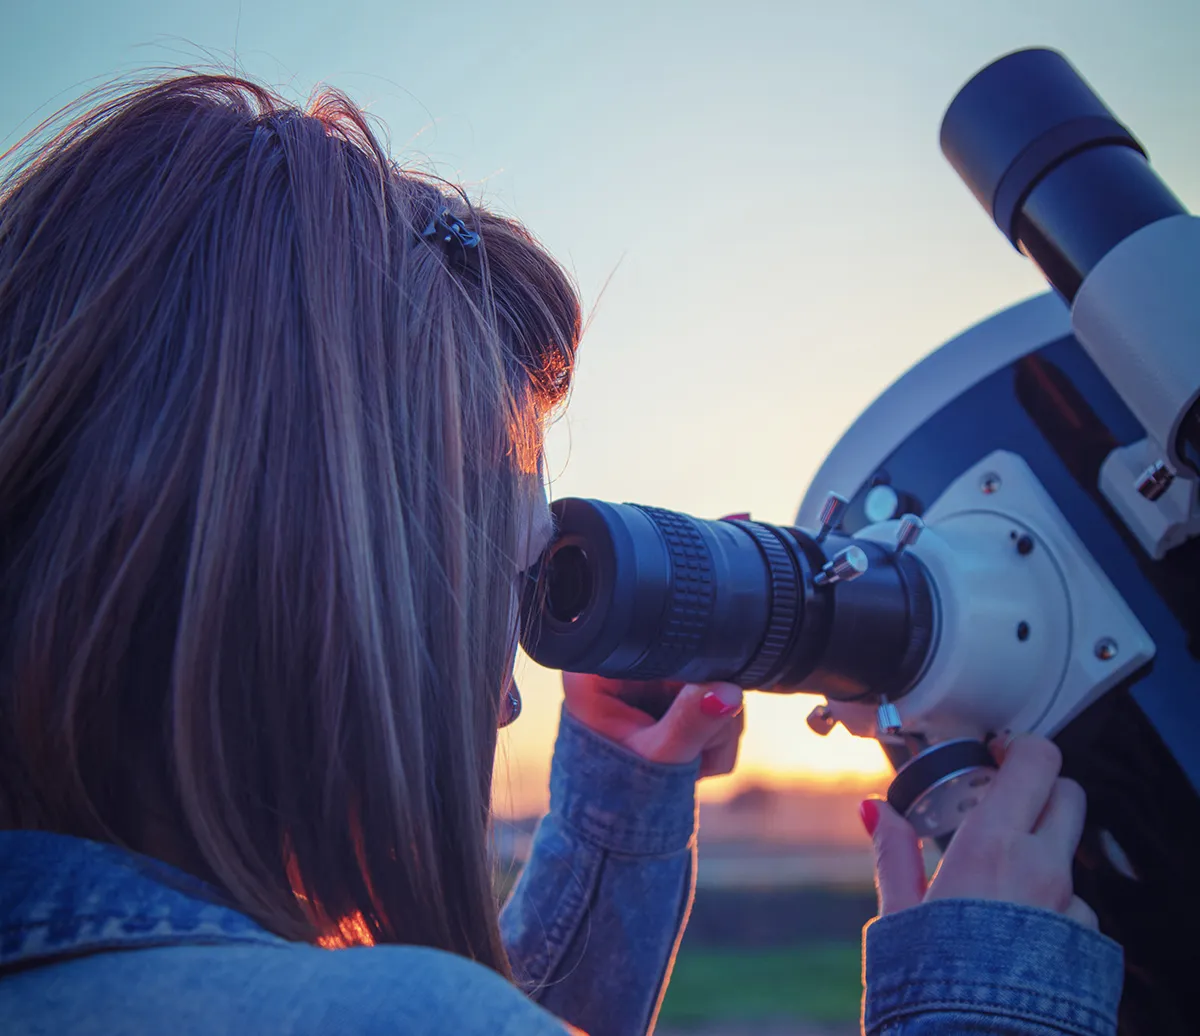
Eyepieces
Telescopes collect light, but it is the eyepiece that delivers it to your eye.
Your choice of eyepiece will determine the magnification and field of view your telescope can offer.
Most new telescopes come with an eyepiece, but eventually you’ll want another one to give you more viewing options.
The first consideration when you’re weighing up which eyepiece to buy is barrel size: either 1.25-inch or 2-inch.
The larger of these, if compatible with your focuser, may give you a wider view, but is more expensive and can be heavy.

Eyepieces are classified by their focal length, which will be marked on them in millimetres.
The smaller the number, the greater the magnifying effect on the view.
There is little point in overdoing things, however, as there is a limit, known as ‘useful magnification’, beyond which the view starts to deteriorate.
A handy rule of thumb is to double the diameter of your telescope lens or main mirror, in millimetres, to give a figure indicating the maximum useful magnification for your telescope.
If the telescope has a 100mm lens at the front, eyepieces giving a magnification up to 200x could be considered.

For general observing, much lower magnifications usually provide a better view and make locating targets easier.
Although if sky conditions allow, pushing the limits a bit when observing planets can be advantageous.
It is also worth considering the apparent field of view that eyepieces provide, which is normally expressed in degrees.
Wide-field eyepieces can be on the expensive side but provide especially immersive views.
It is useful to try out a range of eyepieces before you make a purchase to determine the most comfortable and practical.
You’ll find that there is usually no need to wear spectacles, however observers with astigmatism may require them, or else choose eyepieces that accept extra lenses to correct the condition.
Tips for successful observing the night sky with a telescope
Once you are familiar with your equipment, there are a few things you can do that will help you make the most of clear nights.
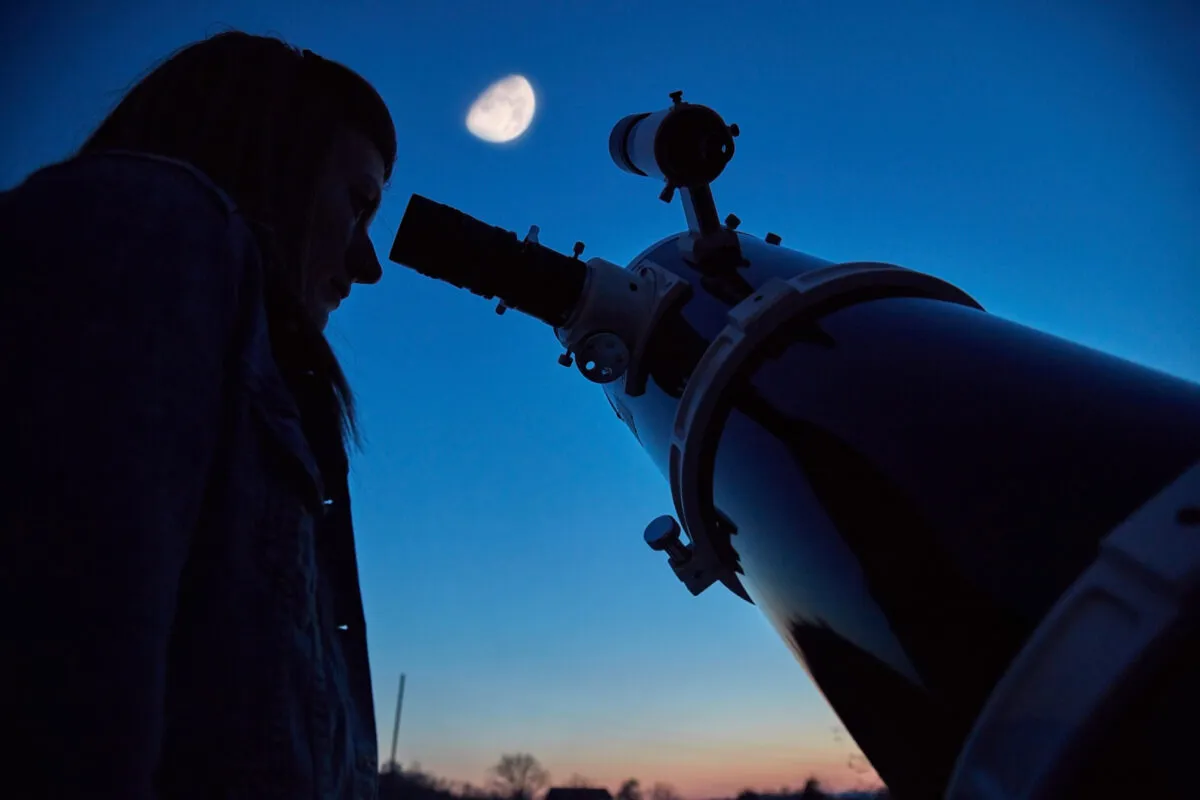
Practise setting up your telescope in daylight. Choose a spot that will be darkest at night with a firm, level base and unobstructed views to the north and south.
Be aware that views over houses can be affected by shimmering warm air currents rising from below.
A sudden light from a window could ruin your eyes’ adaptation to the dark, which can take around 30 minutes to set in.
If your chosen spot is affected by stray lights, it might be possible to carry smaller Dobsonian or lightweight altaz telescopes to a better location during a stargazing session.
But moving an equatorial mount without dismantling it first is not recommended.
Alongside the few really bright objects in the night sky, there are thousands of fainter ones, such as star clusters, galaxies and planetary nebulae.
But even if your telescope mount has a Go-To capability, it can be tricky to spot them.

With experience, picking out faint objects becomes easier and there are a few tricks that will help.
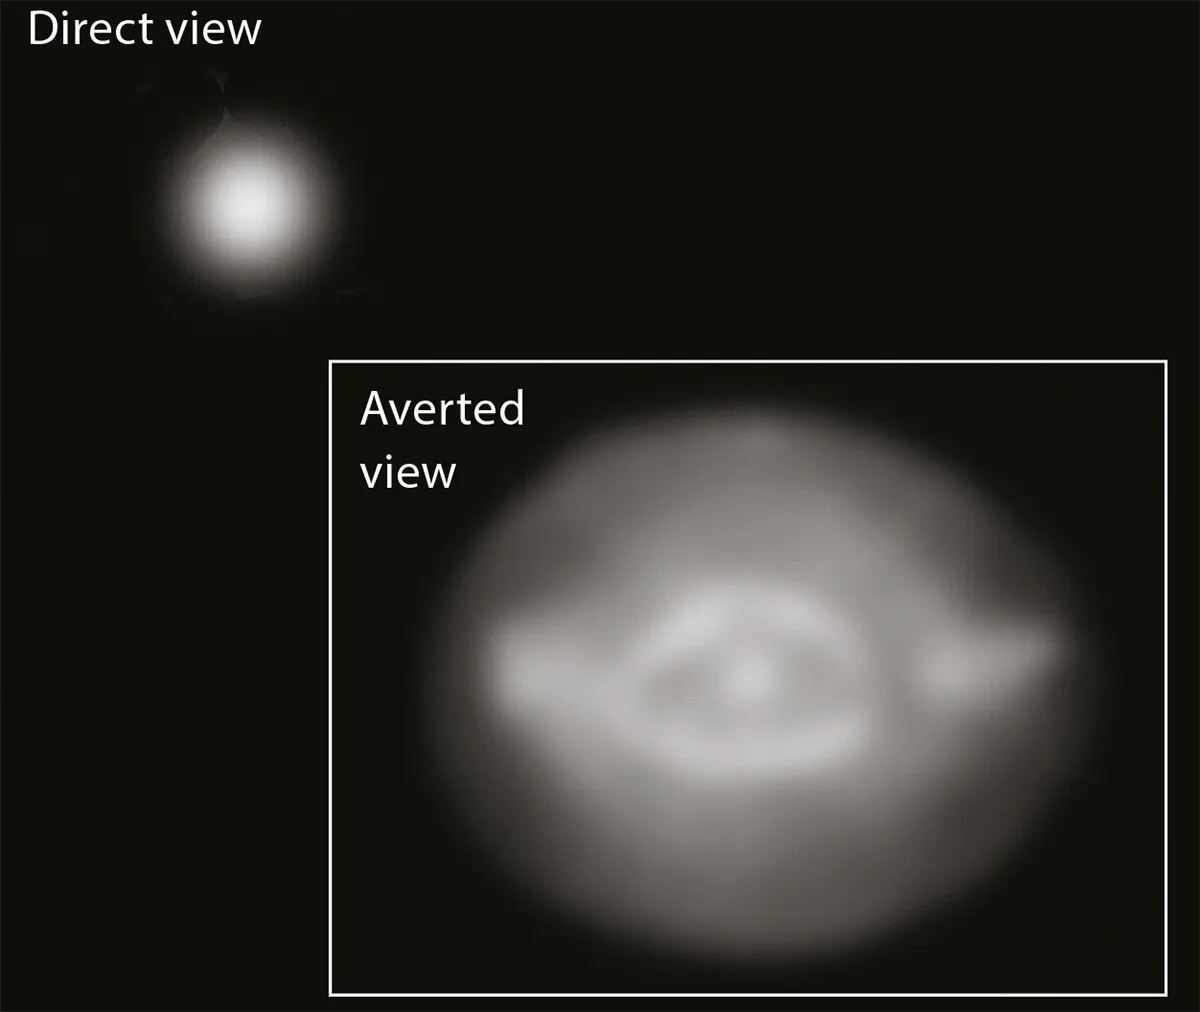
A popular one is averted vision. Rather than staring directly at an object in the eyepiece, looking just to the side of it uses your peripheral vision, which is more sensitive to faint light.
Experimenting with averted vision on a target like the Crab Nebula, M1, will help determine what works best for you.
Generally speaking, if you view with your left eye, you should avert your vision to the left of the object, and vice versa.
Try this on areas of extended nebulosity, perhaps around the edges of the Orion Nebula or the North America Nebula in Cygnus.
Another useful trick for spotting fainter objects makes use of the fact that our eyes and brain more readily notice movement, rather than static things.
Telescopes can be gently tapped to make the view wobble a bit, which makes it easier for your eye to pick out any structures.
A good target for practising this might be the Cygnus Loop, a large supernova remnant with intricate wispy details.
 Practise setting up your scope while it’s still light, and always try to observe across a clear horizon. Credit: m-gucci/iStock / Getty images" class="wp-image-33180" title="what-telescope">
In the dark, our retinas become more sensitive and our pupils dilate.
This makes a remarkable difference to stargazing, but it can take about half an hour to happen and will be lost if your eyes are exposed to a light source.
Mobile phones should be screened with red cellophane or turned to a dim, red setting.
Some astronomers even resort to putting screens around their scopes to block out encroaching lights.
Ensure your observing location is as dark as possible and allow your eyes to gradually adapt to the darkness.
A final practical tip is to make yourself as comfortable as possible.
Being relaxed while you’re observing means you’ll enjoy the experience so much more.
Getting cold, tired, hungry or otherwise distracted might put you off setting up your telescope the next time the sky is clear.
The key to success is good preparation – anticipate the night ahead and plan accordingly.
It can be useful to have a list of your intended observing targets to hand as well, so the night has clear objectives.
Ultimately, the best way to get the most out of using your telescope is to get it out whenever the conditions are suitable for observing.
As they say: practice makes perfect.

The weather
You can’t control the weather, but by being aware of what’s occurring in the atmosphere you can prepare for the night ahead.
The sky often looks ideal for stargazing, but looks can be deceiving.
Amateur observers describe viewing conditions using terms such as ‘transparency’ and ‘seeing’.
Transparency is straightforward: observing a sky with poor transparency is like trying to look through a dirty window.
But in this case the dirt is high, in thin clouds, atmospheric dust or moisture, or even aircraft contrails.
Seeing describes how steady or turbulent the atmosphere is and it can be estimated by observing brighter stars with the naked eye.
When the seeing is poor, stars appear to twinkle more.

Weather forecasts for astronomers can be helpful for anticipating observing conditions (try sat24.com or www.clearoutside.com).
If good conditions coincide with a dark new Moon period, the view should be outstanding.
Ambient temperature also plays a role, which is why telescopes need time to acclimatise when you take them outside.
Allowing an hour to let your telescope cool down before you start observing really helps. Even so, a target that looks poor one night may be spectacular the next.

A worthwhile experiment is to observe a bright lunar limb (the visible ‘edge’ of the Moon) at high magnification and note how the view appears to wobble.
For more info on this, read our guide on how to observe the Moon.
This is the effect of the seeing. Lingering on the view a few minutes will reveal patches of improved seeing, letting more detail shine through.
Experienced observers will take their time over each target and keep coming back to favourite objects over the years.
What are your top tips for getting the most out of your telescope? Let us know by emailing contactus@skyatnightmagazine.com