This project will show you how to build a solar projector that you can use to safely view the Sun.
Not only is a solar projector easy to operate, but it’s useful for catching sunspot activity, a solar eclipse or a transit of Mercury / transit of Venus.
As it is not safe to look directly at the Sun with the naked eye (or any unfiltered optical equipment), our design keeps your eyes well away from the light path, which is inside an enclosed casing.
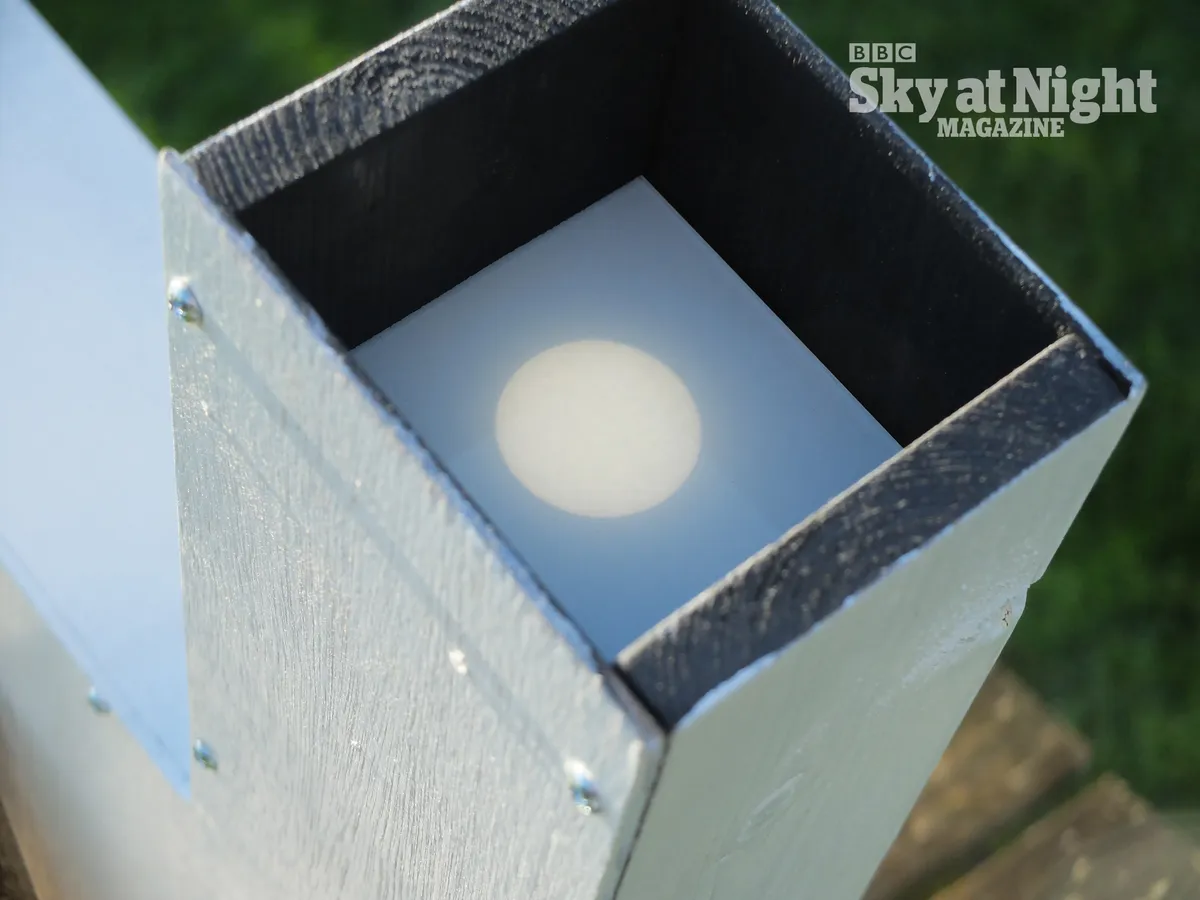
The image is projected onto a screen that can be viewed by several people simultaneously, making it a good option for astronomy outreach at star parties.
For more on solar observing, read our guides on how to safely observe the Sun and how to safely observe a solar eclipse.
Download solar projector screen annotated diagram (PDF)
Download solar projection screen blueprint (PDF)

Collecting materials
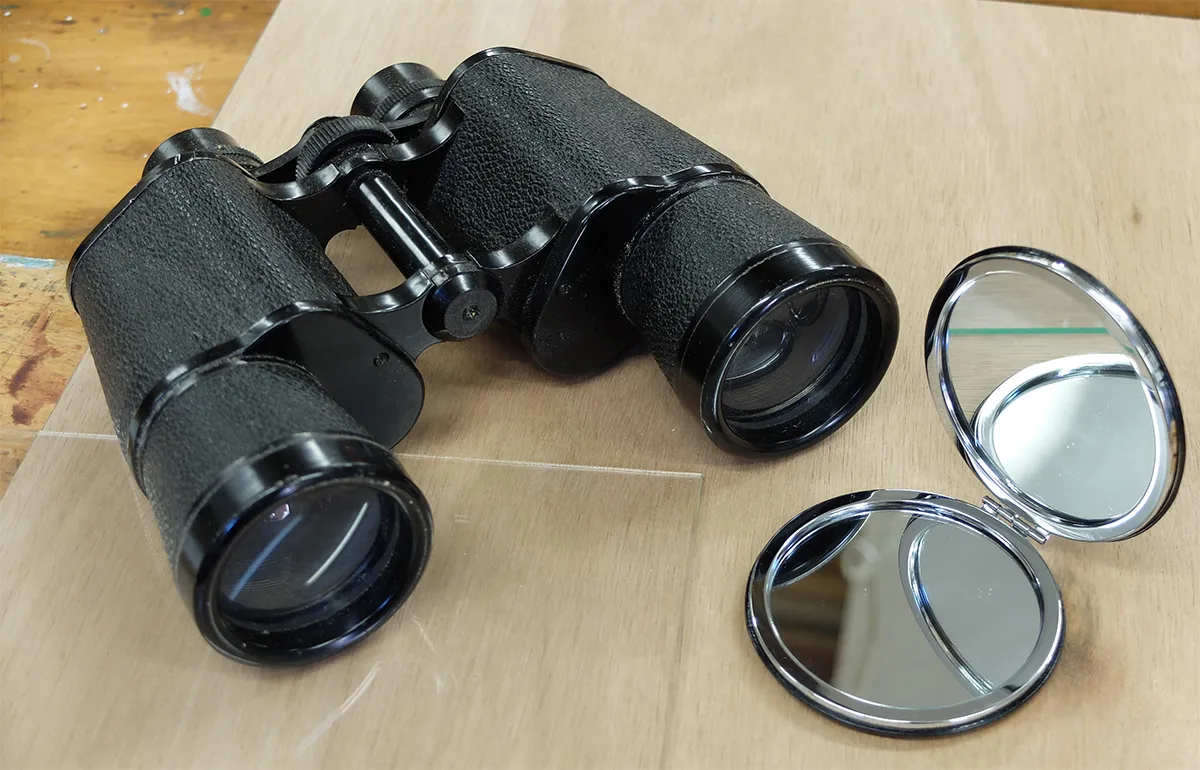
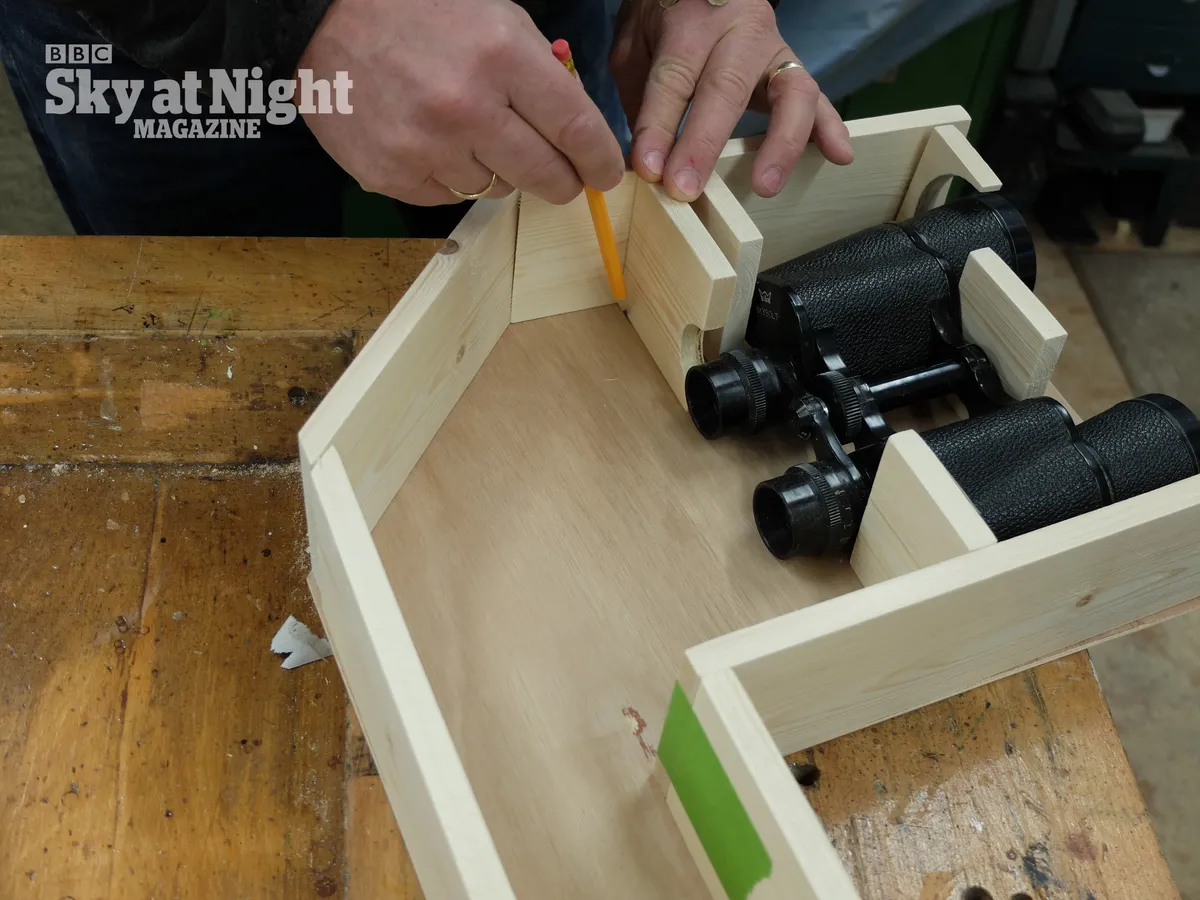
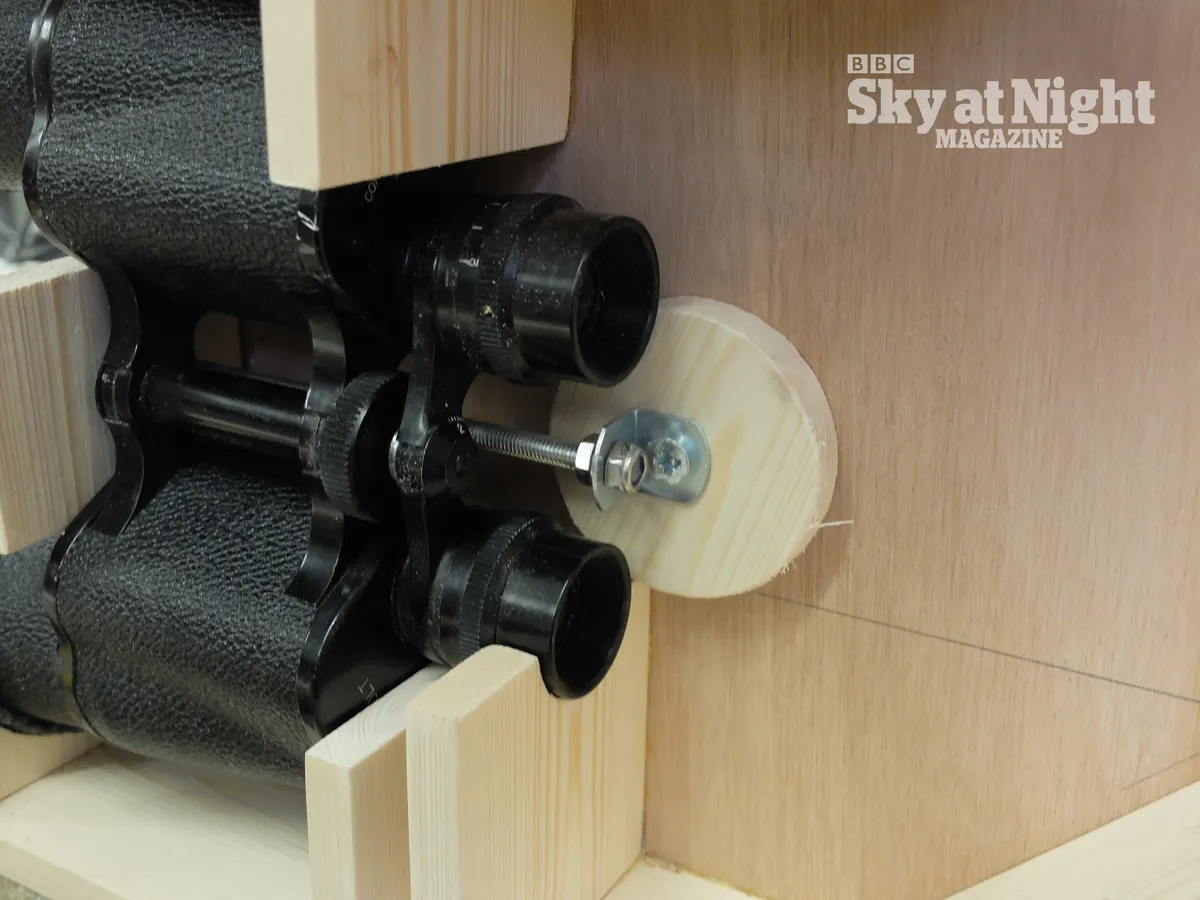
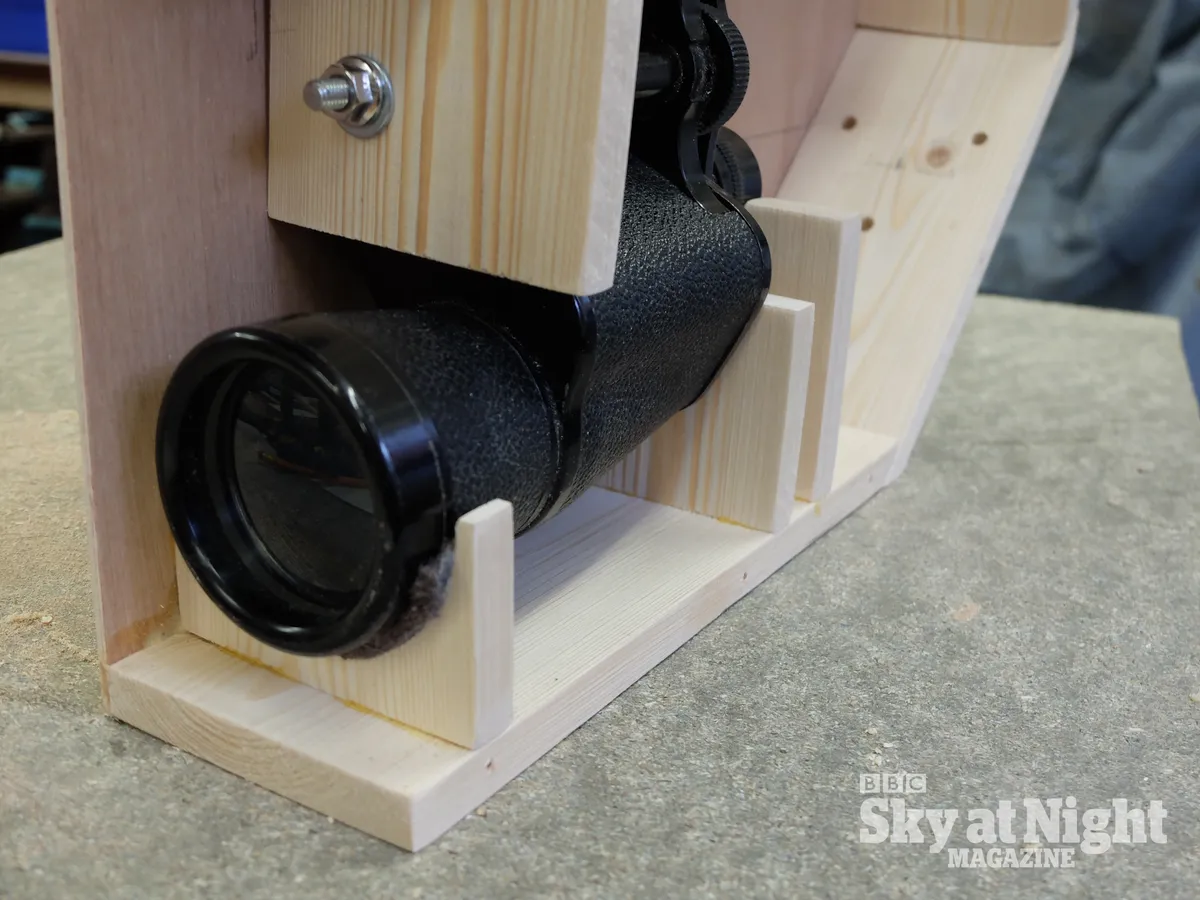
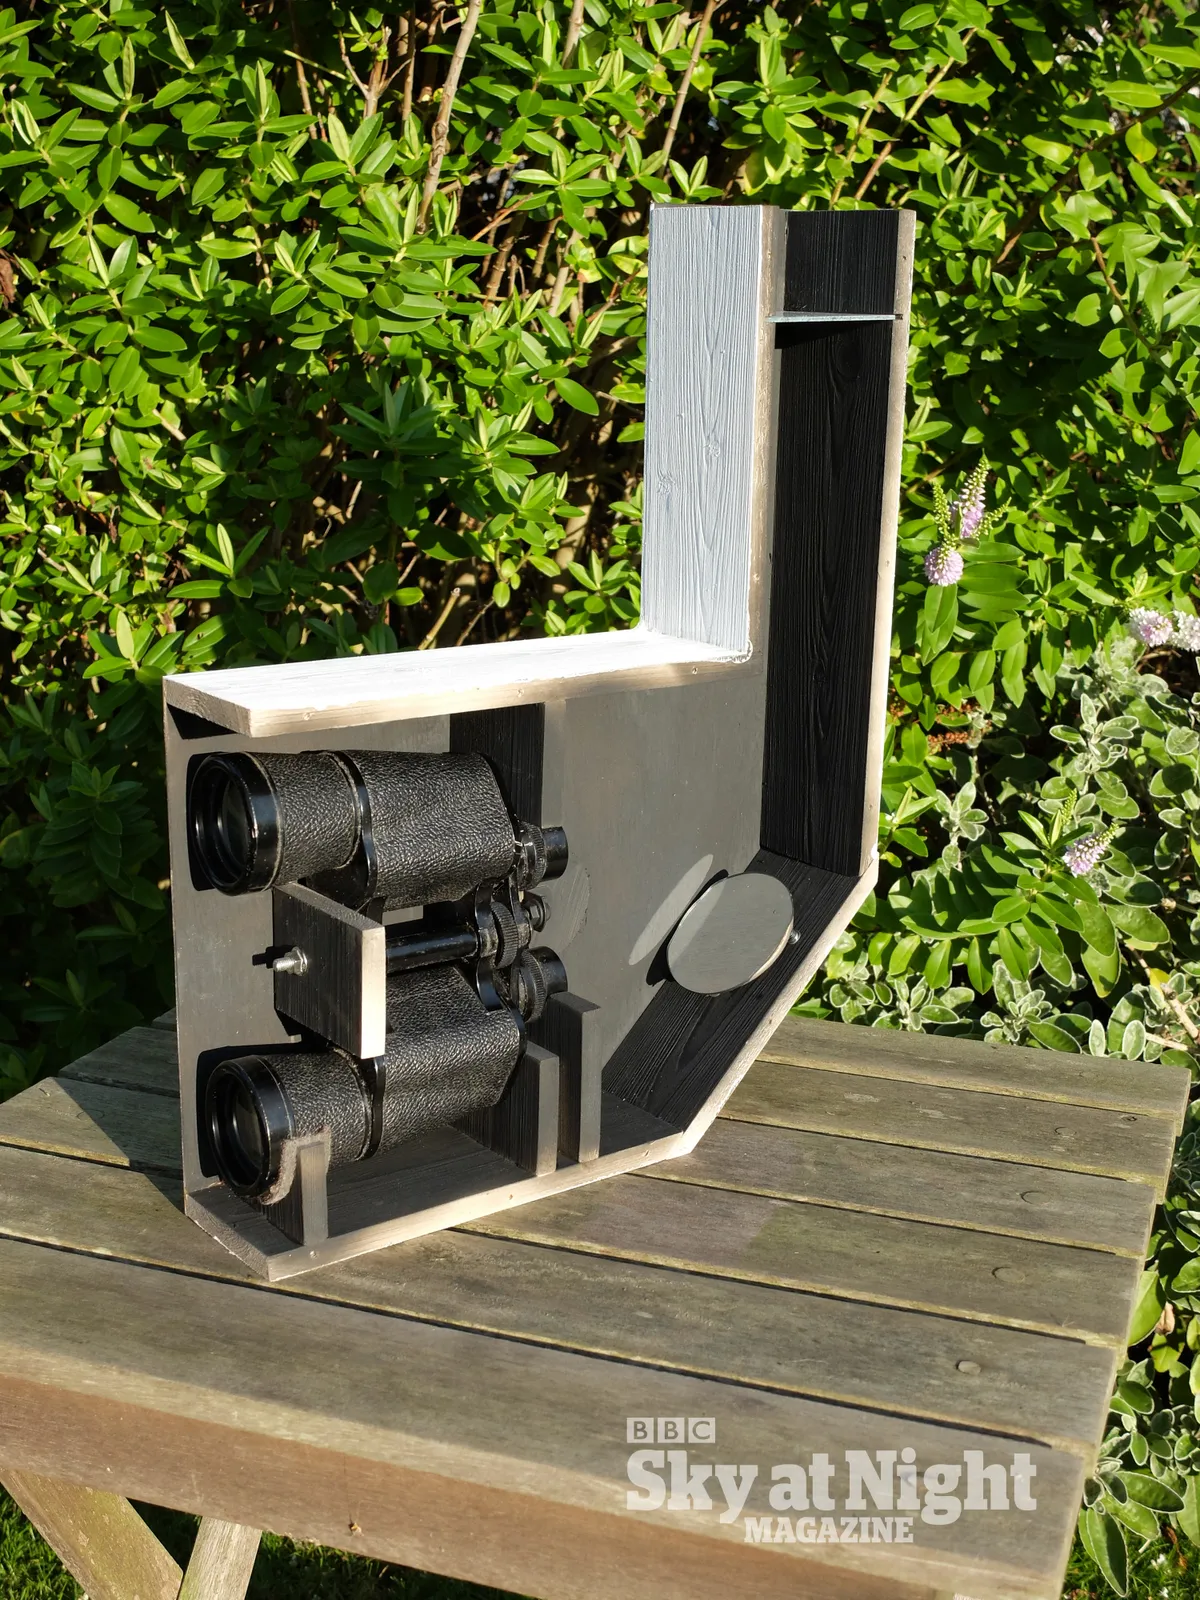
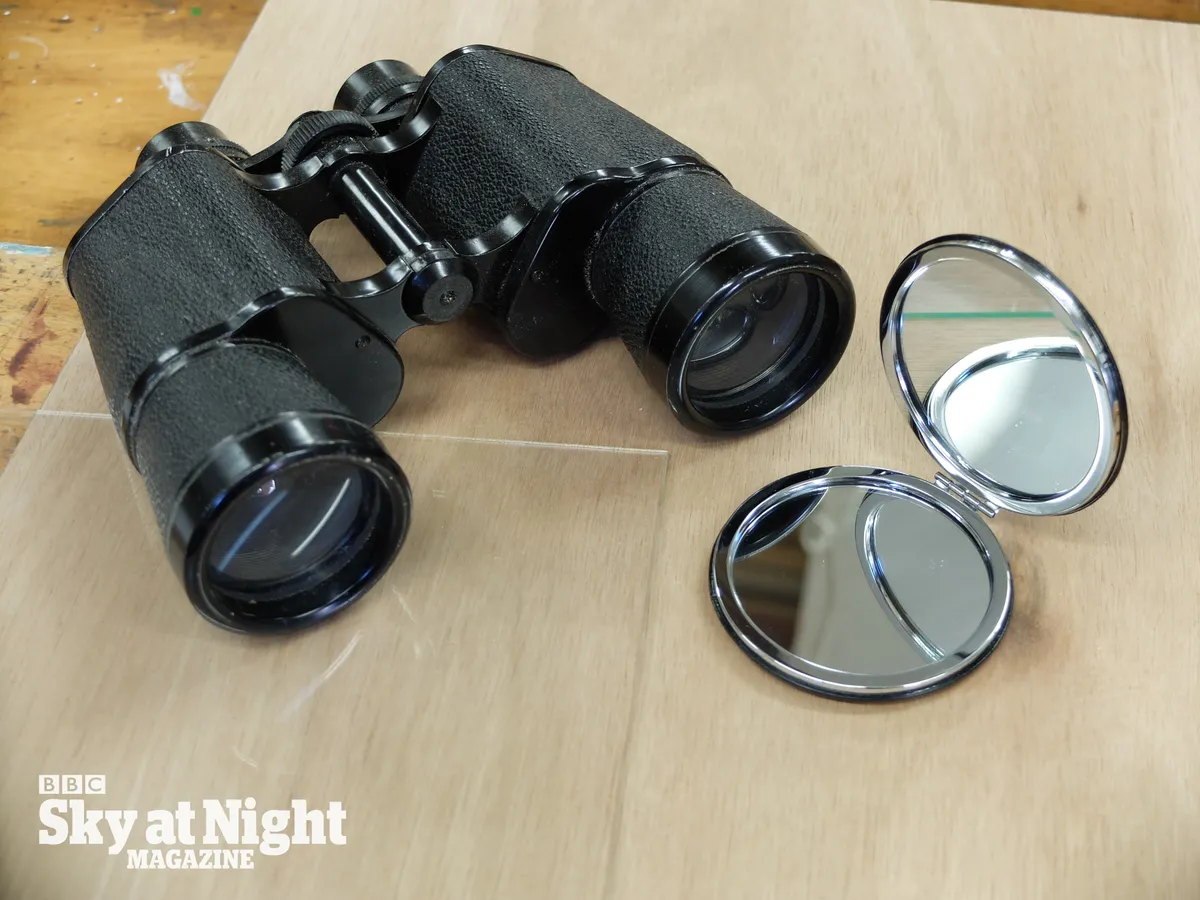
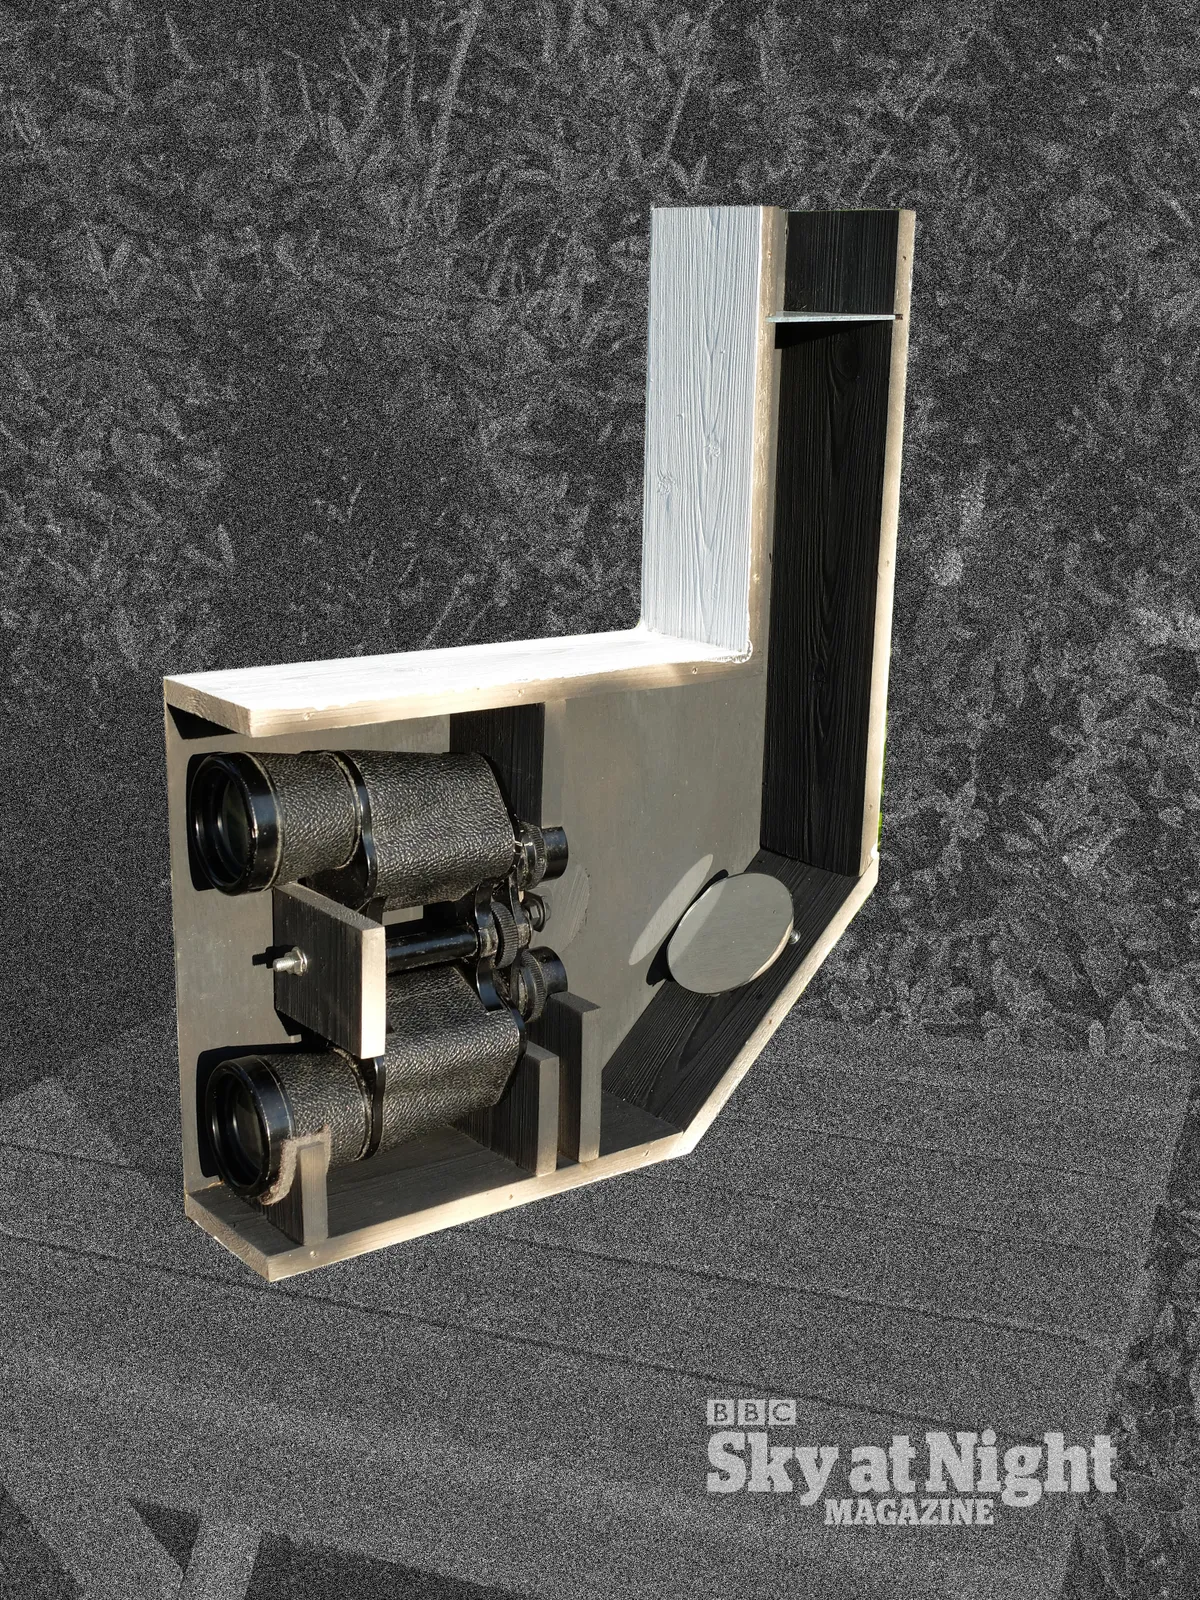
The design makes use of binoculars, a mirror and a screen.
Charity shop 7x50 binoculars are a good bet, particularly those built with metal and glass parts and costing under £10.
There may be some heat build-up during observations, so don’t use pricey binoculars or ones with plastic eyepiece parts.
We only need to use one half of the optics, but we can keep the other, as removing it interferes with the focus mechanism.
Before building the projector, test the optics. Take care with this; after capping one objective lens, hold the binoculars at waist height so that they point towards the Sun and project a crisp image onto a white wall or a card.
We found that holding them 450mm from the wall worked well, producing a bright disc about 30mm across.
You can increase or shorten the length of the viewing tube part of your projector if you need a different setup.
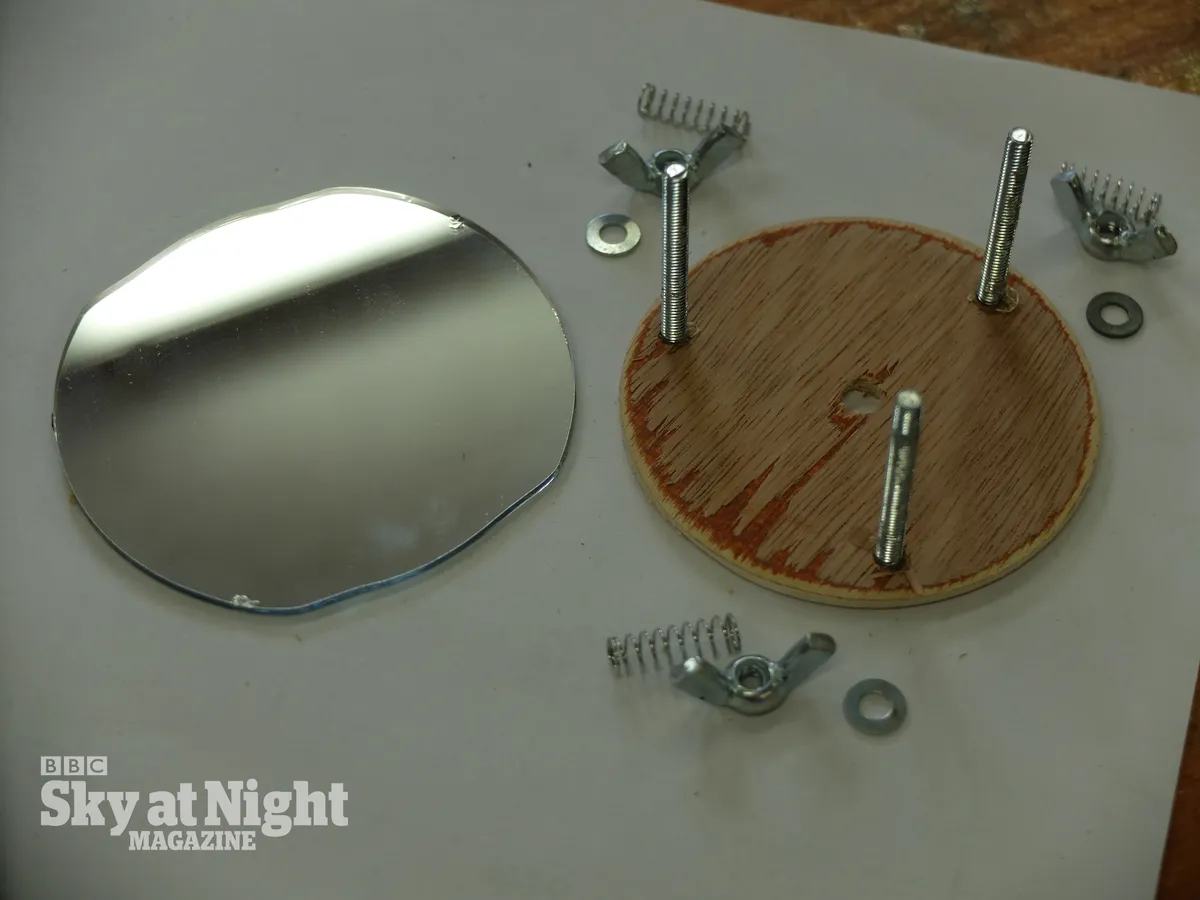
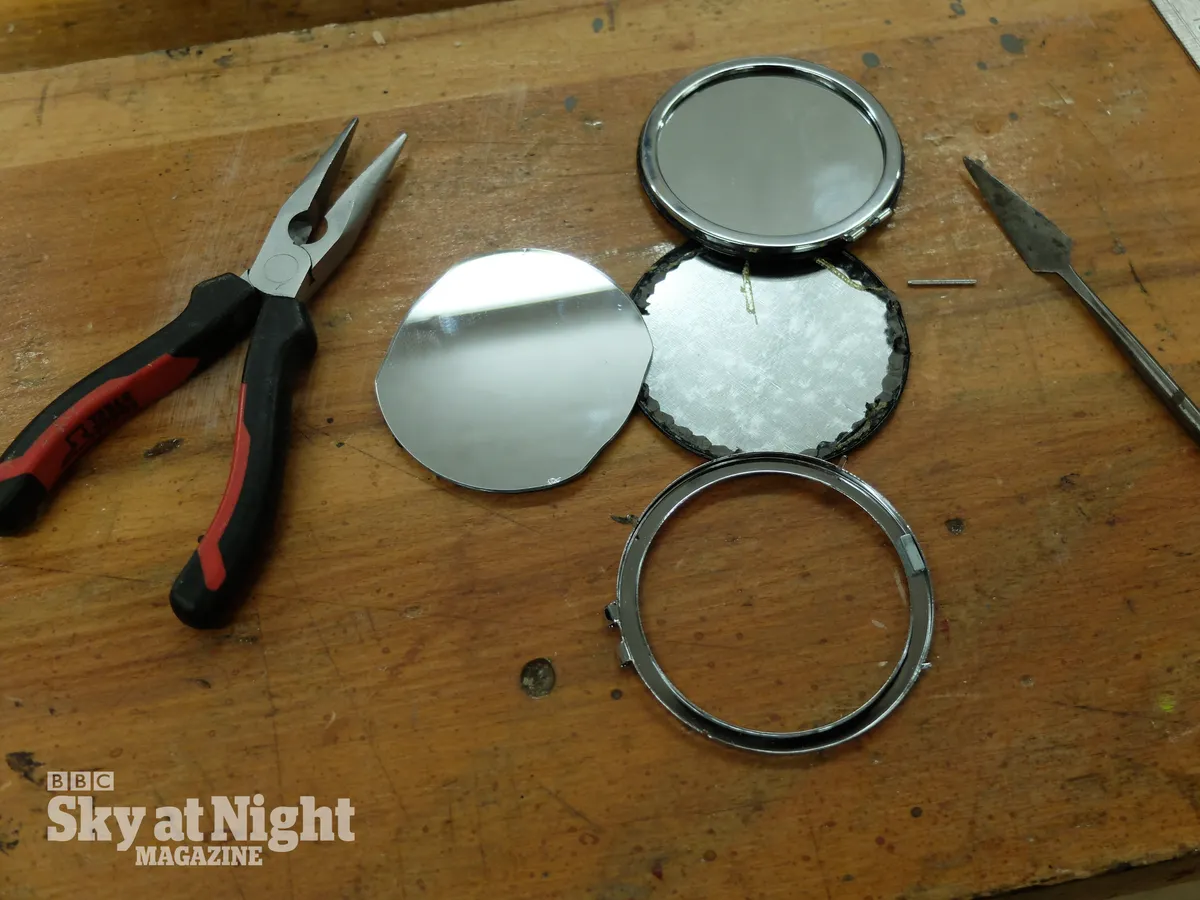
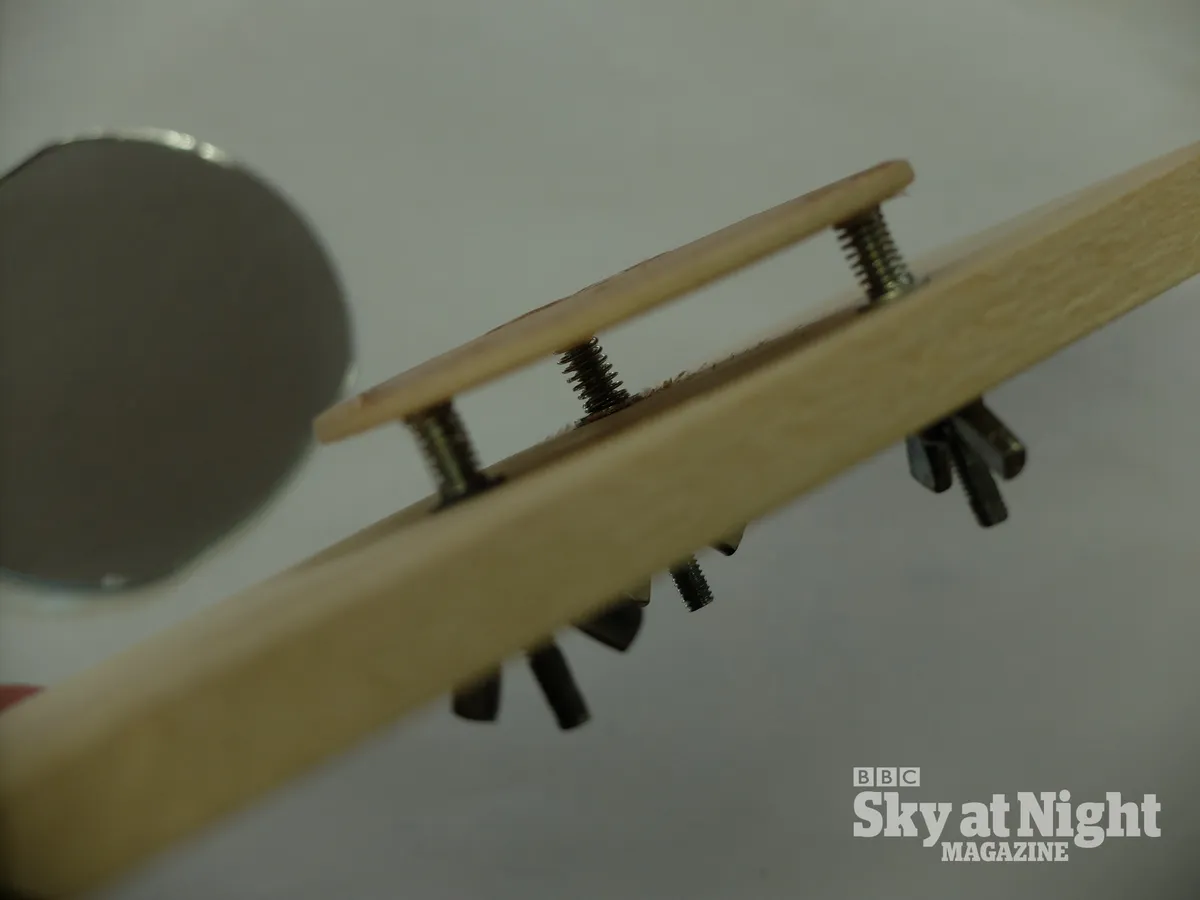
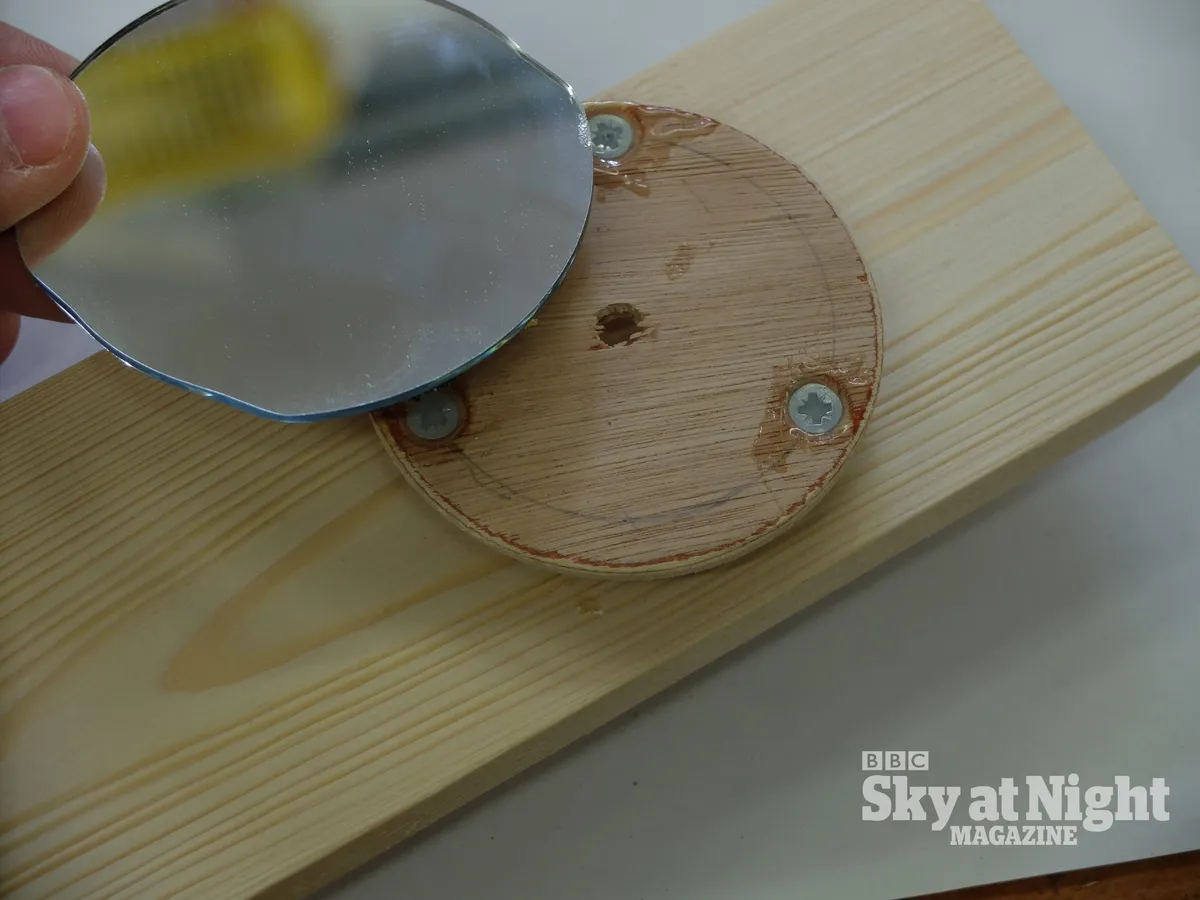
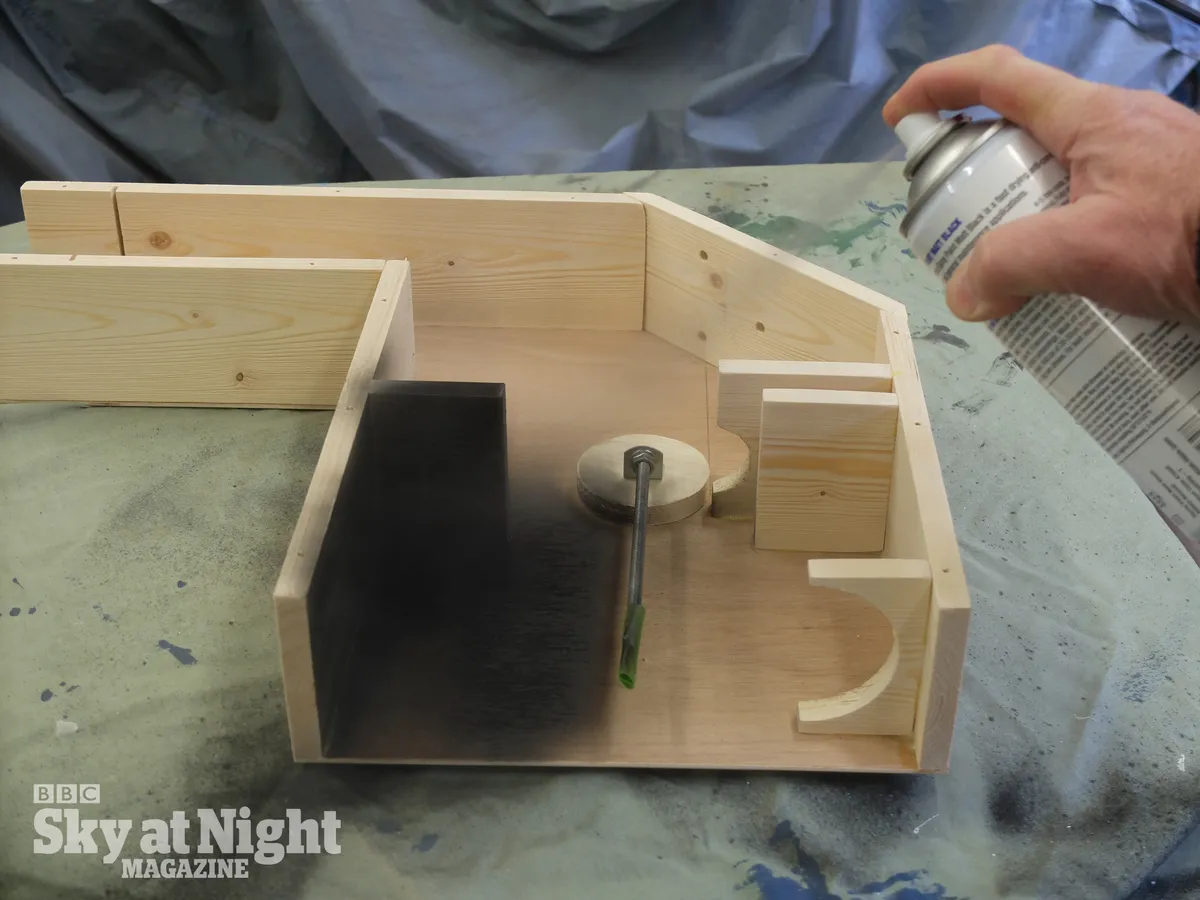
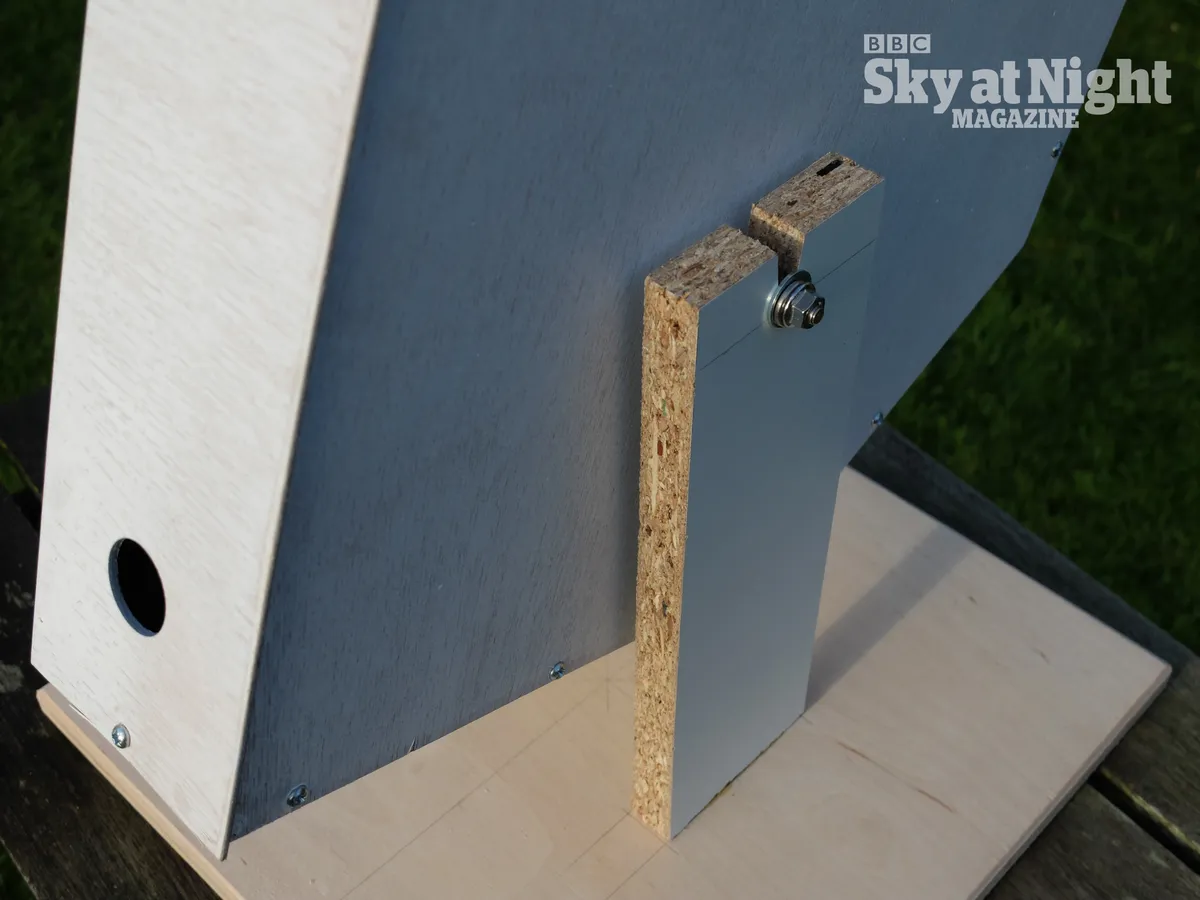
To reflect the light up towards the screen we glued a small, cheap mirror onto an adjustable platform.
We found this spring-loaded platform invaluable when finely adjusting the projector, so the image could be seen centrally on the screen.
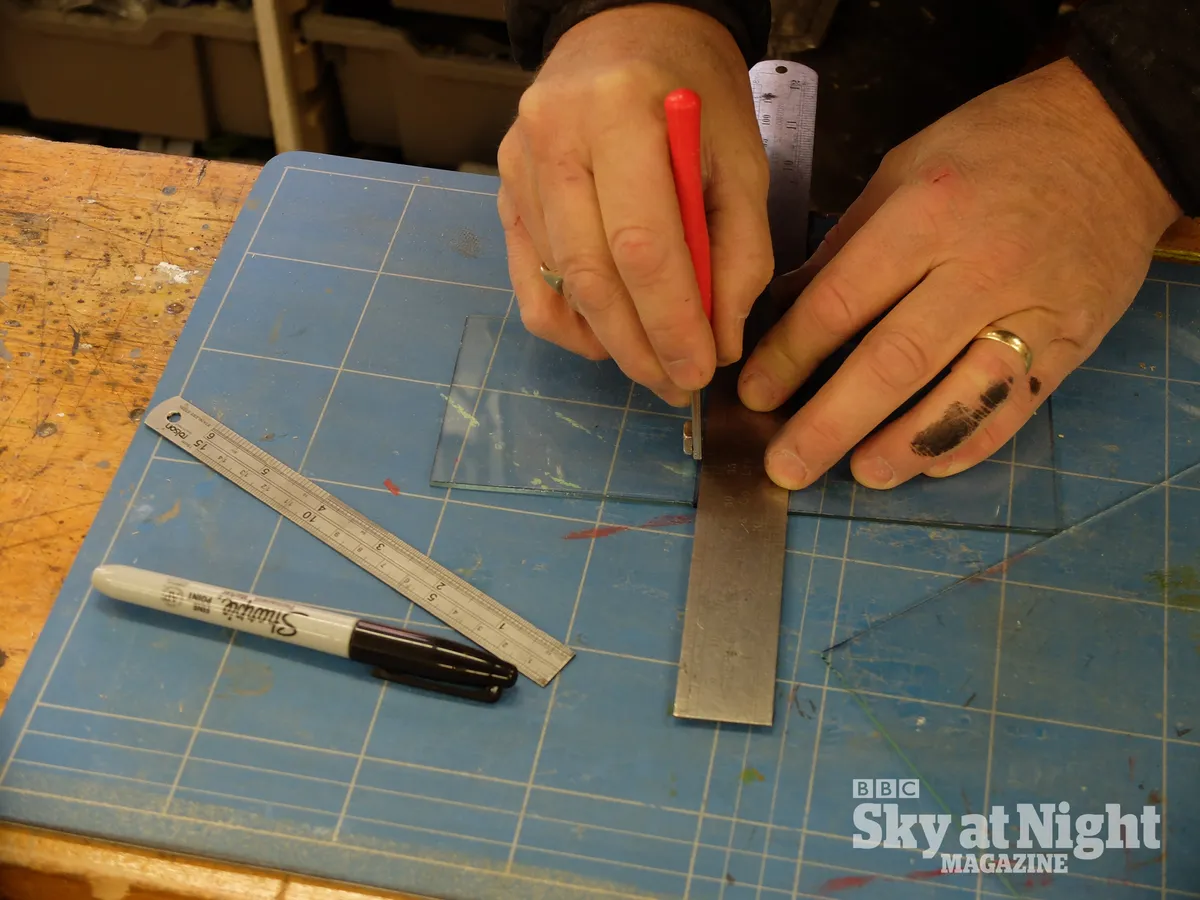
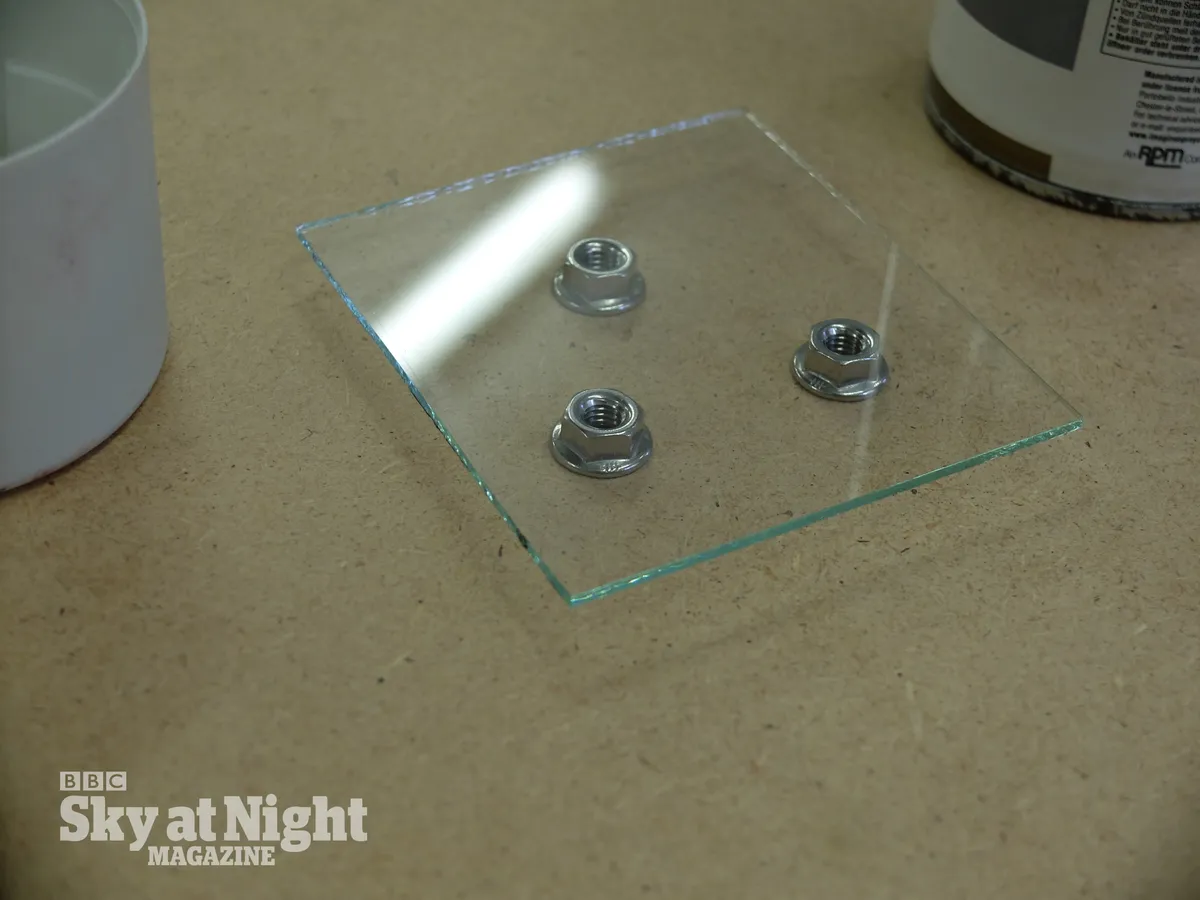
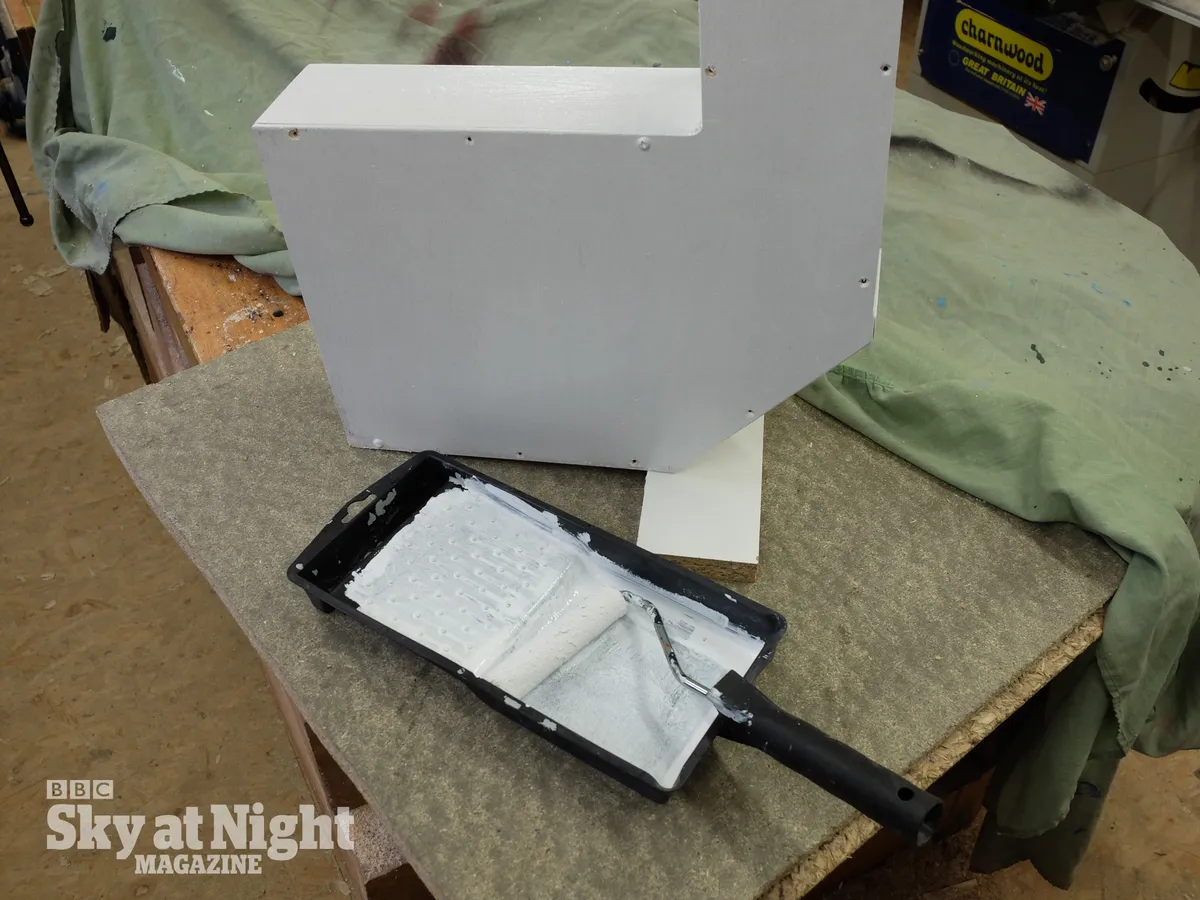
The screen itself is made from a piece of glass. We applied a layer of matt white spray paint to the back and found it captured the image well.
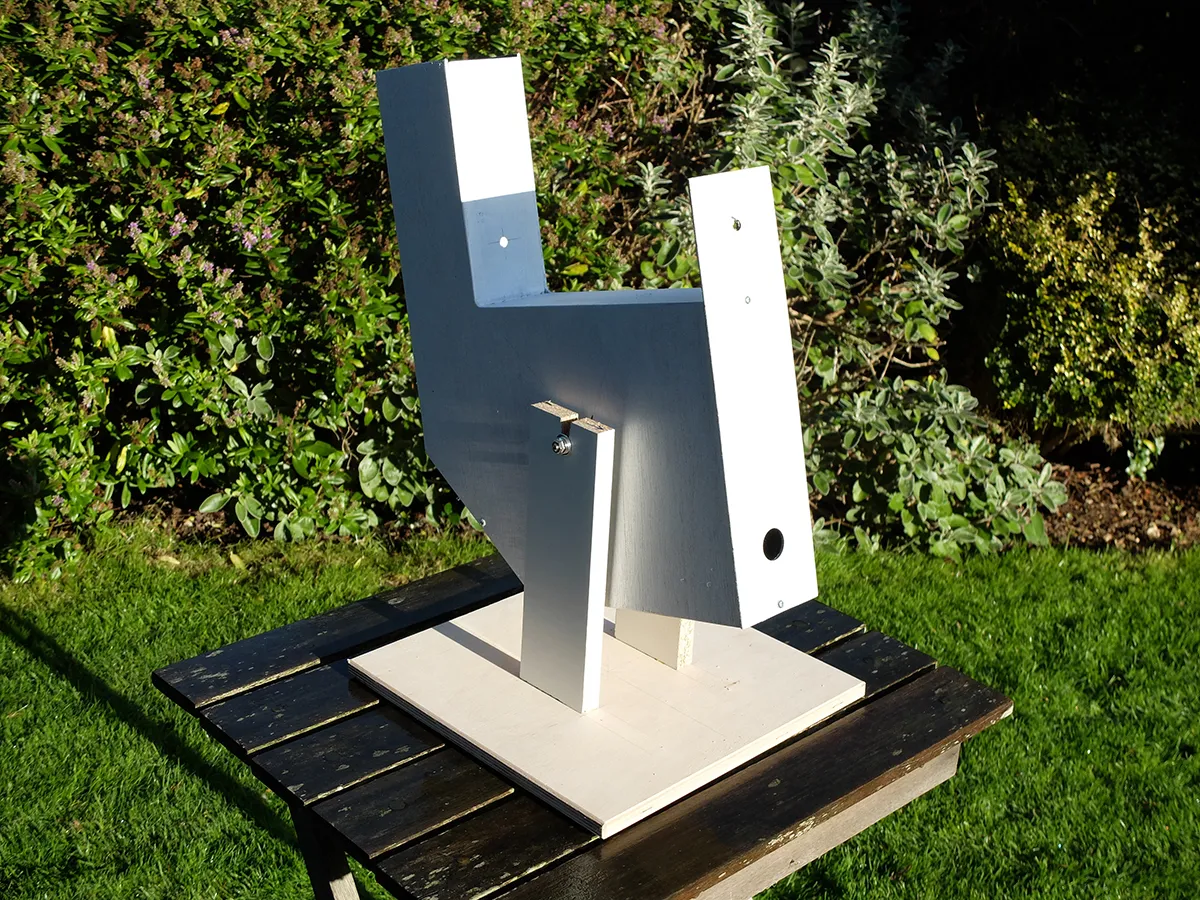
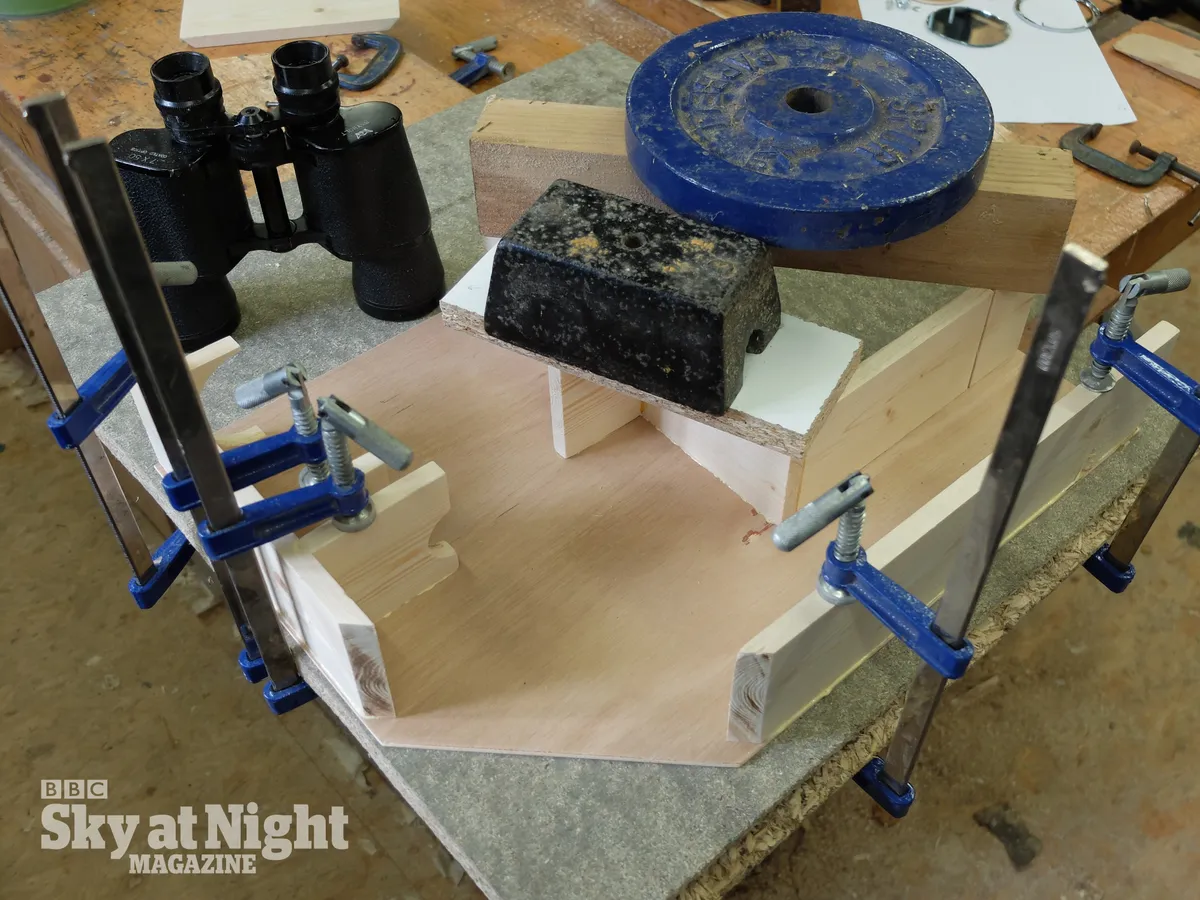
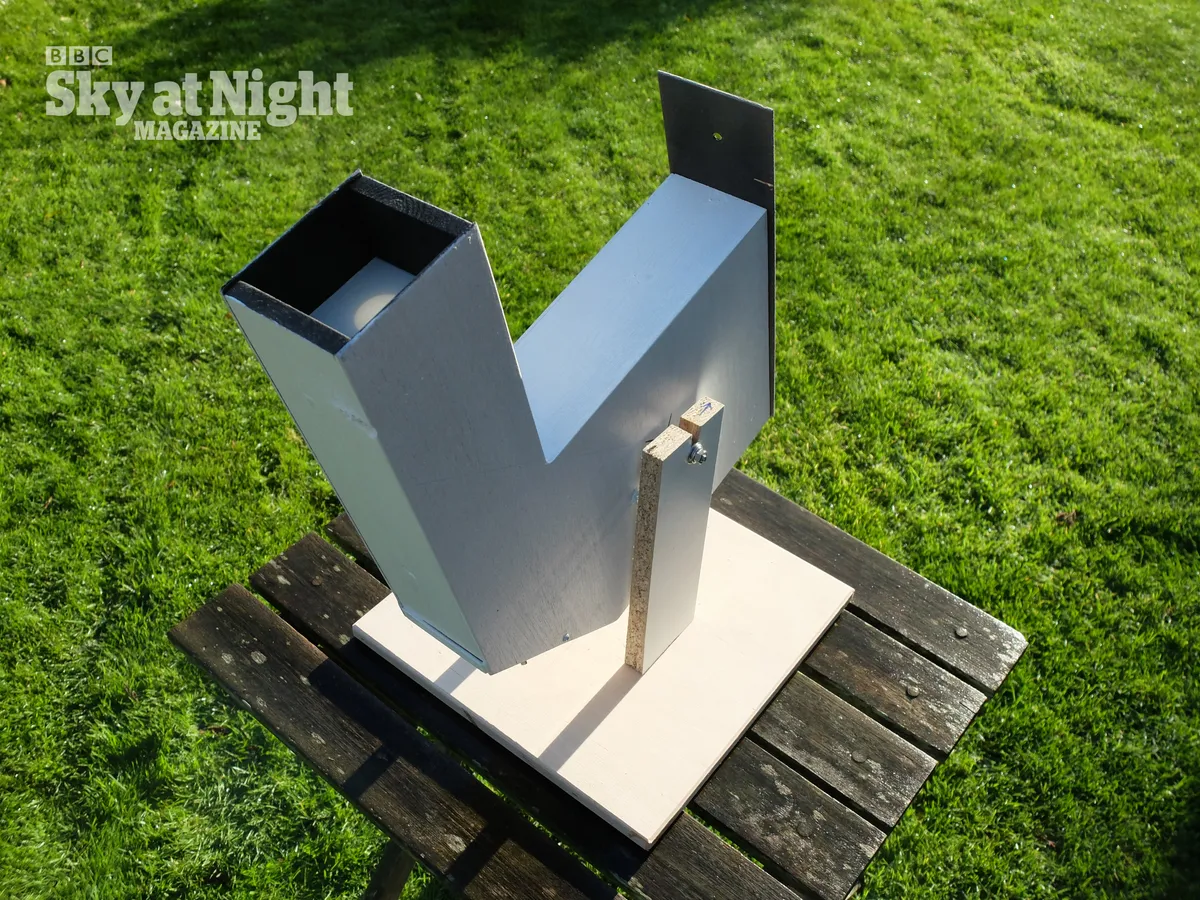
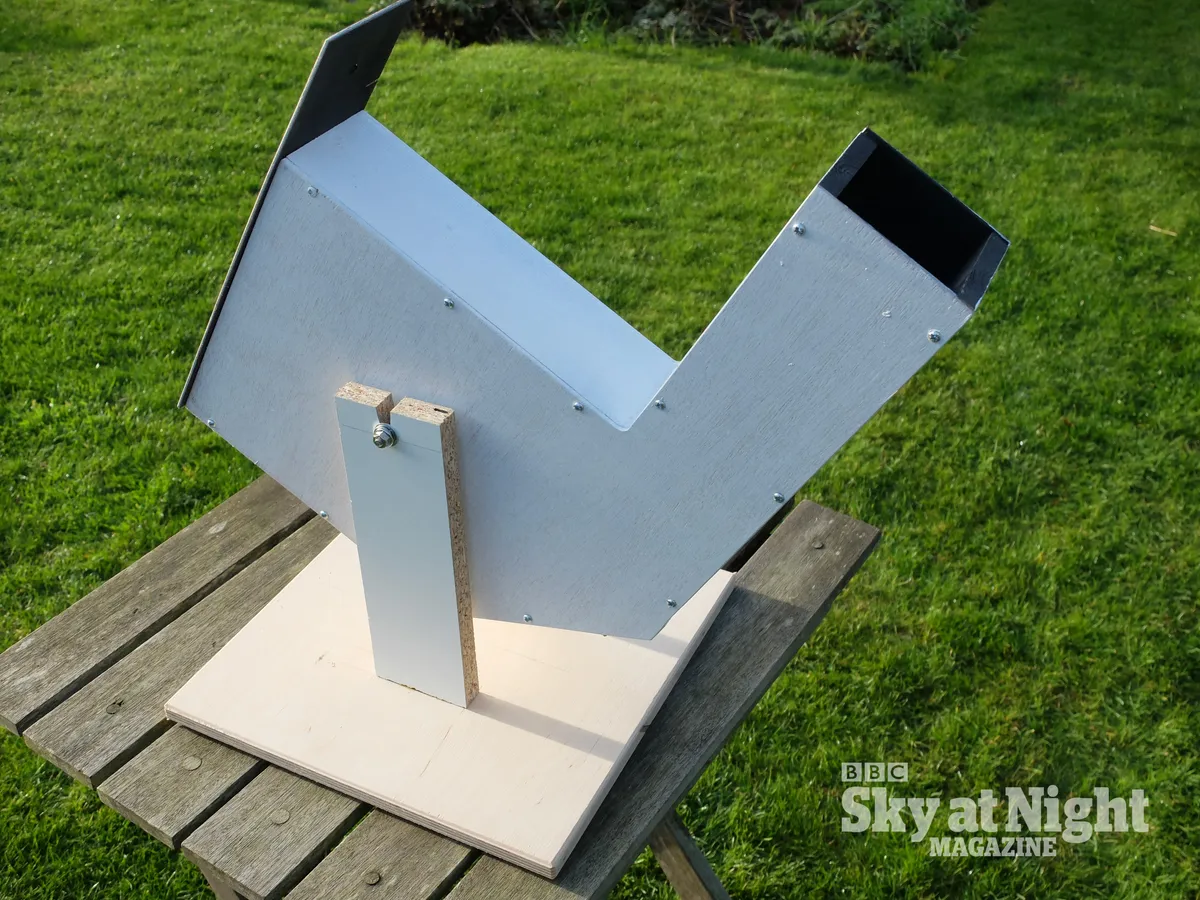
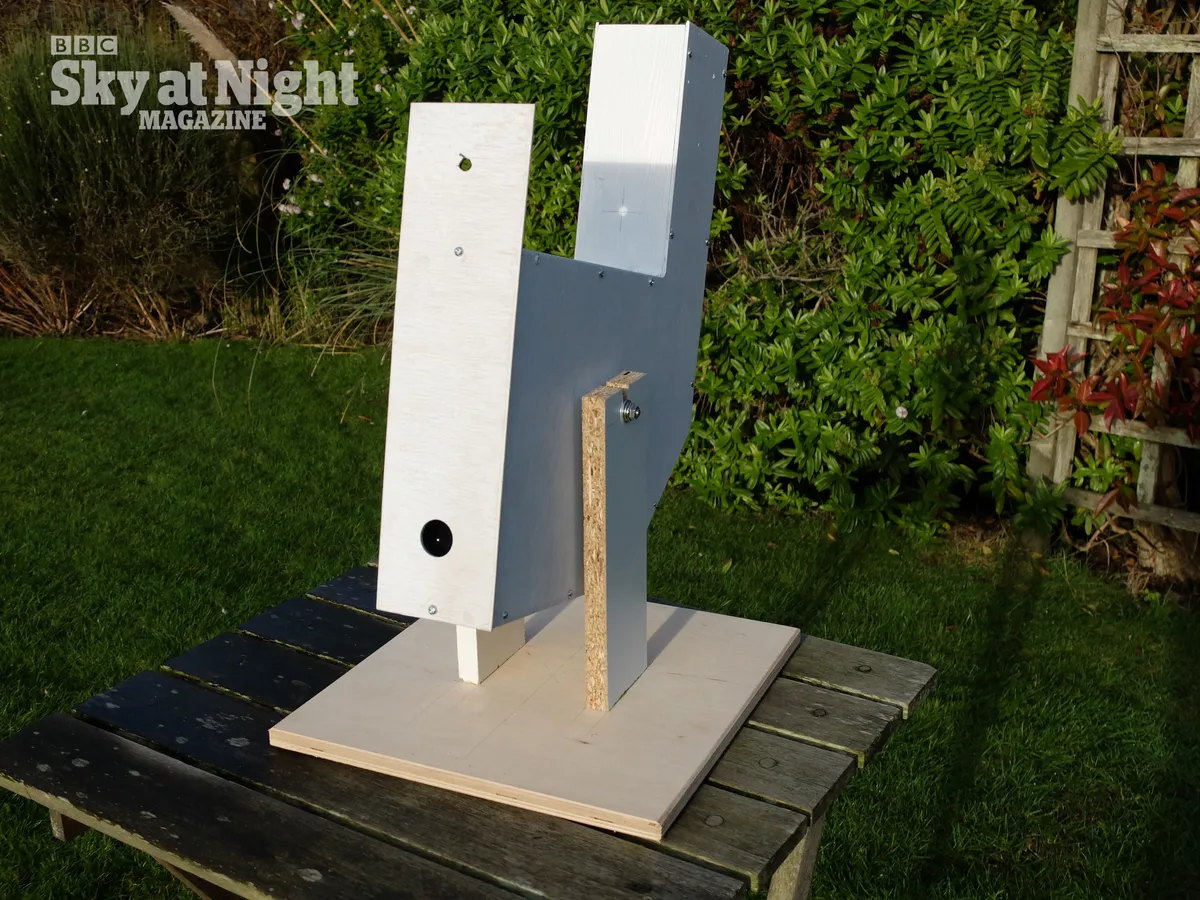
Once the projector is built it needs to be directed towards the Sun and held steady for viewing.
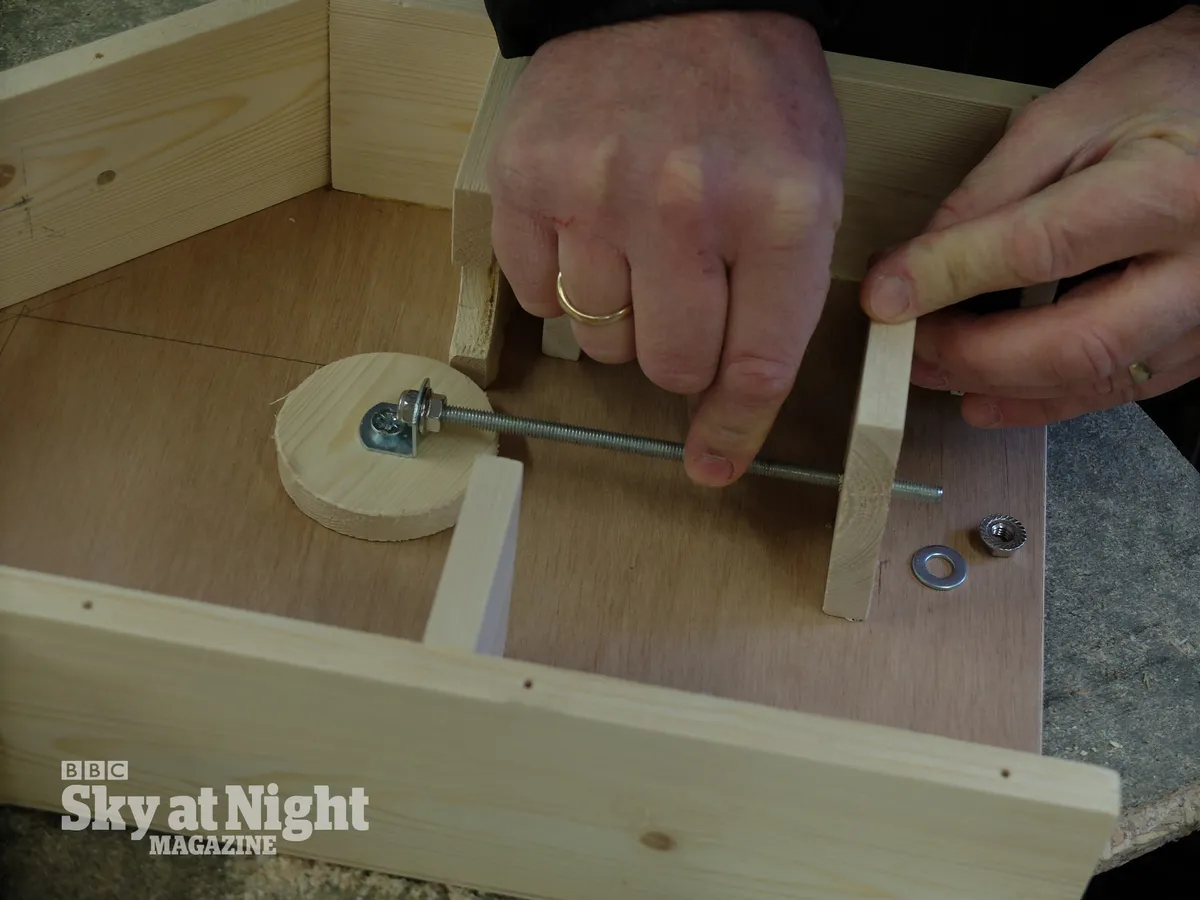
We made a table-top fork mount for this. The unit pivots vertically between the forks and the whole thing can be rotated on a flat surface.
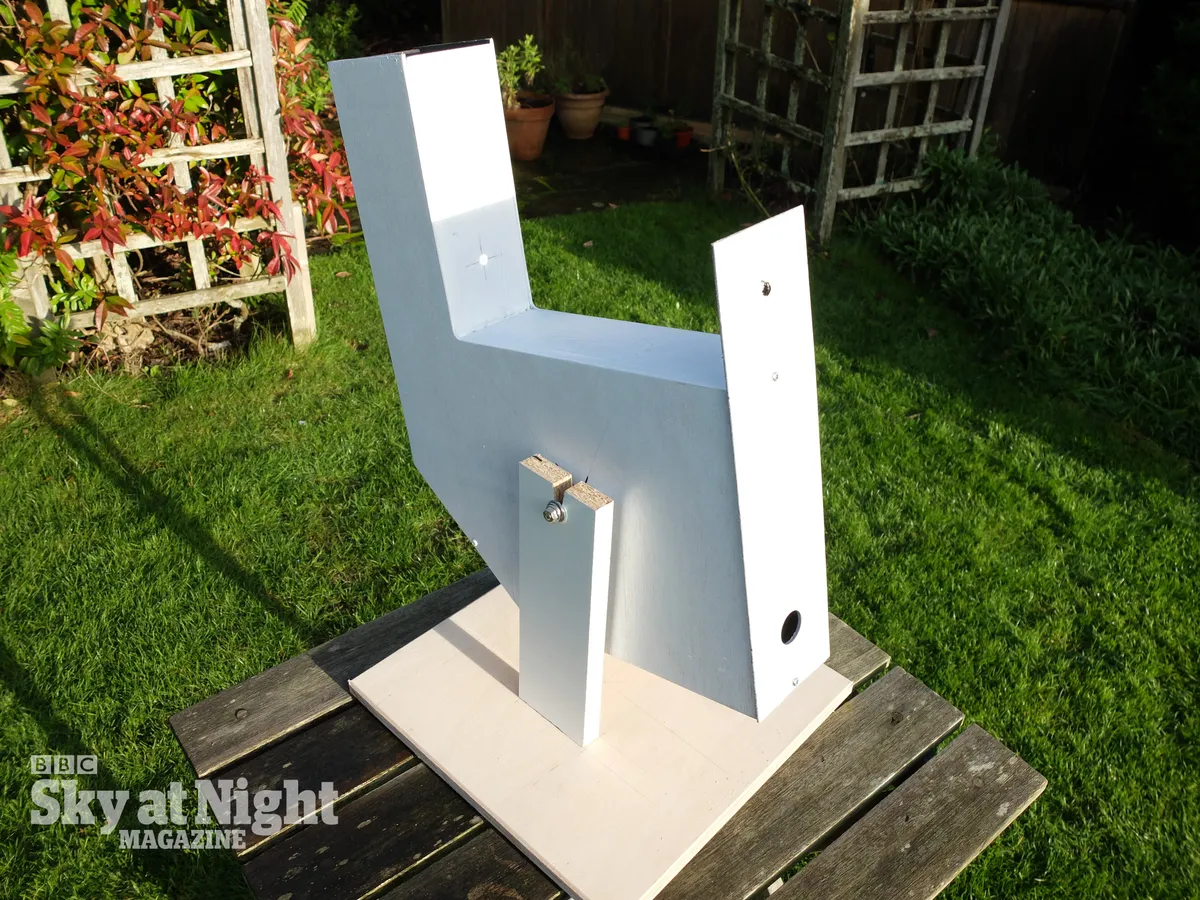
We added a front panel to our projector to block off the unused half of the binoculars.
The panel also reduces the aperture to about 25mm diameter as we felt the image was too bright; this also helps to stop heat building up inside.
We extended this panel above the top of the front section and drilled a small hole in it.
This casts a shadow, with a bright spot caused by the hole, onto the outside of the viewing tube, which helps when aligning with the Sun.
Extra images


Tools and materials
Tools
- Marking-out tools (ruler, square and pencil)
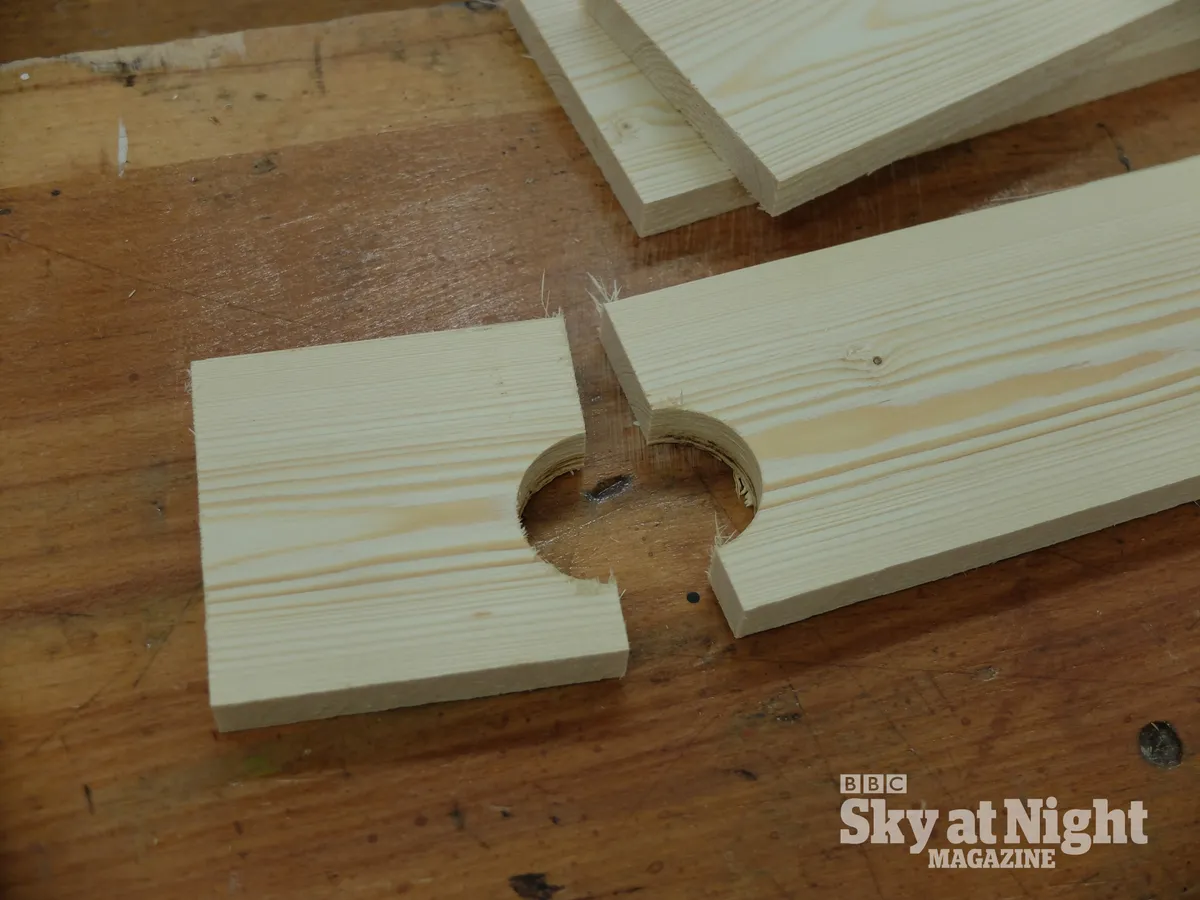
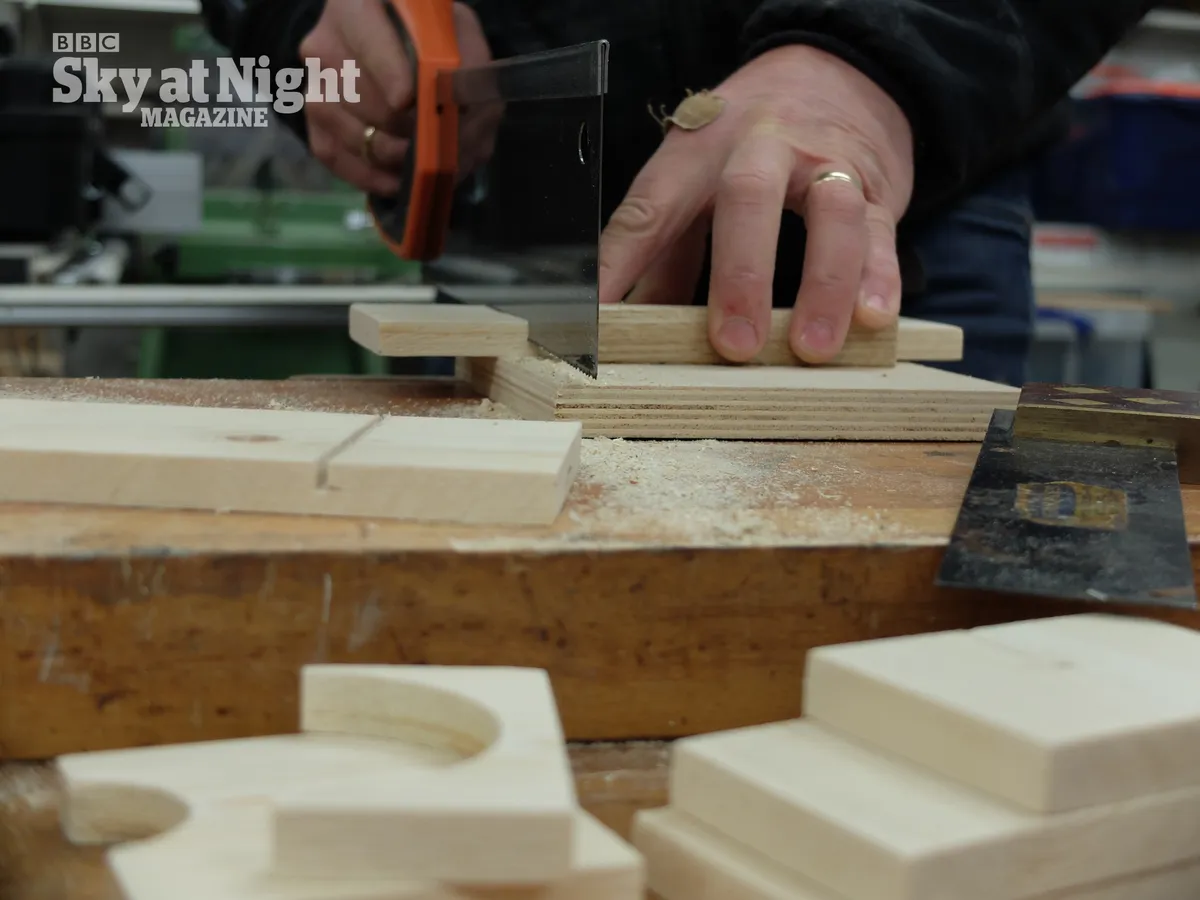
- Coping saw
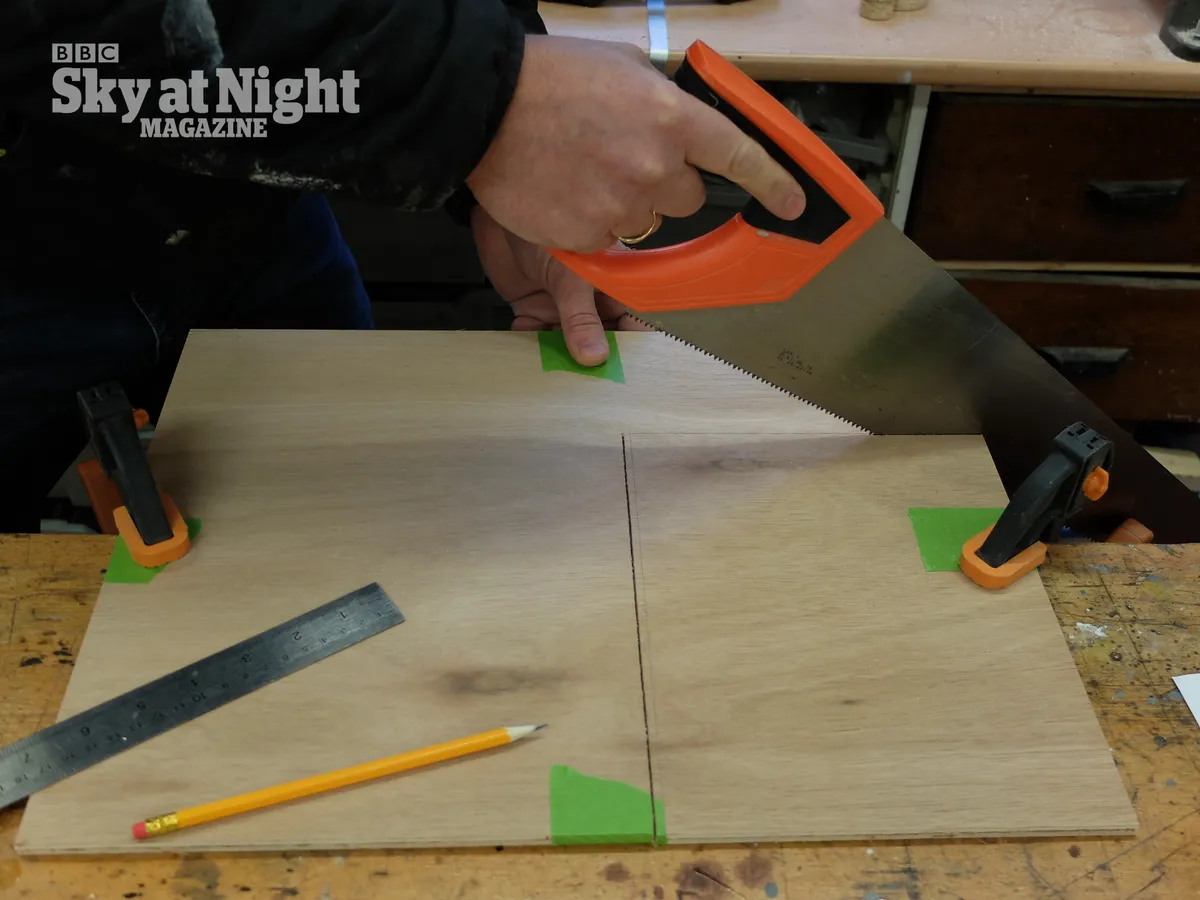
- Handsaw
- Drill and bits
- Sandpaper
- Glass-cutting tool
Materials
- Approximately 1,800mm-length of softwood
- 80mm x 12mm or similar
- Medium sheet of 3mm plywood
- Thick plywood or similar for base
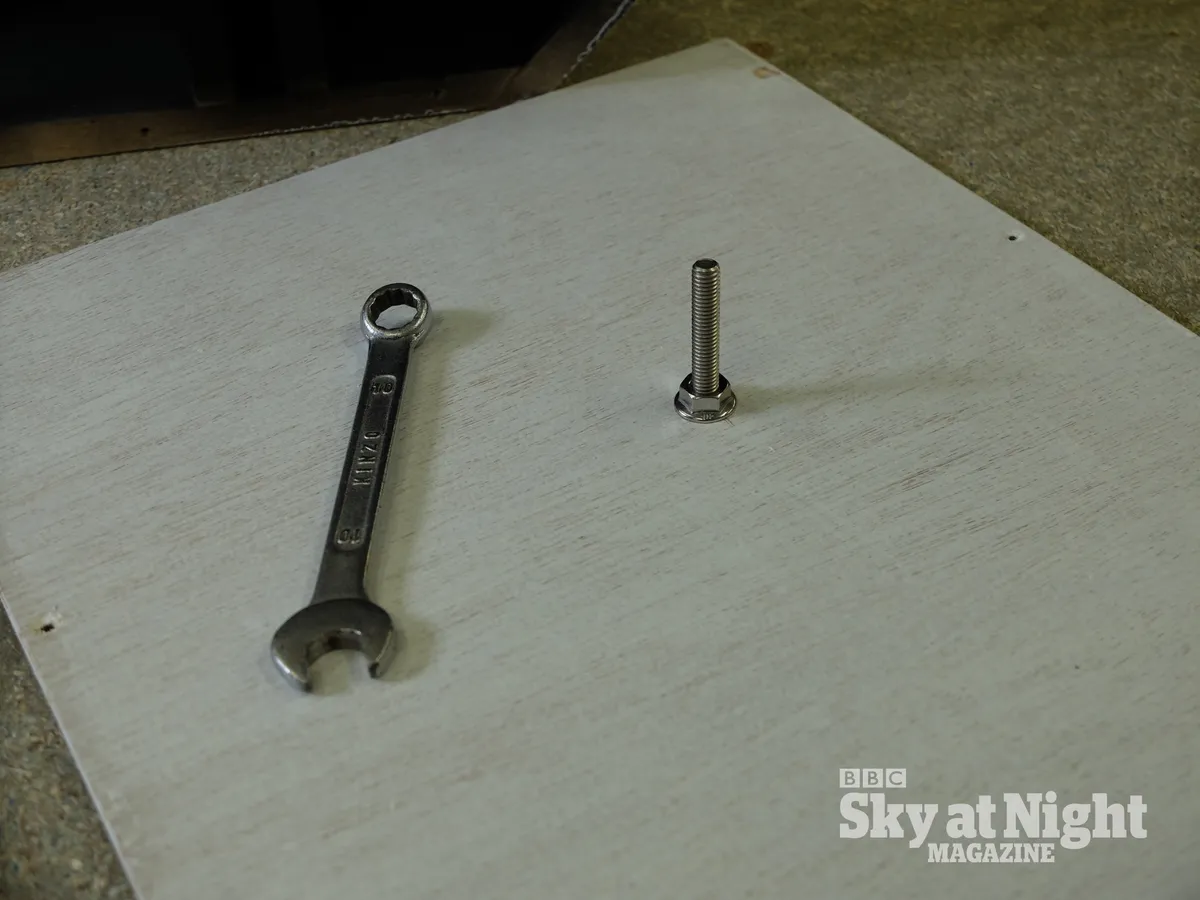
- 150mm of M6 studding
- 3 x small springs – approximately 6mm in diameter x 25mm in length
- 3 x M4 x 40mm CSK screws
- 2 x M6 x 40mm CSK screws
- M6 and M4 nuts and washers
- Small round head woodscrews
Sundries
- Binoculars, 7x50s or similar, with heavy metal/glass construction
- Small, flat, pocket-sized mirror
- Matt black and matt white spray paint
- Wood glue


