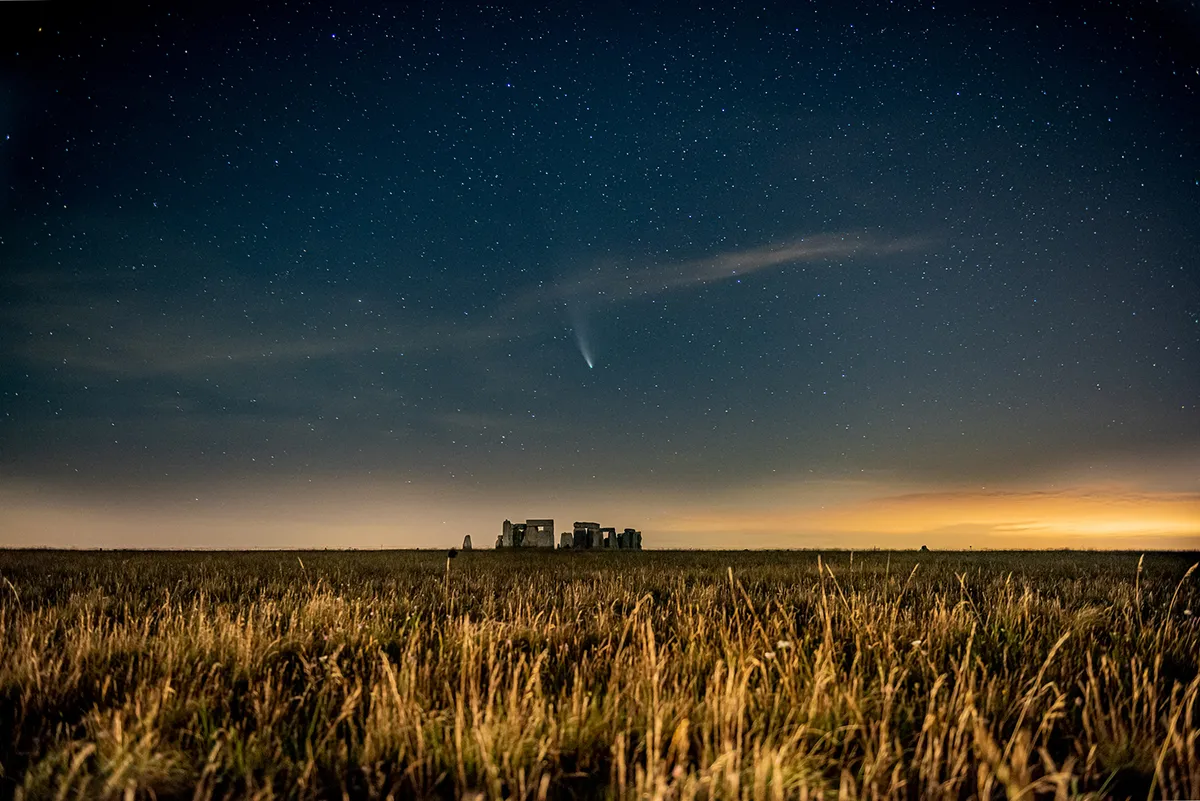
Comets are some of the most interesting astronomical objects to observe. Many of us will have enjoyed Comet NEOWISE during the summer of 2020, but these dusty ice balls have been studied for millennia.
Early observers treated them with suspicion as they were linked (incorrectly) to natural disasters, and often thought to signify the death of noblemen. Hence, their label ‘Harbingers of Doom’.
Here we'll show you how to make your own model of a comet. This is a great science lesson for kids as you can weave explanations of comet chemistry into the arts-and-craft fun.
Speaking of which, perhaps it's best to begin with a bit of space science.
And for more projects like this, read our 6 astronomy experiments that can be done at home or our guide on how to get kids interested in astronomy.
What are comets?
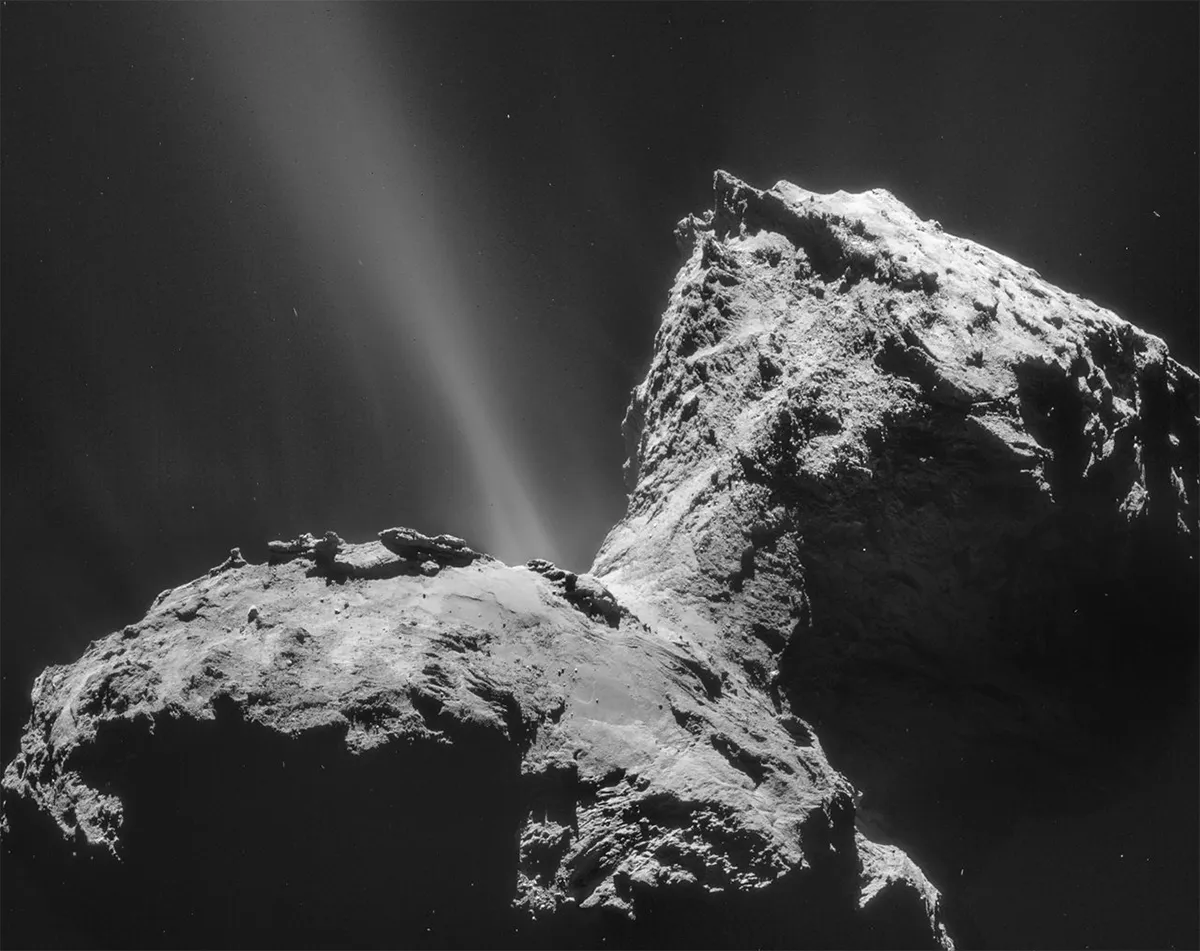
Comets are icy bodies comprised of rock, dust, water ice, frozen volatile compounds and some also contain long-chain hydrocarbons and amino acids.
They were formed from materials left over following the formation of the Solar System. The nucleus of a comet is usually between a few hundred metres and a few tens of kilometres across.
When their orbit brings them into the inner Solar System, solar radiation causes some of the volatile compounds to vaporise out of the nucleus. This gas and dust forms a slight atmosphere around the comet, called the coma.
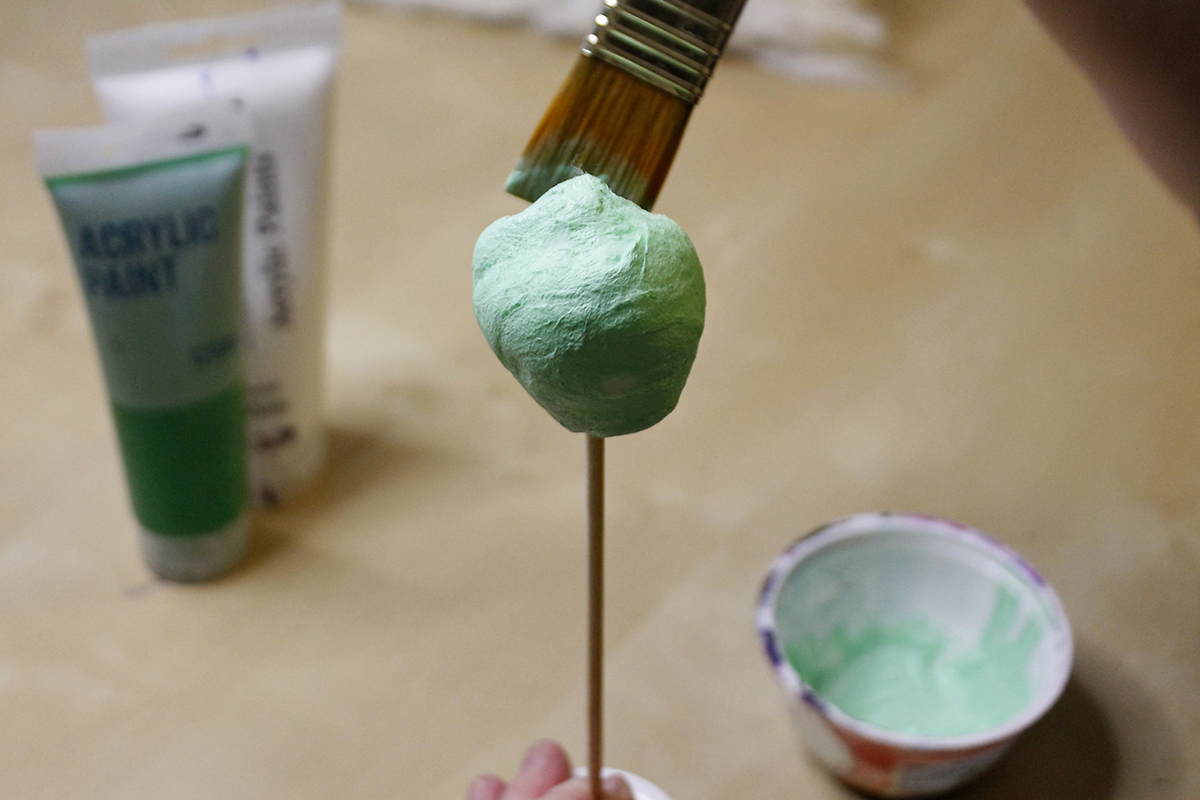
The exact size of the coma varies from comet to comet. It often has a greenish colour to it because ultraviolet light from the Sun ionises molecules of cyanogen and diatomic carbon within the coma, which causes the ions to fluoresce green.
As a comet gets closer to the Sun, the radiation pressure from the solar wind causes the tails to form. Comets often have two distinct tails: a dust tail and an ion tail.
The dust tail is material left behind as the comet speeds through space. Dust tails are usually curved, are a white and yellow colour because they reflect sunlight and are normally between one and 10 million kilometres in length.
The ion tail, or plasma tail, is comprised of ionised particles. As they interact with the solar wind, the ions flow out at high speed in a straight line directly away from the Sun.
Ion tails are often a glowing blue colour due to ionised carbon monoxide. They are tens of millions of kilometres in length.
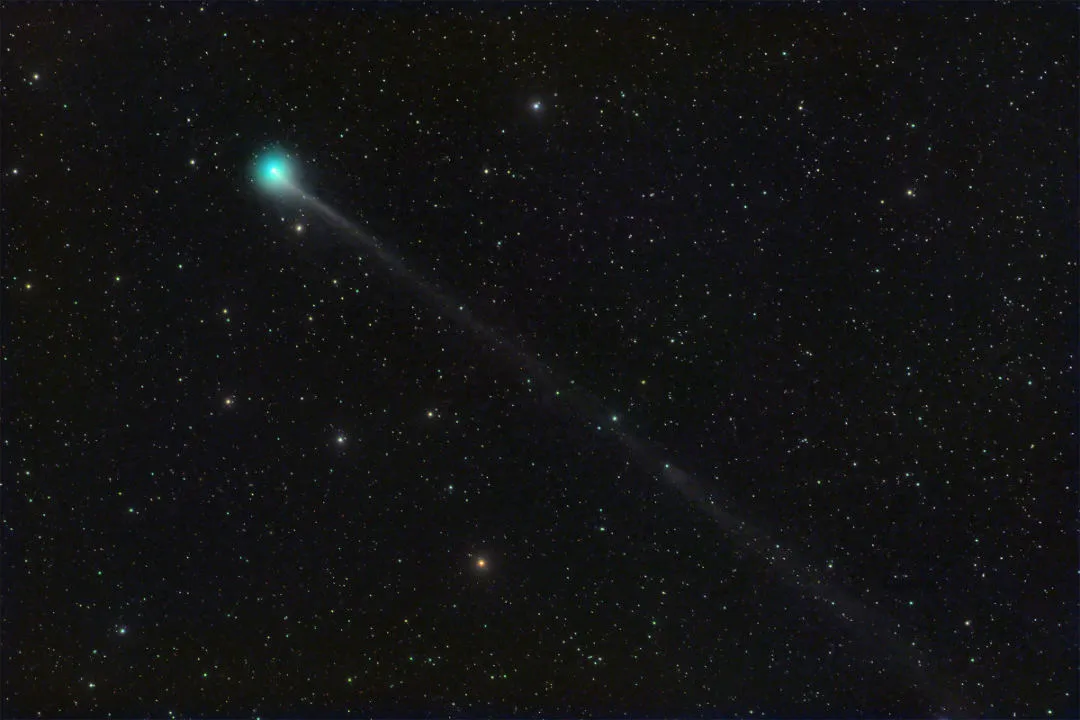
Some rare exceptions reach a whopping 3.8 AU long, where 1 AU (astronomical unit) is the distance between Earth and the Sun.
Because the comet’s nucleus is usually rotating, both tails may have twists and turns in them.
Science lesson over: now make your own comet model!
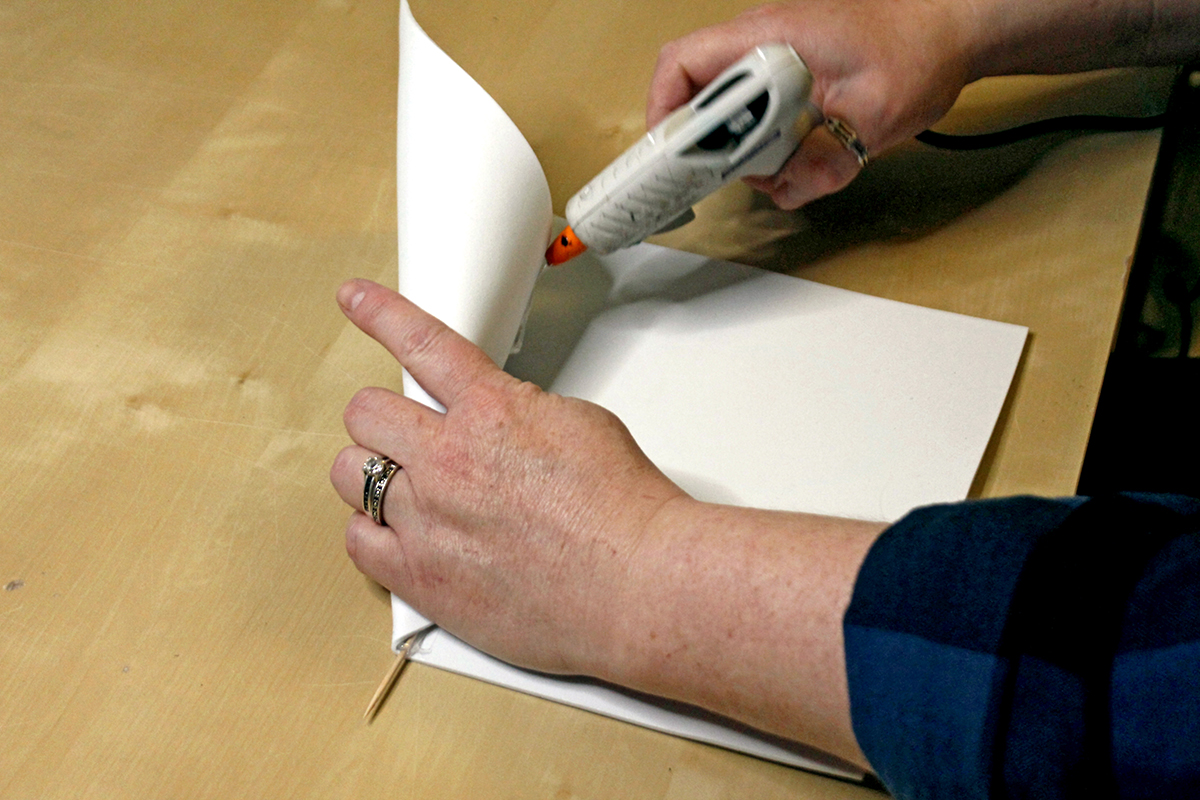
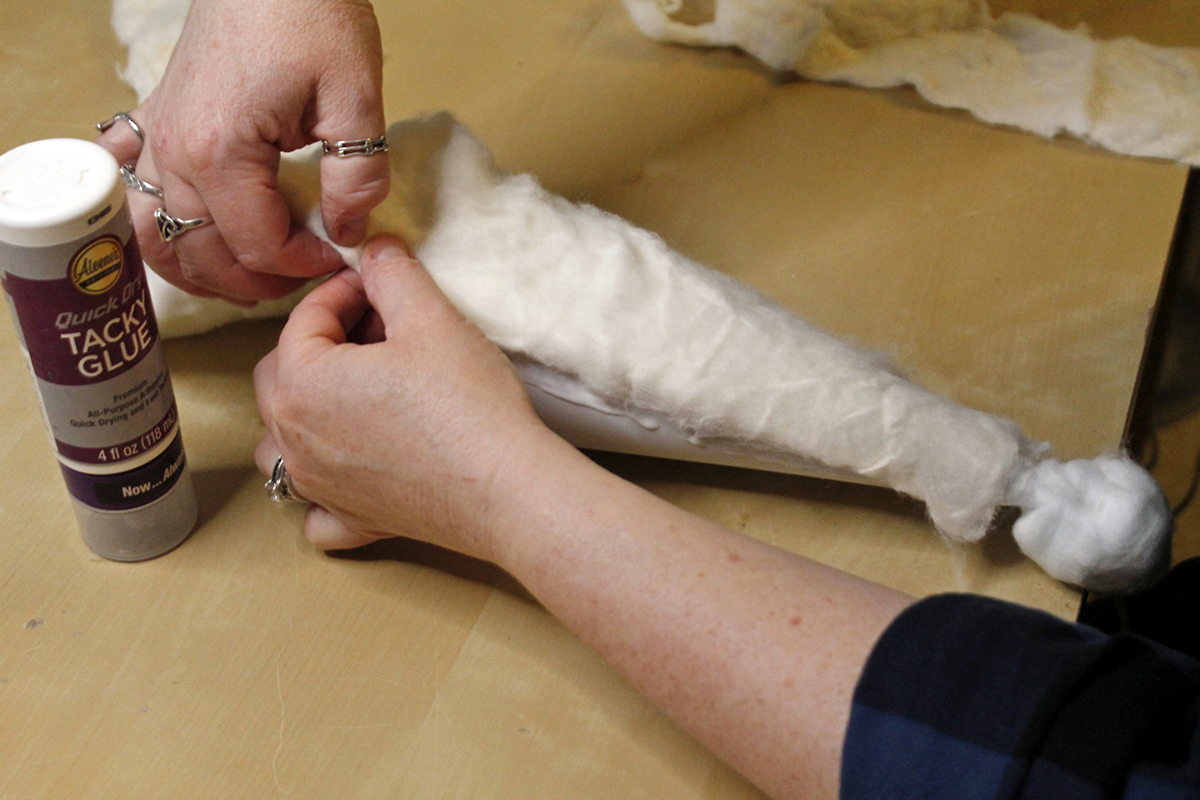
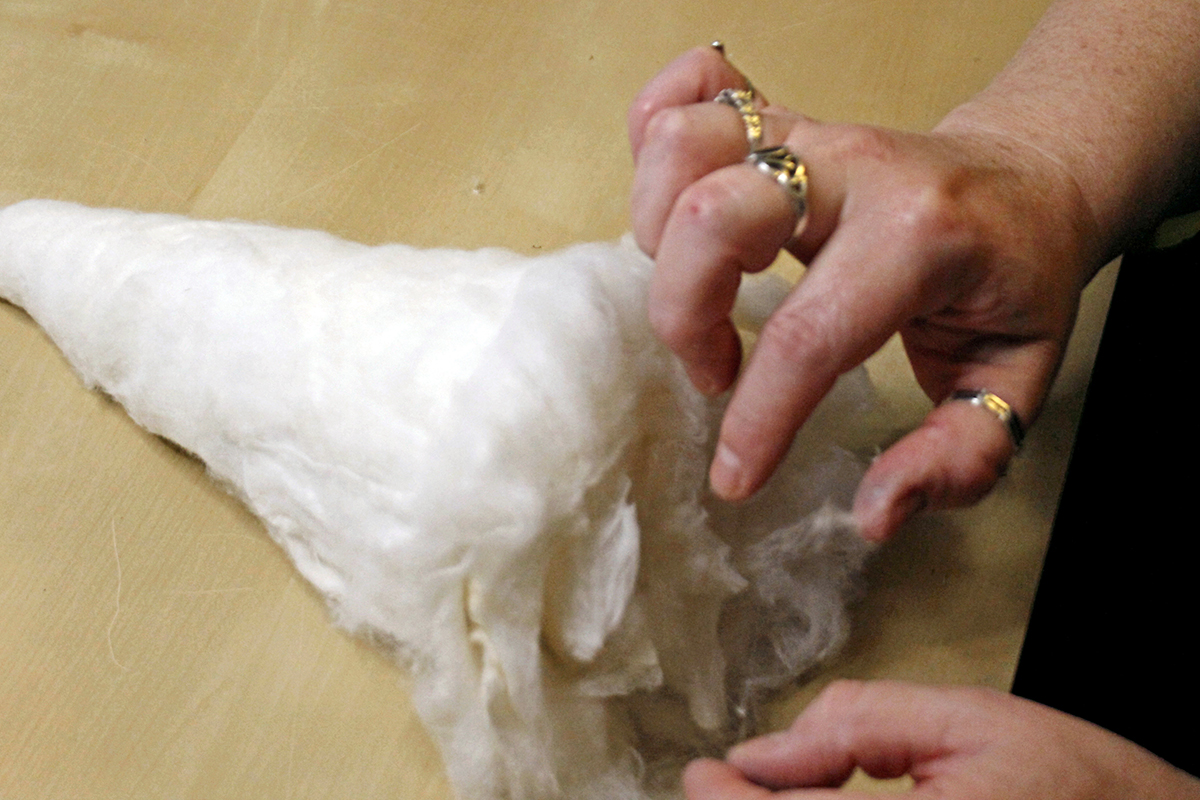
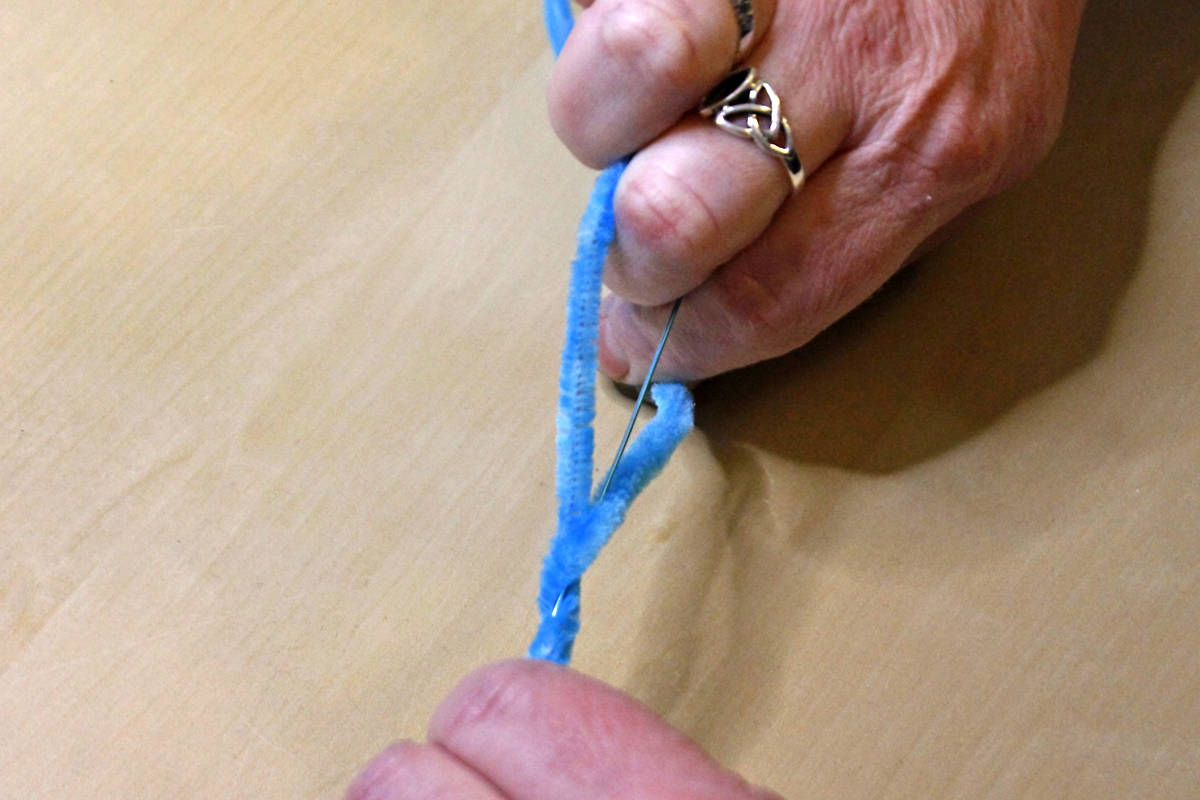
Making models is a great way to learn about an astronomical object. Here we show you how to make a model of a typical comet using very basic materials that you probably have lying around at home.
Because the model contains different components for each part of a comet, it provides a great teaching opportunity during each step of the model-making process.
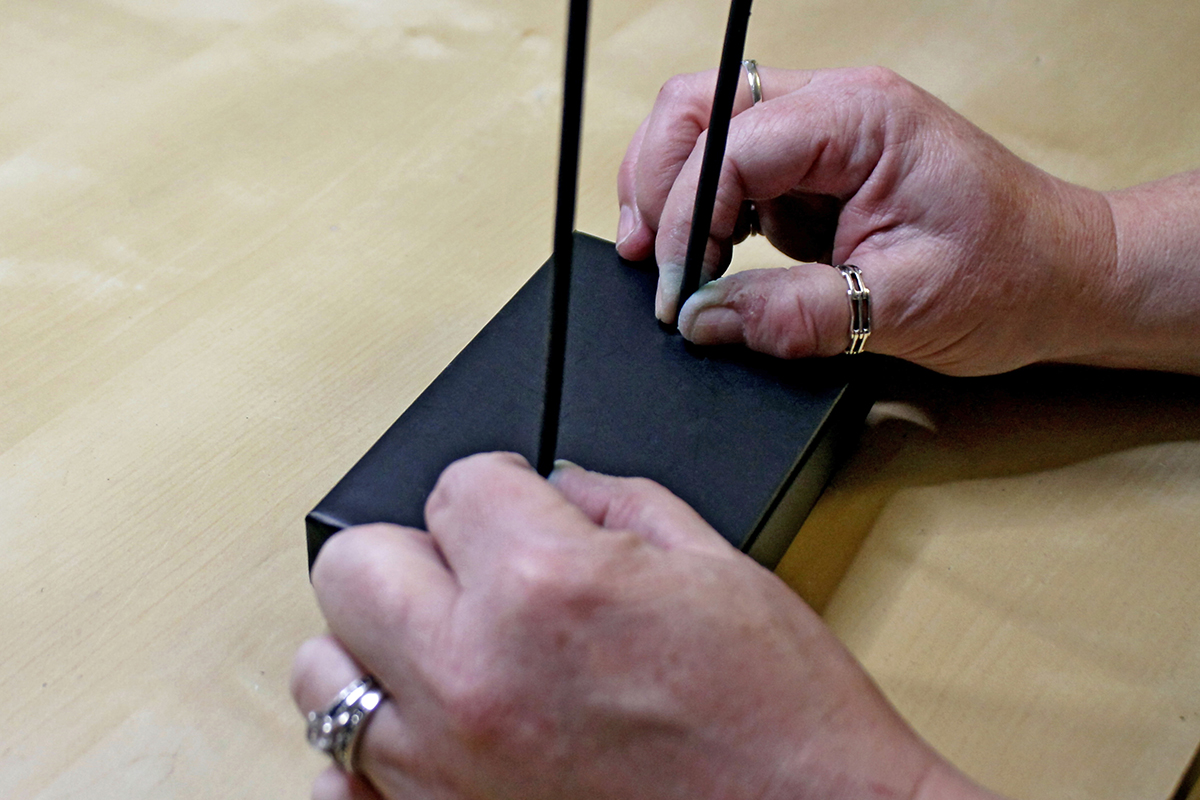
For the stand we used a gift box that still had its insert, giving an extra layer of support for the wooden skewers. Some Blu Tack under the holes will also give something extra to hold the skewers in place.
Made like this, the stand should be sturdy enough to support this very lightweight model, but if you need some extra weight, fill the box with rice or sand.
