Binoculars are a great way of exploring the night sky. Many of us have a pair of binoculars knocking about the house, potentially unaware of just how good a view of the Moon even a modest pair can give you.
But unless you have a good binocular mount, the chances are that after an evening of observing the night sky through binoculars, your arms and neck may begin to ache!
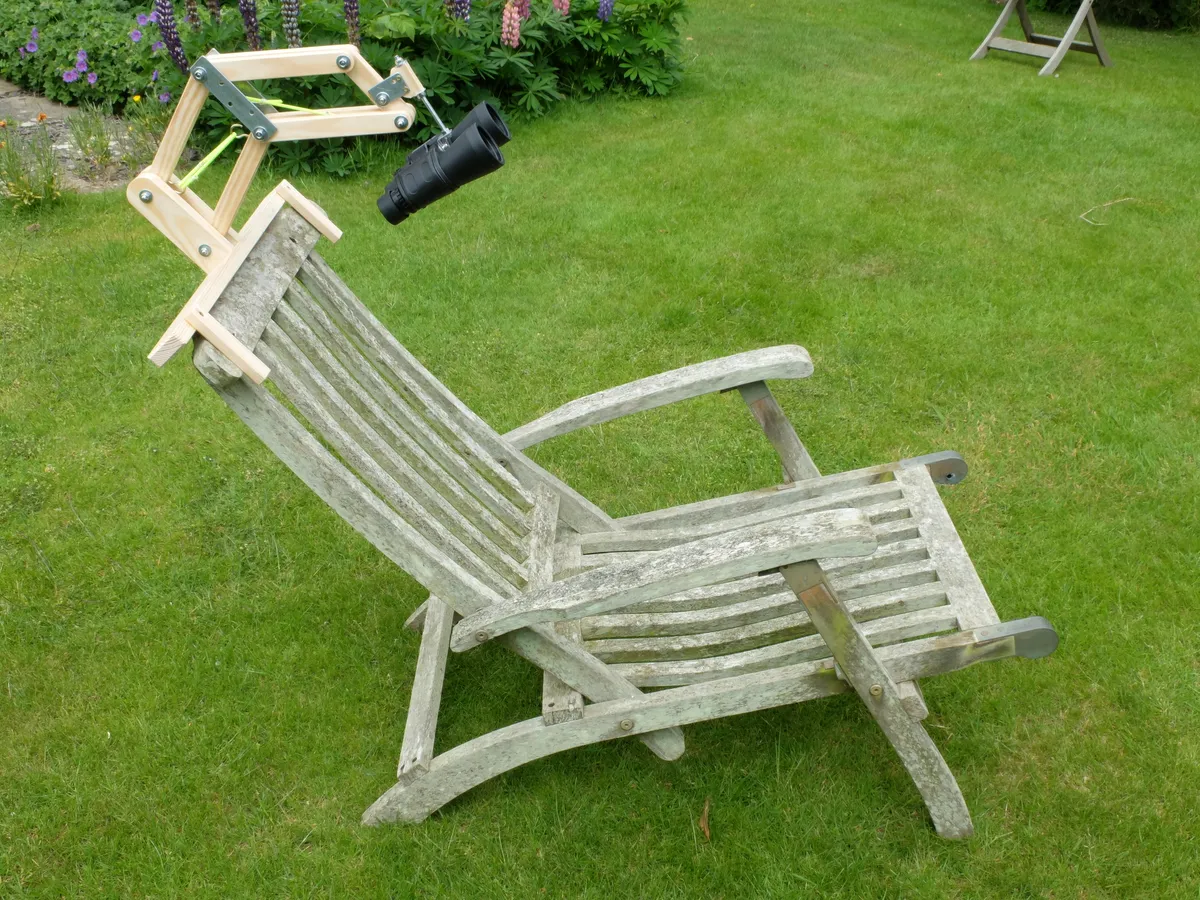
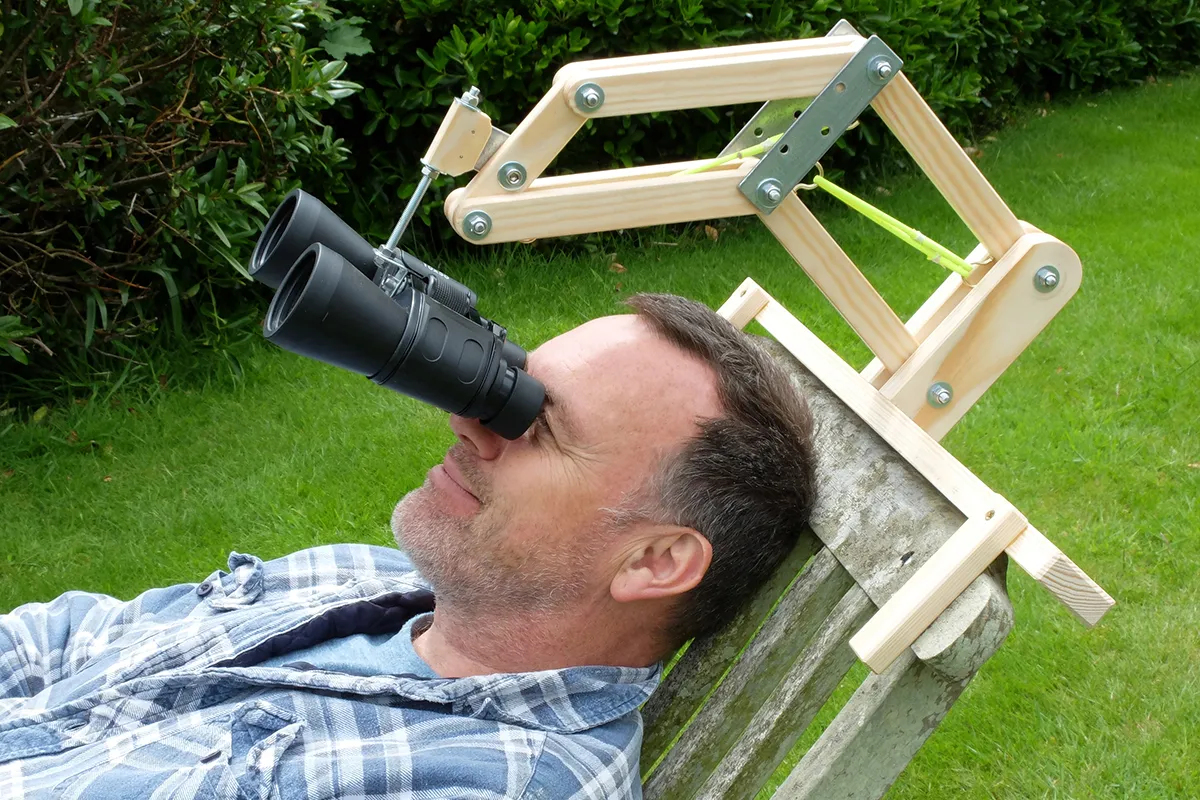
This is where a sunbed binocular mount comes in handy. It not only holds your binoculars in place, but the fact that it's mounted on a sunbed means you can lie in a reclined position and don't need to tilt your head to look up at the sky.
Download plans to build your sunbed binocular mount (PDF)
For more binocular projects read our guides on how to keep your binoculars steady and how to build a binocular mirror mount.
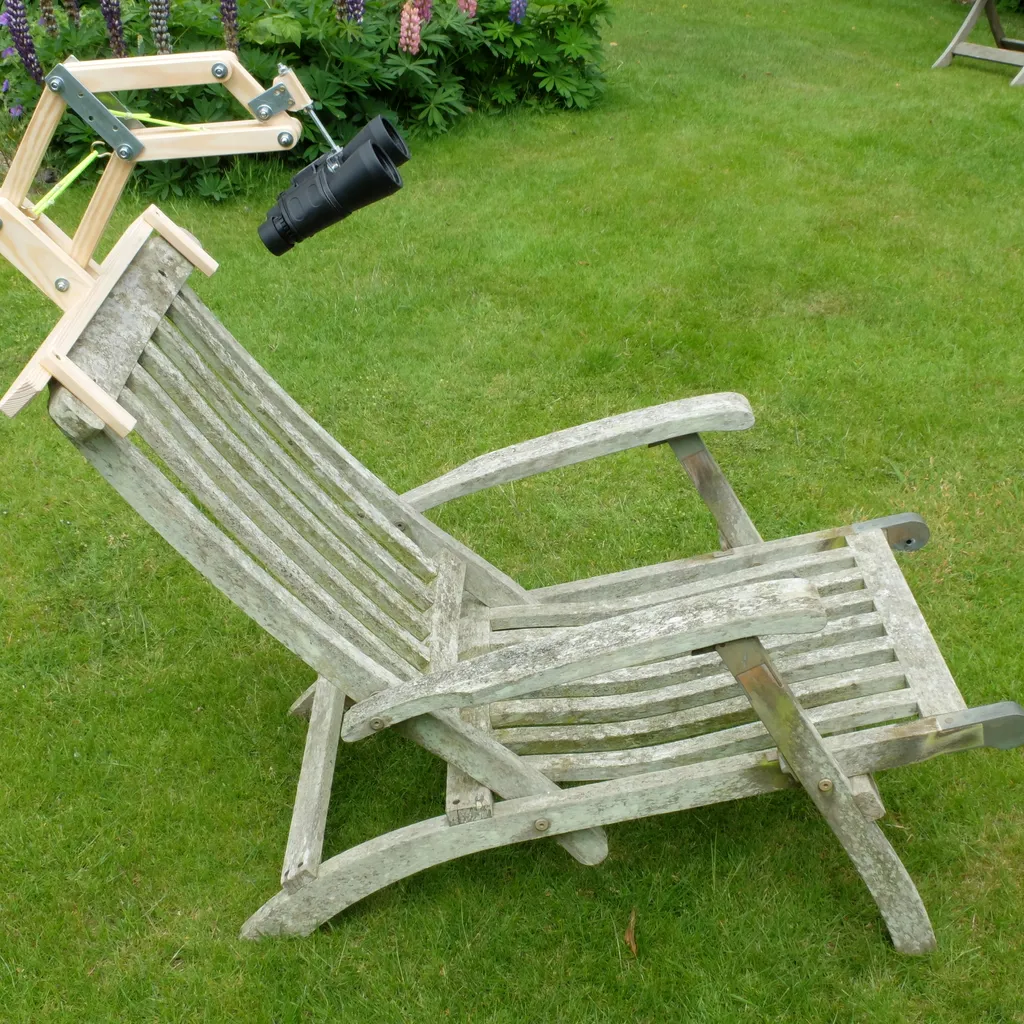
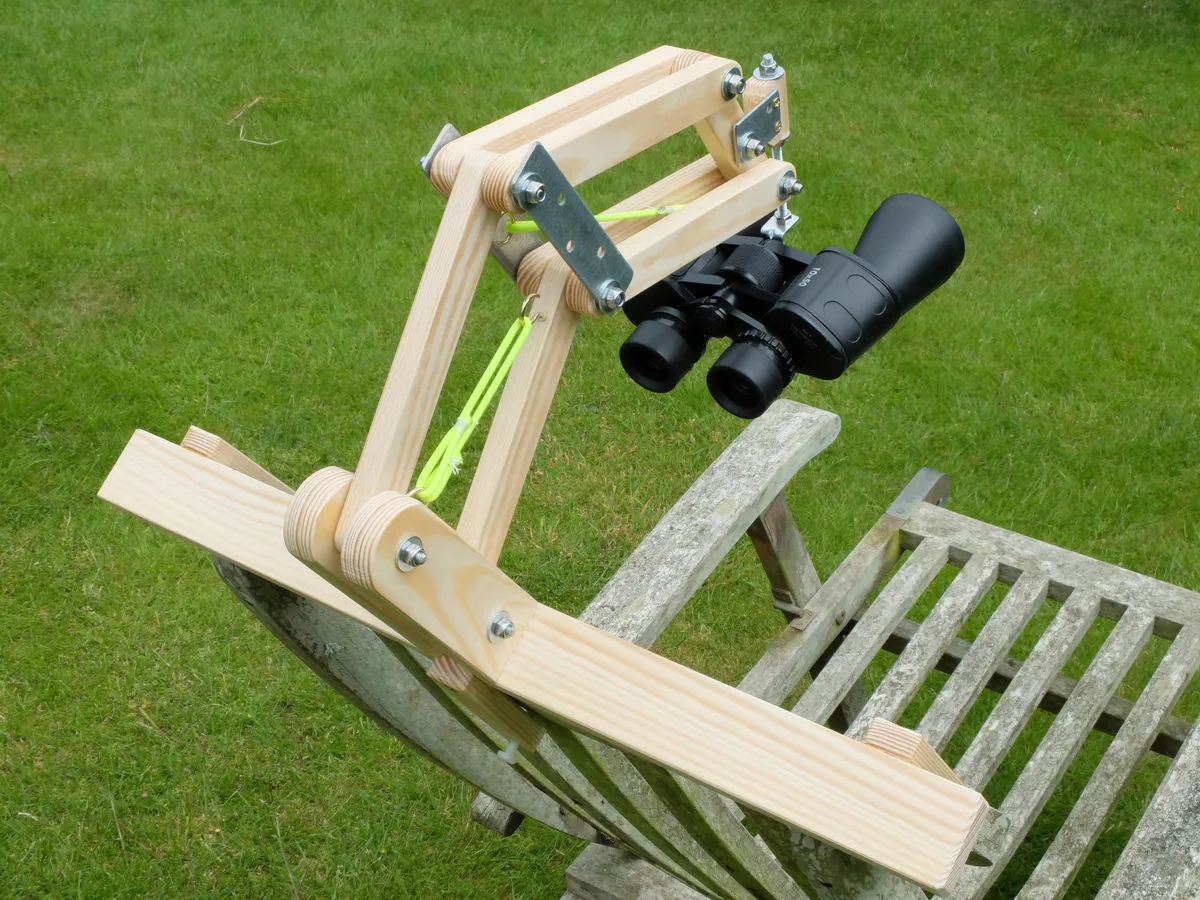
With this mount to hold a pair of binoculars to your sunbed, you’ll be able to relax your arms while looking at the sky and keep your target steady in the field of view.
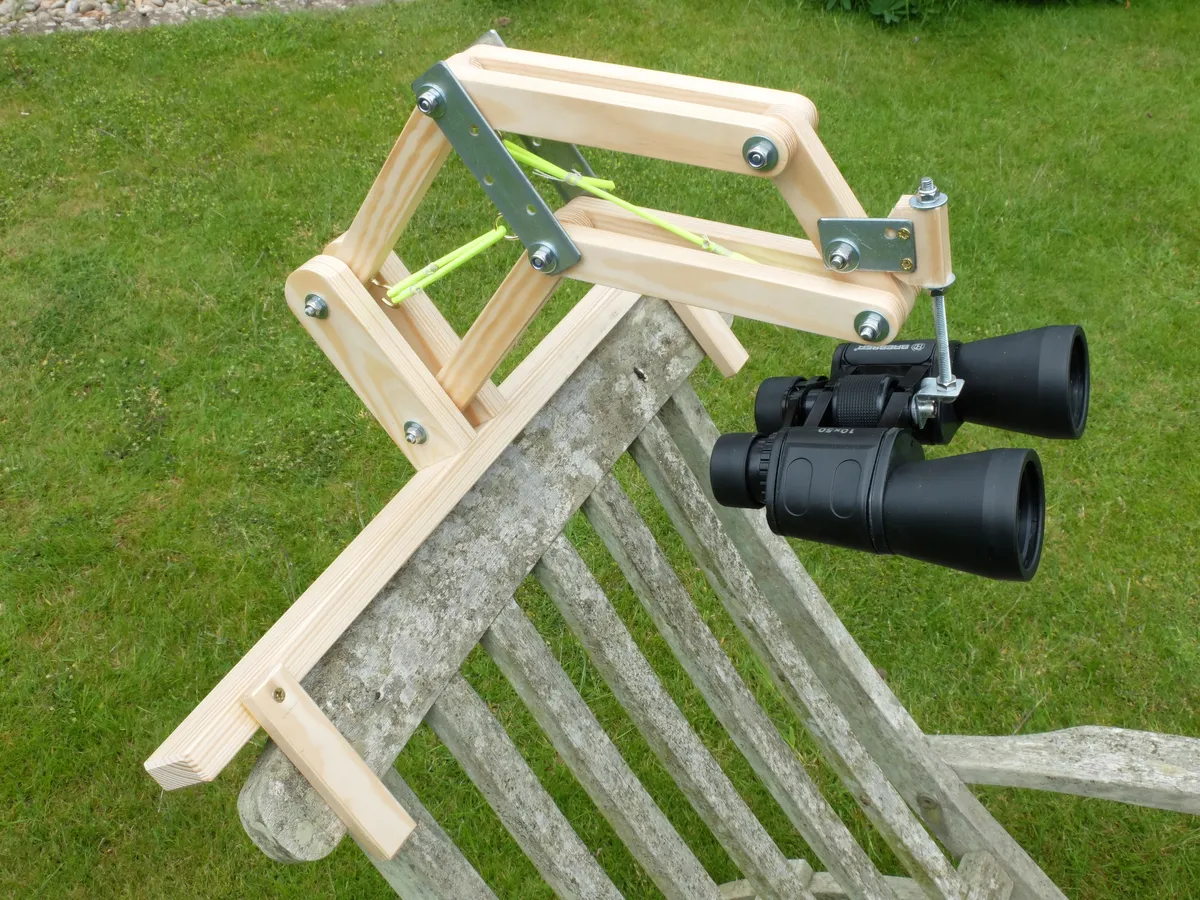
The design allows you to angle the binoculars up and down and side to side, and because it’s mounted on the lounger it doesn’t take up space on the ground. You can sit side by side with someone else too.
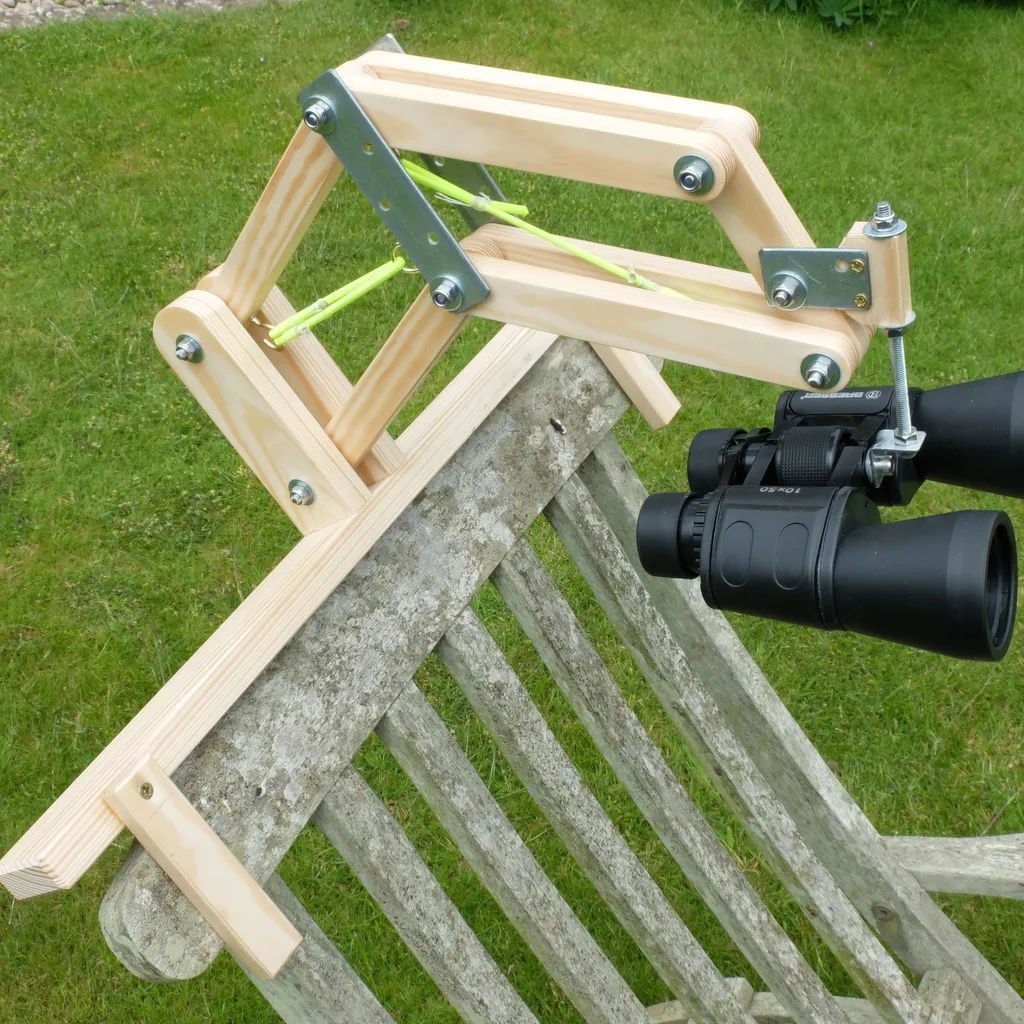
The parallelogram mechanism means binoculars can be brought close to the eyes of both taller and shorter observers. You can even swap places while retaining your aim towards the target area of sky.
Read our guides to the best binoculars for astronomy and the best budget binoculars.
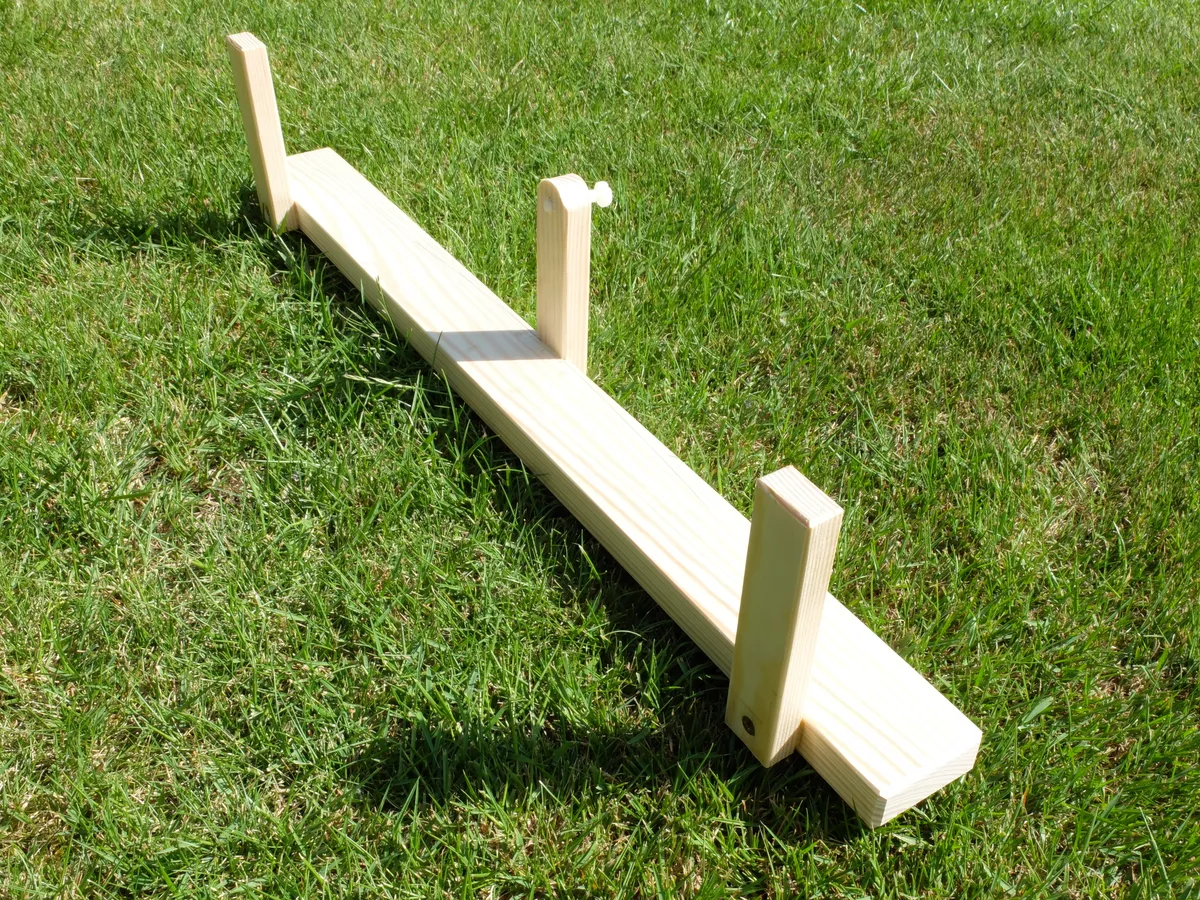
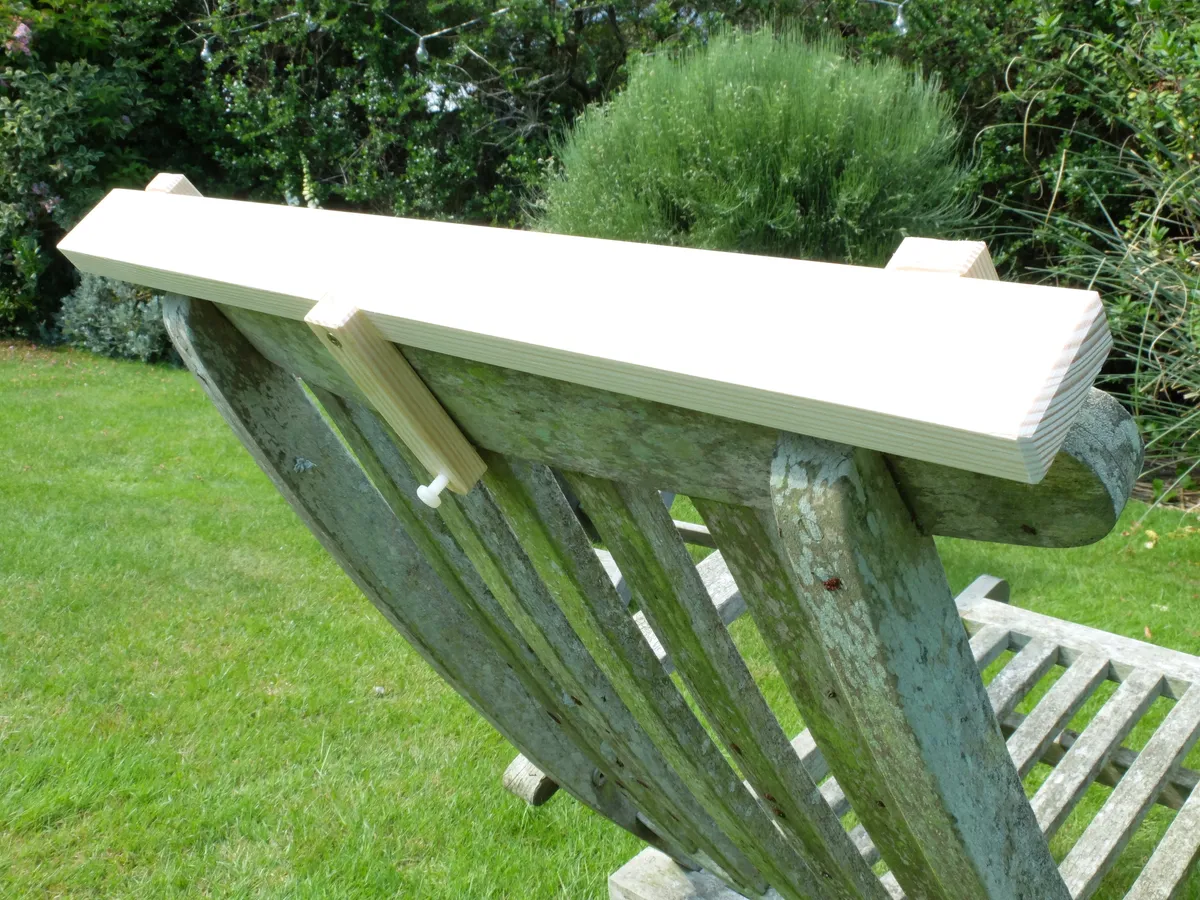
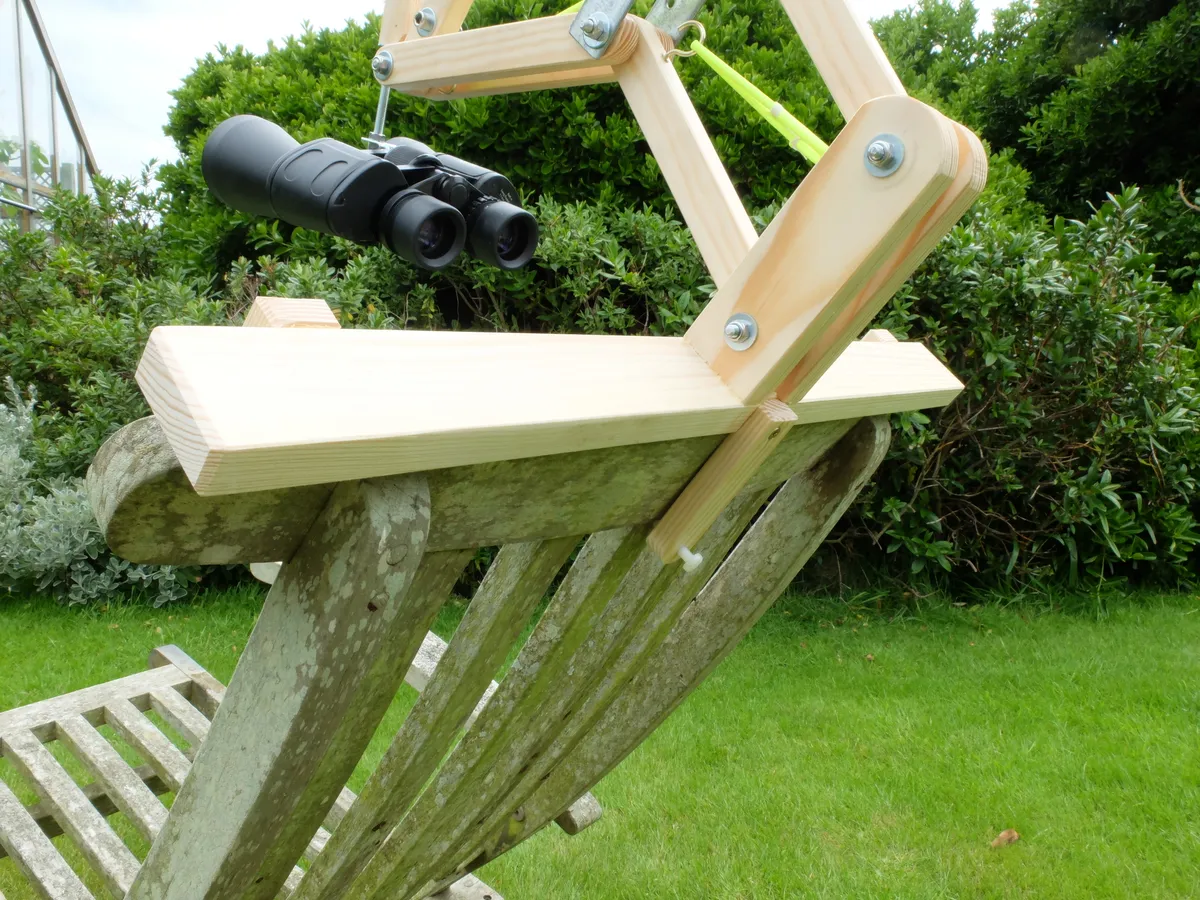
The simple mounting ‘beam’ on which the mechanism is fixed can be modified to suit a variety of loungers.
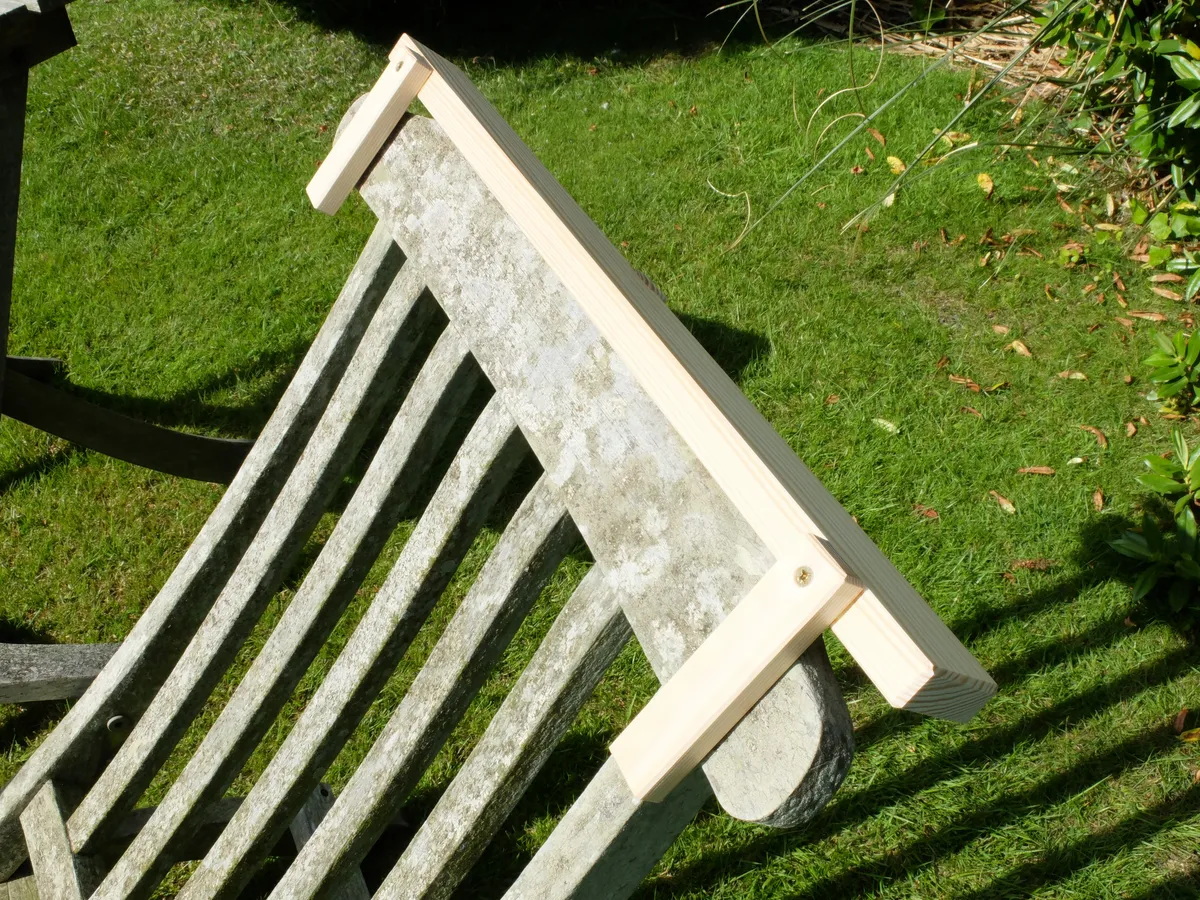
We added three short wooden pieces to ours. One has a nylon screw which presses against the back of our lounger to steady everything.
By adding short lengths of wood in the right place it should be possible for the beam to be steadied against the frame of any design of lounger.
For extra security and peace of mind, you may wish to use a clamp or bungees to fix the beam on tight.
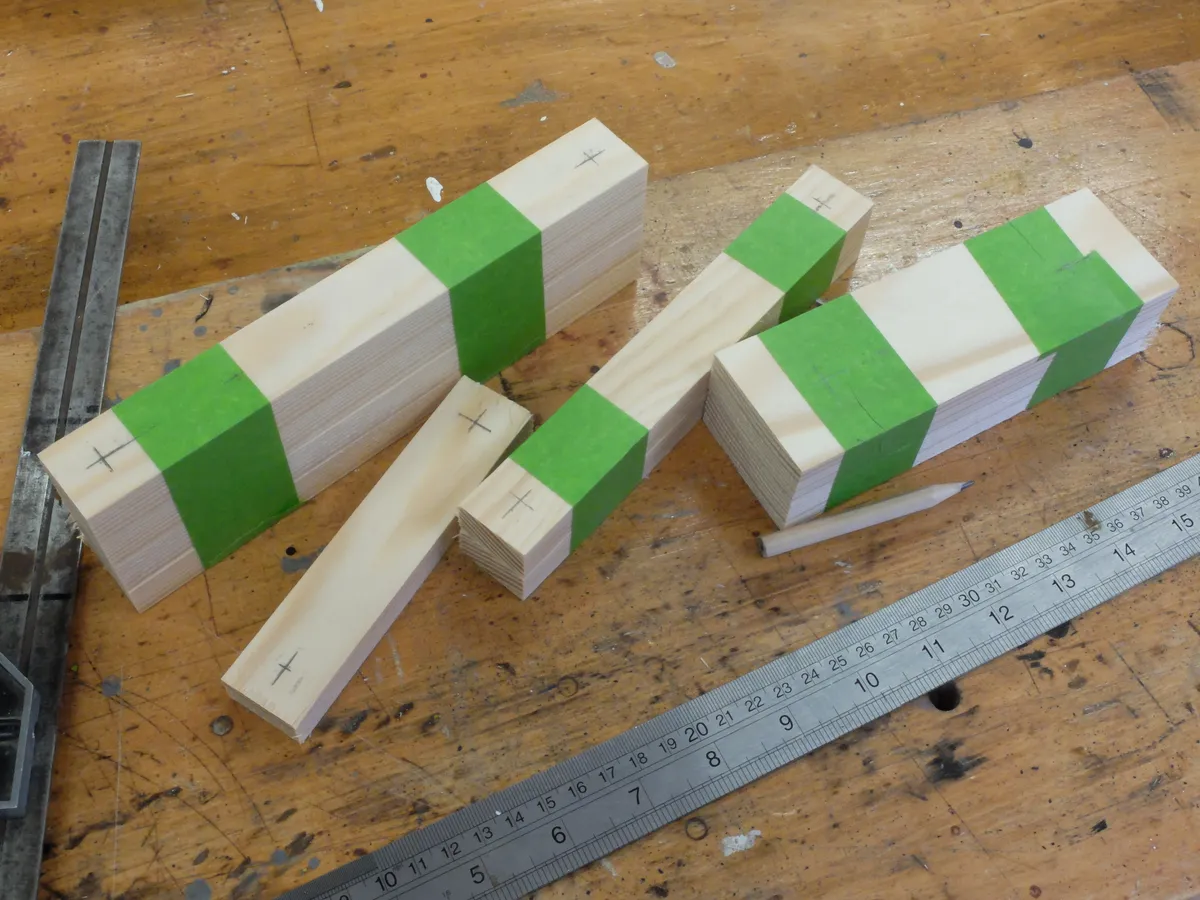
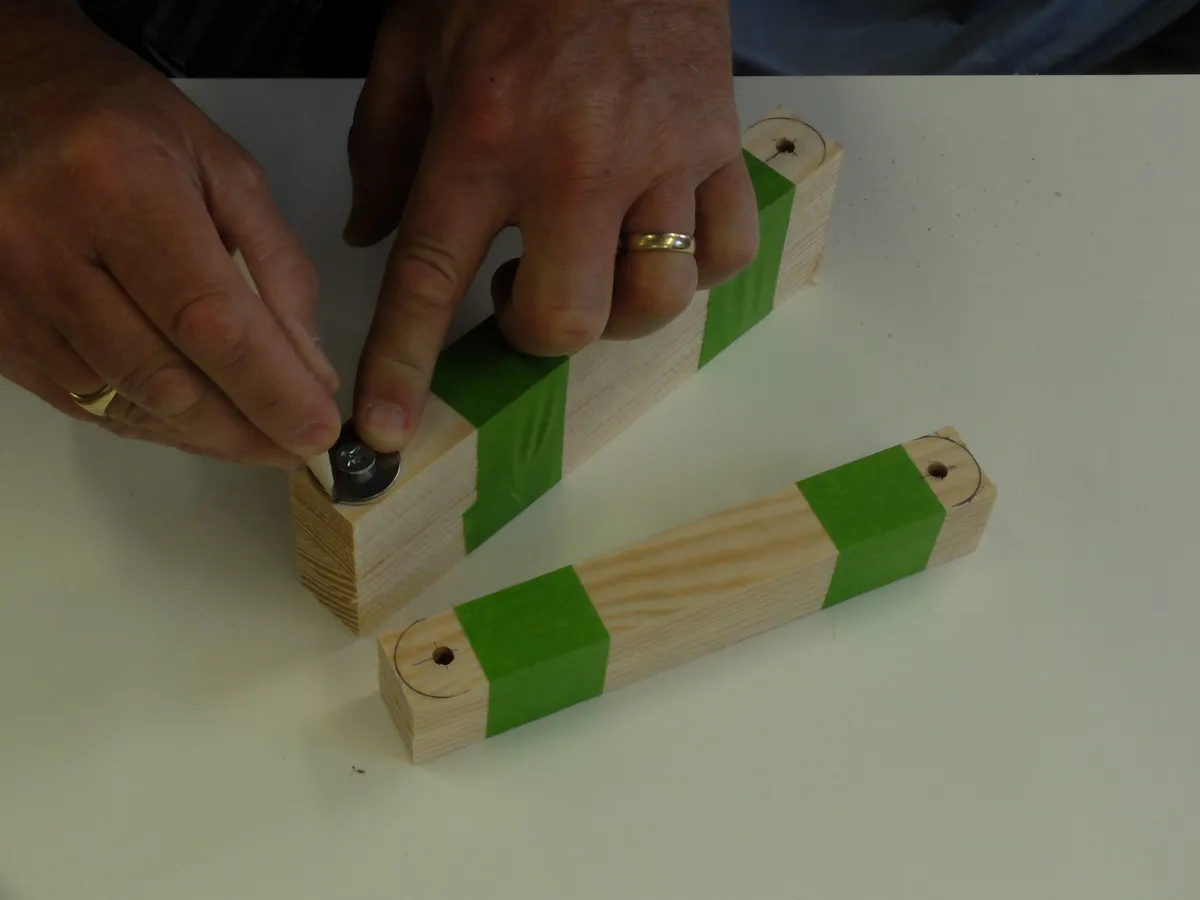
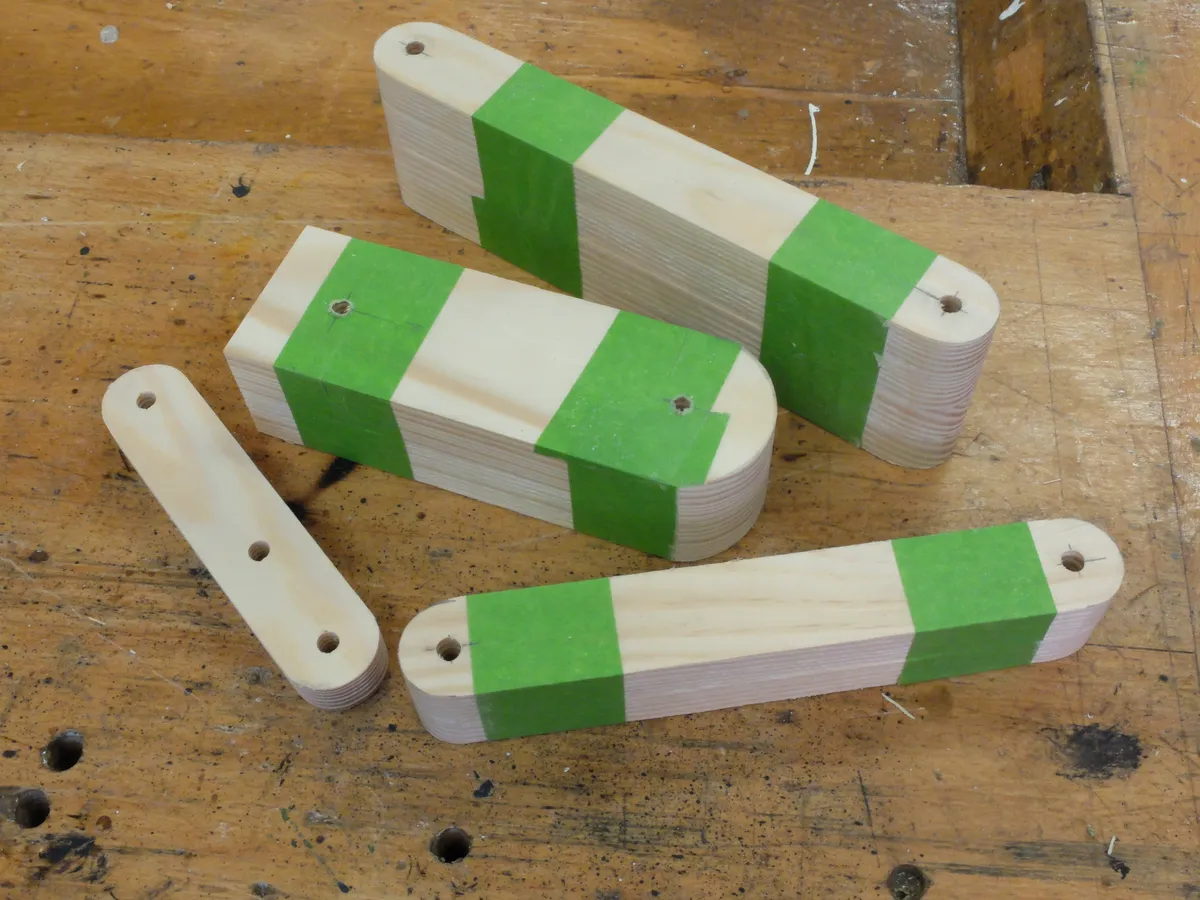
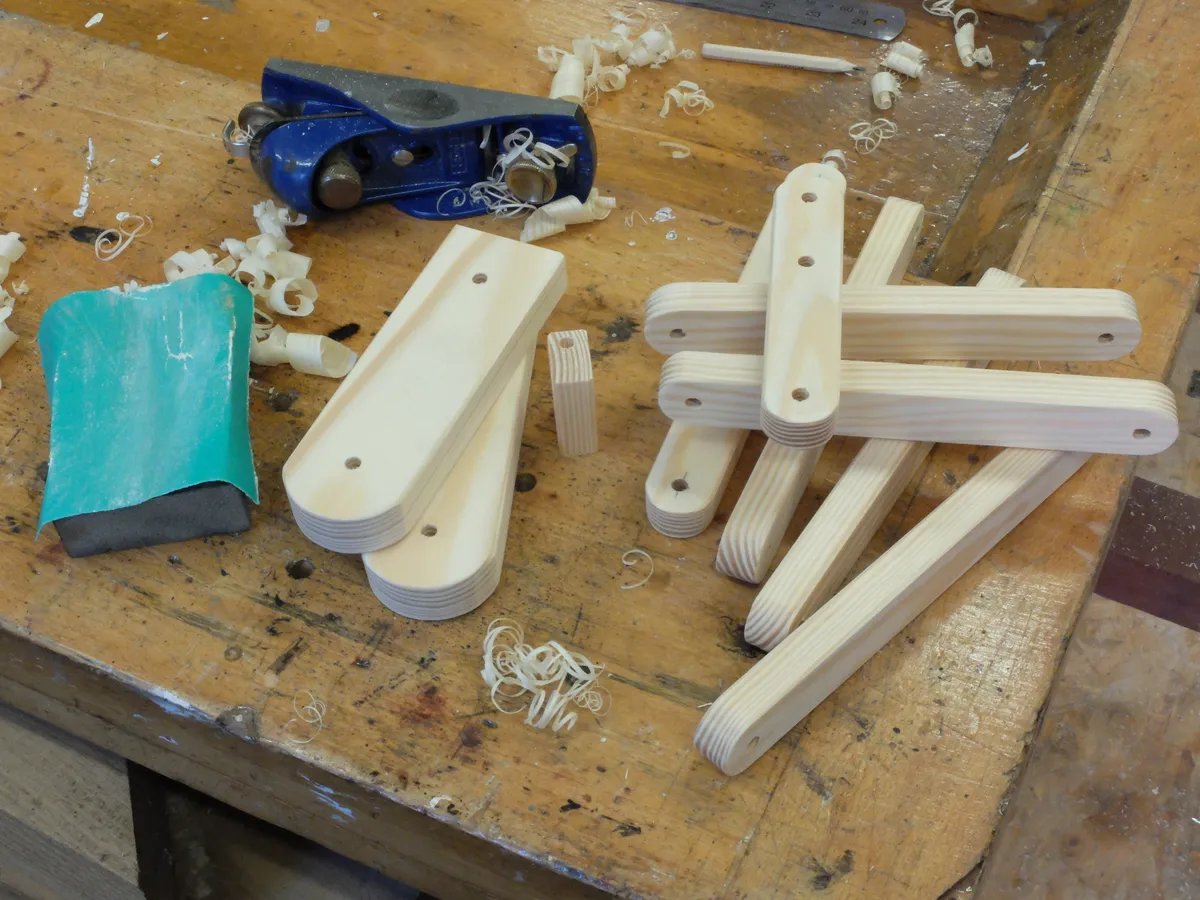
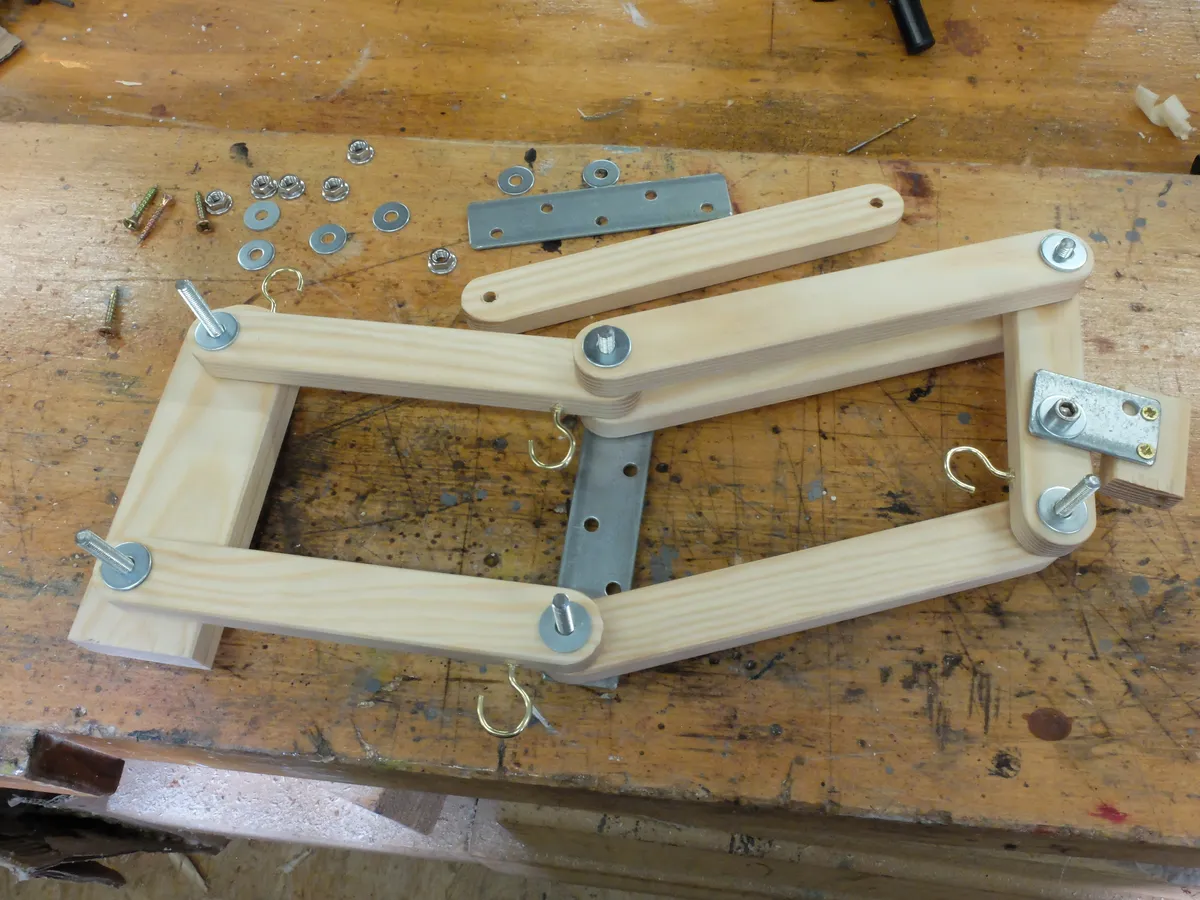
We chose softwood strips to make our mechanism. Once you have used the downloadable plan (see at the top of this article) to mark out the lengths and hole positions, it’s a simple task to cut and drill them.
To maintain accuracy, we taped bundles of similar parts together before drilling so they came out identical.
We rounded off the ends with a sanding machine for aesthetic reasons, but it is important to get the wooden elements smooth so they move freely.
The length of the parts was worked out by trial and error and should apply to most situations.
If your lounger differs greatly, however, you might need to adjust the length of the two arms which form the rear parallelogram (make them longer and drill several sets of holes to experiment with, then trim to length once you are happy).
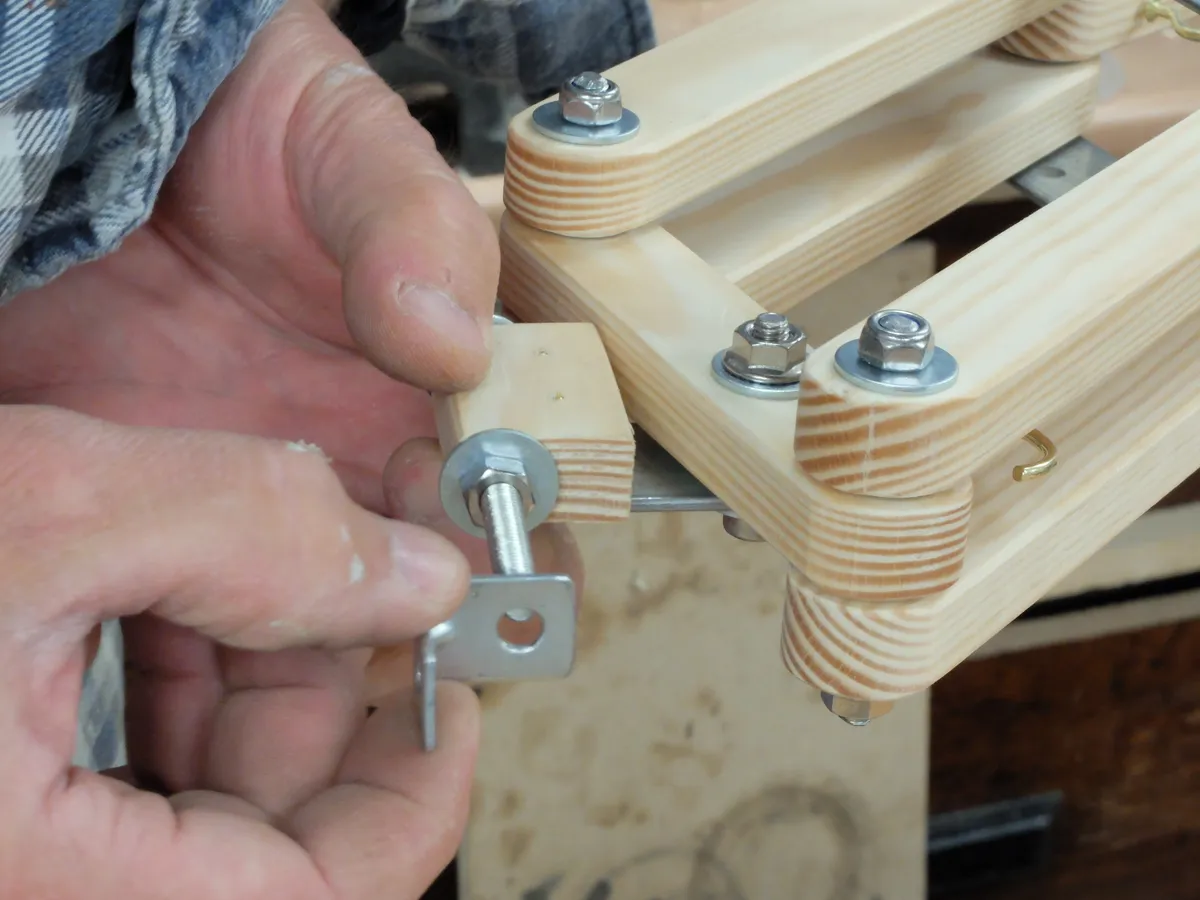
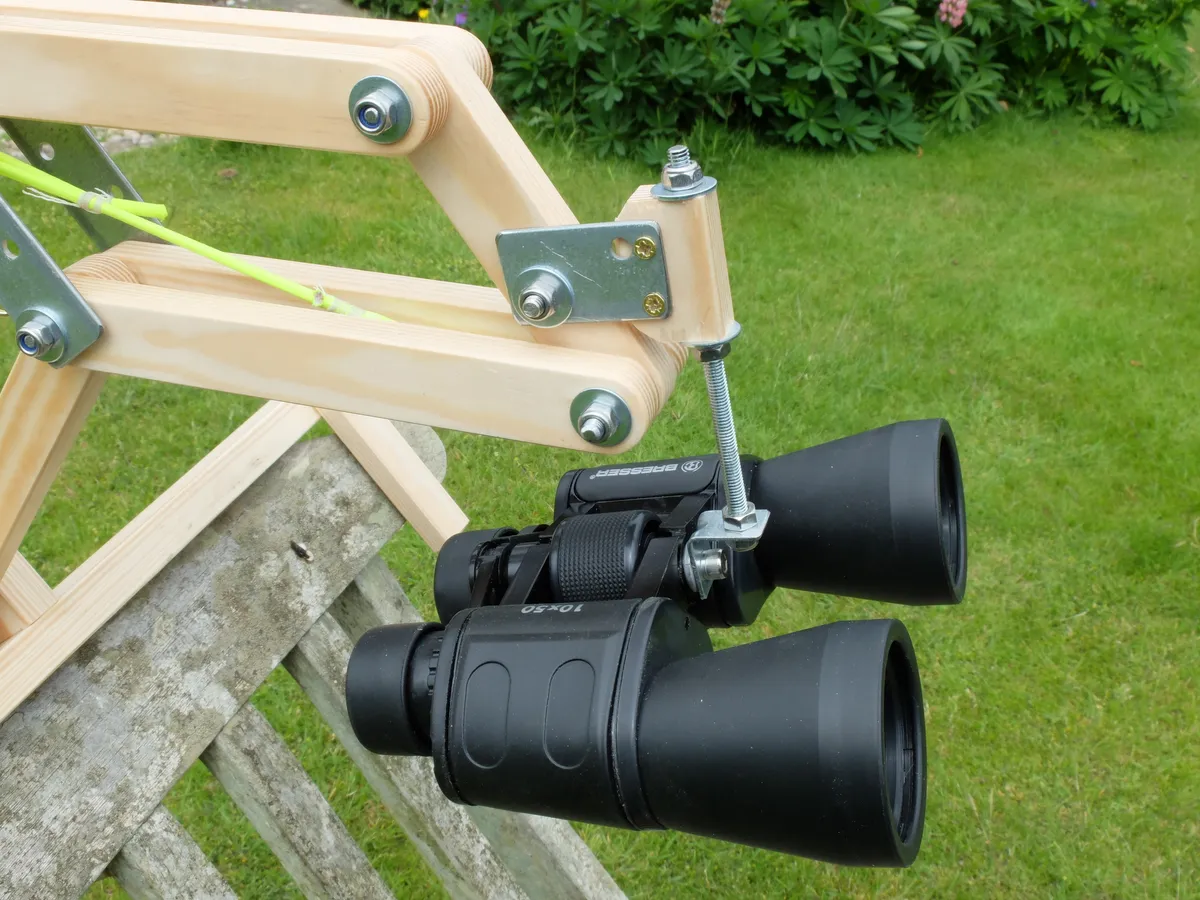
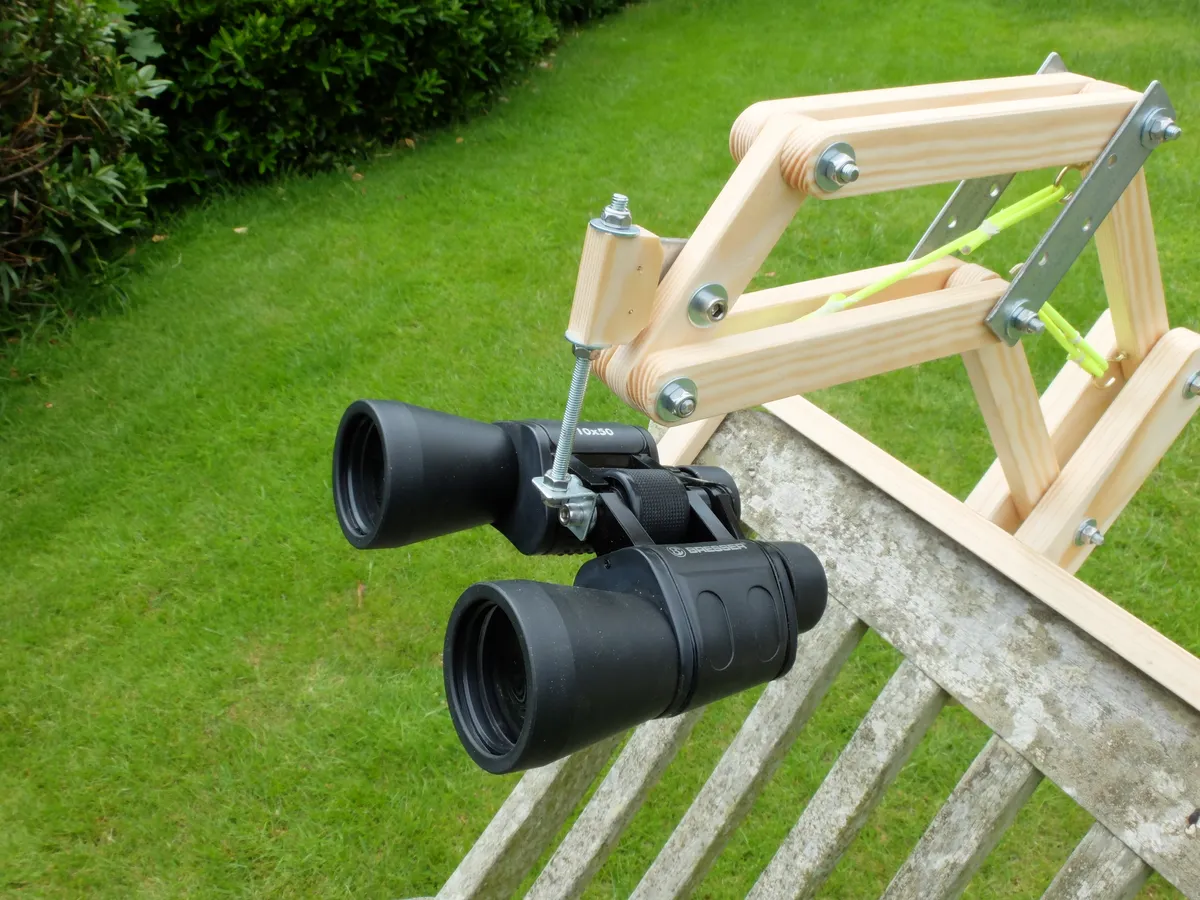
There are washers between all the wooden strips and the nuts, which pivot on the threaded rod.
We used Nylock locking nuts when making the final assembly as these can be tightened to give just the right amount of friction.
You need your mechanism to move smoothly but stay in position once set.
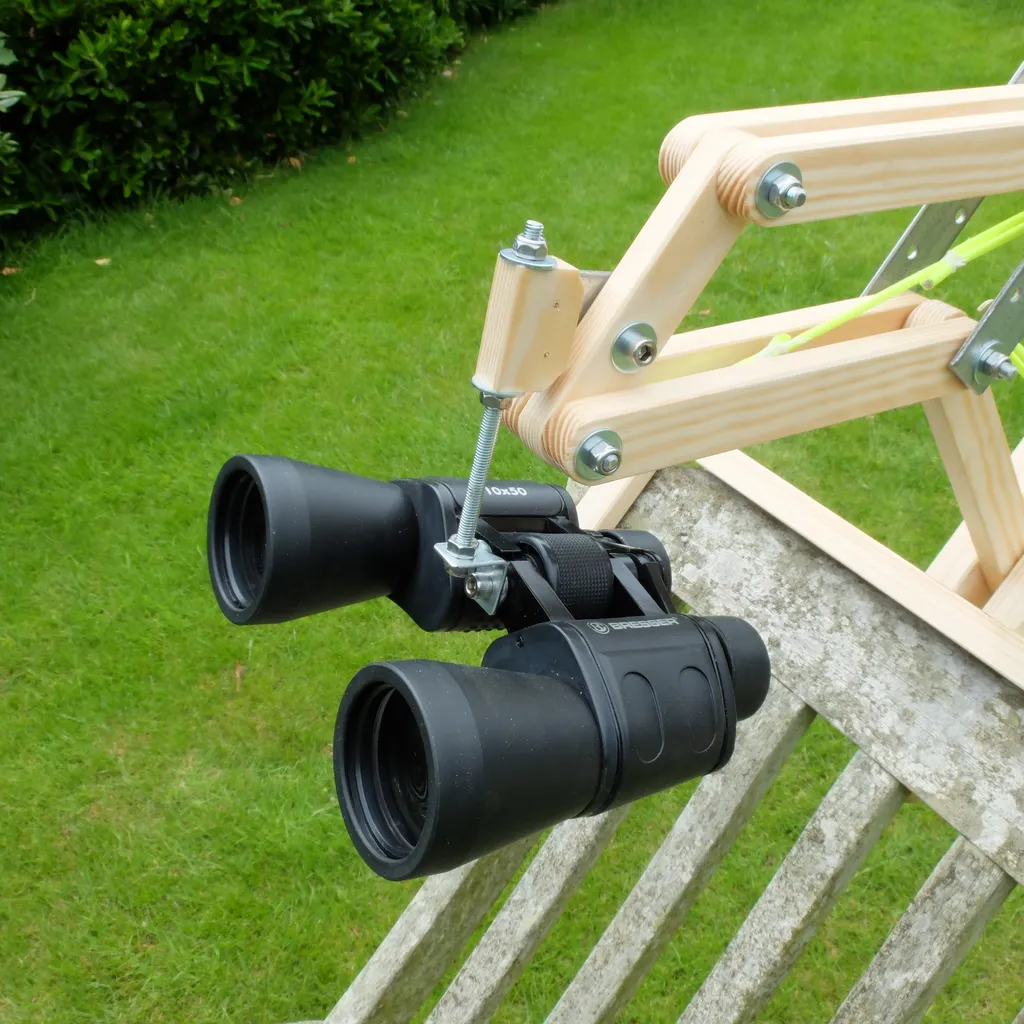
To overcome some of the weight of the binoculars, we made up some elastic straps, which stretch between hooks that are screwed into the wooden parts. In use, we found the mount worked perfectly once adjusted.
Observing without having to hold up even relatively light binoculars transformed our experience of a summer night’s observing session.
You can even make notes or sketches with your free hands – or sip a glass of wine!

Build a sunbed binocular mount, step-by-step
Tools and materials
- Ruler
- Compasses
- Pencil
- Small wood saw, junior hacksaw
- Drill and drill bits
- Timber: thin softwood strips of approximately 2,000mm total length x 25mm wide x 15mm thick
- Thicker softwood strip for the mounting beam: 600mm long x 48mm x 18mm
- Two small strips of stiff metal approximately 125mm x 25mm x 3mm
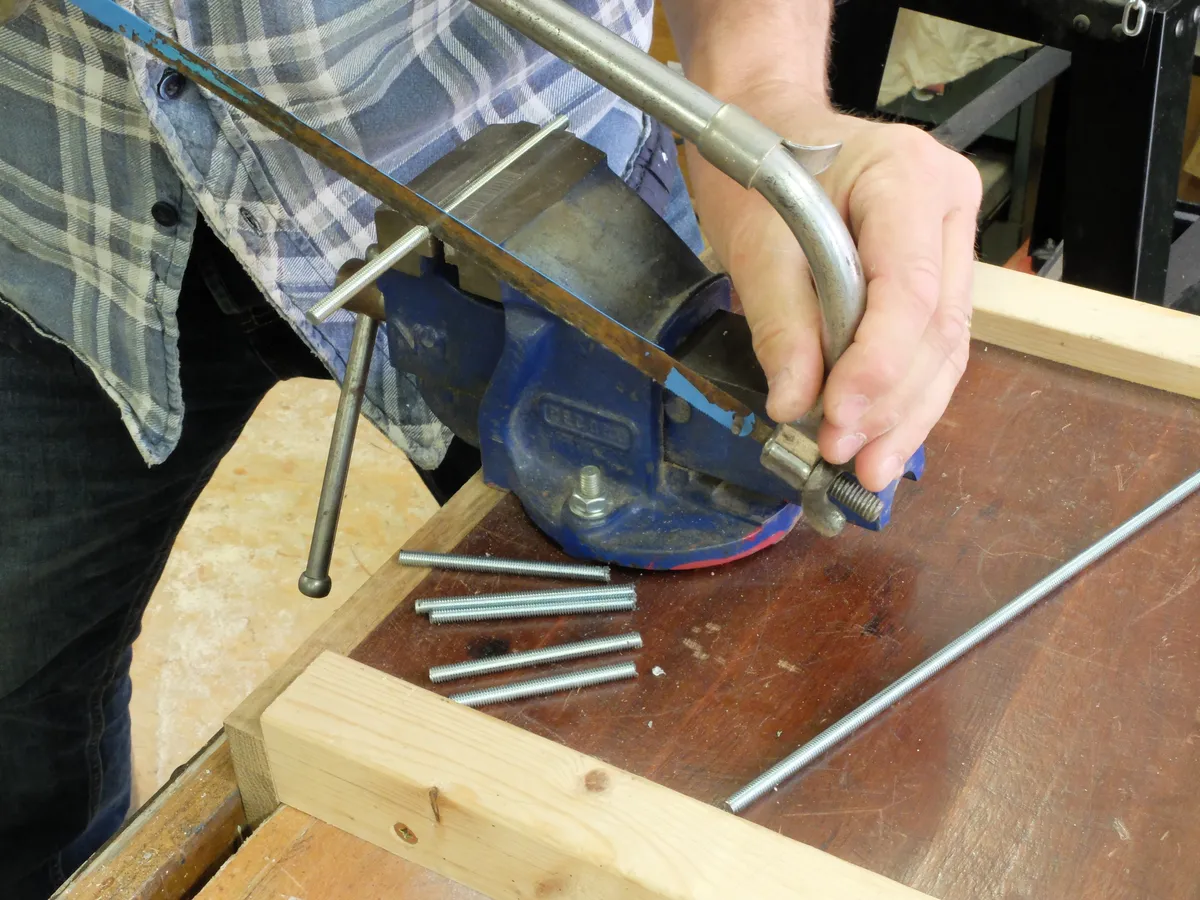
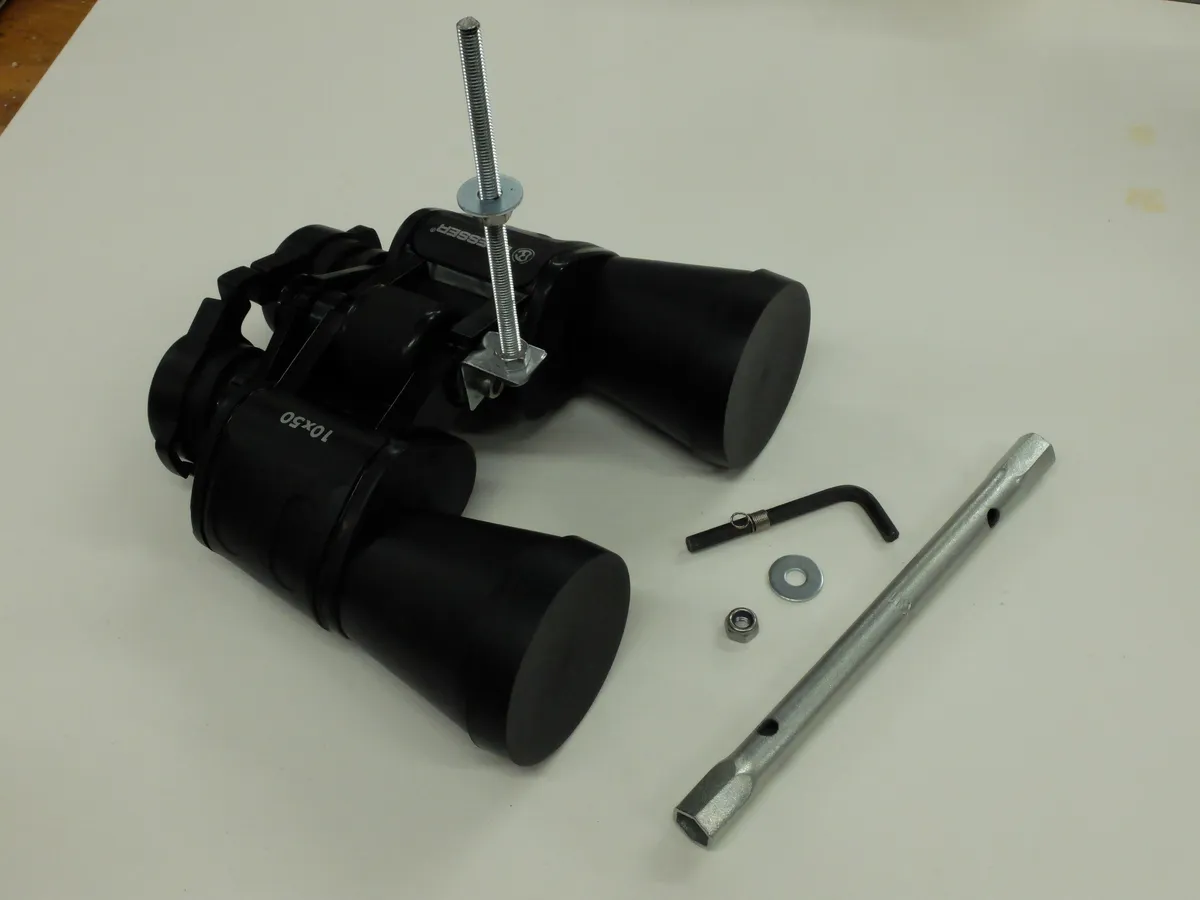
- About 600mm of M6 threaded rod
- M6 Nylock nuts and washers
- Standard pair of binoculars (with a tripod screw fitting)
- 4 cup hooks
- 0.5m of shock cord (elastic)
- Spray lacquer or varnish


