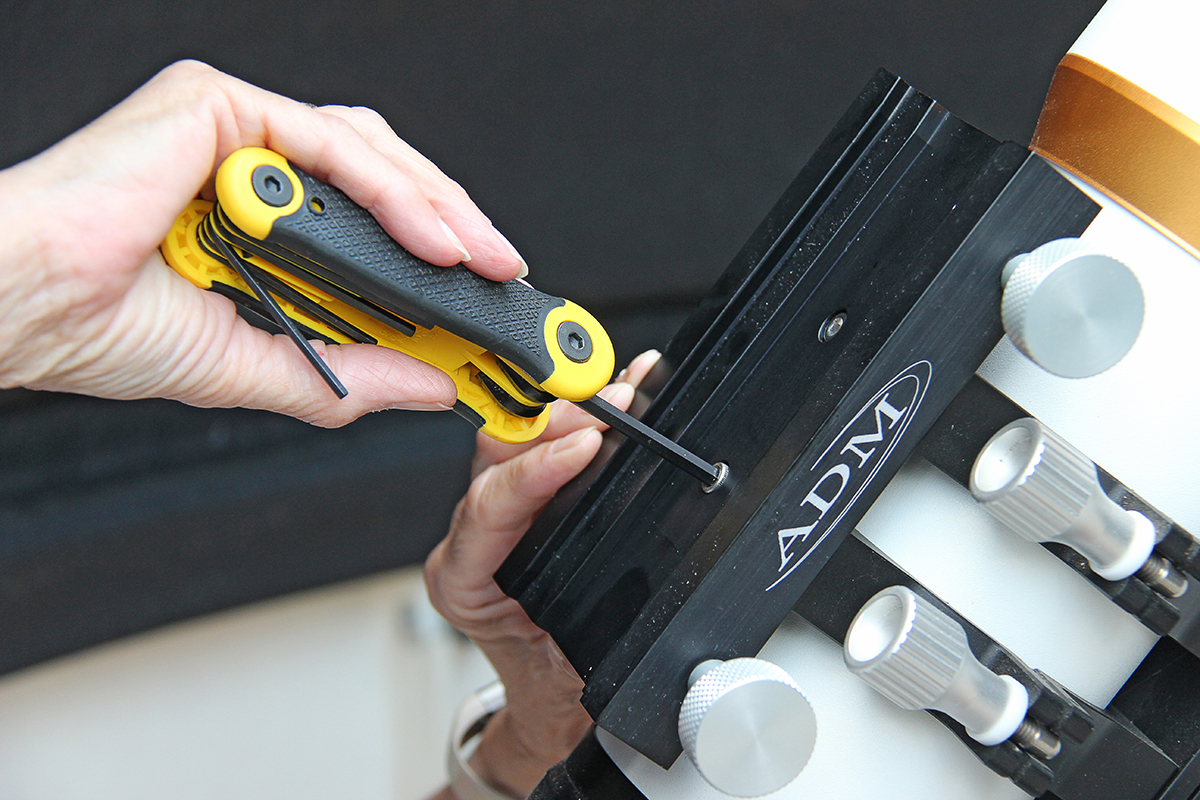
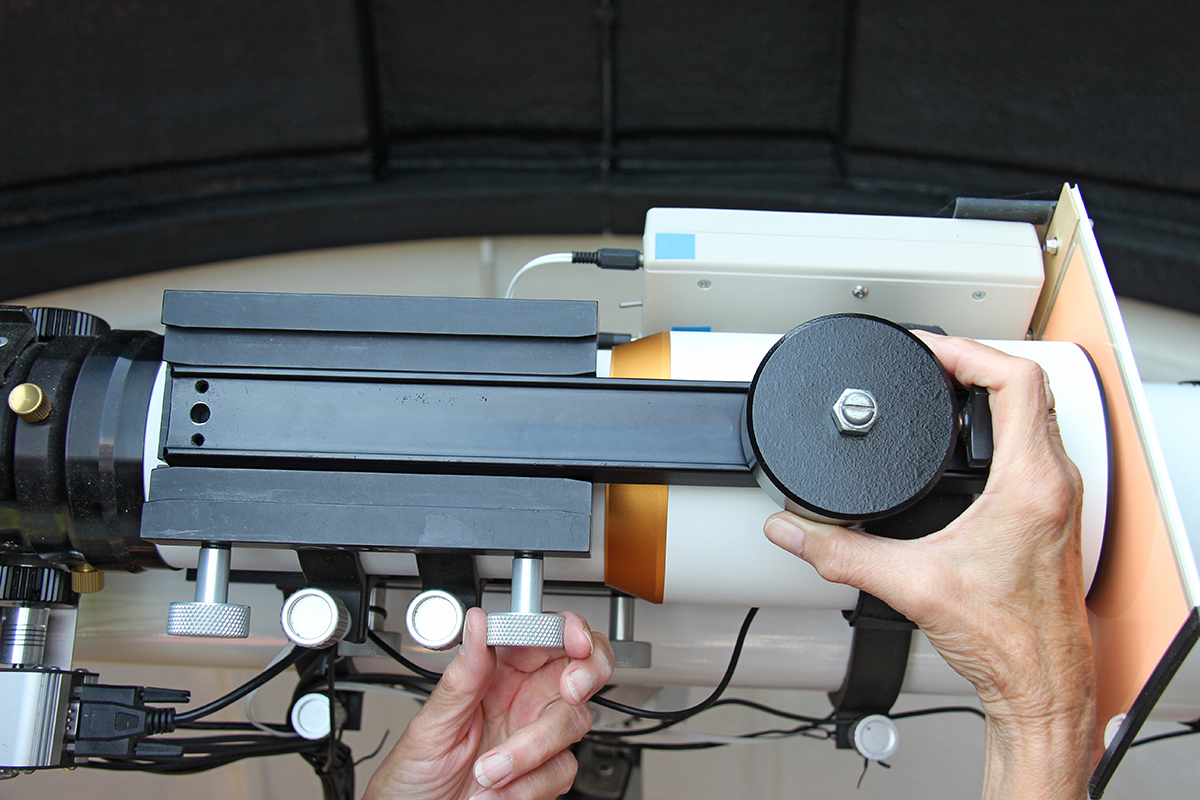
A well-balanced mount will track to the best of its ability and will improve Go-To accuracy, especially if you are guiding for long exposures during deep-sky astrophotography as it will allow guiding corrections to be made with minimum effort.
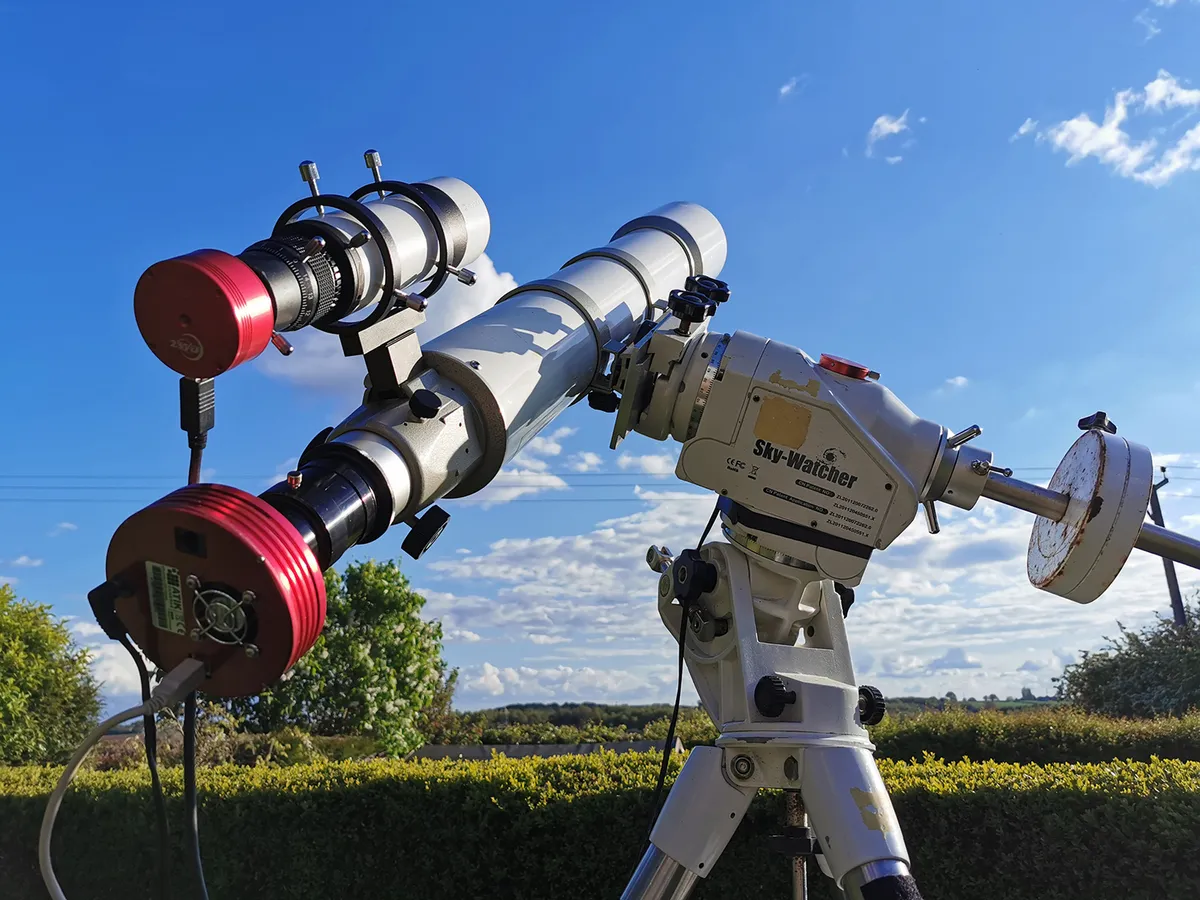
For an equatorial telescope mount, both the right ascension (RA) and declination (dec.) axes require balancing to avoid over-stressing the drive motors and gears in a conventional drive train, or to avoid slippage in a friction drive mount.
A balance bar is a simple way of allowing easy and safe balancing of the dec. axis.
Here we'll show you how to make your own DIY telescope counterweight system from readily available components and some basic tools.
For more guides like this, visit our DIY Astronomy webpage.

Balancing RA and dec
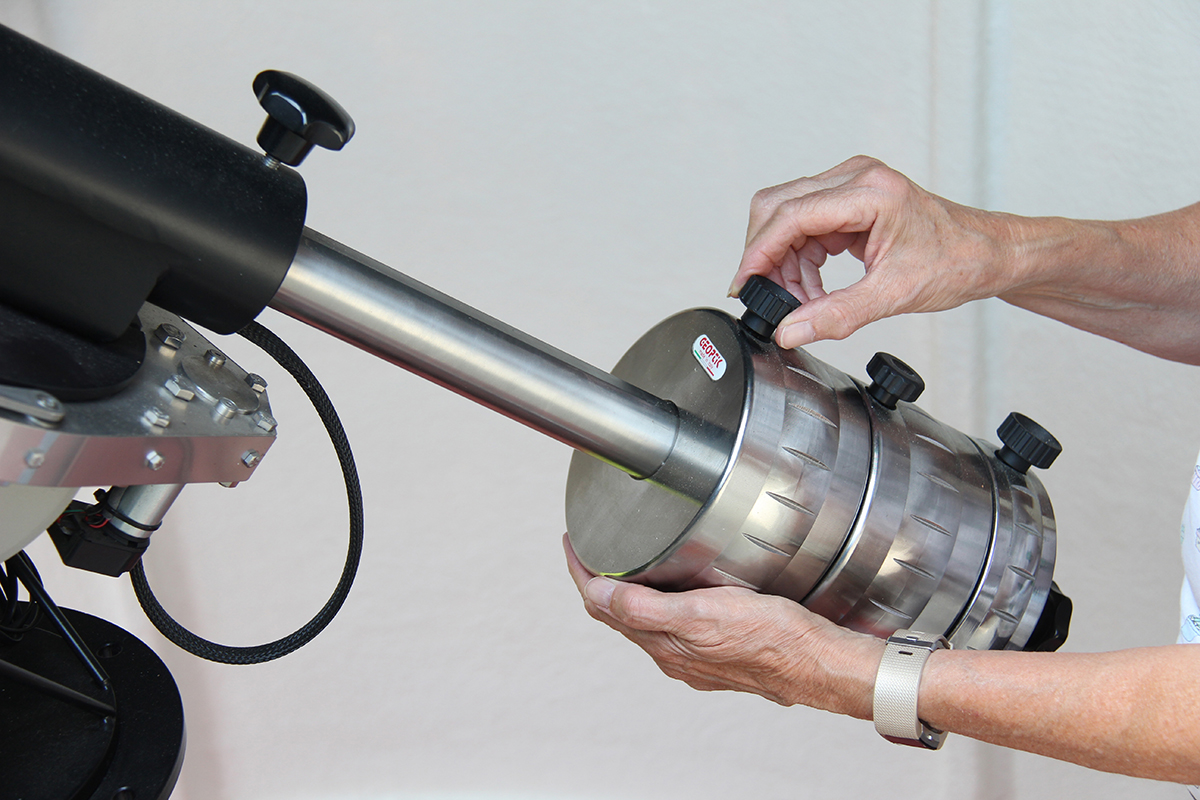
Adjusting the balance of the RA axis is simple as it is just a matter of moving the counterbalance weight (or weights) up or down the counterbalance shaft until balance is achieved.
However, balancing the dec. axis is more challenging as this entails moving the telescope forwards or backwards in its dovetail clamp.
There is also some risk as the clamp that safely holds your scope on to the mount head needs loosening.
With some telescopes, achieving dec. balance conventionally can be difficult or even impossible, especially with the short focal length instruments used with heavier cameras for wide-field imaging.
This is because many of these instruments are supplied with short dovetail bars that simply don’t allow enough movement in the clamp.
Add in the complication of a guidescope and the problems begin to multiply. This is where our simple yet effective counterbalance system comes into its own.
How the mount counterbalance works
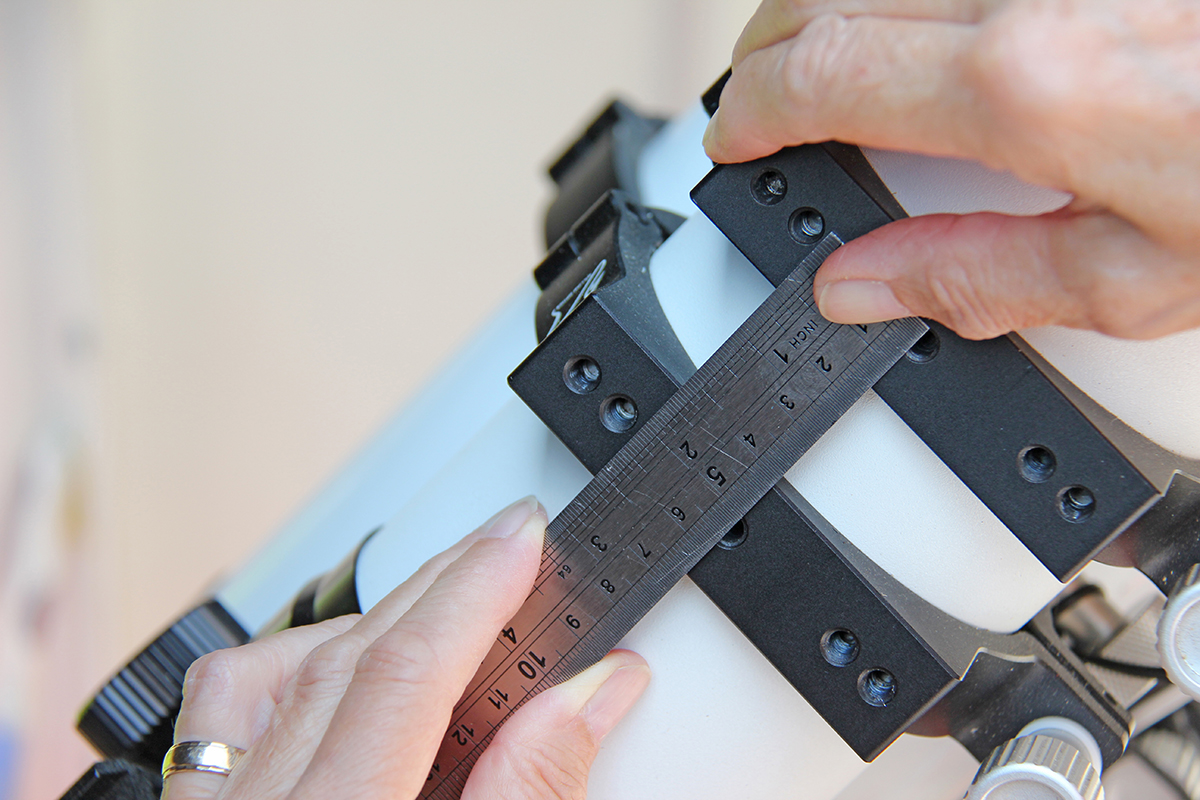
The concept is straightforward – there’s a second dovetail clamp mounted on top of your telescope’s tube rings, which has a small counterbalance weight mounted on a long dovetail bar.
This slides through the clamp until balance is achieved.
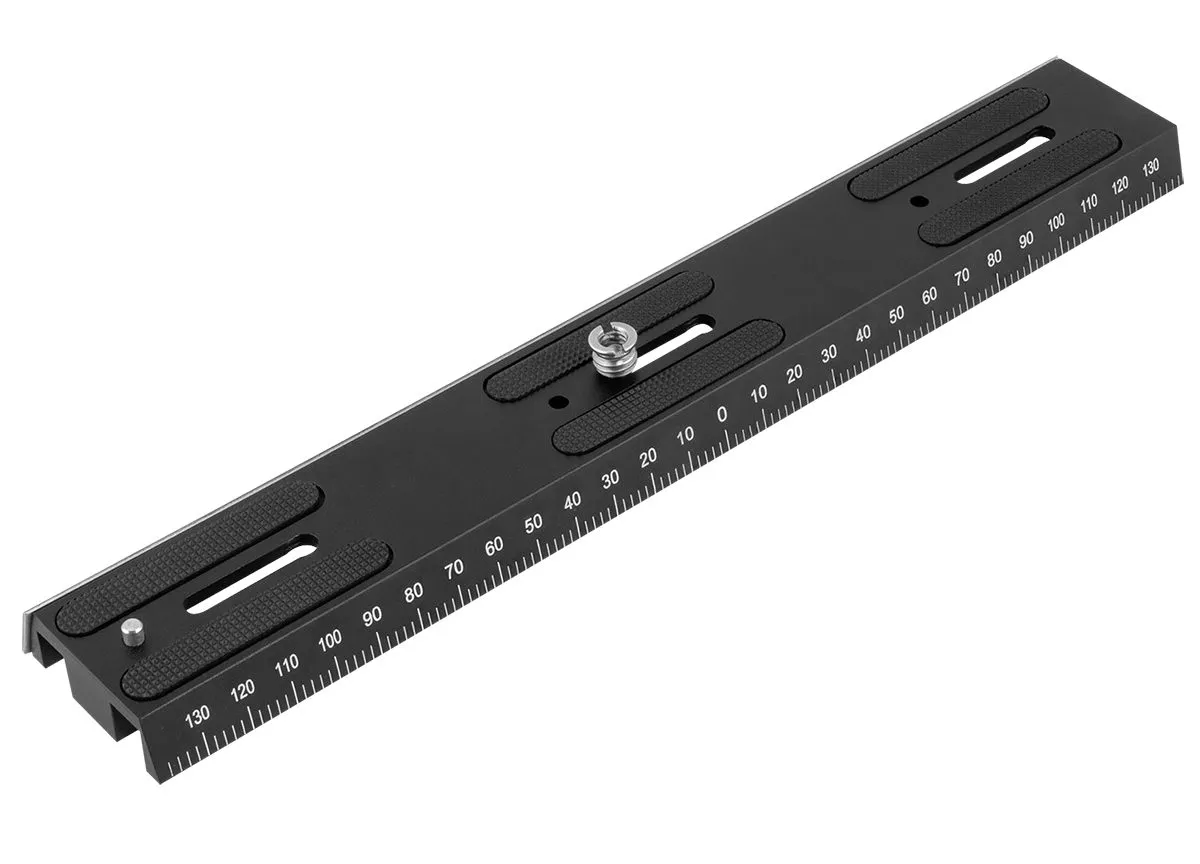
A Vixen-style dovetail bar is ideal for this as it’s sturdy enough for the task and doesn’t contribute too much weight in its own right.
Suitable clamps are available from many astronomical suppliers.
Depending on the telescope and camera or eyepieces that you want to mount and balance, along with the length of the supplied dovetail bar, you may find that additional weight is required at either the front or the back of the telescope.
Always try to balance the equipment on the dec. axis as best you can first and make a mark on the dovetail bar and clamp to show the best position for future use.
If balance cannot be satisfactorily achieved then this project will come to the rescue as it will allow you to add additional weight to either the front or back.
Once the dec. axis is balanced, adjust the RA axis balance by sliding the mount’s counterbalance up or down the counterbalance bar.
If you are using an autoguider and a gear-driven mount, bias the RA axis to be slightly counterweight-heavy on the ‘rising’ side.
Tools and materials
- 33.5cm dovetail bar
- Dovetail clamp (size suitable for mounting on top of the tube rings)
- A counterbalance weight
- 6mm bolt long enough to pass through the counterbalance weight
- 6mm washer
- Large Nyloc nut for use as a spacer
- 2 x bolts to attach the dovetail clamp to the tube rings
- Tape measure or steel ruler, masking tape and a pencil
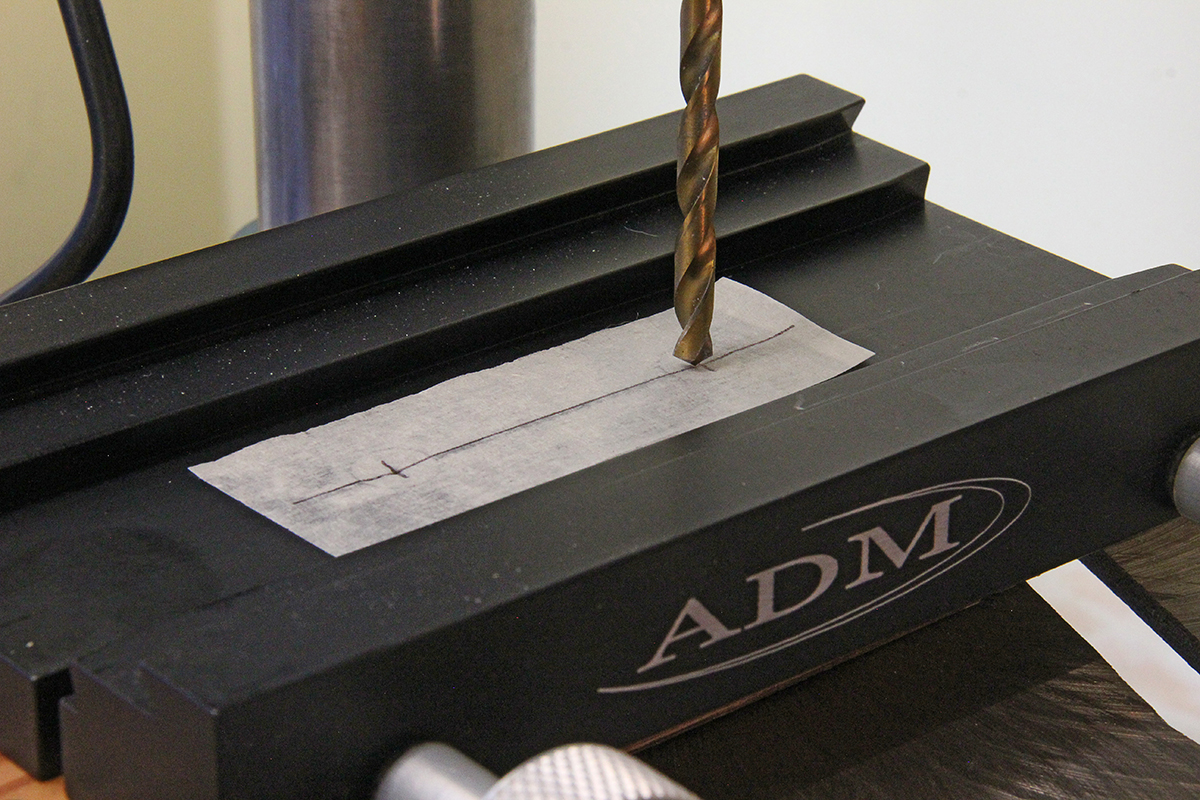
- Electric drill or pillar drill
- 6mm drill bit and countersink cutter
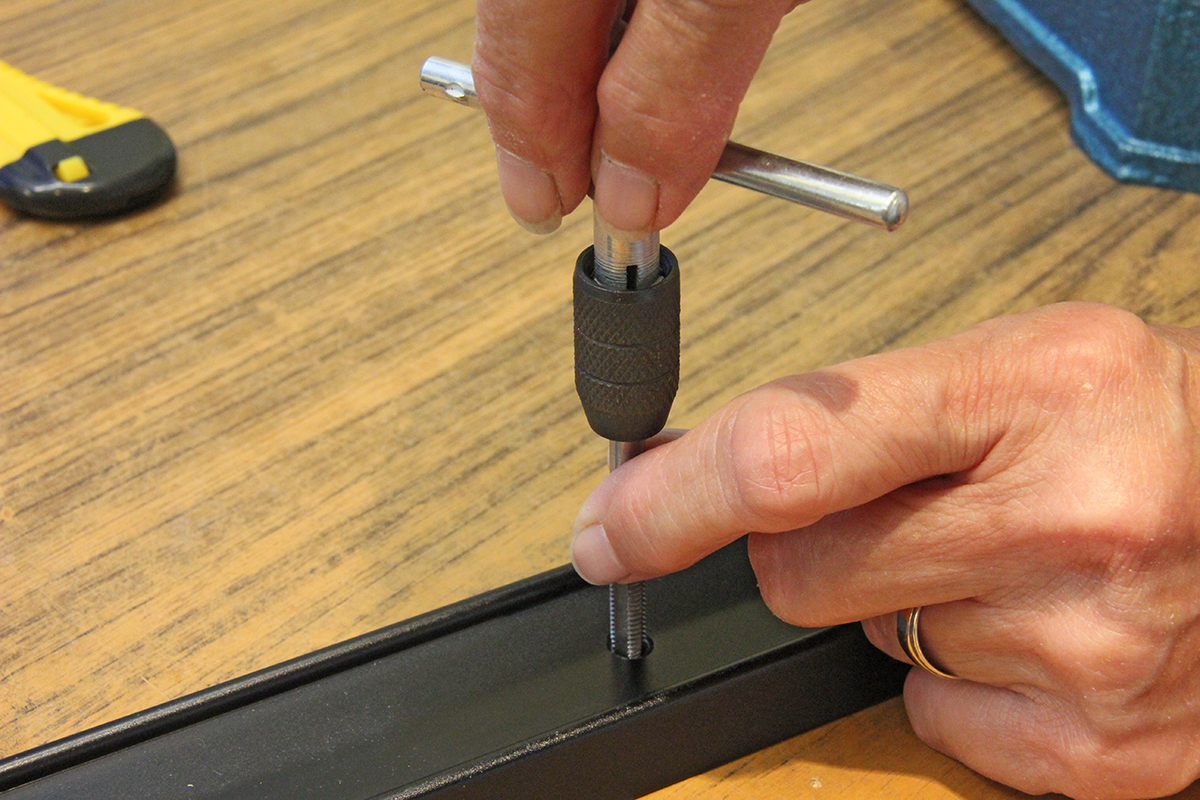
- 6mm tap tool
