Are you new to observing the Moon? If so, sketching our natural satellite will help you find your way around. All you need is a clear night, a clipboard, paper and pencils – I would suggest a soft 2B pencil and a hard 2H pencil.
Observe the Moon before you begin, paying attention to dark area shapes (the lunar Maria) and the bright areas (the highlands).
For more on lunar observing, read our guide on how to observe the Moon and find out why the Moon sometimes appears during the day.
And if sketching the Moon isn't your thing, read our guide on how to photograph the Moon.
Closely observe the shape made by the terminator (the line that separates the lunar night and day).You’ll find that getting the shape of that line correct is a crucial part of lunar sketching.
Notate each sketch with the date, time in UT, the kit used and Moon phase.
Use a Moon atlas to help label the craters and maria; you’ll soon learn their names and your way around the lunar surface.
Your drawings don’t have to be perfect, the point is to learn while having fun making them.
When you start your drawing, use a 50mm circle to help you. A binocular dust cap will serve as a template.Always draw the Moon as a full circle, even if the lunar phase means only part of it is showing.

Drawing the Moon with the naked eye
Naked eye drawing can tell you a lot about the Moon.
When it’s waxing away from new Moon the terminator offers a north to south curved line, becoming less curved as it hits a dead straight position at first quarter Moon.
After that the curve becomes more pronounced as the terminator moves towards full Moon. The terminator then takes up a position around the circumference (limb).
At this point the far side is in total darkness and the near side is in full sunlight.
If the Moon is a few days before or after a new phase you may see the phenomenon of earthshine – where light is reflected from the Earth back onto the Moon’s unlit section.
It causes a faint illumination of the unlit lunar surface; to the eye its features show up faintly.
To simulate the effect when drawing earthshine the trick is to remove some pencil markings with an eraser.

Observing the Moon through an eyepiece
With binoculars, the detail you encounter will increase dramatically. You should be able to see crater rays, caused by explosive impacts on the Moon, kicking up long plumes of dust across the lunar surface.
An eraser can help with the addition of rays by removing pencil in dramatic flicks.
Rays and other detail on the surface look more stunning when they are located along the terminator.
It is then that the contrast between dramatic whites and the black shadows is profound.
For this you will need a pair of binoculars that can be screwed into a tripod as they need to be absolutely steady.
A pair of 10x50s is ideal for beginners. As your binoculars will show you more detail you can increase the size of your drawing circle to 120mm.
A CD is perfect for this task.
You may wish to continue using pencils or you could try venturing into pastels.
Using pastels requires black card, black and white soft pastels and as many greys as you can find.

This medium allows for blending and the creation of depth, which looks great when your targets are lunar craters and mountains.
Draw the larger features first and then add additional craters in different areas. Introducing a small scope increases the detail once more.
Use an erecting prism to keep things upright.
A dinner or side plate circle is a good size for full phases, though a scope also allows you to zoom in on craters.
As the phase of the Moon changes, it can give features different appearances.
Plato, a crater in Mare Imbrium, can have shadows cast into it by the Sun that look like flames.
Mountains like Mons Pico appear as pointed bright lights against the grey lunar surface.
Over time you will build up a collection of lunar drawings.
In doing so your familiarity with our Moon will become permanent knowledge as you develop your skills as an astronomer.
This is aided by the fact that the same side of the Moon always faces us, so we never see the far side of the Moon from Earth.
Step-by-step
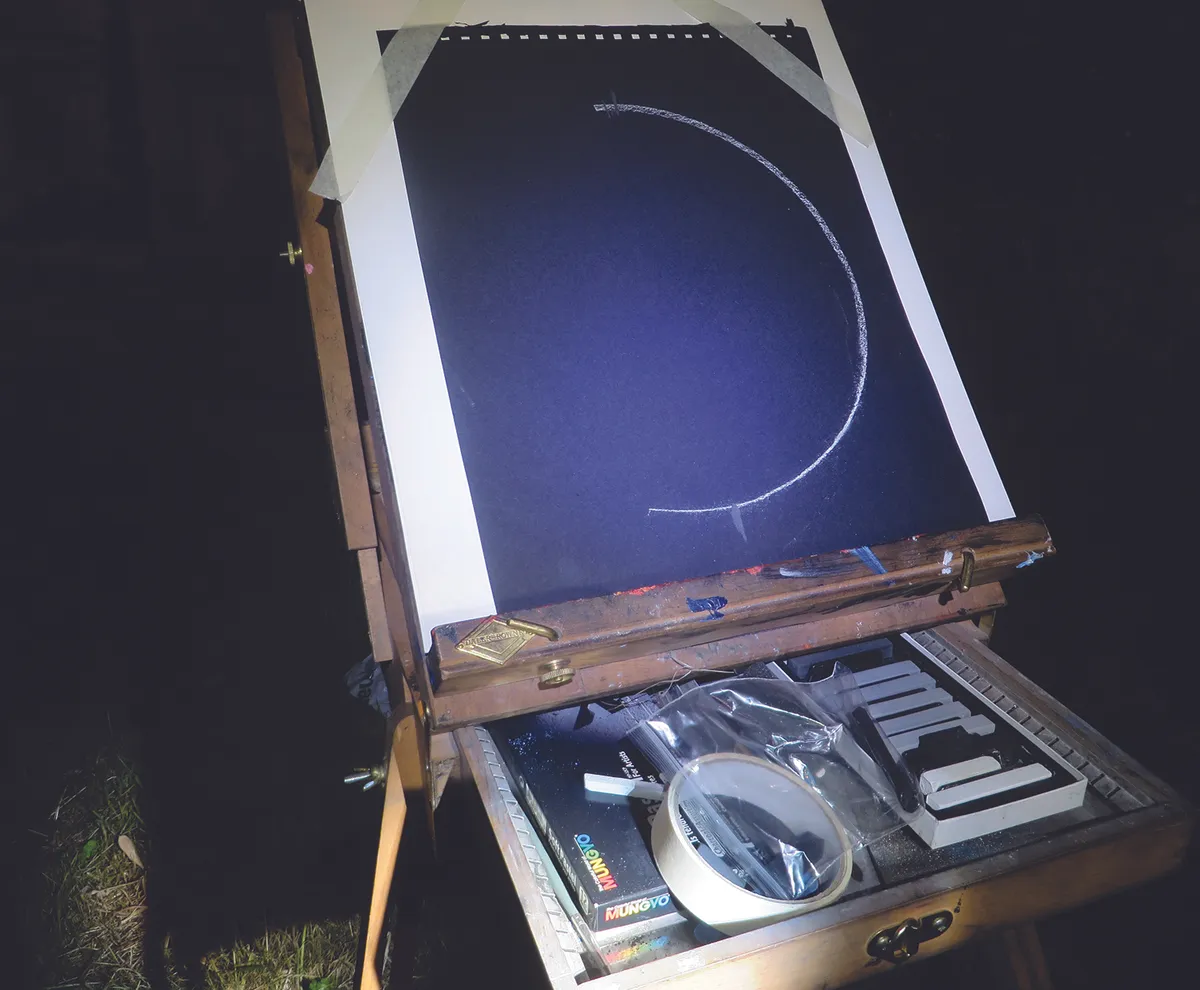
Step 1 Always try to maximise your time by targeting the rising Moon. Use a dinner plate to outline the limb with white Conté crayon. If your sketching window is short, make the outline using a side plate or CD.
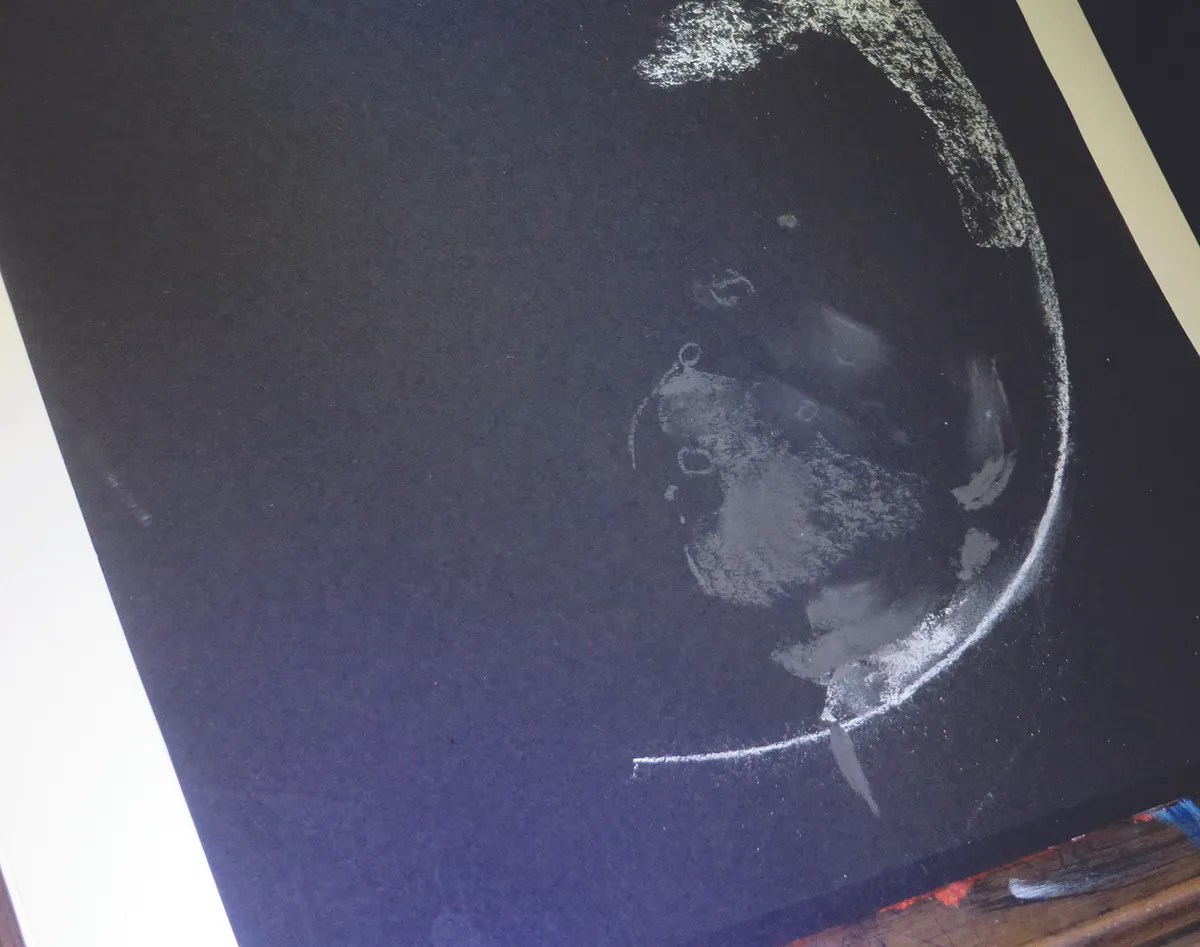
Step 2 Observe the lunar surface. Use a dark grey pastel to add approximate shapes for the lunar maria and a white pastel for the highlands. Accurately position light marks for at least three craters in different areas.
Step 3 Use your black pastel to begin drawing the shapes you observe along the terminator; the corners of the pastel are good for this. When crater rims break the blackness, use a white Conté crayon to edge the shape.
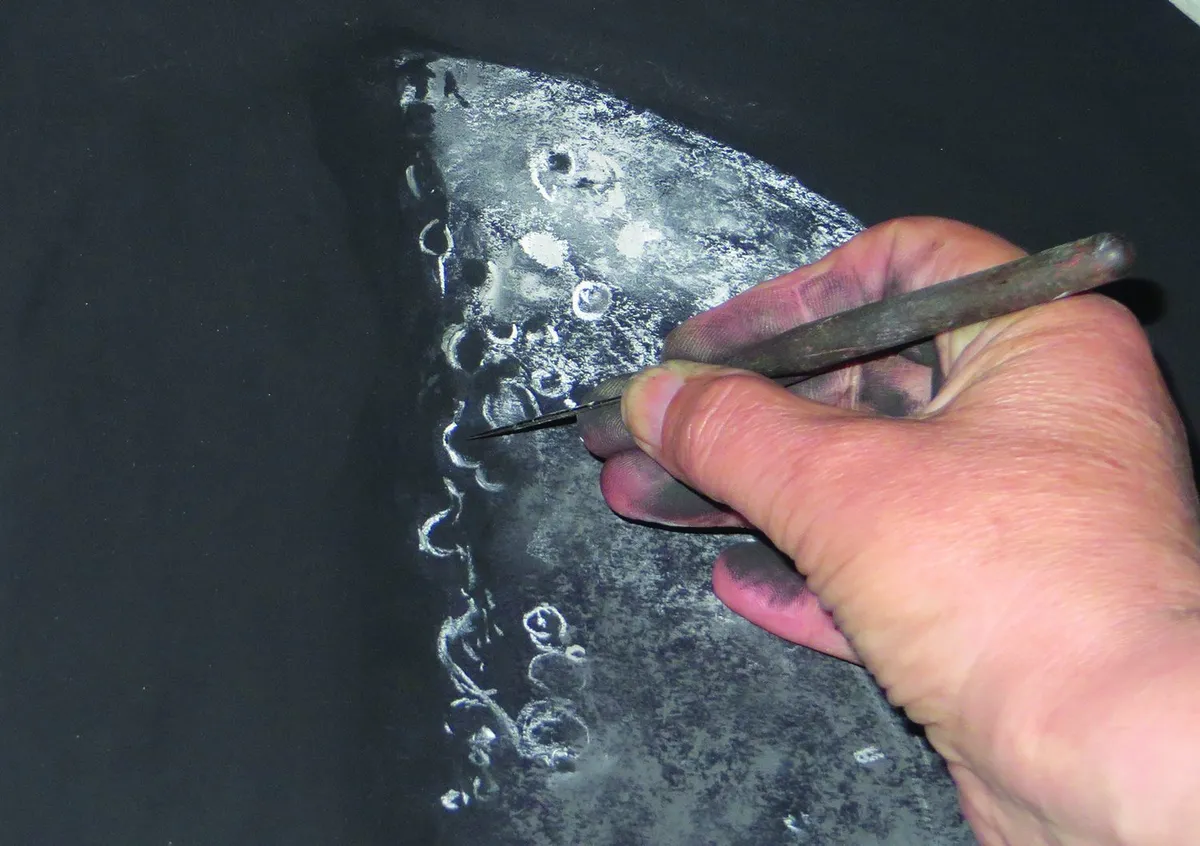
Step 4 Balance the drawing by switching between the terminator, craters and maria as you go. Keep every new feature you add related to your three craters from Step 2. Build up the drawing by adding detail to the three original features.
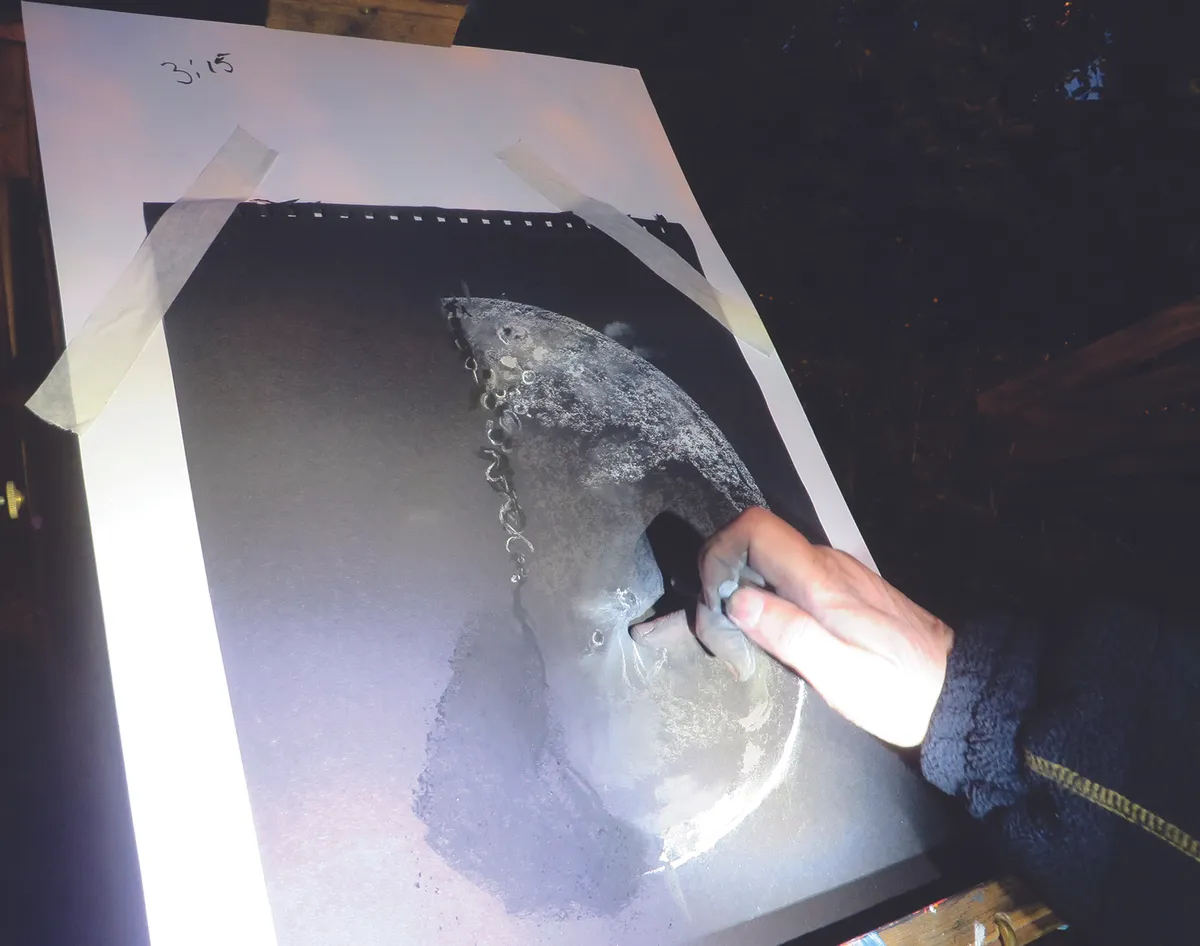
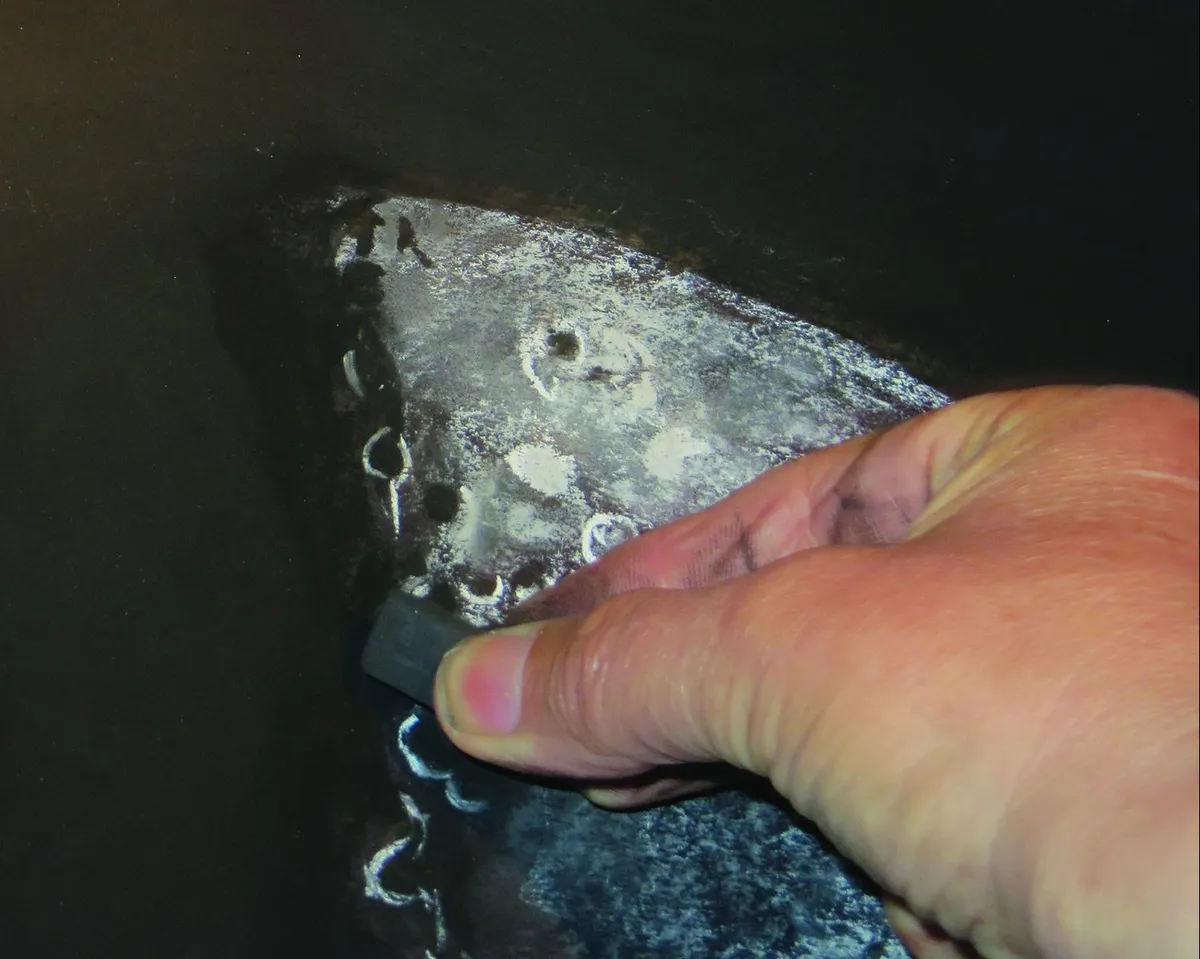
Step 5 Use your fingers to spread pastel on the maria, then overlay major craters like Copernicus in a paler grey. Use a white Conté crayon to add any central mountains and a black Conté crayon to edge the craters.
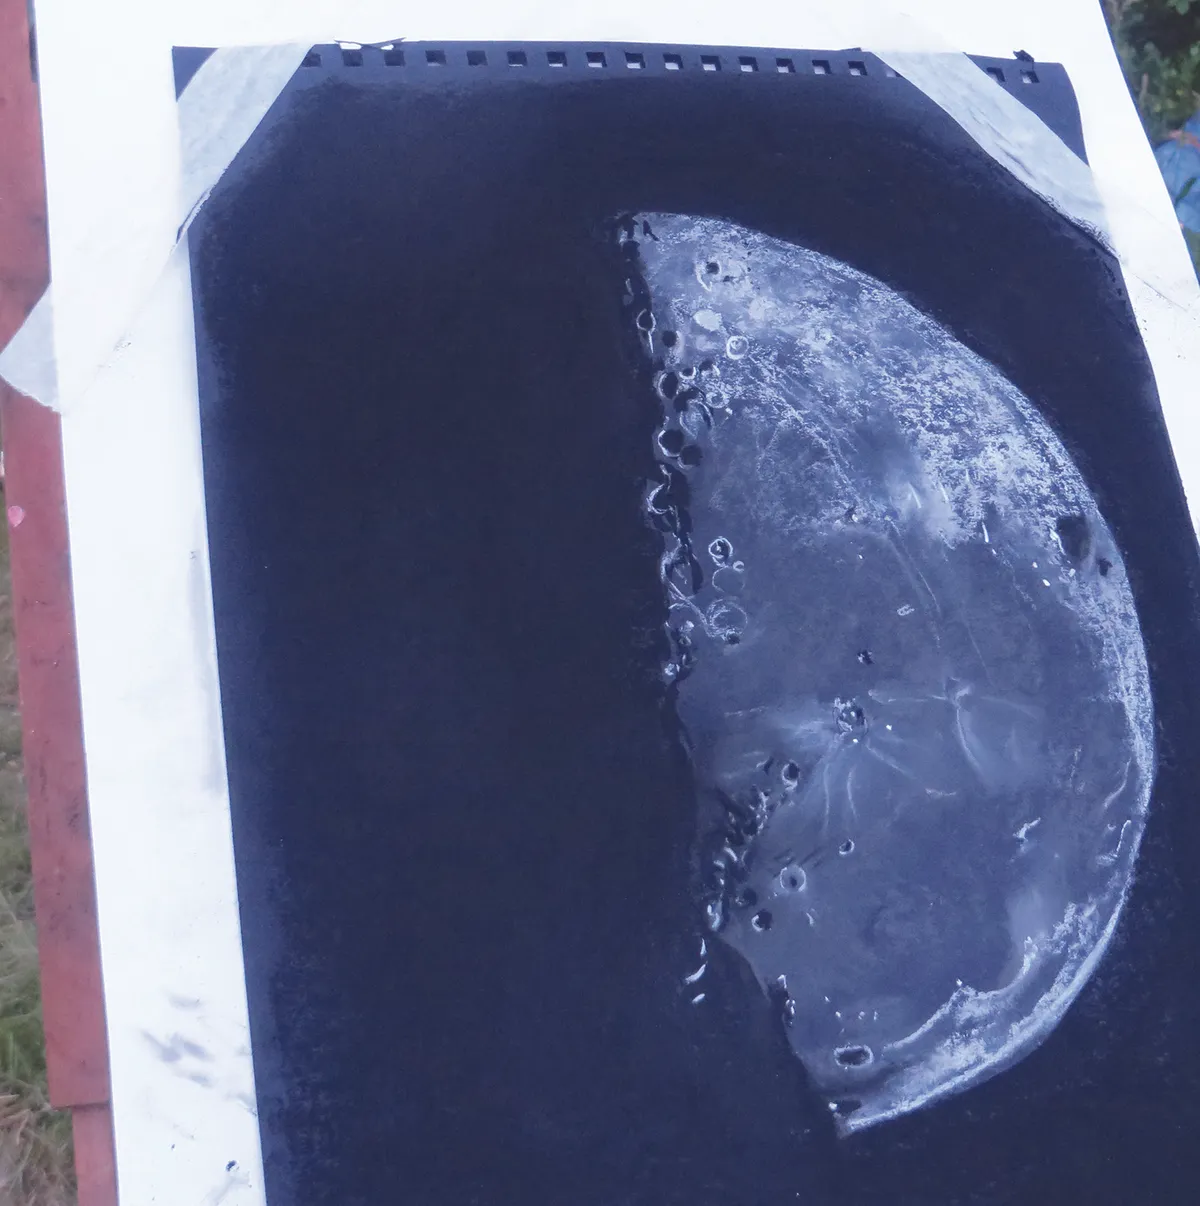
Step 6 You can finish the sketch by using a black pastel on its side to edge the limb. Then blacken the rest of the page. It can be useful to take an image of your drawing before fixing it too much, to avoid the potential loss of fine detail.
The maria
The Moon is covered with several dark ‘seas’. As long as part of the Moon is illuminated, at least one of these should be visible.
Earthshine The reflected light of Earth illuminates the Moon for a few days around new Moon, though you might have to get up early to catch it.
Copernicus It’s easy to find this crater with binoculars due to its prominent ray system. With a telescope, you should make out the crater’s hexagonal shape.
Tycho The Tycho crater has another prominent ray system, but can be trickier to make out, due to a lack of contrast with nearby lunar highlands.
Plato The angle we view Plato crater at gives it a ‘squashed’ appearance. The irregular ring casts interesting shadows when the terminator’s close by.
Eratosthenes and Montes Apenninus The rugged Apennine mountain range reaches 5.5km in height and extends 600km before terminating in a deep crater with terraced walls.
This article originally appeared in the August 2019 issue of BBC Sky at Night Magazine. Deirdre Kelleghan is an artist, astronomer and co-author of Sketching the Moon: An Astronomical Artist’s Guide