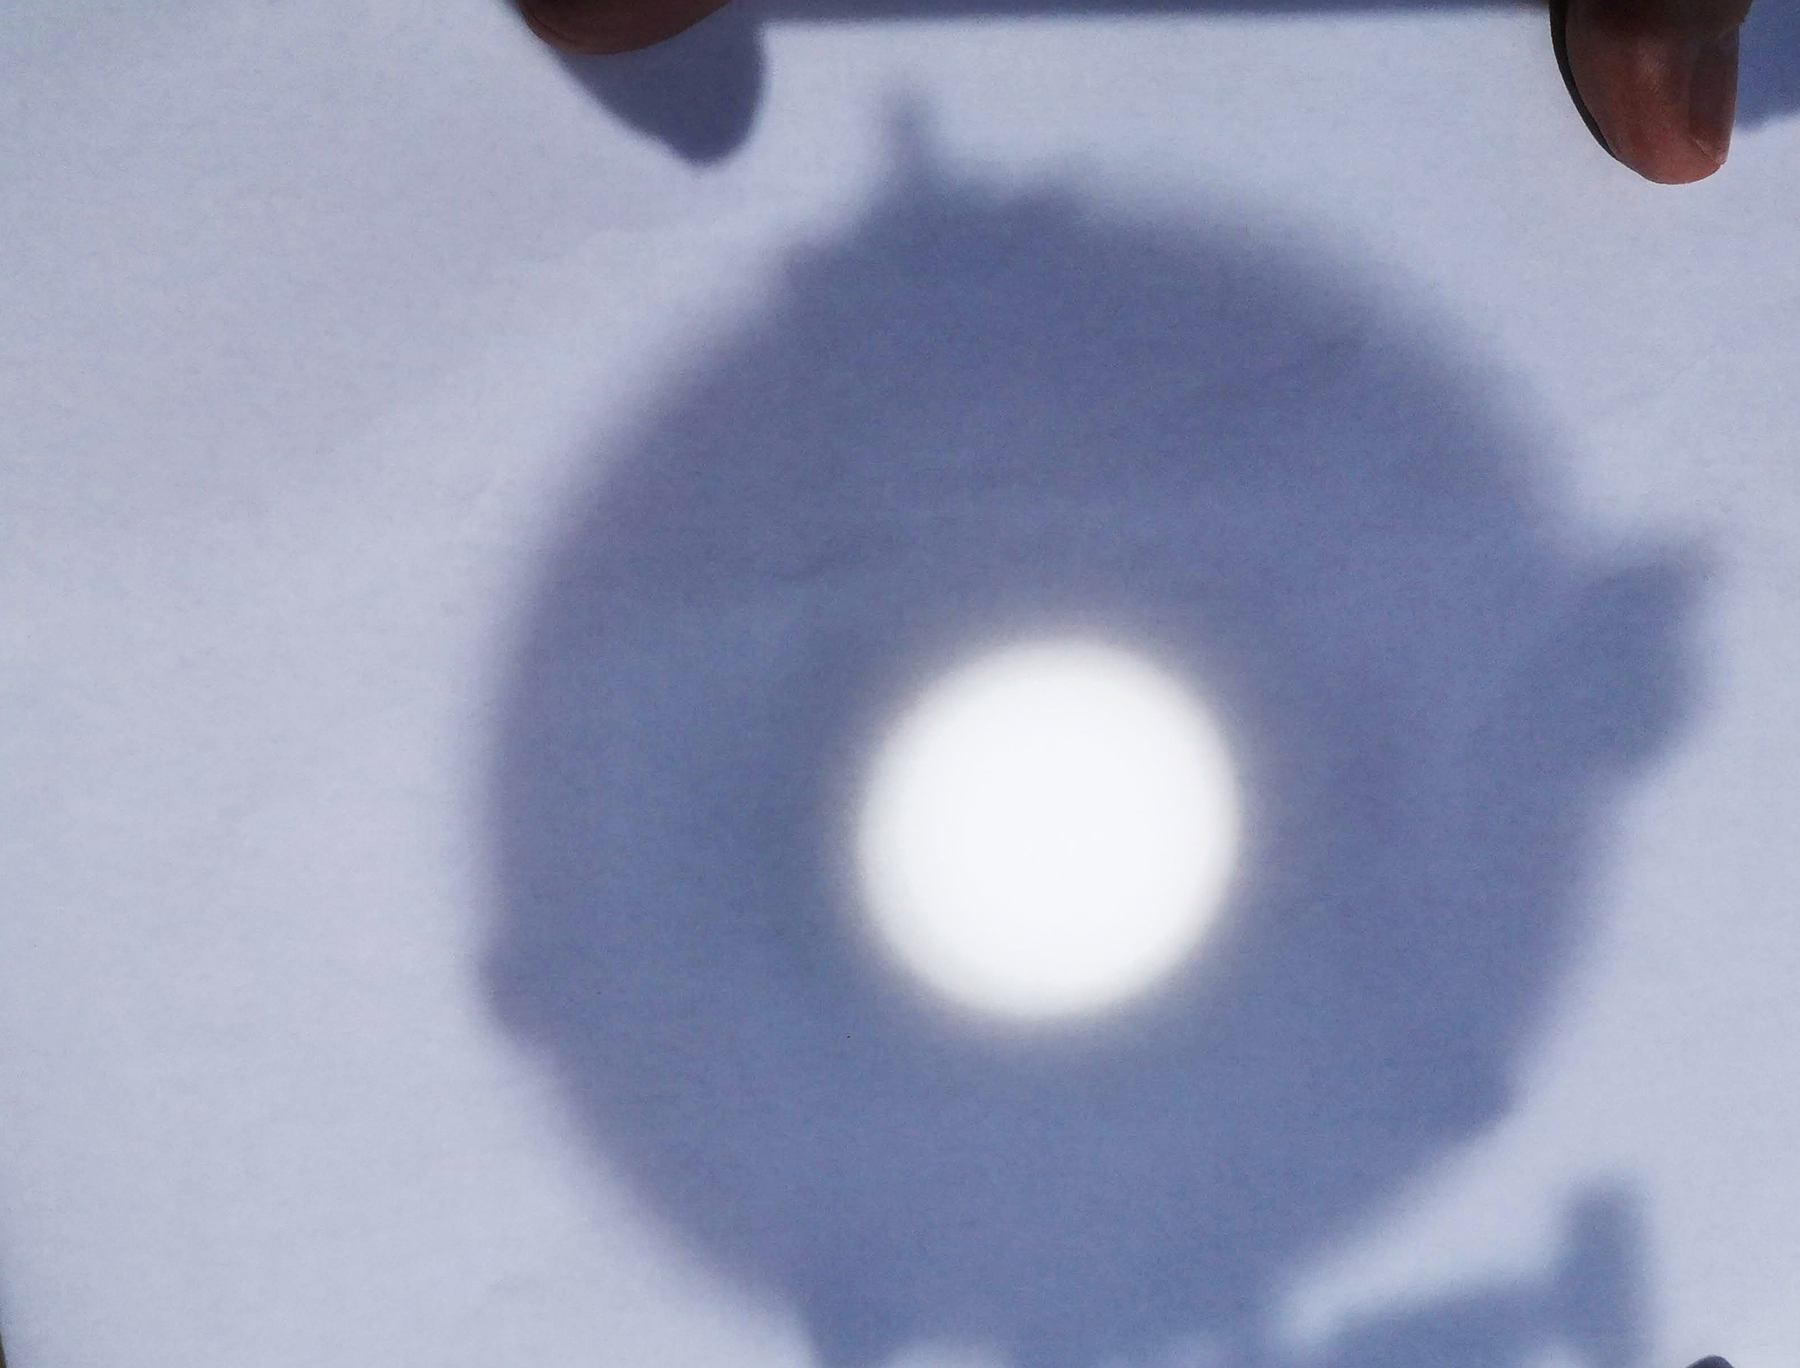
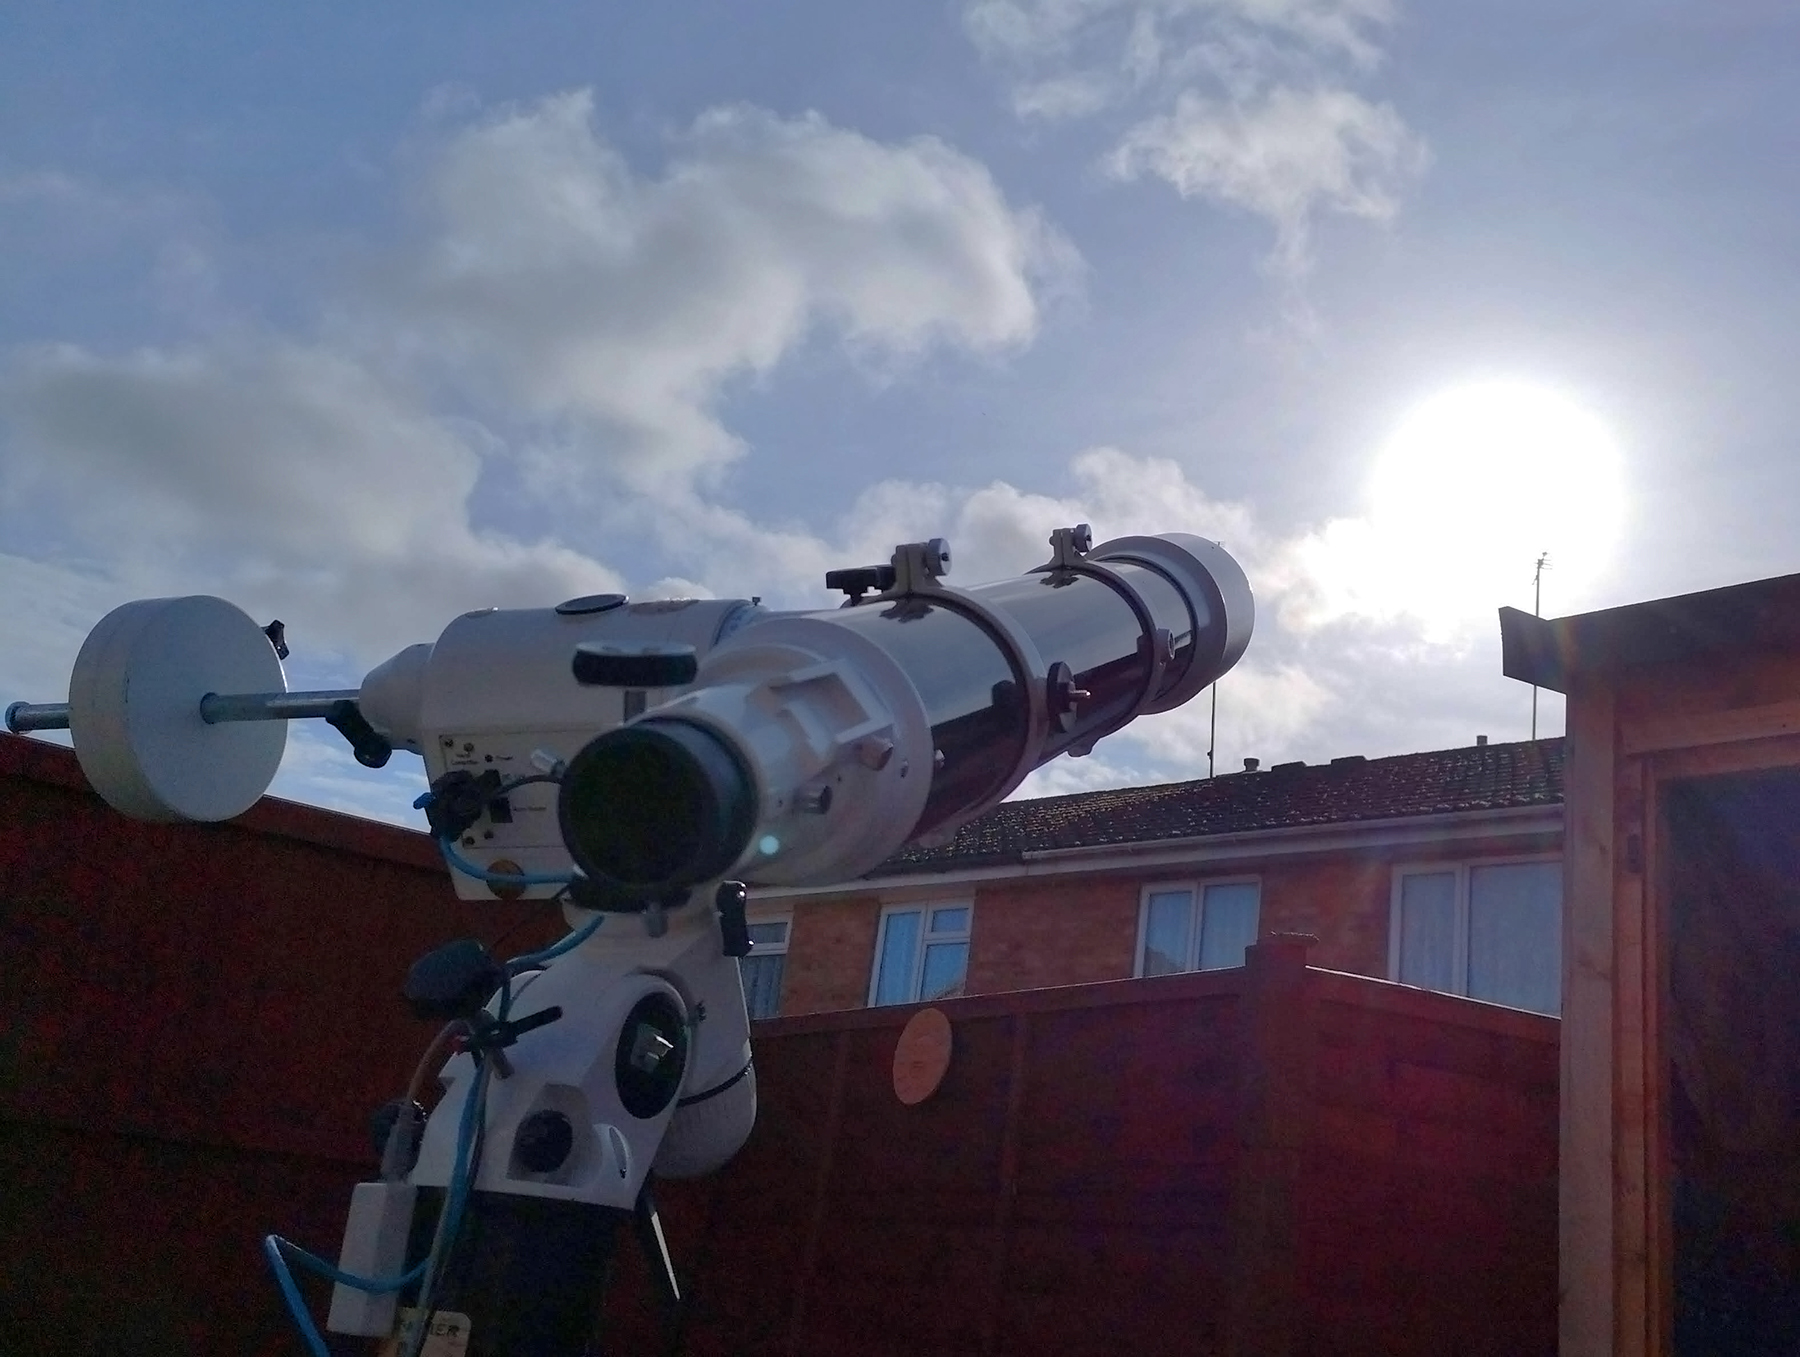
There is a bright object we can use to achieve polar alignment that is easily visible on a clear day: the Sun. However, this method must only be used if you know what you are doing and have suitable, certified equipment.
There’s a lot of talk about the accuracy of polar alignment being essential for achieving great astronomy.
It’s true that the more accurately an equatorial mount is aligned with Earth’s polar axis, the more faithfully the telescope will track the sky.
However, the accuracy with which your mount needs to be polar-aligned will depend on what you are using your scope for.
Read more astronomy How Tos:
- How can I stop dew forming on my telescope?
- How to build a simple solar finder
- How to make a solar projection screen
If you are just going to go out observing or imaging the Sun, Moon or planets, accurate polar alignment really is overkill. These targets will tolerate some drift.
If you are autoguiding or imaging faint deep-sky objects or comets, it may be a different story. More on this later.
Not everyone has an observatory or is in the situation where the mount can be permanently set up and kept polar-aligned.
Perhaps you are unable to view Polaris from your location or find yourself in a situation where you need to get your telescope set up during the day.
This could be, for example, to do solar imaging or observe a bright planet such as Venus, which is accessible in the daytime sky.

In these circumstances, you can use this method to get your mount reasonably polar-aligned during daylight hours – without being able to see any stars, let alone Polaris.
The method must be used with great care. Remember to always use certified solar filters – such as Baader film over the front of the telescope or objective, or a Herschel Wedge for a refractor.
You will need to take these precautions due to the Sun’s excessive heat and light. These reduce the danger of setting fire to your clothing, or worse still, permanently damaging your eyesight or equipment.
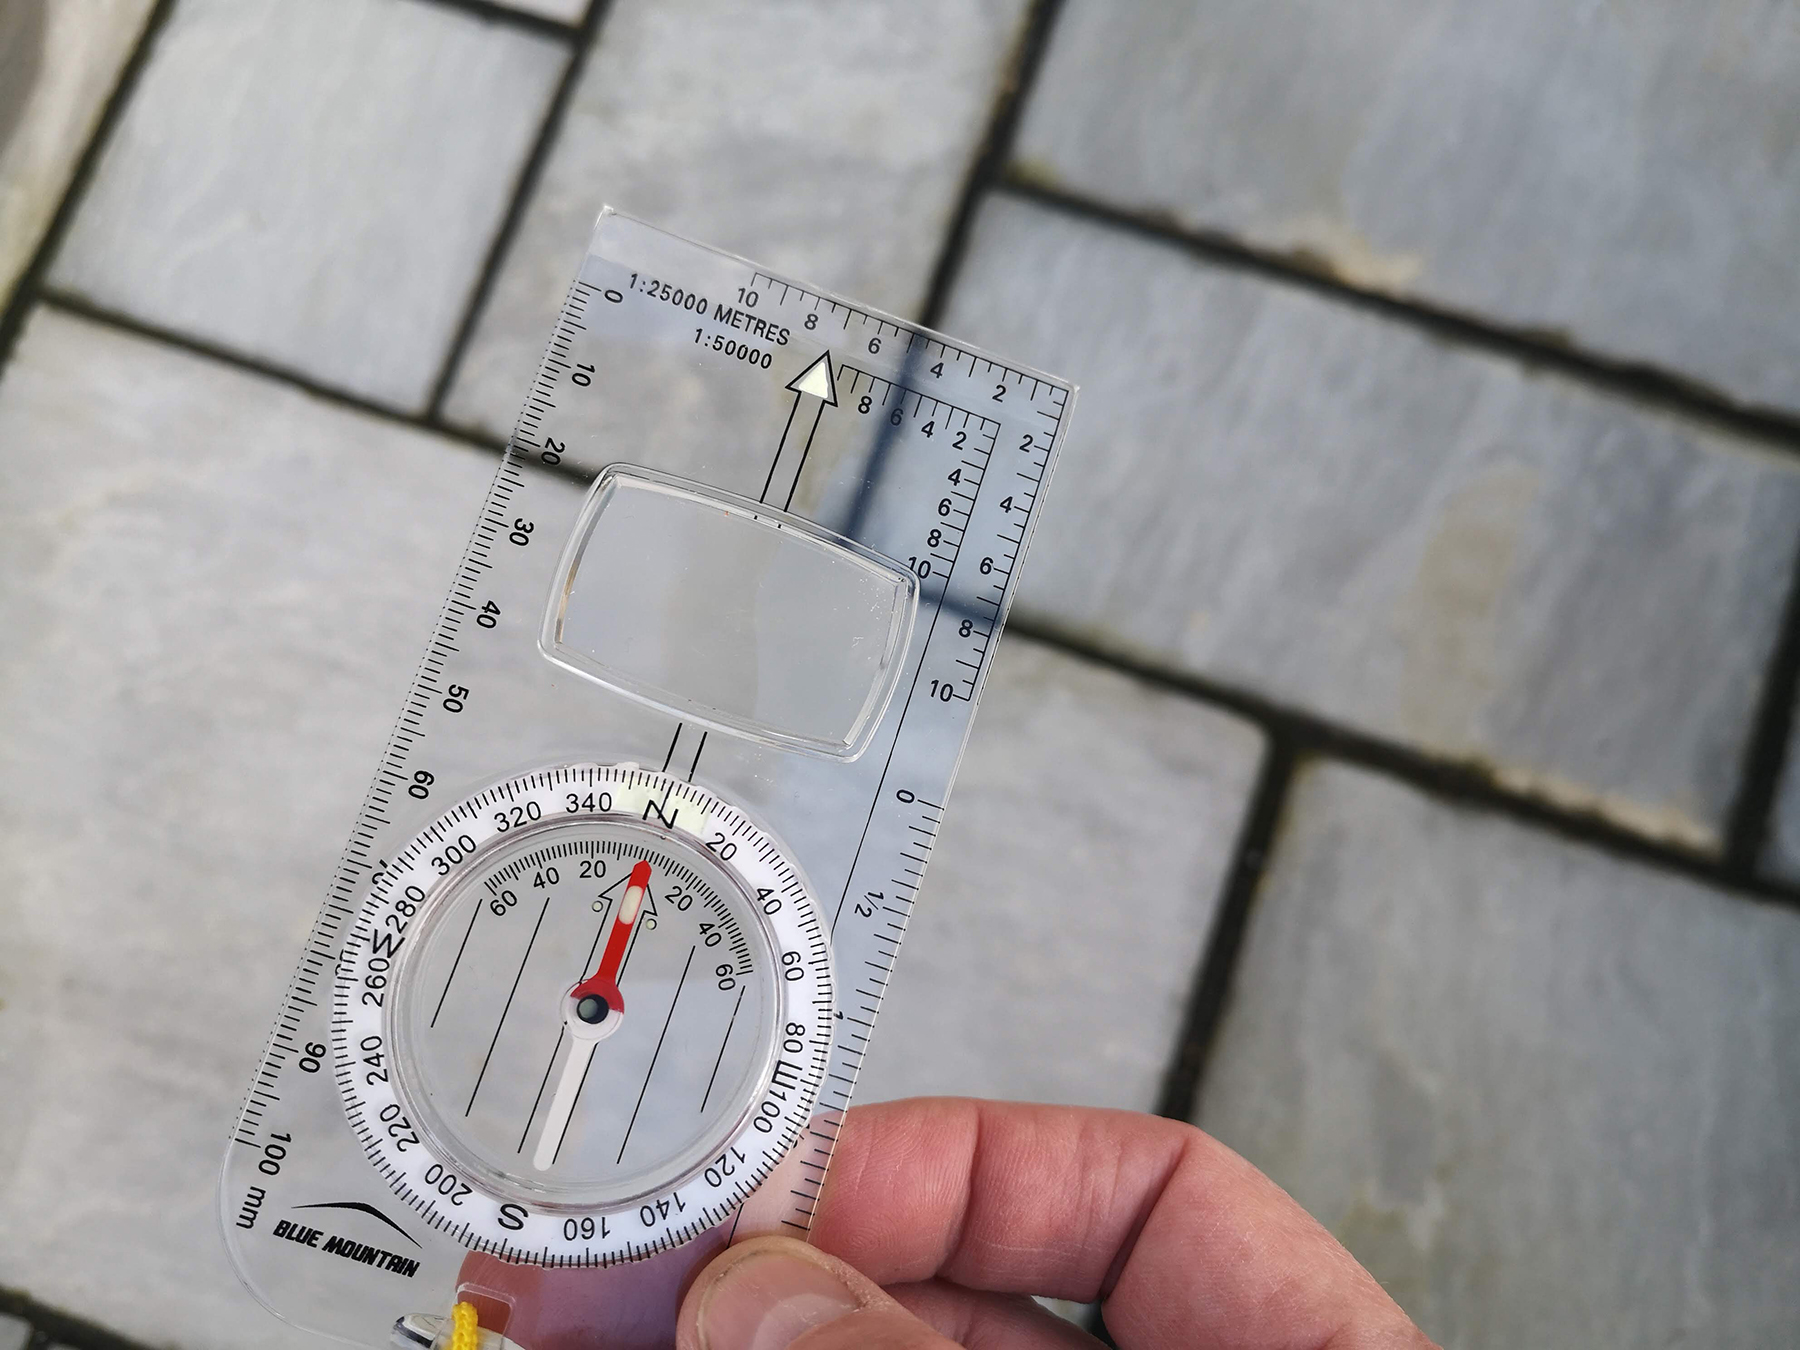
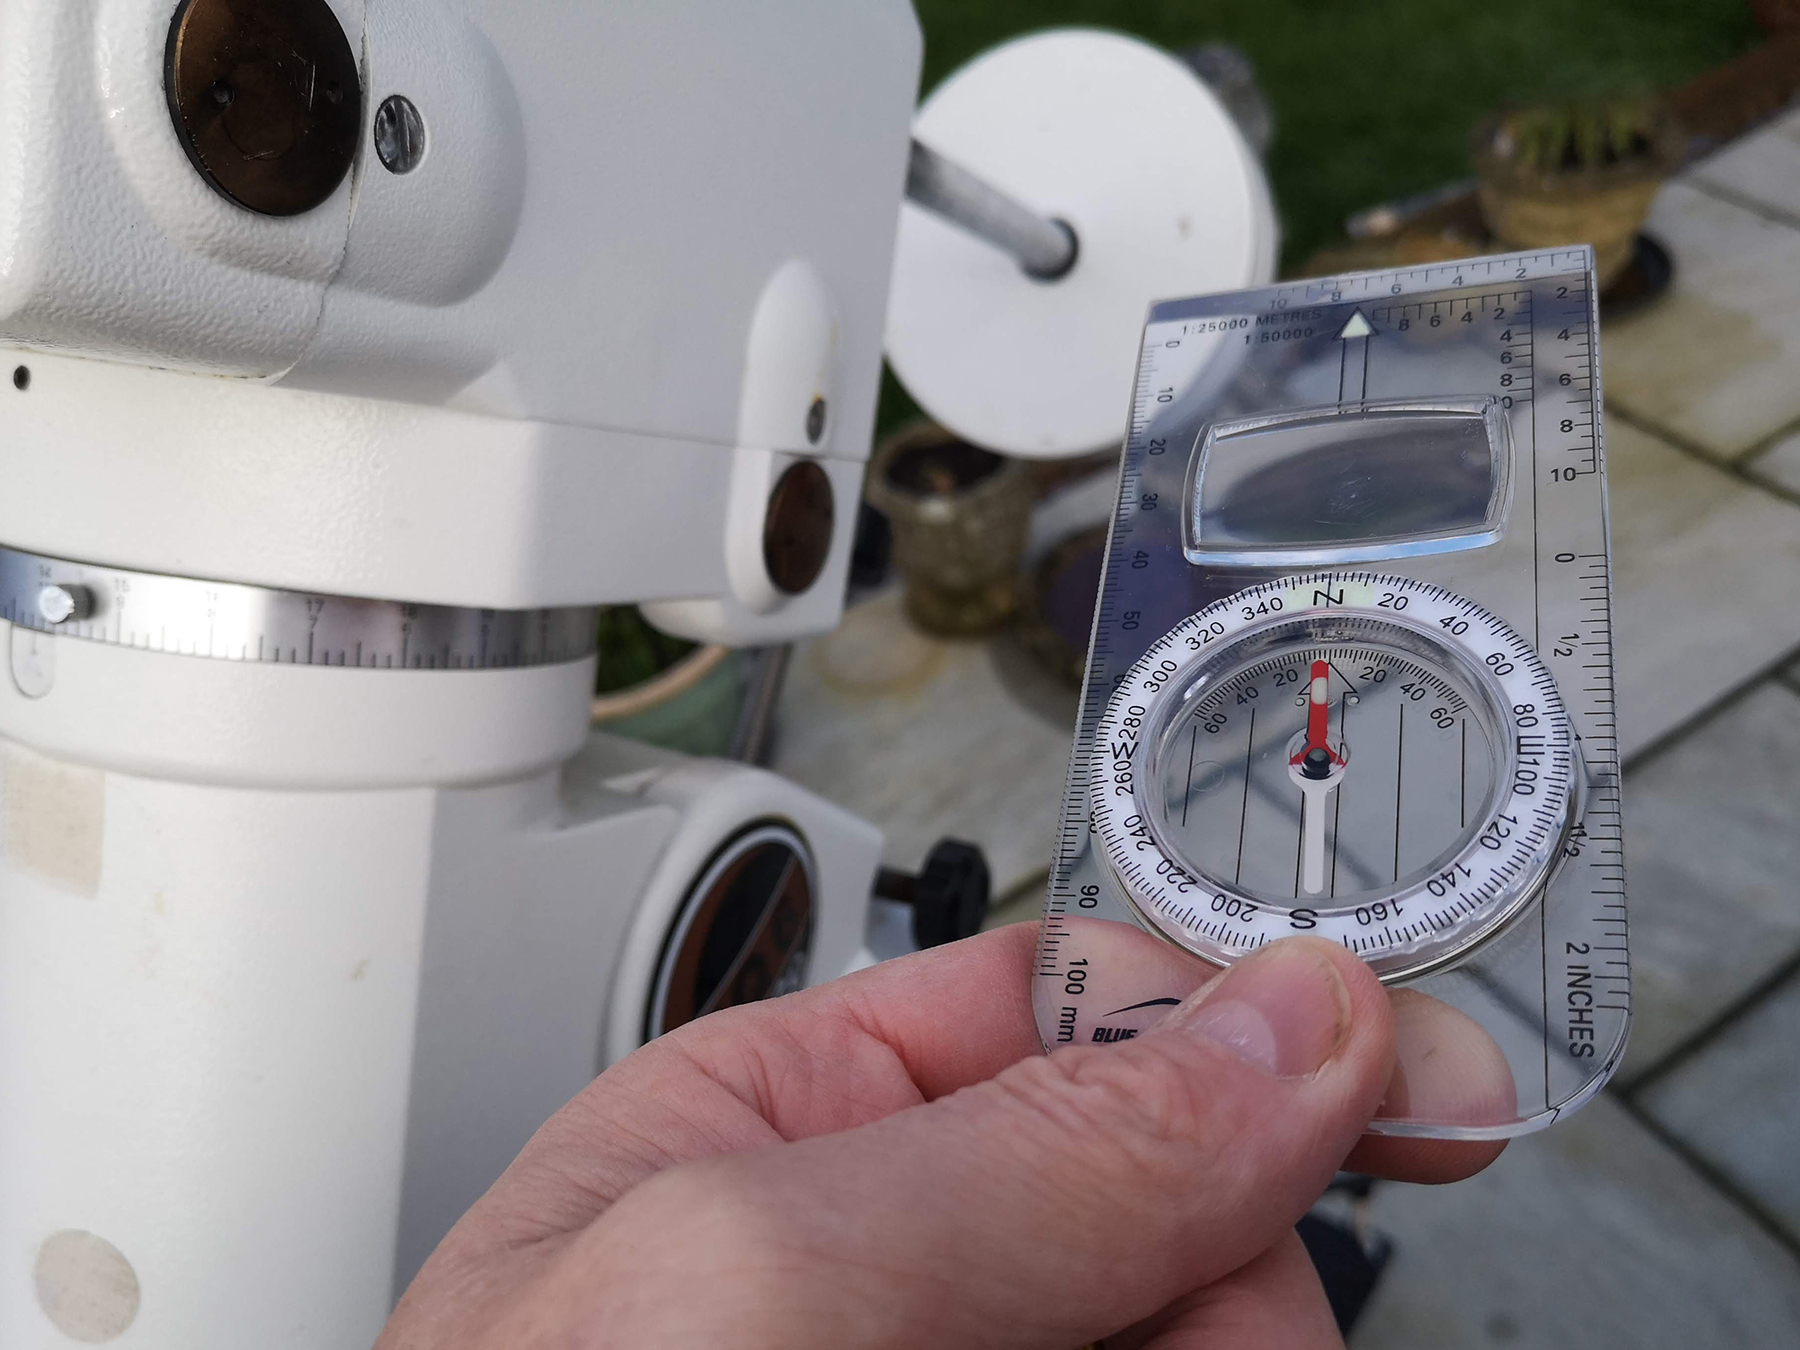
The method outlined in our Step by Step guide below will enable you to get sufficiently accurately polar aligned during the daytime.
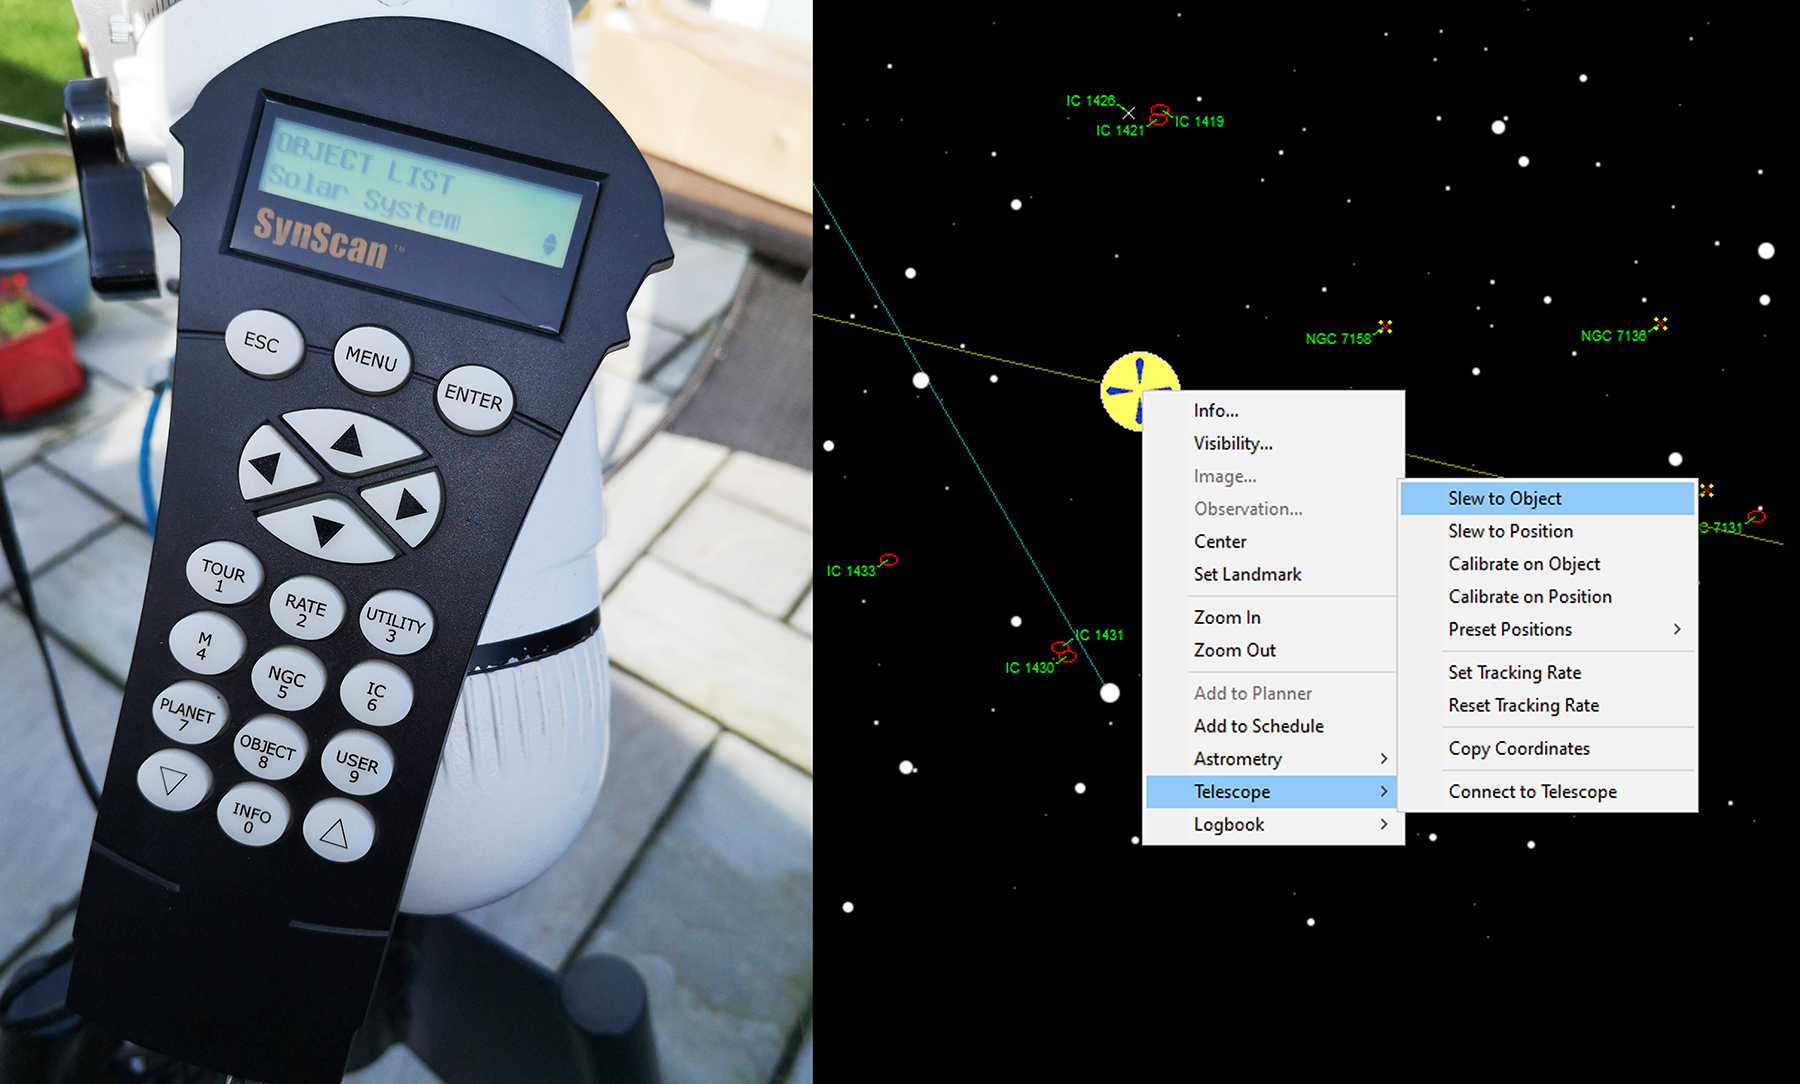
It’s been found to be accurate enough to help to get set for solar imaging, and to find planets and even bright stars using computer control.
It’s true to say that when you are imaging Solar System objects, the methods used can be quite tolerant of a bit of image drift if your mount is not accurately polar aligned.
However, when it comes to deep-sky imaging the targets are less tolerant, but our method benefits from allowing you to autoguide to an extent.
After carefully performing a daytime solar polar alignment, and if the skies stay clear, you will find this alignment can be sufficient for autoguiding without having to re-adjust the mount’s polar alignment so that it is re-centred accurately on Polaris.
That’s the beauty of autoguiding: if the stars do drift slowly across the field of view, automatic adjustments by the autoguider compensate for this drift.
We don’t get many clear nights, so don’t waste those precious hours tinkering about trying to get your mount’s polar alignment absolutely spot on.
Follow our step-by-step guide:
