Image processing is simply the act of enhancing a digital image to improve its visual appeal with computer programs like Adobe Photoshop or GIMP.It’s a major part of an astrophotographer’s skill set.
Here we’re going to take a beginner’s look at the software needed to do image processing and how to achieve great results on nightscapes, planetary photography and deep-sky images.
Sign up for our latest online astrophotography Masterclass
Find out more about the BBC Sky at Night Magazine DSLR Astro Imaging Masterclass.

Astrophotography is a steep learning curve for everyone, with lots of questions to consider. What kind of images do you want to capture?
What are the best cameras for astrophotography? What are the best camera settings to use?
While the logistics of imaging the night sky create one set of challenges, knowing what to do with the data in the morning is another.
For image processing tutorials, visit our dedicated Astrophoto Guides section.
If you're just getting started in imaging the night sky, read our pick of the best telescopes for astrophotography.
9 of the best image processing software programmes
- Adobe Photoshop (monthly subscription)
- Adobe Lightroom (monthly subscription)
- AutoStakkert! (free)
- DeepSkyStacker (free)
- GIMP (free)
- Image Composition Editor (free)
- RegiStax (free)
- Sequator (free)
- Startrails (free)
Processing nightscapes
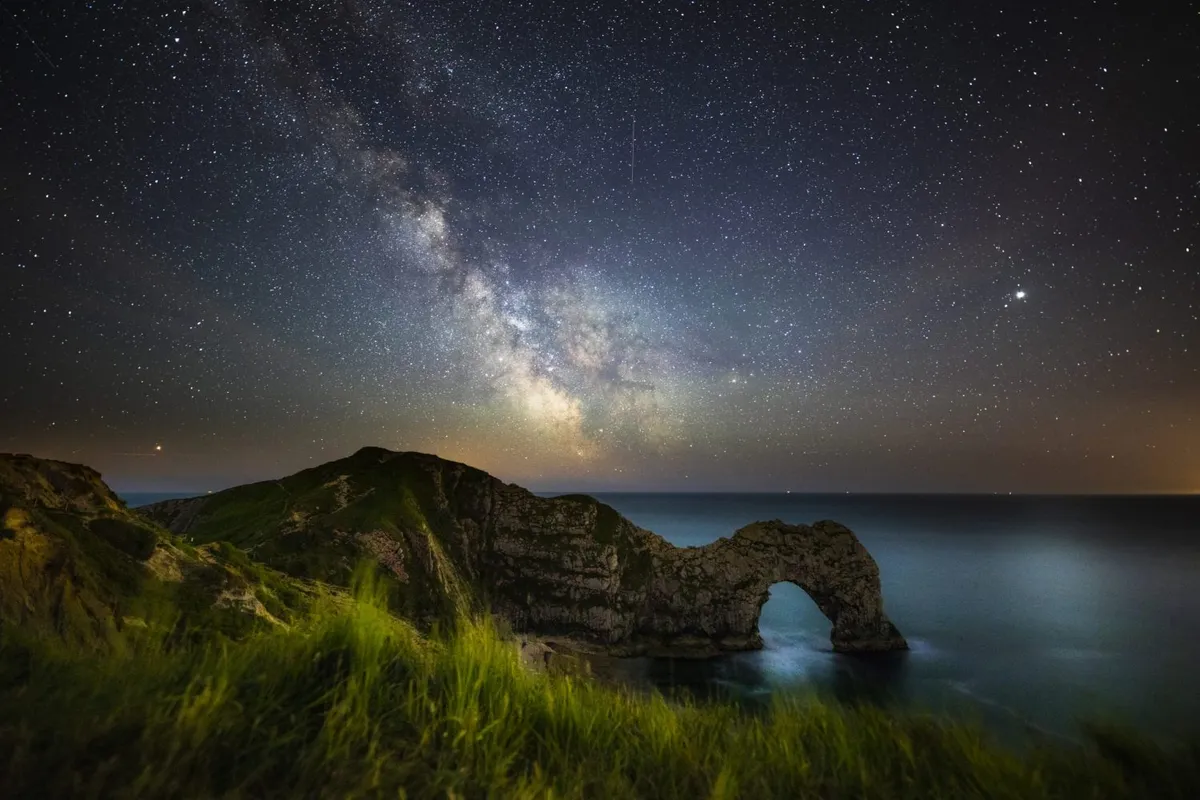
What is a nightscape photo? It can be a landscape at night and it can also be a wide-angle photo of the night sky capturing the Milky May, noctilucent clouds, Moon sequences or the aurora.
Nightscapes are often achieved using single untracked images, meaning you can capture these without using a mount that follows the apparent movement of the sky.
Each of the above can be captured using basic equipment: either a DSLR with a lens or a smartphone, and a tripod.
Depending on the equipment, exposure times can be up to 30 seconds before the stars start trailing noticeably.
To find out the approximate exposure time before stars stop looking sharp, use the ‘500 Rule’. Dividing 500 by the focal length of your lens provides the longest exposure time for your setup.
Processing nightscapes (especially single, unstacked images) often requires just a minor stretch to the light curve in Adobe Lightroom or Photoshop, using the sliders rather than specific or niche settings.
A popular option for nightscapes, however, is to blend several side-by-side images into a panorama.
Many Milky Way images are blended mosaics or panoramas, consisting of several images pasted together.
Find out more about this in our guide on how to create a Milky Way mosaic
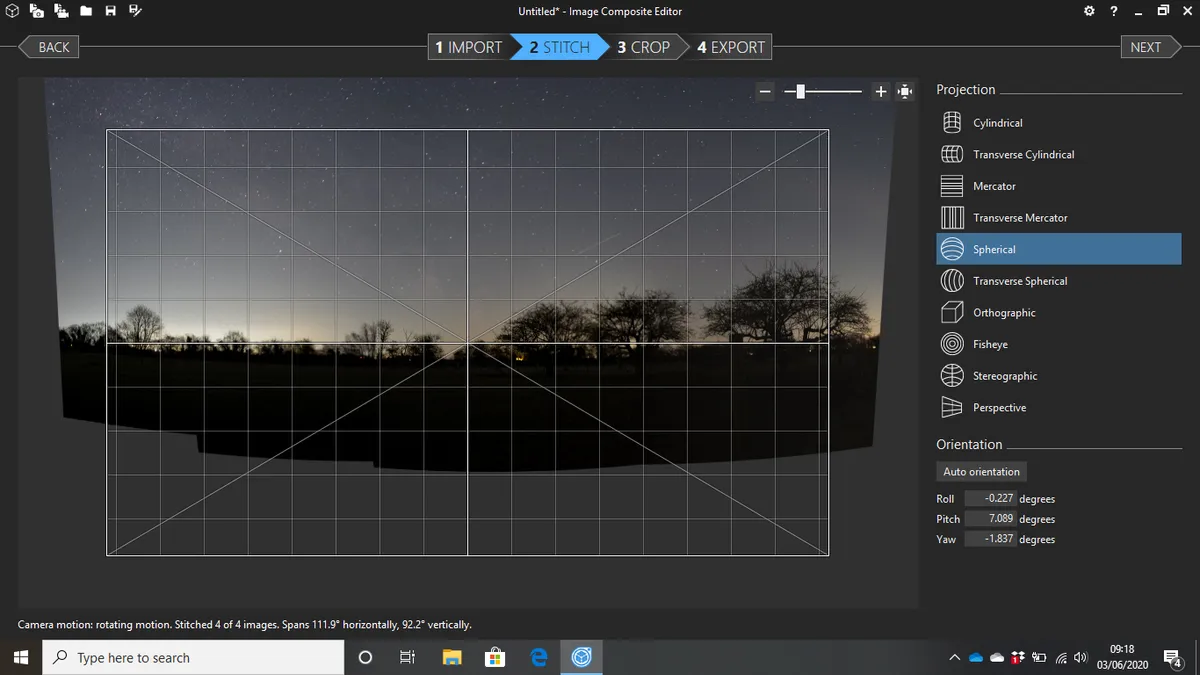
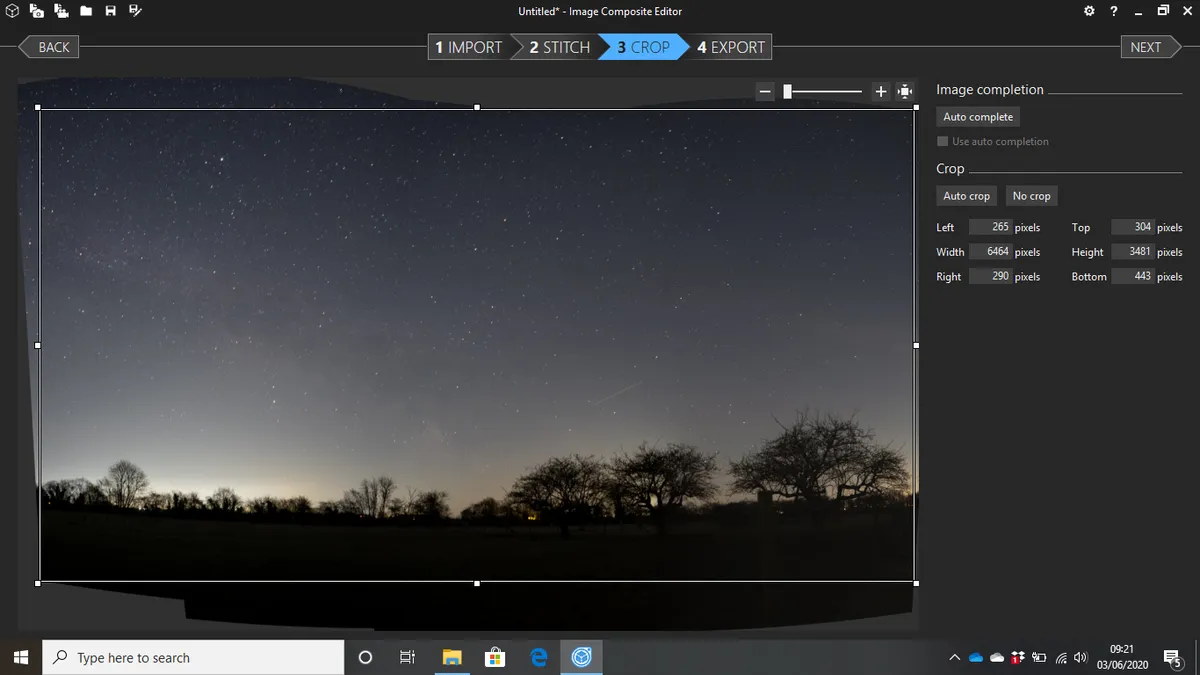
Stitching images together requires software such as Microsoft Image Composite Editor (ICE) – a program that is simple to use.
Simply open the software, click New Panorama From Imagesand upload the exposures. The resulting image can then be saved and edited in Photoshop or Lightroom.
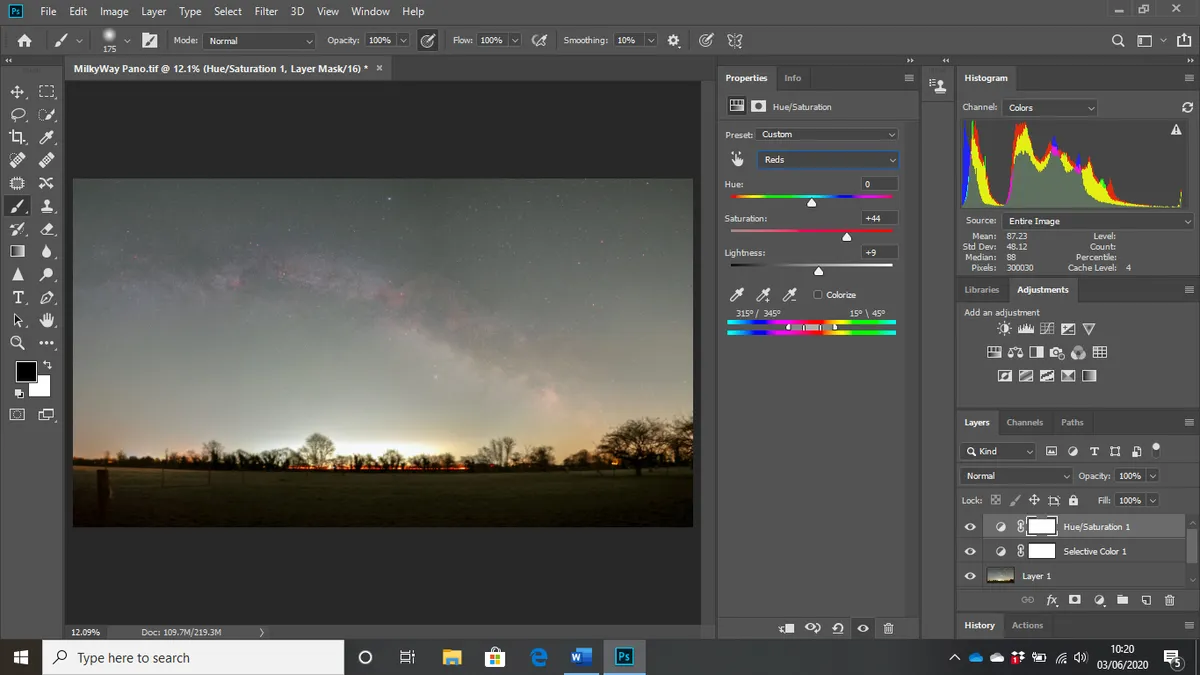
Once the image has been stitched together, we suggest adjusting it in Photoshop with the Brightness/Contrast, Hue/Saturation and Selective Coloursliders.
Selective Colouris useful for removing sky glow (such as oranges and pinks) and magenta from a nightscape. These colours can diminish the impact of a Milky Way shot, so take your time on adjusting these.
Remember not to go too far. Moving the sliders too much risks making the image noisy (revealing unwanted artefacts), particularly if it is a single image rather than multiple images ‘stacked’ together.
Oversaturation or over-stretching, so that stars lose their colour or the sky appears too blue, can leave nightscapes looking artificial.
If you have a star tracker or a tracking mount that moves with the sky it’s also possible to do tracked nightscapes, which allow for longer exposures that capture fainter stars.
Processing these images is largely the same, although if taking images to stack (which reduces noise), stacking software is needed before processing (see Planets and Moonbelow for more on this).
Find out more about this in our guide to astrophotography stacking
Processing star trails

Star trails are made up of multiple merged images, each of around 30- to 60-second exposures. These can either include a foreground for effect or they can be a full circle of star trails with Polaris in the centre.
To achieve a decent curvature on the trails, set aside 2 to 3 hours to gather enough images. For more info, read our guide on how to photograph star trails.
Longer exposures mean ISO levels need to be managed. If the ISO setting is too high, the final image may be noisy or light polluted.

Get to know your camera. It might be that you prefer the effect of a 25-second exposure at ISO 3200 over a 40-second exposure at ISO 800. It will also depend on local surroundings and the time of year you’re imaging.
If using an intervalometer to control when the shutter goes off, set a short time between exposures: 1 or 2 seconds to prevent gaps disrupting the trails.
The free-to-use software Startrails allows you to merge your images. Once downloaded, simply click the Open imagesicon to import.
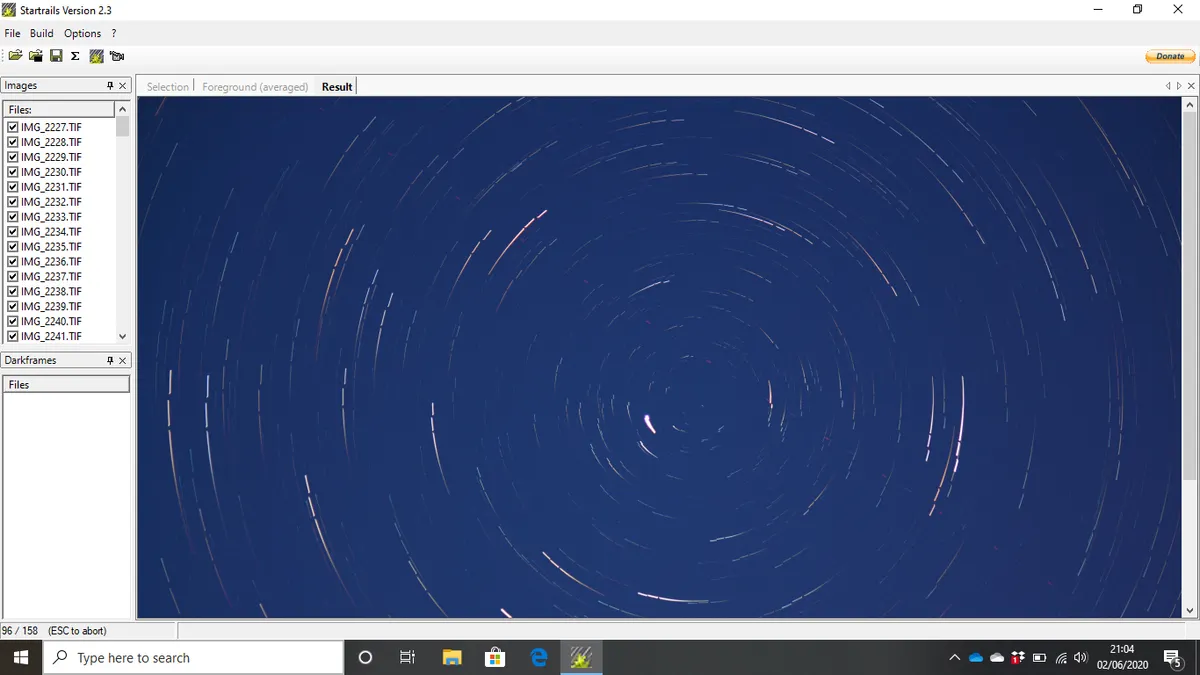
Make sure you select Lighten-screen-blend in Blend modeto smooth the trail lines properly.
Your merged star trails can be uploaded into Photoshop for colour adjustment with Hue/Saturation and Brightness/Contrast.
It’s easy to overdo the contrast or under-saturated stars, but there are plenty of different colours to be drawn out.
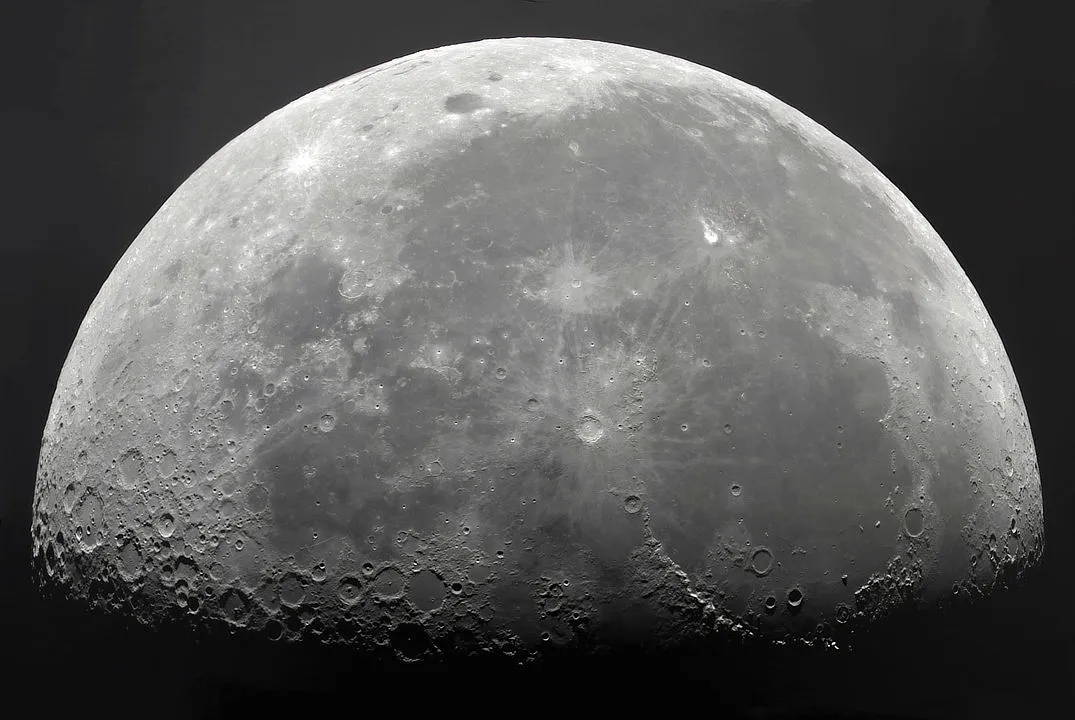
Processing planets and the Moon
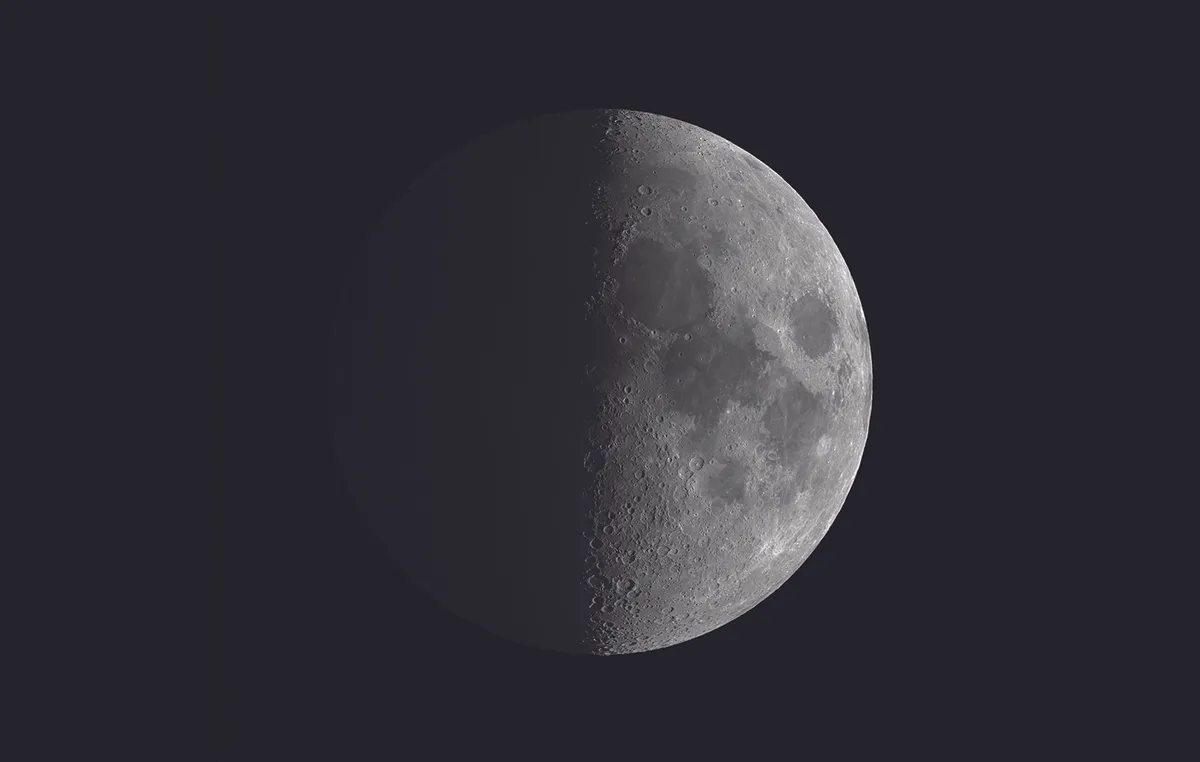
Imaging the Moon can be achieved with just a DSLR, lens and tripod. As you start out you’ll be pleased with the details from a single frame, after making minor adjustments in Photoshop.
For the best level of detail you’ll need to attach your camera to a scope with a T-ring and adaptor to give a longer focal length. For planetary imaging, the longer the focal length of your telescope, the better (for more on this, read our guide: Telescope stats explained).
To get sharper lunar details you can stack multiple DSLR images, or you can use a planetary camera.
With its high frame rate, a planetary camera will cut through atmospheric turbulence more effectively than a DLSR, but either is a good choice for the Moon.
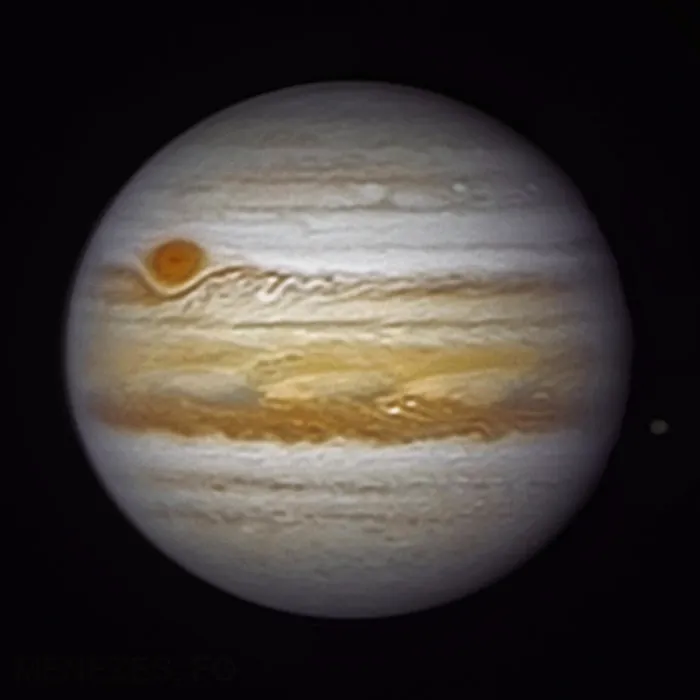
For planetary imaging however, a planetary camera is best for capturing detail, and you’ll need a laptop to control it.
For either type of camera the best program to use for stacking your lunar or planetary images is AutoStakkert!
This freeware assesses which files to keep or discard from a stack. To stack, open the software, upload and select the Image Stabilization option, either Surface or Planet(depending on whether the Moon is completely in the field of view).
The Analyze function will show graphically which frames provide the best data, and you can opt to stack a percentage accordingly.
Find out more in our guide on how to produce full colour planetary images
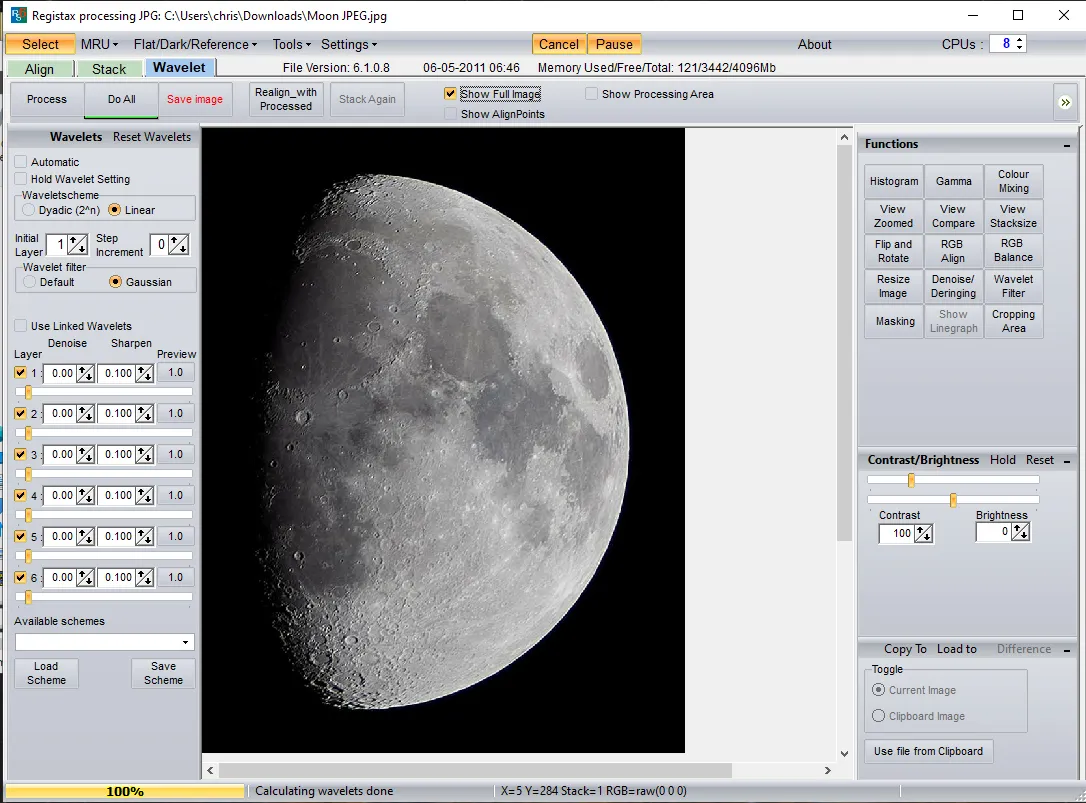
Once stacked, the next piece of software you’ll need for overhauling your lunar or planetary image is RegiStax. Its important setting is the Waveletsfunction, as this sharpens and emphasises detail.
For more on this, read our guide to using wavelets in RegiStax.
Further tweaks can be made in Photoshop, by using the Brightness/Contrast and Hue/Saturation settings.
For lunar photography, many opt to make a mosaic, particularly if the telescope you’ve used allows detailed crater images.
It’s important to get the order of the software right if you’re stitching frames together. First stack your images in AutoStakkert!, then upload them to ICE to create the mosaic, and upload the full mosaic image into RegiStax.
This ensures that you sharpen each element within your mosaic evenly and stops the final mosaic looking ‘patchy’.
Read our full guide on how to create a Moon mosaic.
Processing deep-sky imaging
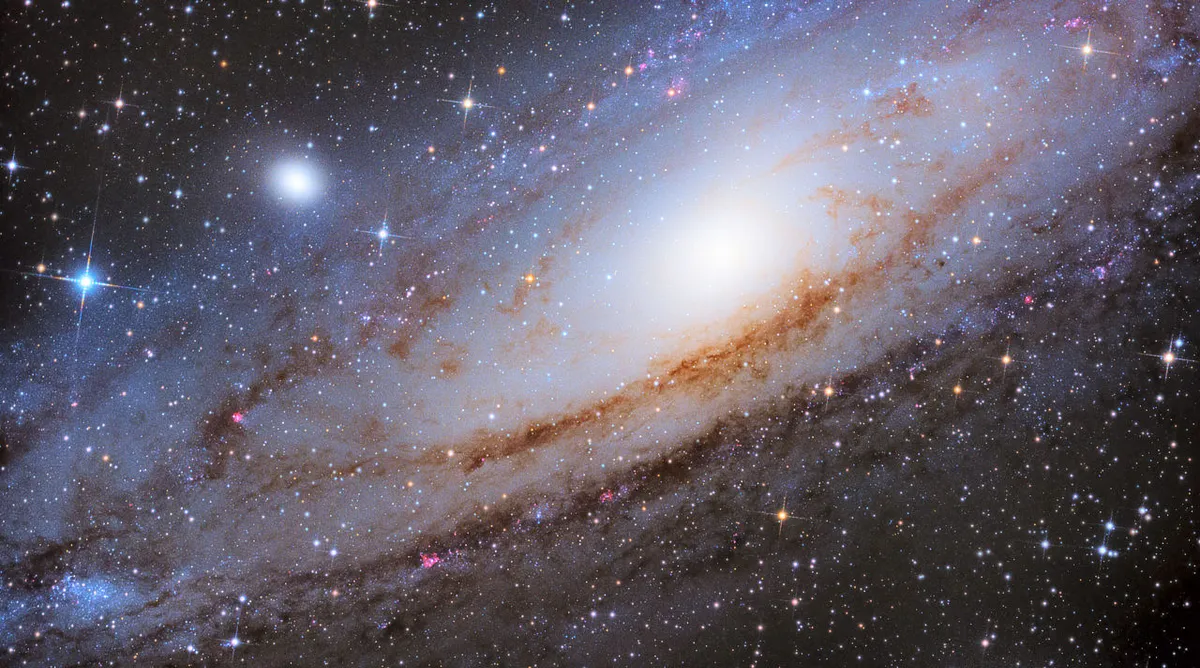
Deep-sky objects (DSOs) include galaxies, star clusters and nebulae. While a long focal length camera lens is fine for some targets, a telescope is the best option.
You will need a T-ring and adaptor to use one with a DSLR, and we show you how to do this in our guide on how to attach a DSLR camera to a telescope.
Although DSLRs are a popular choice and achieve excellent results, the long exposures needed for DSOs mean that many astrophotographers opt for cooled CMOS or CCD cameras. These come in either mono or one shot colour (OSC) varieties.
For more info, read our guide to CMOS deep-sky astrophotography.
Calibration frames (darks, bias and flats) are an integral part of DSO processing.
The trade-off from long exposures is the potential for noise and vignetting to affect images, which makes processing challenging. Dark and bias frames reduce noise, while flat frames remove any vignetting.
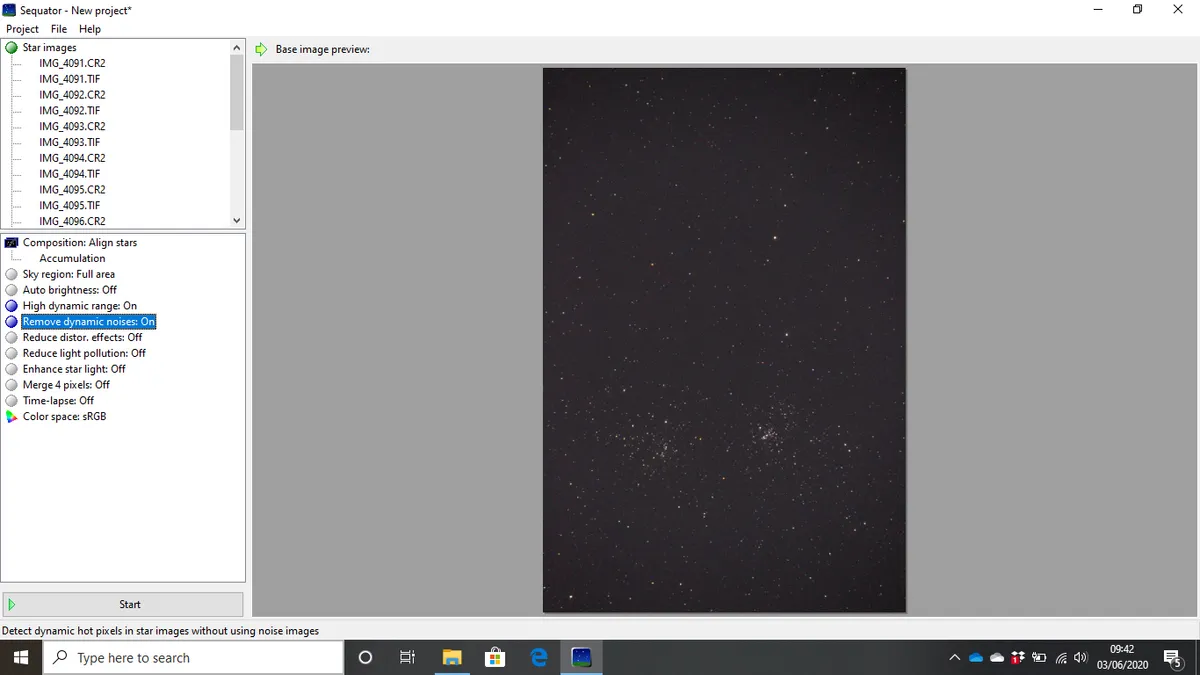
Two popular stacking programs for deep-sky imaging are Sequator and DeepSkyStacker (DSS).
Both are simple to use, although DSS recognises bias calibration frames (whereas Sequator does not) and is more advanced.
Sequator is perhaps the best stacking program to start with until you become more comfortable. Once star and calibration images are added we suggest switching on High dynamic range and Remove dynamic noises.
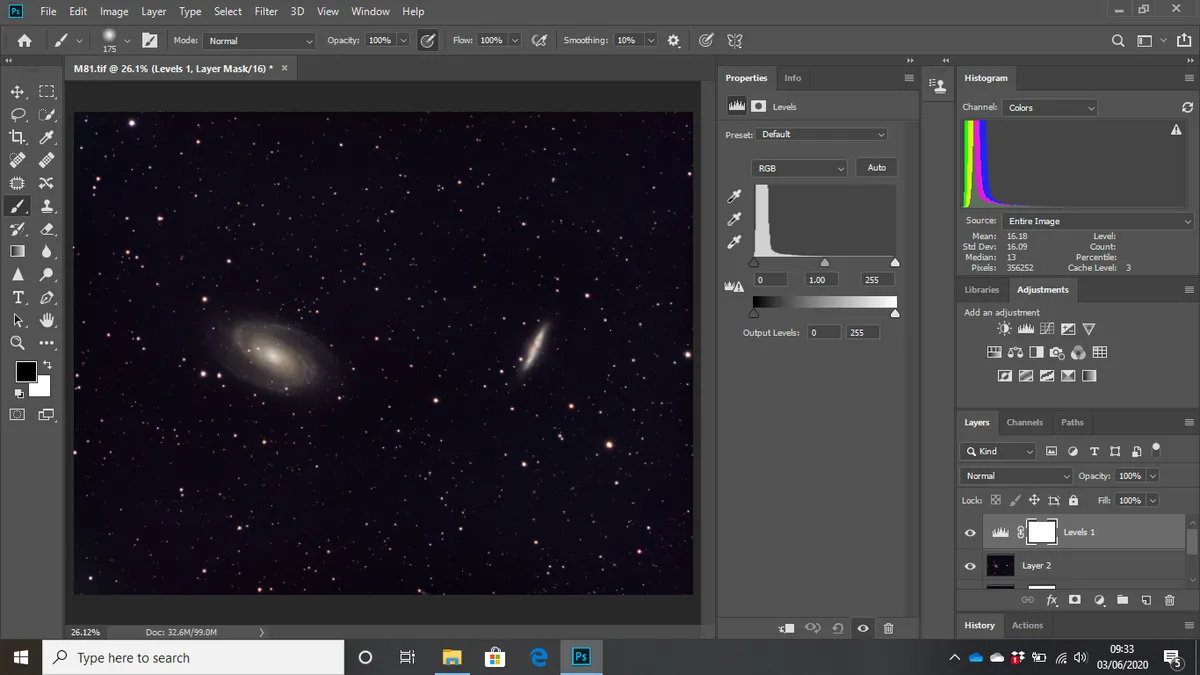
Once calibrated, DSO images can be enhanced in Photoshop. Settings we recommend include Levels and Curves, Hide all and Reveal all masks, and the Median and High Passfilters.
The masks help to adjust certain areas without affecting the whole image. These can then be blended using the Gaussian Blur function.
A Median filter dims background stars and increases the impact of nebulae (find it under Filter > Noise).
Lastly, the High Pass filter (Filter > Other) allows you to bring out further details from your object. Once applied, set the Layers mode from Normal to Soft light to blend.
If you're an astrophotographer - whether expert or complete beginner - we'd love to see your images! Find out how to send us your astrophotos or get in touch via Facebook, Twitter and Instagram.
This guide originally appeared in the August 2020 issue of BBC Sky at Night Magazine.


