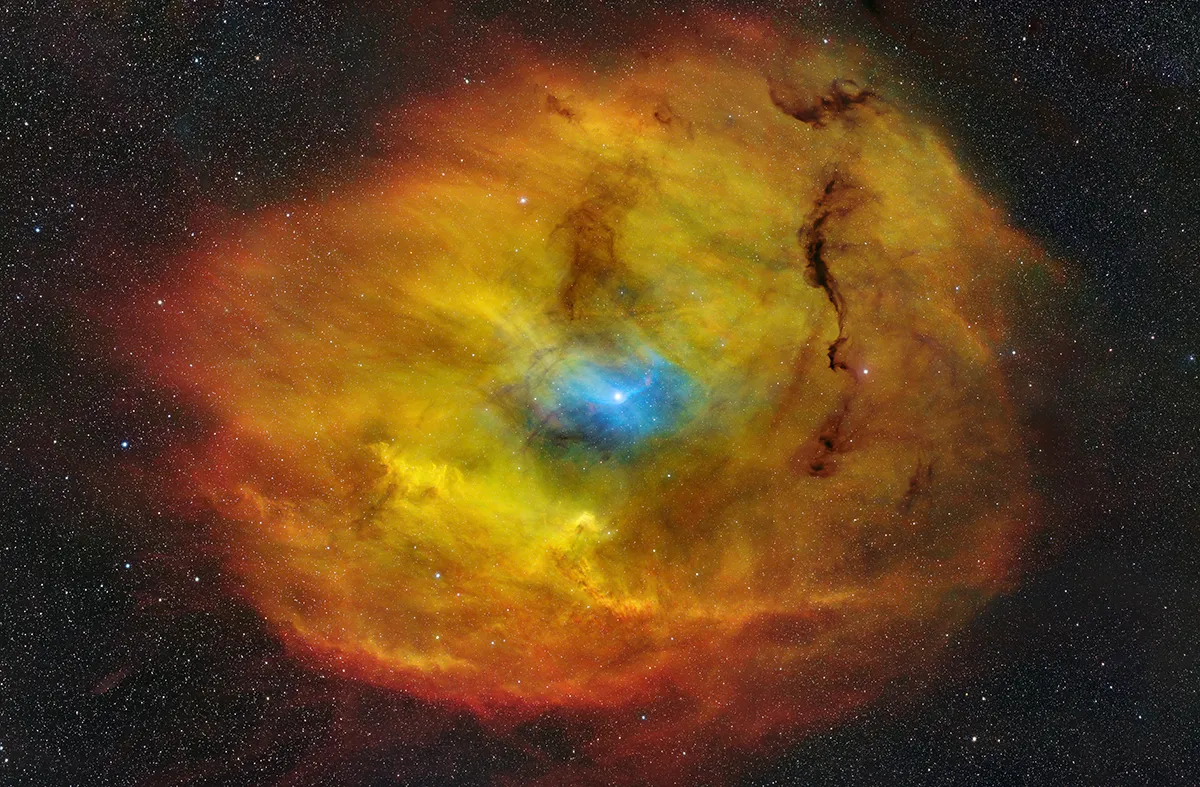
Sh2-27 is an extremely large ionisation nebula in Ophiuchus, which spans 13 degrees or 26 full Moons across the sky.
I imaged it with a Nikon 200mm f/2 lens and a full-frame ZWO ASI6200MM camera, and even with the very large field of view with this setup, I still needed a three-panel mosaic to capture it all!
First, I needed to remove any unwanted gradients from light pollution, moonlight and sky glow.
After using the WBPP script in PixInsight to perform image calibration and registration, I utilised the Normalize Scale Gradient (NSG) script by John Murphy.
This script corrects the brightness and gradients of your subs using differential photometry to model the relative scales and gradients.
I image at a dark site but I still find NSG very useful as a first step.
How to improve detail in your nebula astrophotos
Extraction
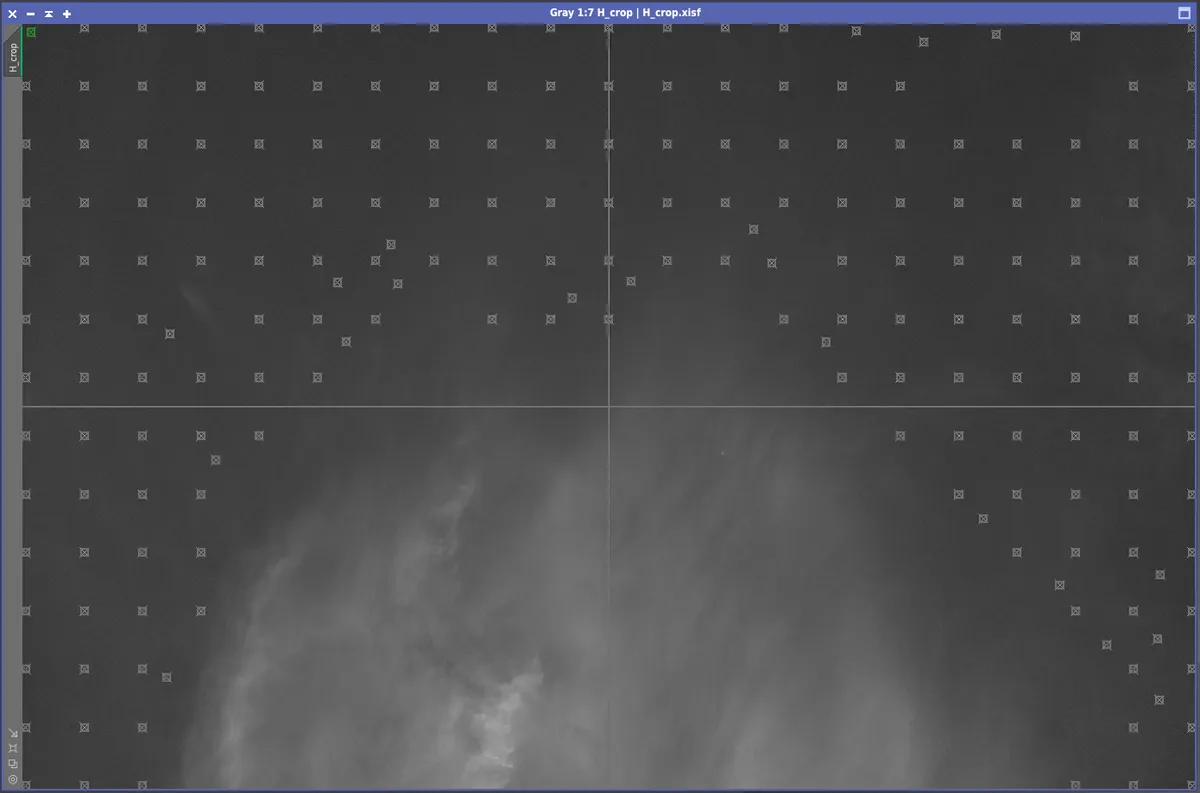
I then looked at doing a second sky subtraction on the master images, using the Dynamic Background Extraction (DBE) tool in PixInsight.
For images with complex emission structures and unwanted gradients it’s especially useful to perform the DBE on a starless linear image.
I use StarXterminator on the linear master and set this to also generate a separate star image with unscreened stars.
With the starless linear master, you can then place many DBE samples using a high pixel-rejection tolerance; you can easily see and avoid placing samples in areas of true emission signal.
The background model can be subtracted with ‘Normalize’ selected and the star image can be added back to the DBE corrected image using the PixelMath expression: ~((~starless DBE)*(~stars)).
Assembling your mosaic
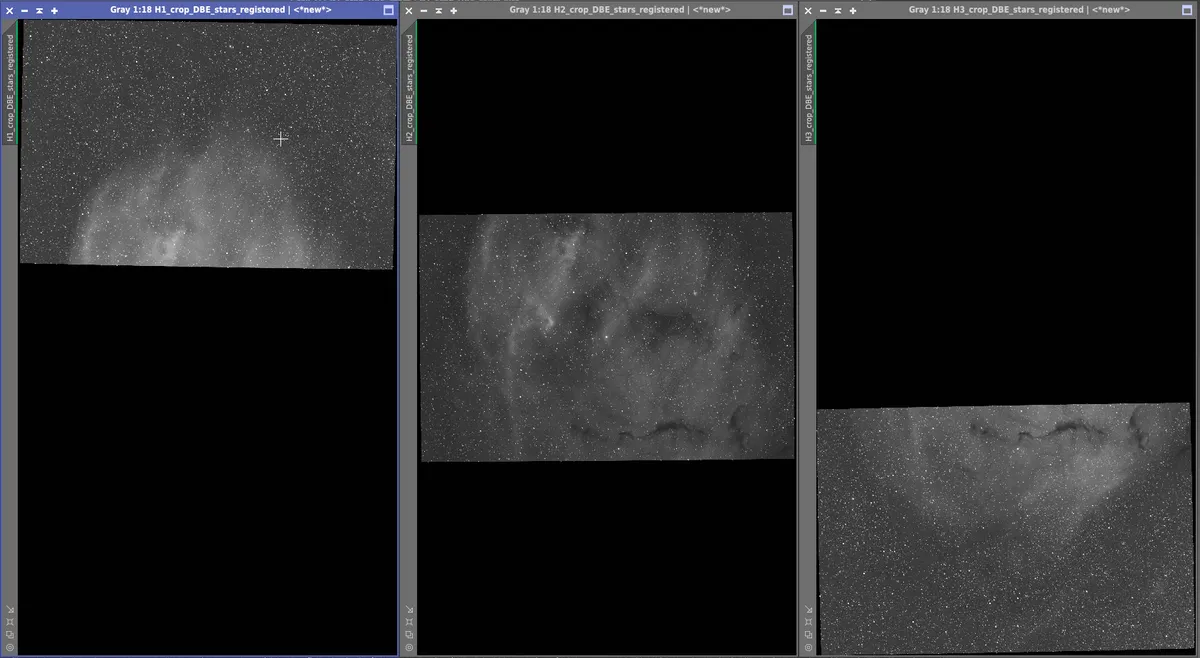
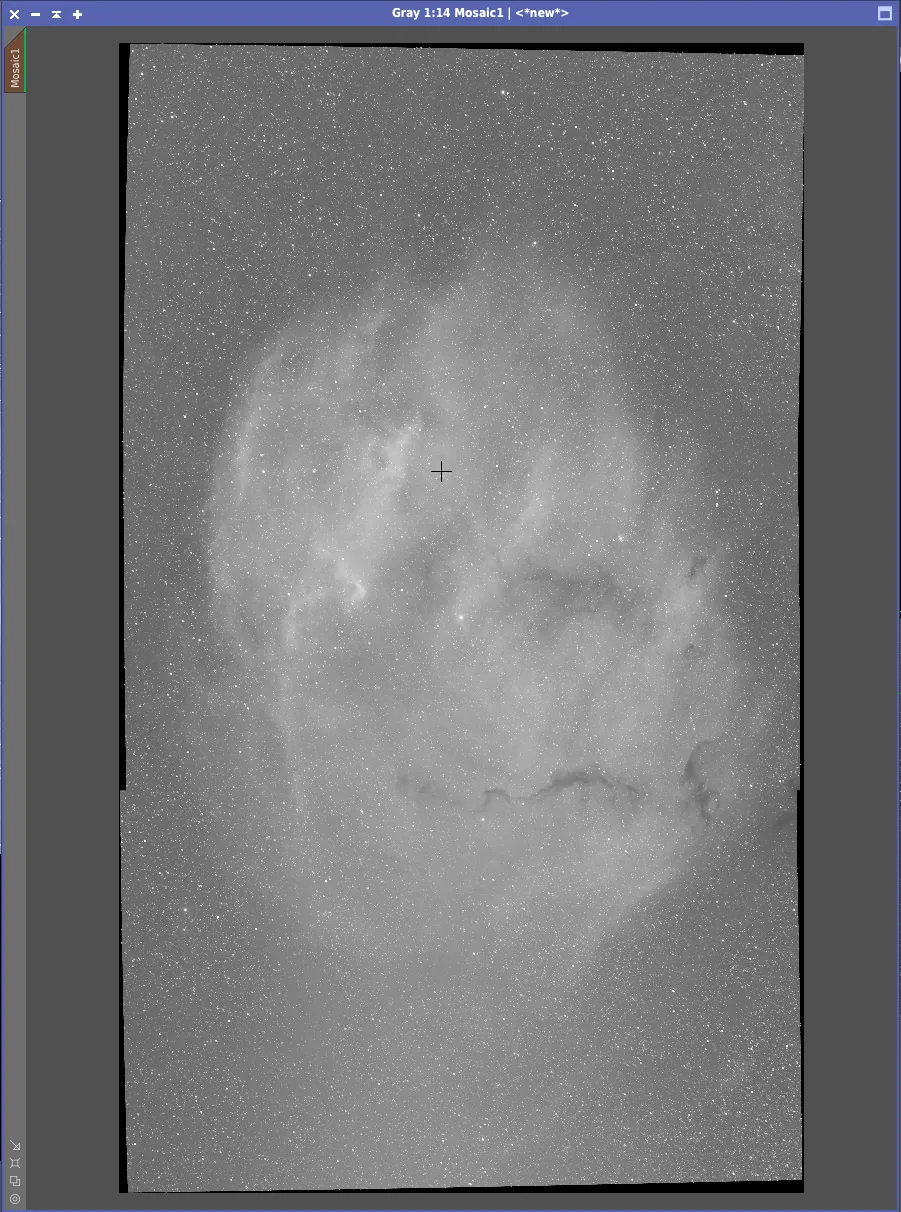
The next step is to combine the mosaic panels. I used the PhotometricMosaic script in PixInsight, which gives excellent results, with seamless blends between panels.
To use it, you must first plate-solve all your mosaic panel images and then run the MosaicbyCoordinates script.
Once the registered panels are created, I trimmed ~2 pixels from each edge using TrimMosaicTile and then ran PhotometricMosaic.
I find the defaults tend to work well, but it’s worth trying different combination modes to see which blends the panels most seamlessly.
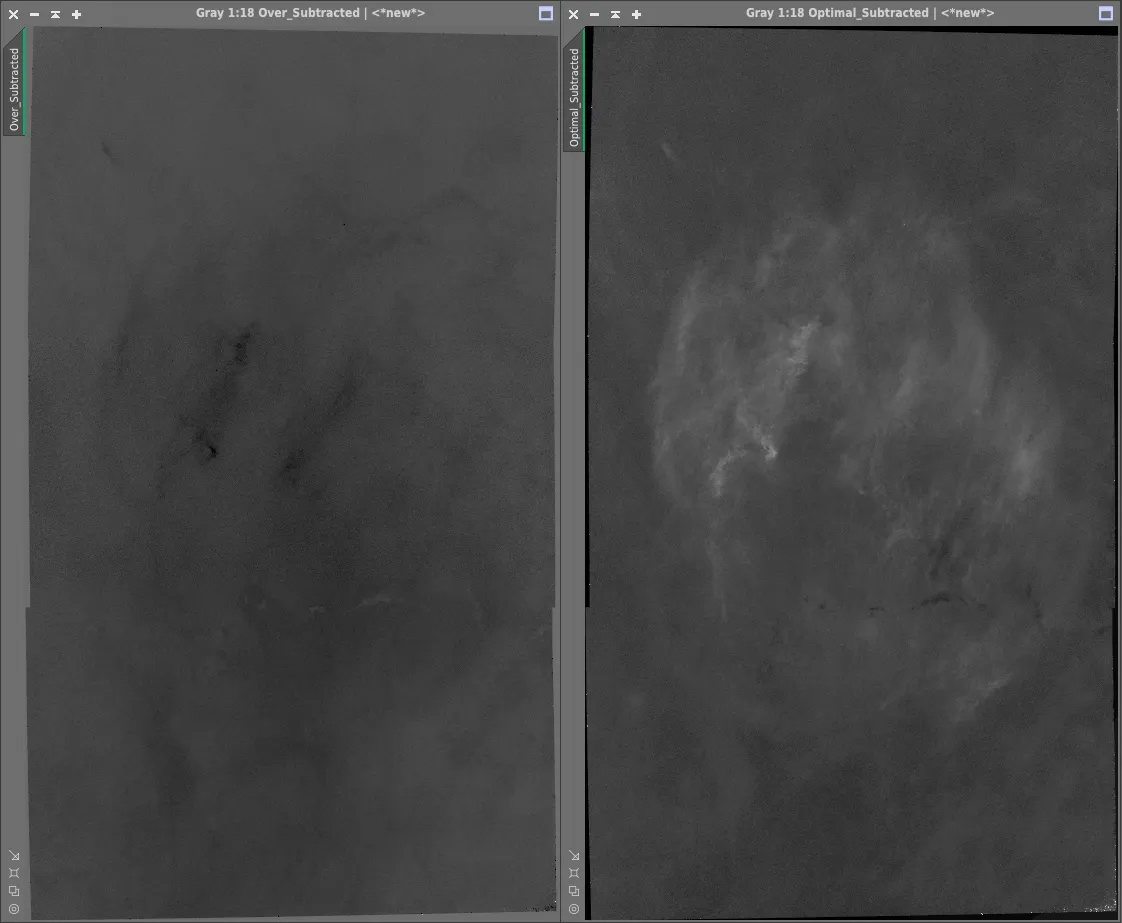
Lastly I performed continuum subtraction on my narrowband master images.
While narrowband filters block most unwanted wavelengths, a small amount of the continuum light is allowed through, masking faint emission structures.
Filters
In amateur astronomy, we usually don’t have specific off-band filters, but we can use broadband filters for a similar effect.
For example, for Ha we would subtract the broadband red continuum to reveal the pure Ha emission.
I usually do continuum subtraction using PixelMath in PixInsight, running the equation: Narrowband - (Broadband-median(Broadband)) * scaling factor.
As the broadband filter is much wider than the narrowband filter, a scaling factor must be used to avoid under- or over-subtracting the continuum from the emission signal.
I usually determine this scaling factor through trial and error.
While continuum subtraction is usually done on master images containing stars, this does create artefacts where the stars are under- or over-subtracted, and these artefacts need to be repaired using different masking techniques.
If the image is being produced for aesthetic aims, then you can often get an acceptable result with much less work, by performing the continuum subtraction on starless images using your star-removal tool of choice.
Finally, once the narrowband SHO master images have been created, these are taken into Photoshop as layers to create the final colour image.
3 quick tips
- When combining mosaic panels, take care to avoid uneven gradients between the combined panels.
- Check overlapping areas of your mosaic panels carefully for any star artefacts. Try adjusting the size of the overlap and the combination mode to see if these can be avoided.
- If you perform continuum subtraction on starless images, also create a continuum subtracted image with stars, then compare them to check for any introduced artefacts.
Are you an astrophotographer? Don't forget to send us your images.
This article appeared in the October 2023 issue of BBC Sky at Night Magazine